Hello friends! I have usually posted on Fridays to share some updates on my crafty projects and such, but had some other things to take care of and hubby has been working different hours here and there, so I thought I’d pop on here for Saturday instead!
I made a card for a FB Group yesterday, but thought I’d share it here as well:
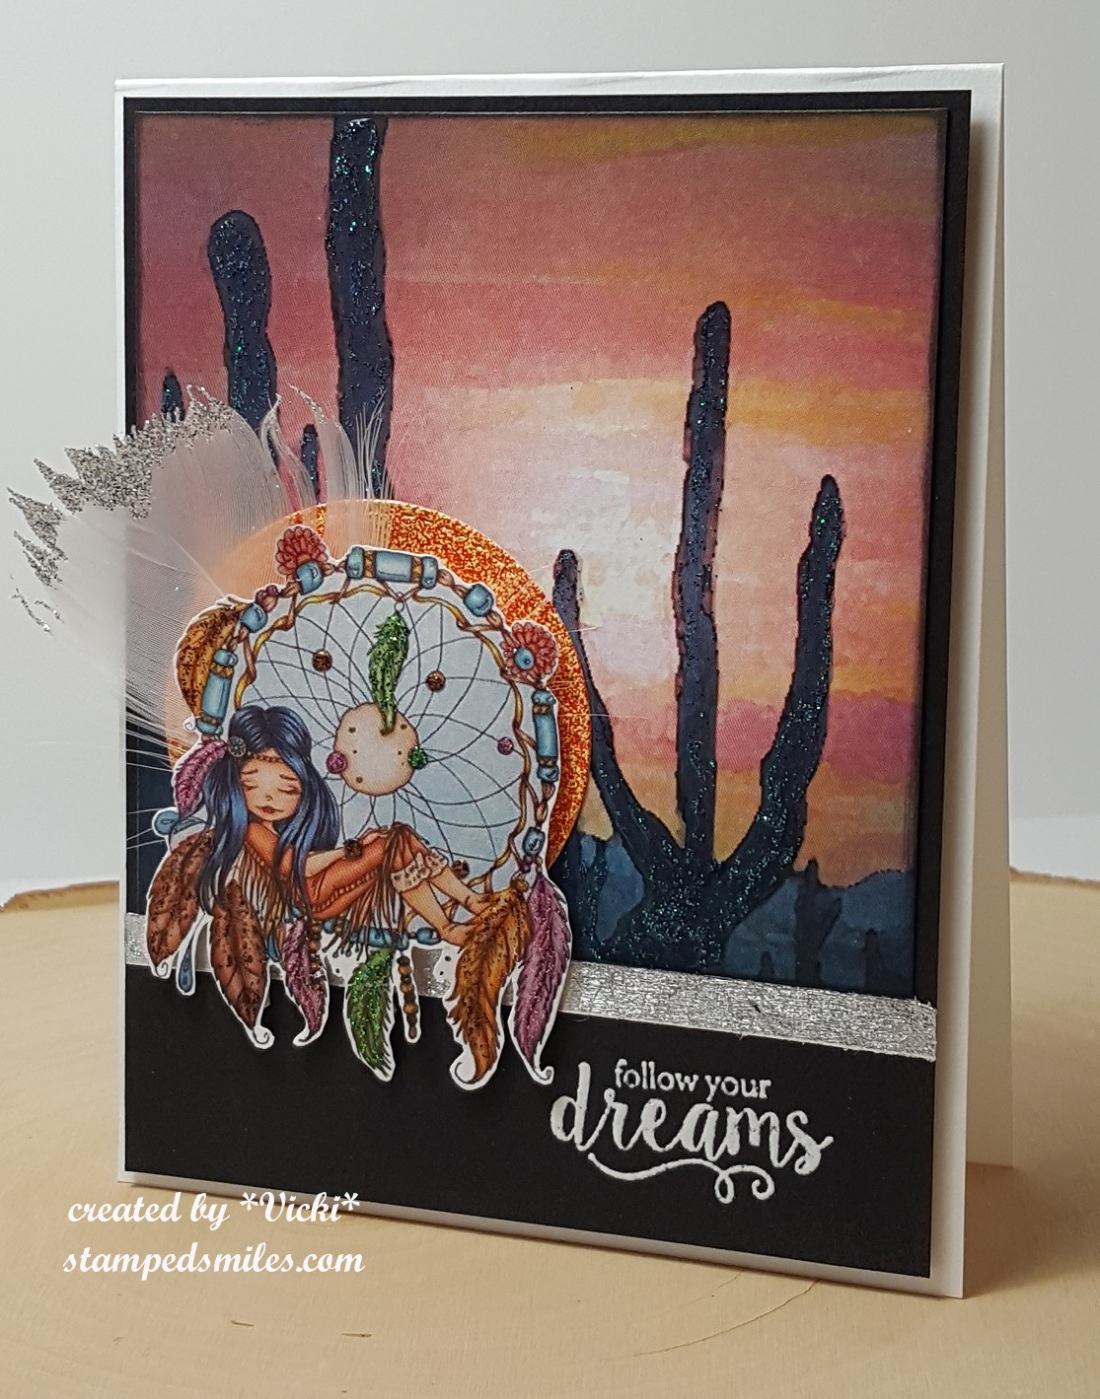
The background papers were included with the kit, and I have cut a portion of a piece to put on the top section of my card front. For the cactus silhouettes, I have taken the Nuvo Dazzling Blue Glitter drops from the kit and used a brush to push it around. (You can see a closer view of all of the glitter in the photo below.) I took a piece of black card stock from my stash to mount this piece and then I heat embossed the sentiment (from the kit) with white EP. I then took some 1/4″ Tear-iffic Tape to go across the bottom portion of the background piece. I then took the gilding flakes from the kit and attached it to the tape. I then took that entire black piece and mounted it onto a piece of craft foam. I then attached it to a top folding white A2 sized card base which also came from my stash and not the kit.
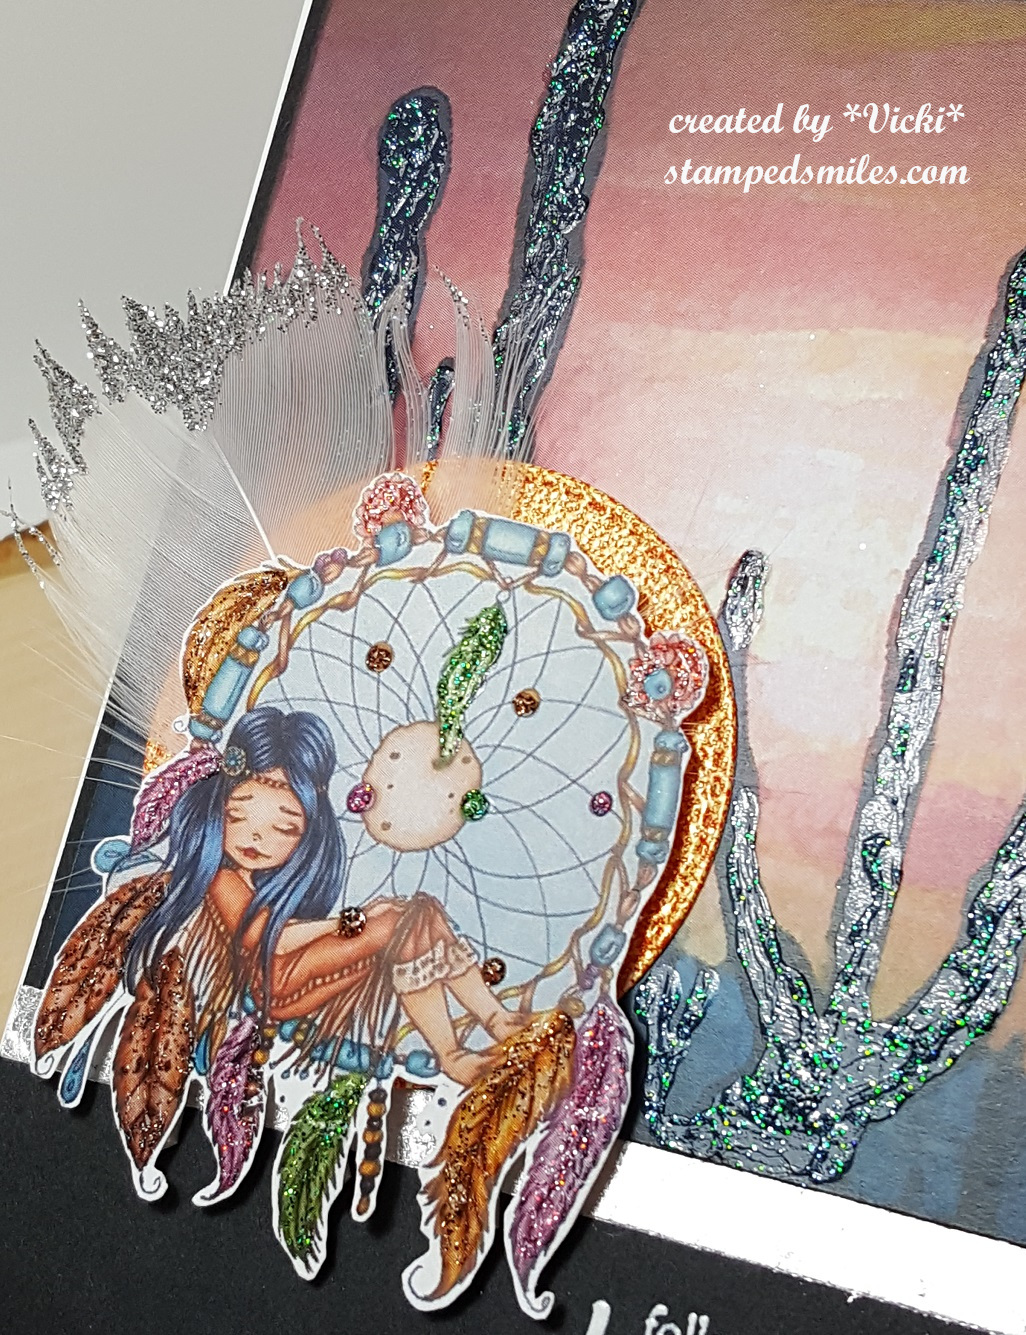
Here’s a closer look at the image and all of the glittery fun texture on this design! (You can see here how the cactus in the background really shimmer and have a unique texture by applying it!
If you take a look at that circle behind this image, I have cut out a white piece of card stock with a stitched circle die and then covered the entire piece with the Orange Marmalade embossing powder…it is so stunning how this EP looks IRL! There are some very fine gold mica powders in it that make it really amazing looking! Not what I expected the first time I used this, in a good way! 🙂 I then took the feather that came in the kit and added some Nuvo Liquid Glue to the ends of it and then sprinkled on some Ultrafine Sassy Silver Glitter and attached it behind the image with foam tape.
For the image itself, it came in the kit already pre-colored and sized to fit on the card. I have fussy cut the image and put some foam tape on the back with the feather and embossed circle. I have used the rest of the Nuvo Crystal Drops from the kit and used these to color in the image with a small brush to push the glitter around.
I sure had fun with this card and will be pulling out my kit again to make more, I’m sure! I like to “mix” things up a bit with them instead of making them all uniformly the same.
I also have some more projects that I haven’t finished sharing with you from what I’ve entered into my local County Fair this year, so here’s some more Christmas projects that I’ve made and had entered:
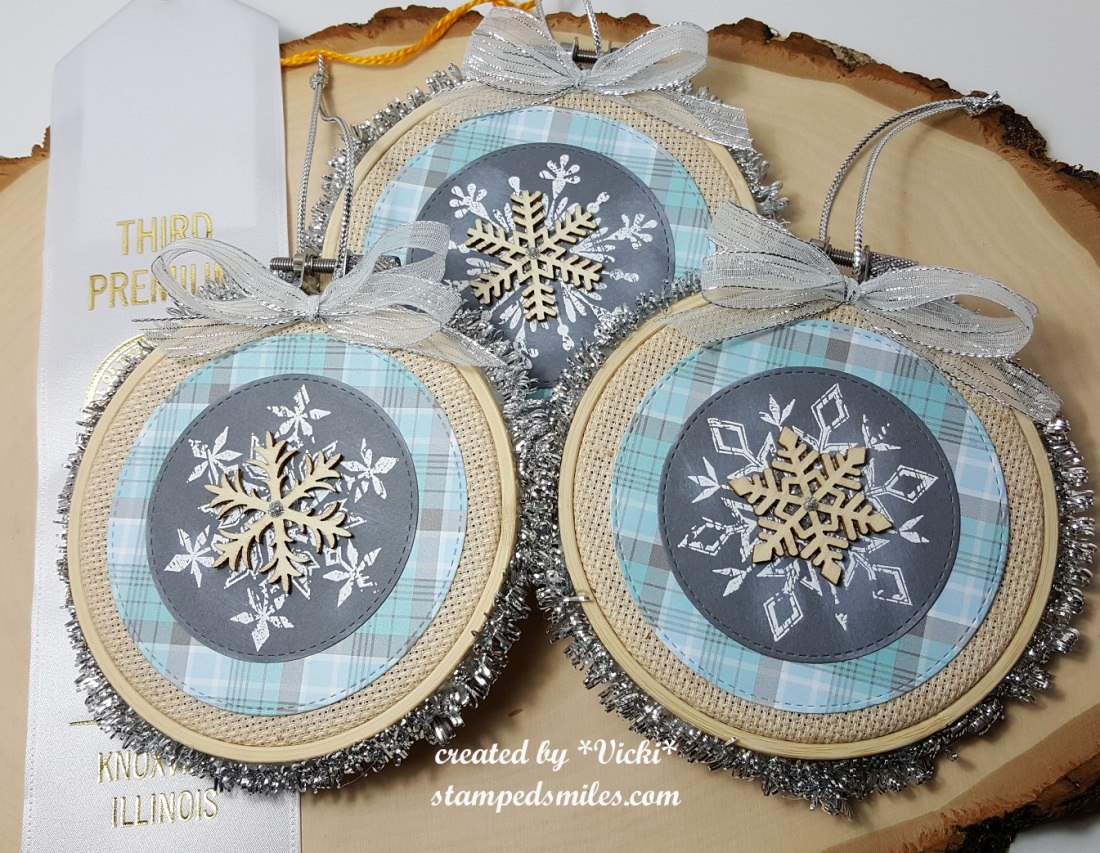
The category for this one was “handmade ornaments – set of 3” (They were all supposed to be similar in nature as well), so of course being the paper crafter that I am, I made 3 ornaments using paper crafting items from my stash! 🙂
A while back I had bought a large supply of bamboo embroidery hoops because I wanted to have a try at making these ADORABLE ornaments that I found a tutorial for last year on Splitcoaststampers.com – CLICK HERE to check out the tutorial and make one for yourself! (That tutorial called for a 3″ hoop, but mine are a bit larger at 4″ here.)
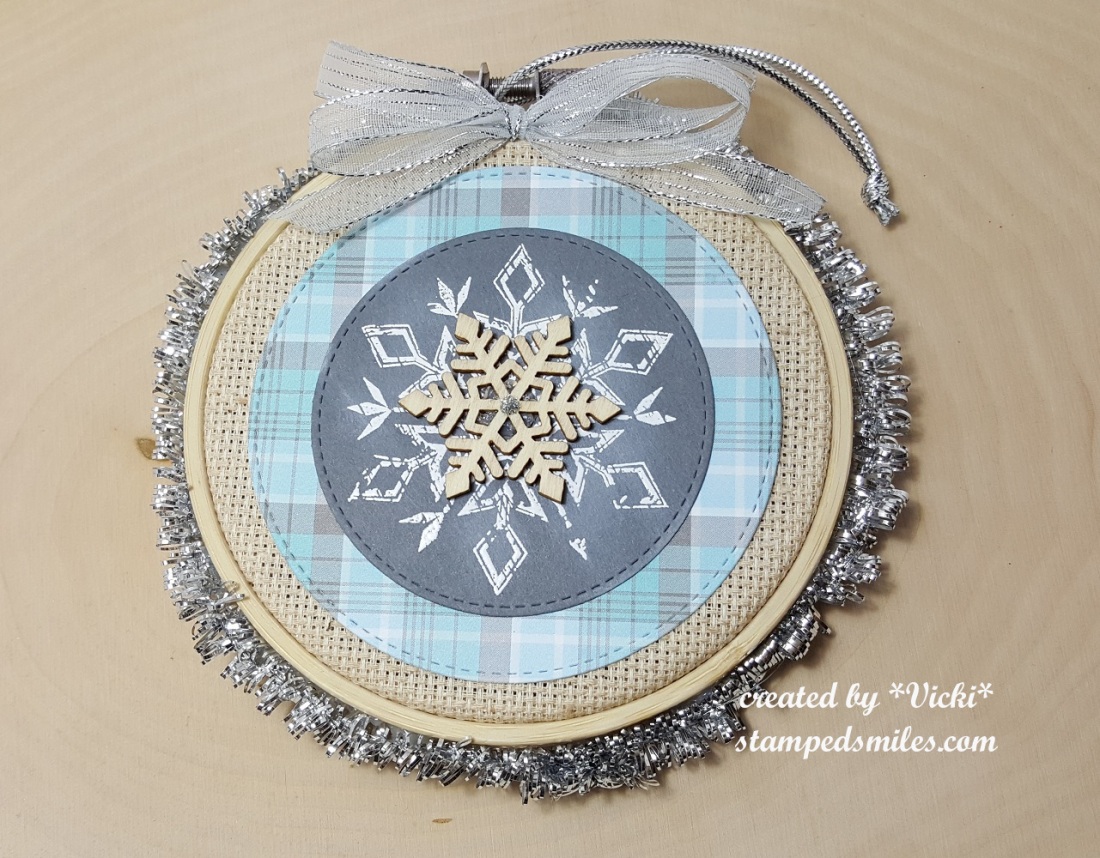
So for my ornament here, I used a stitched circle die to cut those lovely plaid papers from Lawn Fawn (looks like it retired!) and then I also cut another stitched circle from some gray colored papers to match. On the Gray circle, I white heat embossed the Tim Holtz Mini Weathered Winter Snowflake and then took a sponge dauber to add a bit of white ink in some places. I placed a wood veneer snowflake over top the center of the heat embossed snowflake and then added a dot of silver Nuvo Crystal Drops in the center.
For the outside of the hoop, I’ve had this silver tinsel in my stash for a few years (looks like the package says it is for a mini tree decoration. LOL…IDK!) I glued it around the edge of it, attached a silver bow at the top and then ran some silver cord around the top for hanging on the tree. They are simple, quick and easy to make, but I had lots of fun with it for sure! So, it was nice to have placed third as a bonus!
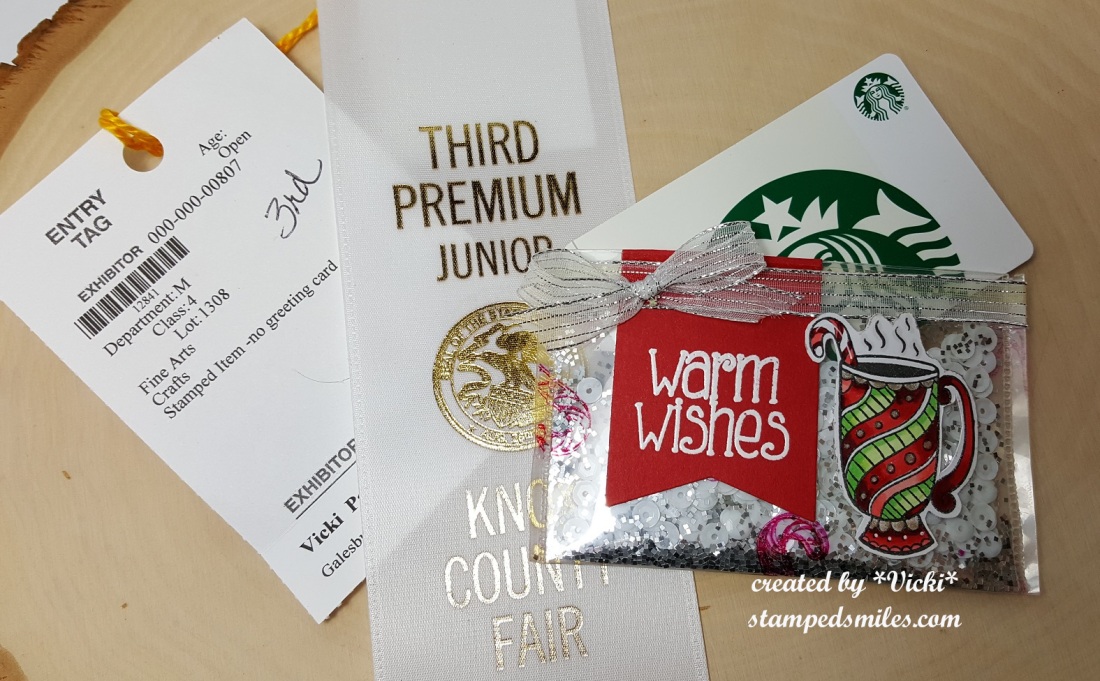
This is one of my entries for “Hand-Stamped item Other Than a Card”. (I will share my other two entries for this category on another post coming later on!) If you had followed along with my other blog or “know me” on Splitcoaststampers.com, then you may have seen the tutorial that I made for them called “Shaker Money Holder” (Click name to view tutorial or click the photo for it on the sidebar of my blog here.) I basically took the same concept for it and adapted the measurements to make it a gift card holder instead.
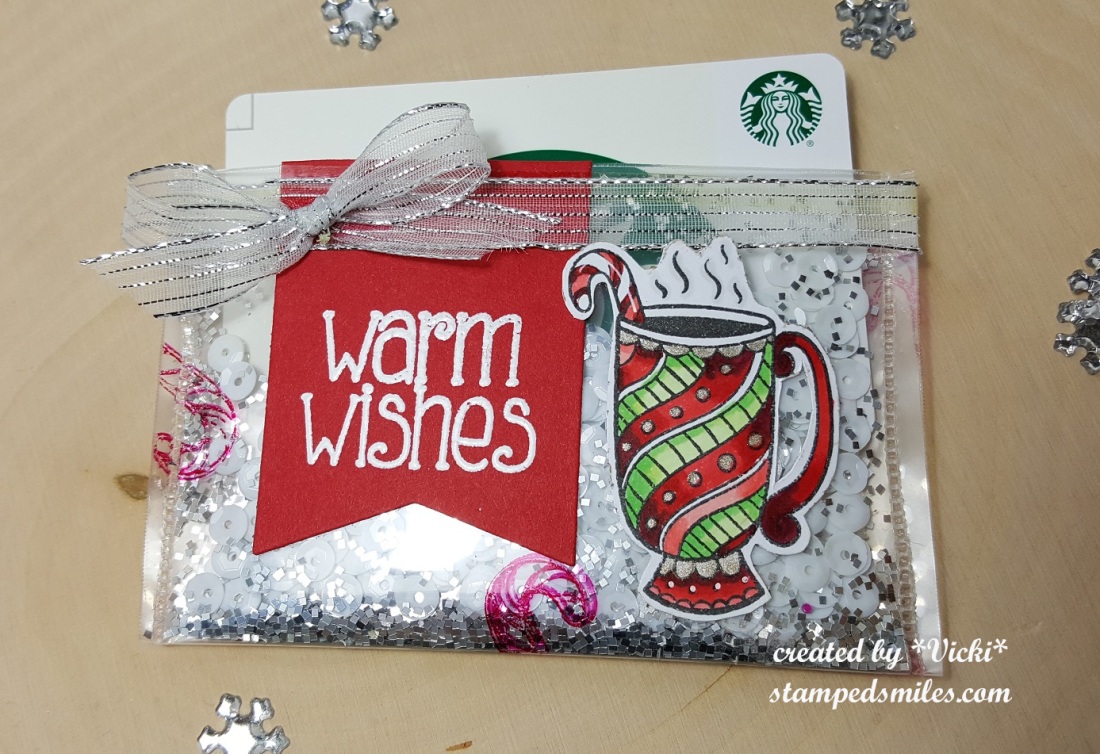
I have been wanted to play with this really fun stamp set from Pink and Main called Christmas Mugs which I’m sure I’ll be using again this year! Yum! 🙂 It was the perfect complement for gifting a Starbucks gift card! (This was one of the “many” purchases I had made when I went to the Collinsville, IL stamp convention earlier this Summer! So happy that Pink and Main had a booth there!)
For this shaker gift card holder, I stamped the candy cane from the same stamp set with some red Staz On ink before adding the shaker contents to it. I had fun coloring the mug image with Copics and glitter gel pens. I’ve also added some shimmer to the liquid in the cup with a Shimmer glitter pen. I then fussy cut it out and used my Xyron machine to make a “sticker” with it to attach to the plastic. I white heat embossed the sentiment from the same stamp set over red card stock, die cut it with a banner die and attached it in the same way I did the mug. If you follow along with my tutorial, i was finished off in a very similar manner.
Now looking at this photo, I’m thinking it would have been cute to add one of those snowflake accents to the center of the bow or around the red banner! LOL!! It was fun and easy to make regardless and will be nice to have on hand for Christmas! It was also very nice to see that it got placed 3rd too!
Hope you have enjoyed my post today and seeing the things I have been so busy with creating this, Summer! I always look forward to Fall and the end of the year projects so I know things will start getting really busy soon!
Thanks so much for dropping in!
*With the exception of the above card, I won’t enter the Christmas projects in any challenges due to the fact that I had made these in July. *
Challenges for card ONLY:
- Use Your Stuff – Summer Fun (What could be more fun than laying in a suncatcher? LOL!)
- Papercraft Challenges – Summer
- The Creative Crafters – Anything Goes
- Aud Sentiments – Anything Goes + a sentiment.
- Creative Knockouts – Sparkle and Shine
Fabulous projects Vicki..I love your card with the sparkle and texture and the image is so sweet..the ornaments are gorgeous and as is your shaker gift card holder..
luv CHRISSYxx
LikeLike
WOW absolutely brilliant Dreamcatcher love the image and fabulous background with the silhouette cactus-love all the sparkle and your Christmas ornaments too
Carol x
LikeLike
Fun post! Your dreamcatcher card is amazing, the background looks more like a painting than a card. The ornaments are so creative and darling and like your Pink and Main creation, they were a great addition yo the Collinsville show!
LikeLike
Once again, I love your beautiful card!!! So pretty
Great Christmas projects too. It’s going to be here before you know it.
Lynn
LikeLike
The dreamcatcher image is adorable and those feathers with glittered tips are to die for! Fabulous card, and a fabulous trio of tags too! Great projects for so many occasions, and congrats on your recognitions for the items entered at the fair!
LikeLike
Each post is a master piece and this is certainly another one of them…fabulous and wonderful techniques used too…love visiting.xx
LikeLike
I love the summer sunset on your card. So beautiful made.
Thank you for sharing your stunning card with us at Papercraft challenges. I hope you will join us again soon.
-xiss- Renate.
(DT Papercraft Challenges)
LikeLike
WOW Vicki all of your creations are stunning!! I love the southwest card and the beautiful sparkly touches and that feather is the perfect touch! Adorable Christmas ornaments too, love the beautiful details and colors and what a cute, cute shaker gift card, it so fun!
Hugs, Tammy
LikeLike
I love how you made the cactus sillouhette! You are very creative!
LikeLike
Fabulous creations, love the card design and congrats on the win! Thank you for sharing with us over at The Creative Crafters. We hope to see you again.
~ DT Sherry x – https://creativecrafterschallenge.blogspot.co.uk/
LikeLike
wow!
those cards are stunning!
hugs
LikeLike
Wowzers! The first card with sunset, cacti and dream catcher is one of my favorite cards ever. I would not be able to make something like this myself and I’m admiring this stunning card.
LikeLike
This is really pretty – loving that glitter!
Thanks for sharing at Aud Sentiments,
Hugz Tinz
LikeLike
Hello and welcome back! I went looking for you several times when I noticed all posts stopped. So glad you are back. Your blog always was such an inspiration. As are all these projects. Your card is adorably southwestern (and living in the southwest….I’m kind of drawn to the desert). And now you have me thinking about making those adorable ornaments for this year!
LikeLike
I’m so sorry about that on my other blog! I had so many personal issues going on and it was way too hard to try and post and explain. Looking back at it now, I wish I had done differently with that and I missed my friends on here so much! I’m honored and thrilled you have stopped by I promise I won’t leave here without saying something to my friends! HUGS
LikeLike
Blue ribbon winners in my book, Vicki!! Sensational~~
LikeLike
The Nuvo drops are a great addition to the background paper. It really makes everything pop.
Thank you for joining us at Creative Knockouts for our Sparkle and Shine challenge.
LikeLike