Hello friends! We are already here on the last Thursday of August! I can’t believe we are already getting close to the end of the year soon! Time seems to just go by so fast for me anymore!
Today stars a brand new challenge over at Cute Card Thursday and for this week we’d like to see your “Anything BUT a Card” creations! We look forward to seeing what you all come up with!
So I bet you thought that I had forgotten about my finishing up those calendars? Well as soon as I saw that this was the last week of the month, I went to try and find the next month and of course it wasn’t there! LOL! Then I realized that I needed to finish out these “Grumpy” calendars for the remainder of the year! To see the past months I had already created, you can find all the posts by CLICKING HERE. I had so much fun with these! So here’s the last of them:
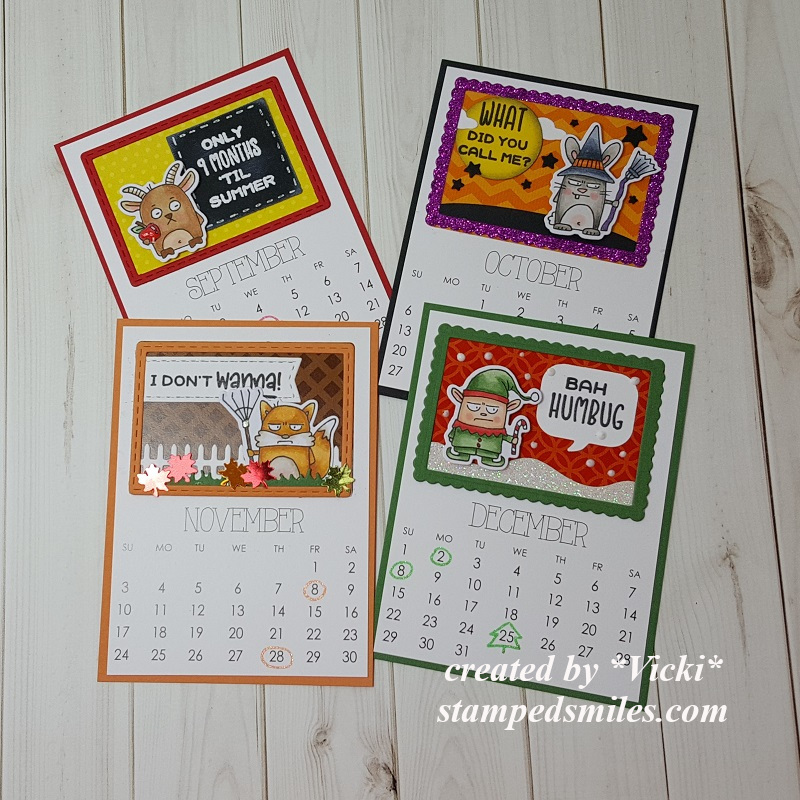
I think these are fairly quick and easy to do, plus they’re so much fun putting together by creating the scenes for them and they give me giggles every time I look at it! (There are days that we can relate to these guys, right?!)
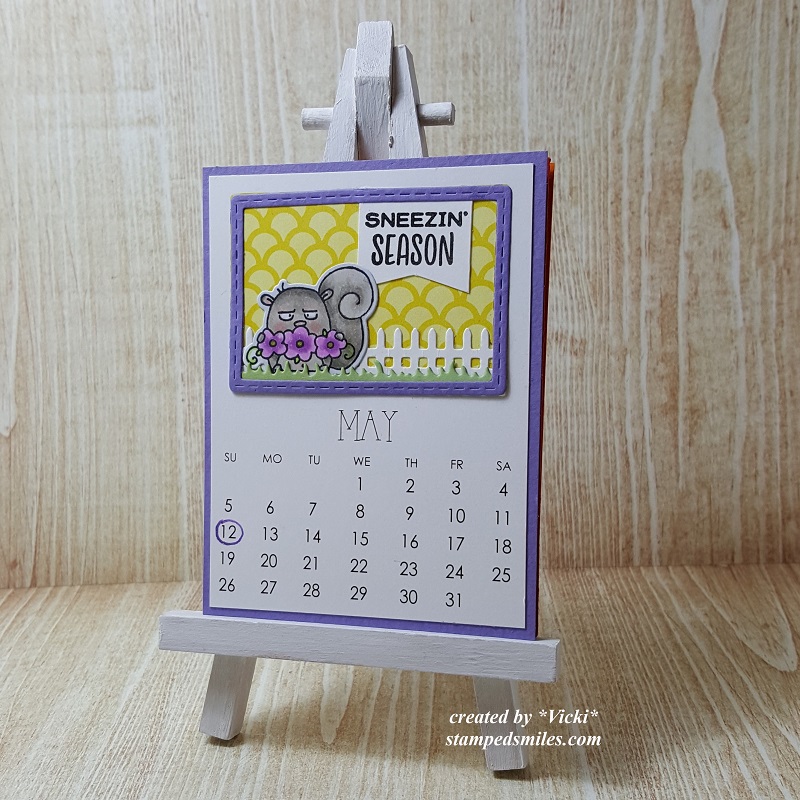
Again, for all of these, I have used the Taylored Expressions 3×4 Calendar panels with the printed design at the top. (of course mine are the 2019, but if you click on the link, it will take you to the 2020 calendars!) I have slightly cut the edges off so that I could make a layered panel behind them and still keep the 3×4 size.
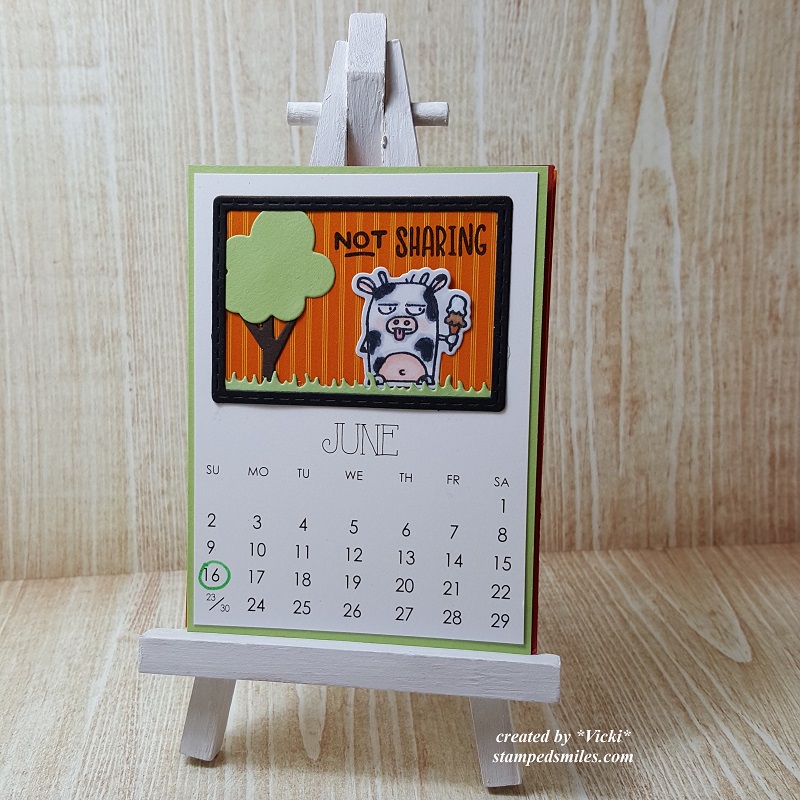
All images came from the Taylored Expressions Calendar Grumplings stamp set and coordinating dies. I’ve used the sentiment from the set and made a banner with it that I’ve tucked underneath the elements from the Build-a-Scene Calendar dies. I’ve colored all the critters with Copic markers.

The eyeballs on this dude are too funny! I’ve white heat embossed the sentiment on this one over black to mimick a chalk board. I added lines around the edges with a white gel pen. I’ve popped up the grumpling with foam tape. I’ve added some glossy accents over the apple in his hand. This is my birthday month too!! Woo hoo!
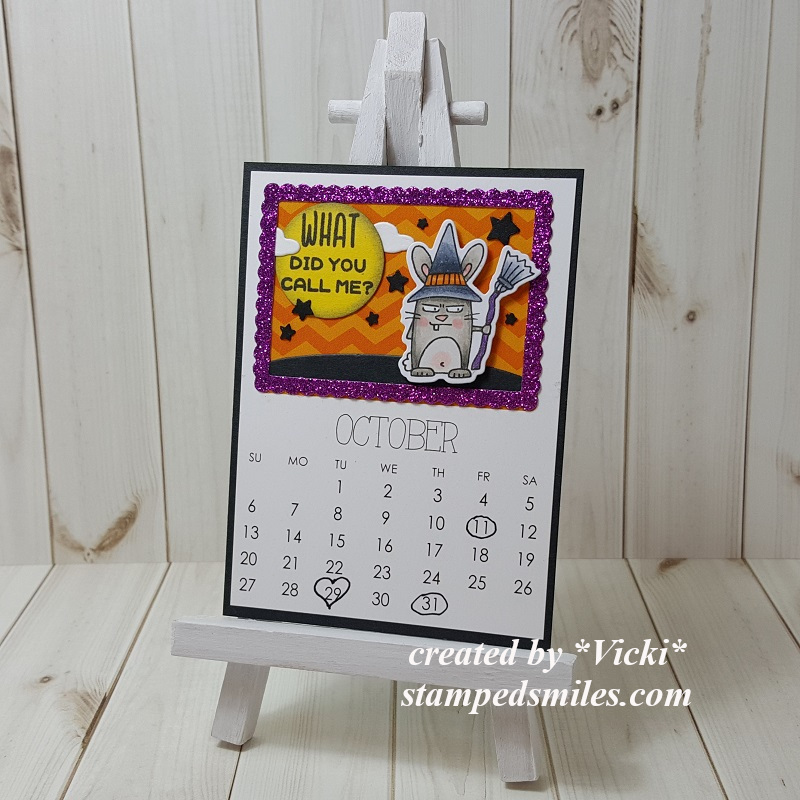
BWHAA! HAA!! This one is probably my fave not just because of the sentiment and the cute grumpling, but I love Halloween anyway. I stamped the sentiment over some yellow cardstock and then punched it out with a circle punch so it looked in the shape of a moon and then die cut a couple of clouds to go around it. I had a punch that punched out lots of stars and so I glued those on the background. His broom handle was colored with a purple glitter gel pen and the frame was cut from some purple Glitterstock.
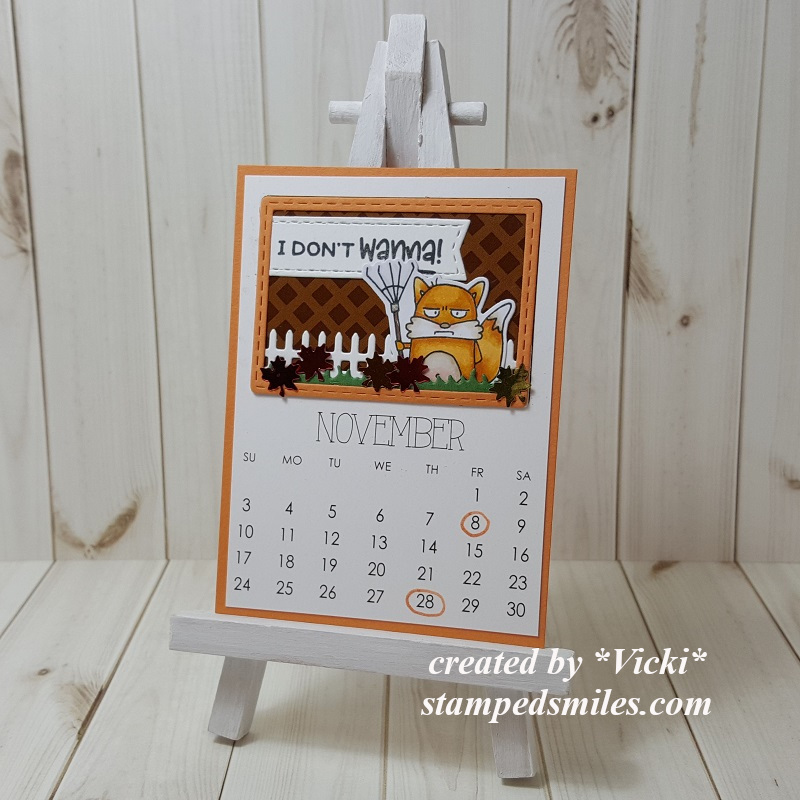
Oh yes, all of those leaves pile up about this time and there’s always tons of yard work to clean up along with all of those dead flowers before winter gets here…this is usually how I feel about it too! The leaves at the bottom are from a sequins mix that I had. I do love the different colors of leaves in the Fall!

Last, but not least is this funny “Bah Humbug” grumpling! Things tend to get hurried this time of year for sure and by the time the end of the month rolls around, that’s about my take on it! LOL! I’ve used some white Nuvo Drops for the snow in the background. The ground was die cut from Glitterstock. The sentiment was punched out with a really old speech bubble punch I have.

I hope you’ve enjoyed catching all of the months of this year’s calendar with me as much as I had fun putting them together. Now, the trick is to pull out the 2020 calendars and start working on that earlier than just as the time gets here! LOL! Thanks for hanging in there with me for it! Hopefully you’ve been inspired in some way or at least had a few smiles with the process!
Thanks for stopping by and I’ll see you soon!
Challenges:
- CRAFT – Back to School (Sptember month)
- Always Fun – Back to School (September month)
- Kat Scrappiness – August Back to School (September month)
- Through the Crafttoom Door – Anything Goes
- Crafty Creations – Anything Goes