Happy Friday friends! 🎉 I see that we are nearing the end of August and that it’s time for kids to get back to school, which means, Autumn is heading our way! I think I’m ready for cooler weather right now! I just love all things Fall as it’s my favorite time of the year! What is your favorite season?
Today starts up a new challenge over at the Alphabet Challenge Blog! Our next letter is “J”, and the hostess has chosen “J is for JUMP” (this can be anything that jumps!) *Please remember that this is a bi-weekly challenge, so you have two weeks to enter.* I hope you’ll join in the fun with us. Here’s the project I’ve made for this challenge:
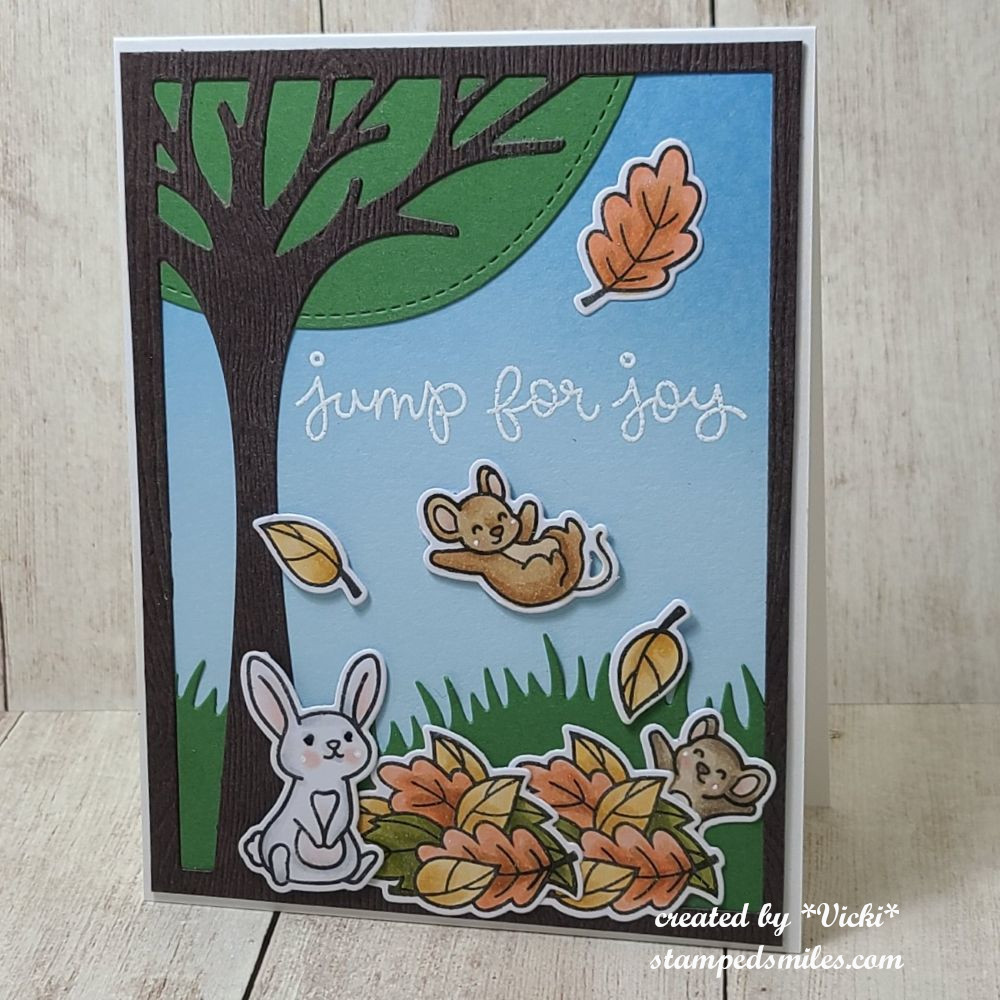
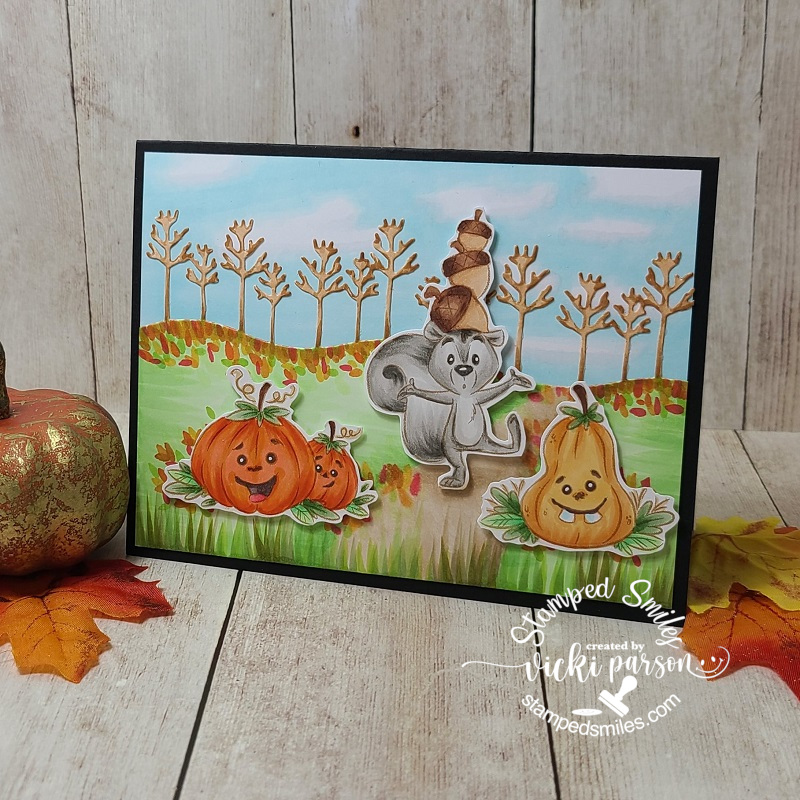
I knew when I saw the theme for this challenge that I had to use a pile of leaves for “jump“! I also think the best critters for that would come from Lawn Fawn of course! Can you see the little “wee” mouse jumping out from the pile?!
I started with a white card front by blending some blue inks in the background for the sky. I also used the Lawn Fawn Leafy Tree Backdrop: Portrait die to go over my ink blended sky background. The frame and tree were cut out from dark brown woodgrain texture cardstock. I used some green cardstock to cut the circle from the die set to place behind the tree as well as the LF Grassy Hillside Border die behind the tree and frame as well.
For the Autumn leaves pile and sentiment, I used the LF Jump for Joy stamp set/dies. All images were colored with Copics and I white heat embossed the sentiment over the ink blended sky. For the mice critters, I used the LF You Autumn Know stamp set/dies. For the little bunny, I used the LF Butterfly Kisses stamp set/dies. Some of the die cut images were just attached and others were popped up with foam tape for dimension. I actually wanted my pile of leaves to be larger, so I stamped, colored and die cut two of them. (I needed that little mouse on the right to be jumping out from the pile too!)
This was a fun one to make because I kept pulling out different sets to figure out which critters I wanted to use, but these cute mice get me every time. It makes me look forward to seeing the colors, sights, smells and sounds of Autumn coming. I hope you’ve enjoyed it too and I look forward to seeing all of the “jumping” that will appear in the gallery!
Thanks so much for stopping in today! Have a great weekend!
Challenges:
- Ally’s Angels – #97 Anything Goes
- The Creative Crafters – #91 Anything Goes
- Sweet Stampin’ – Animals
- Lil’ Patch of Crafty Friends – #260 Anything Goes
- Pammie’s Inky Pinkies – PIP2533 Anything Goes
- Creative Inspirations – Anything Goes
- Craft Rocket – #128 Animals