Hello friends! This will be a pre-scheduled post as I’m away for a bit, so this is going to be a very short and sweet post from me.
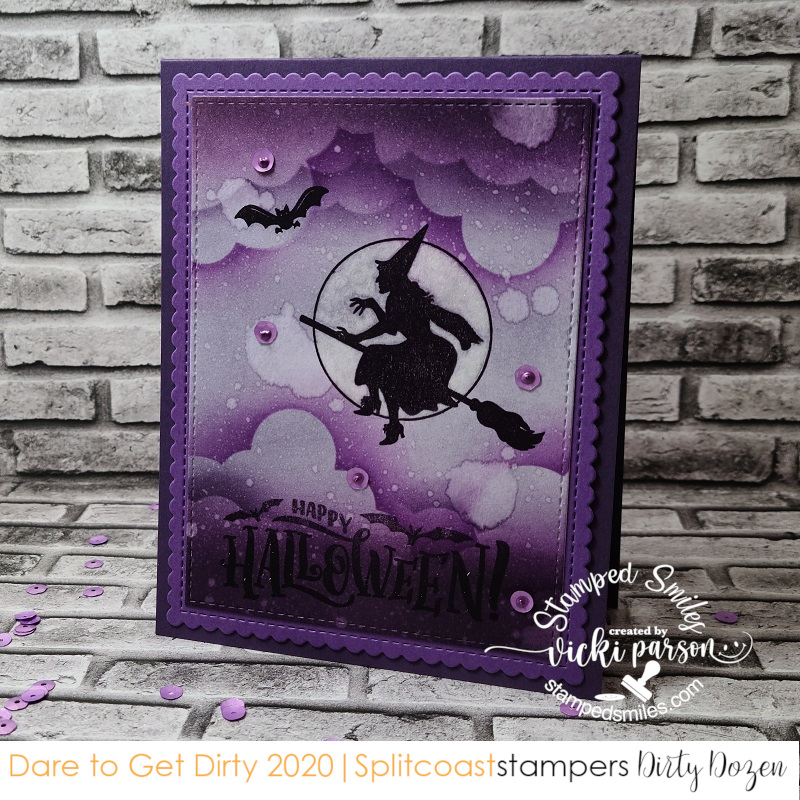
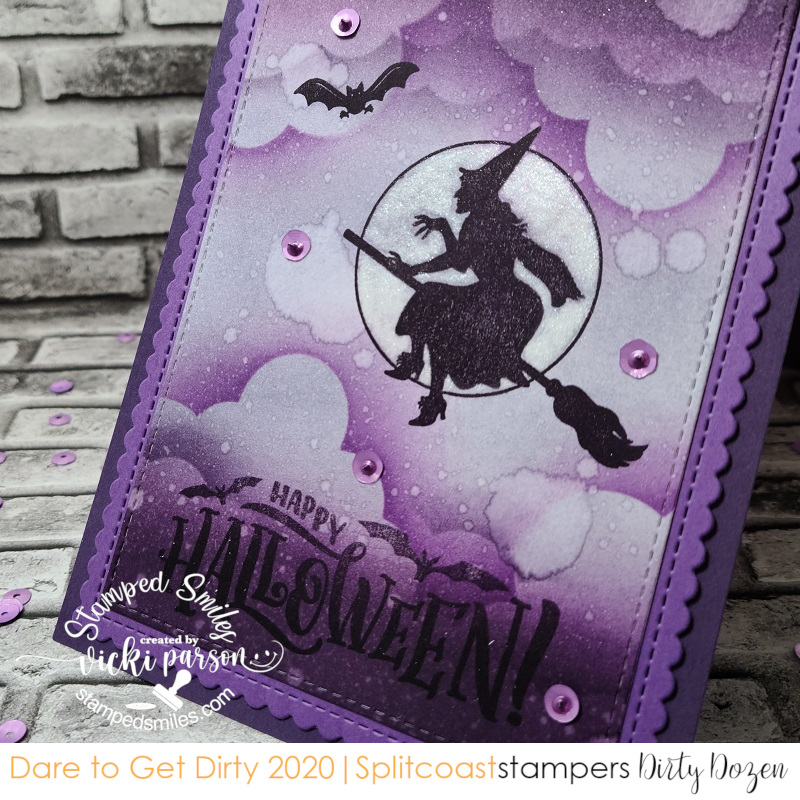
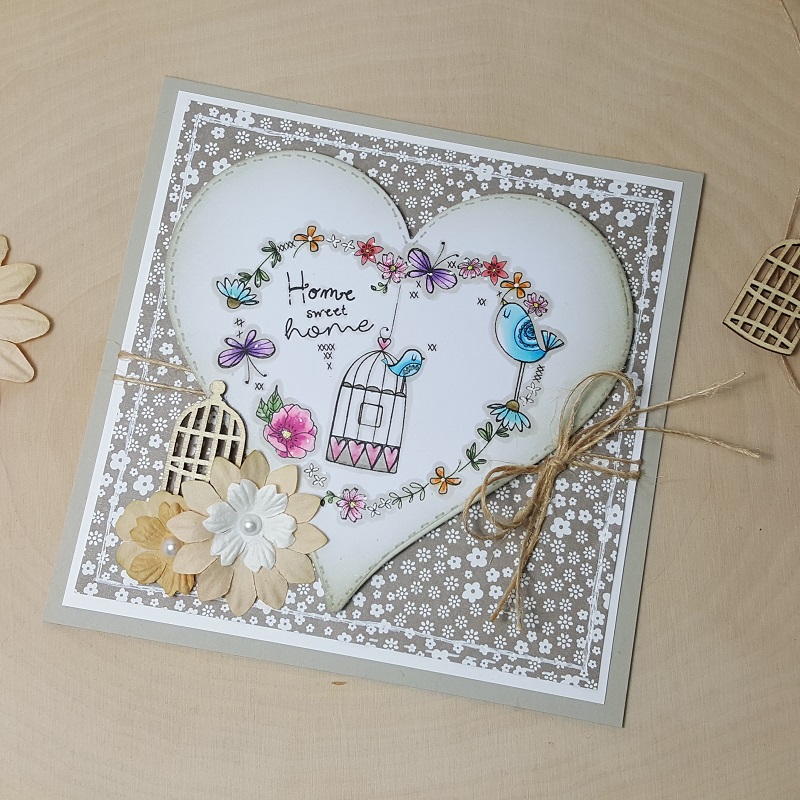
There is a new challenge today over at the Alphabet Challenge Blog! Our next letter is ‘H‘ and the hostess has chosen “H” is for HOME *Remember that this is a bi-weekly challenge, so you have two weeks to enter* I hope you will find some time to play along! Here’s what I’ve created:
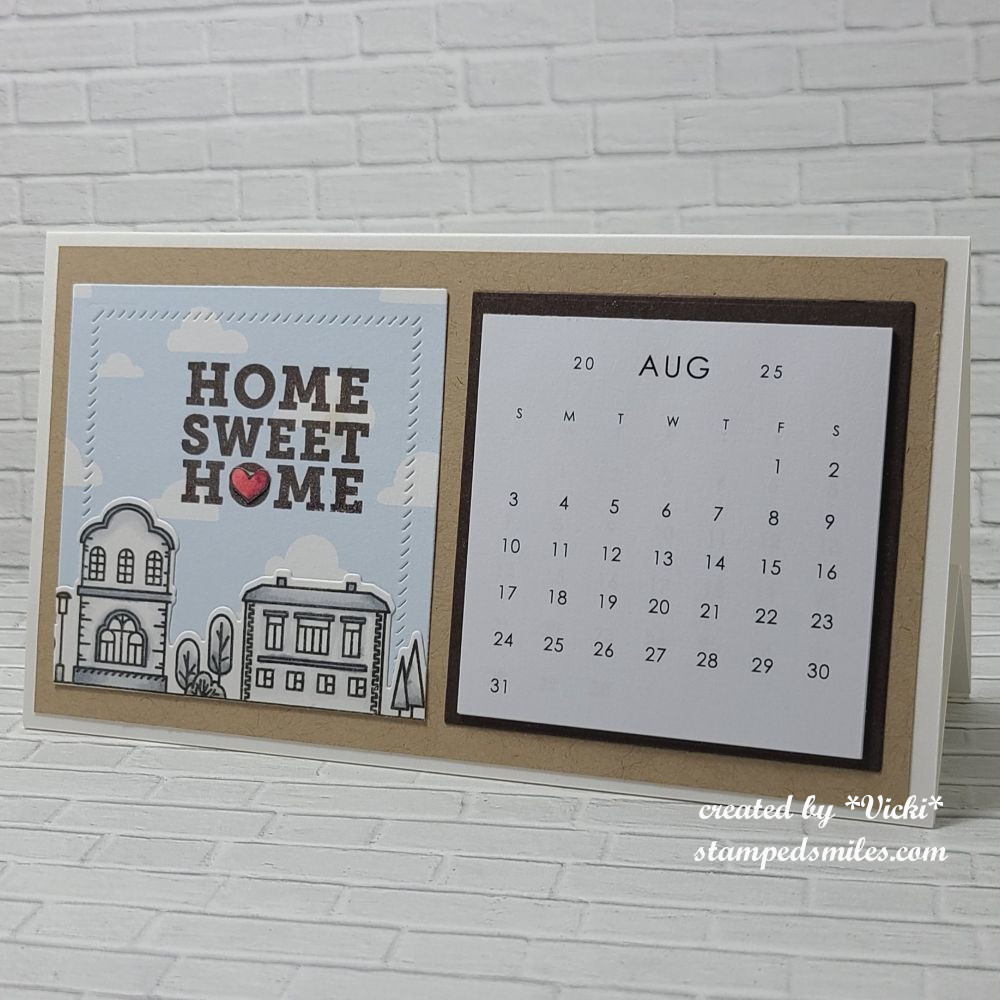
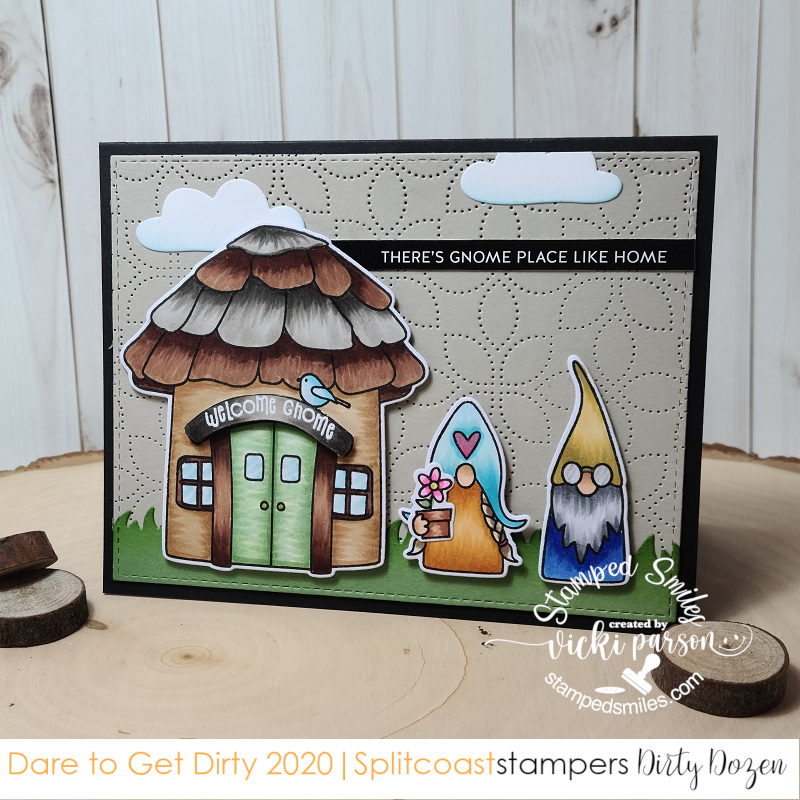
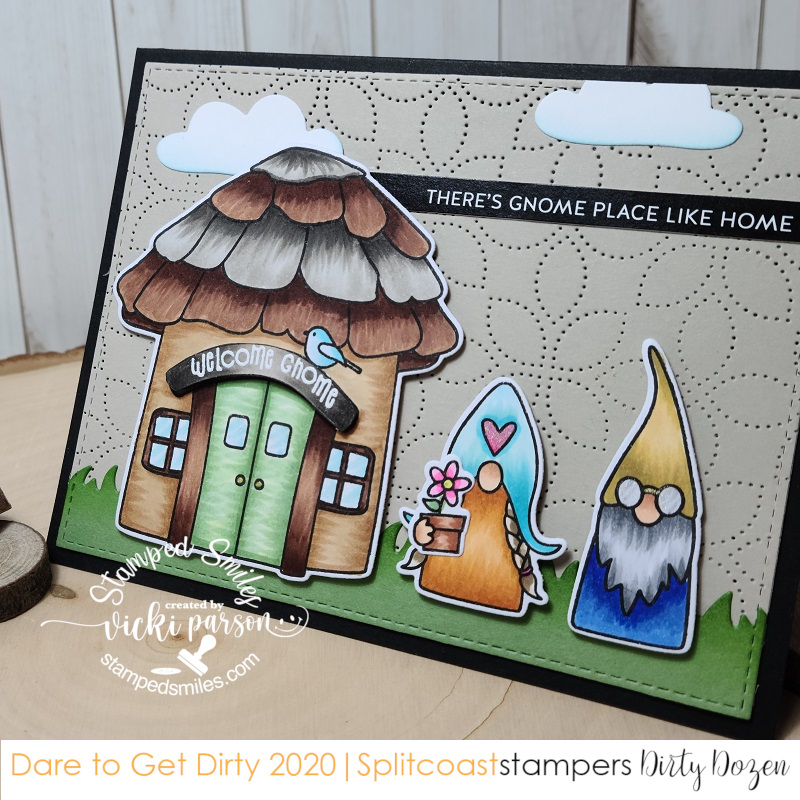
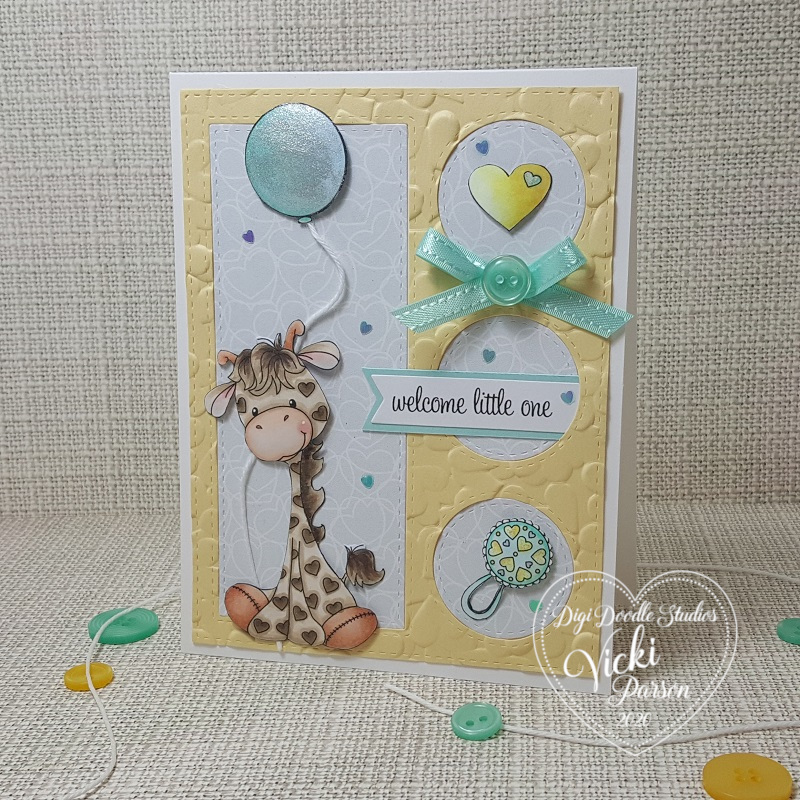
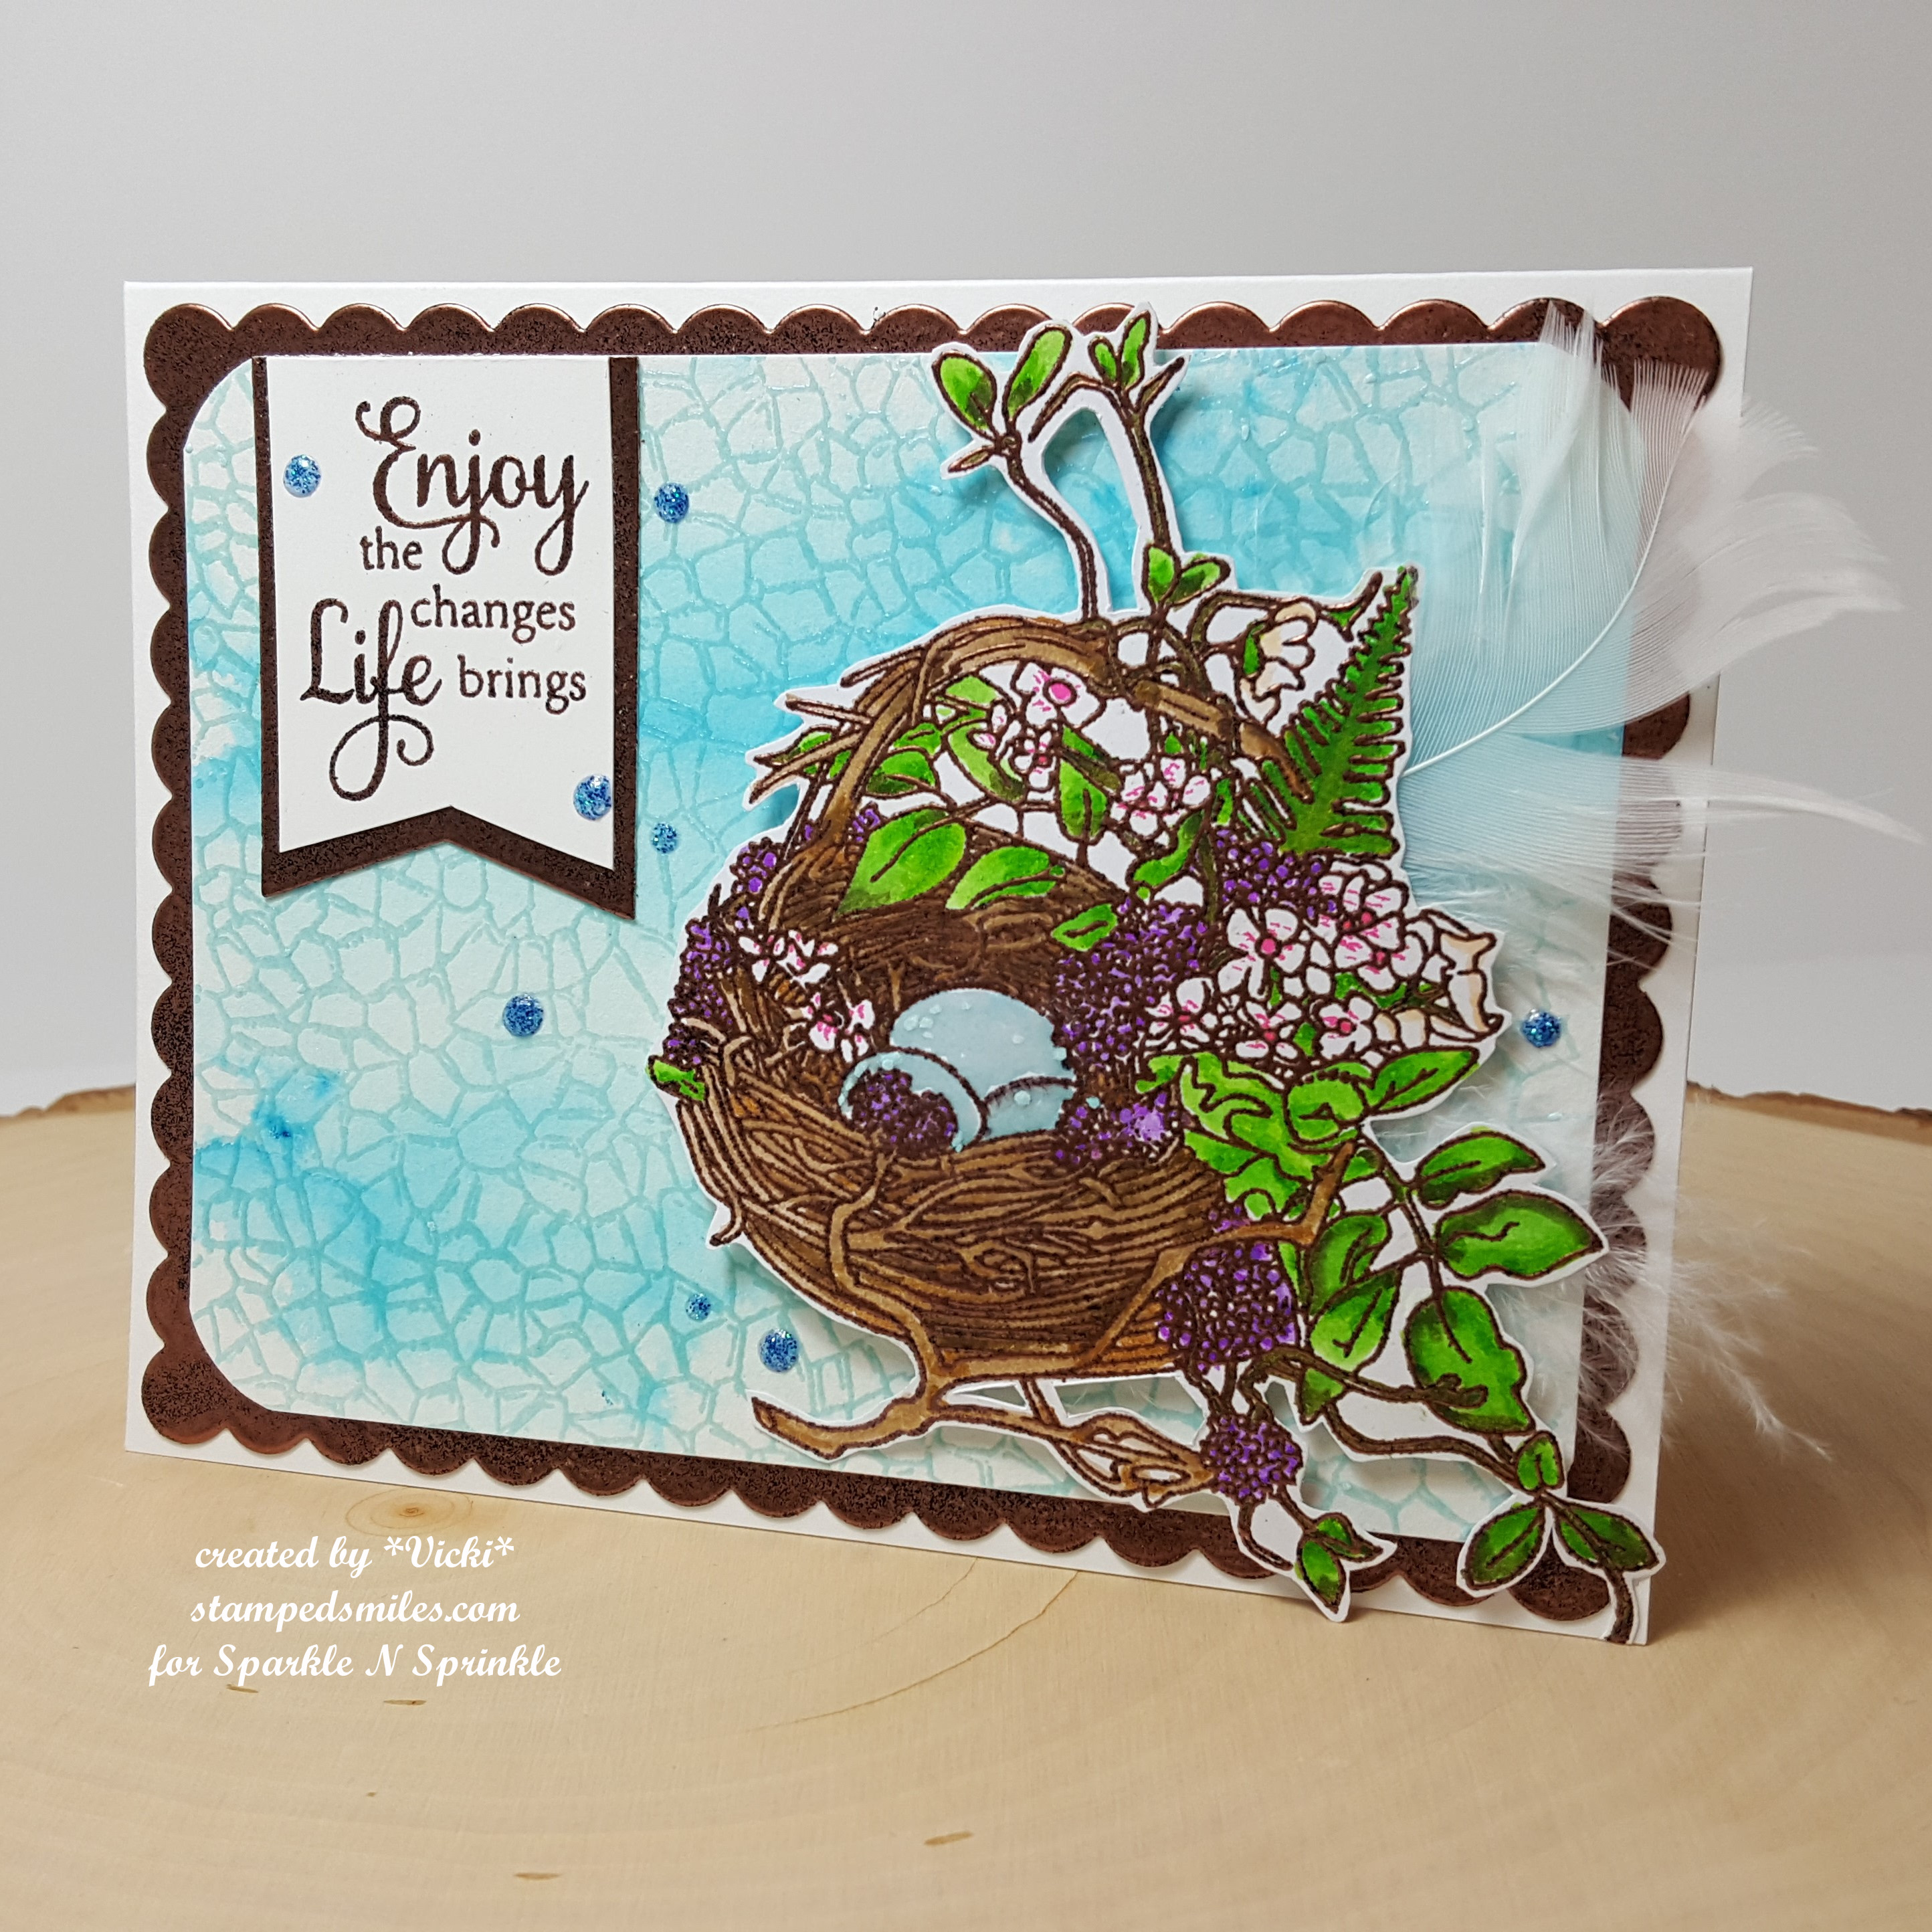
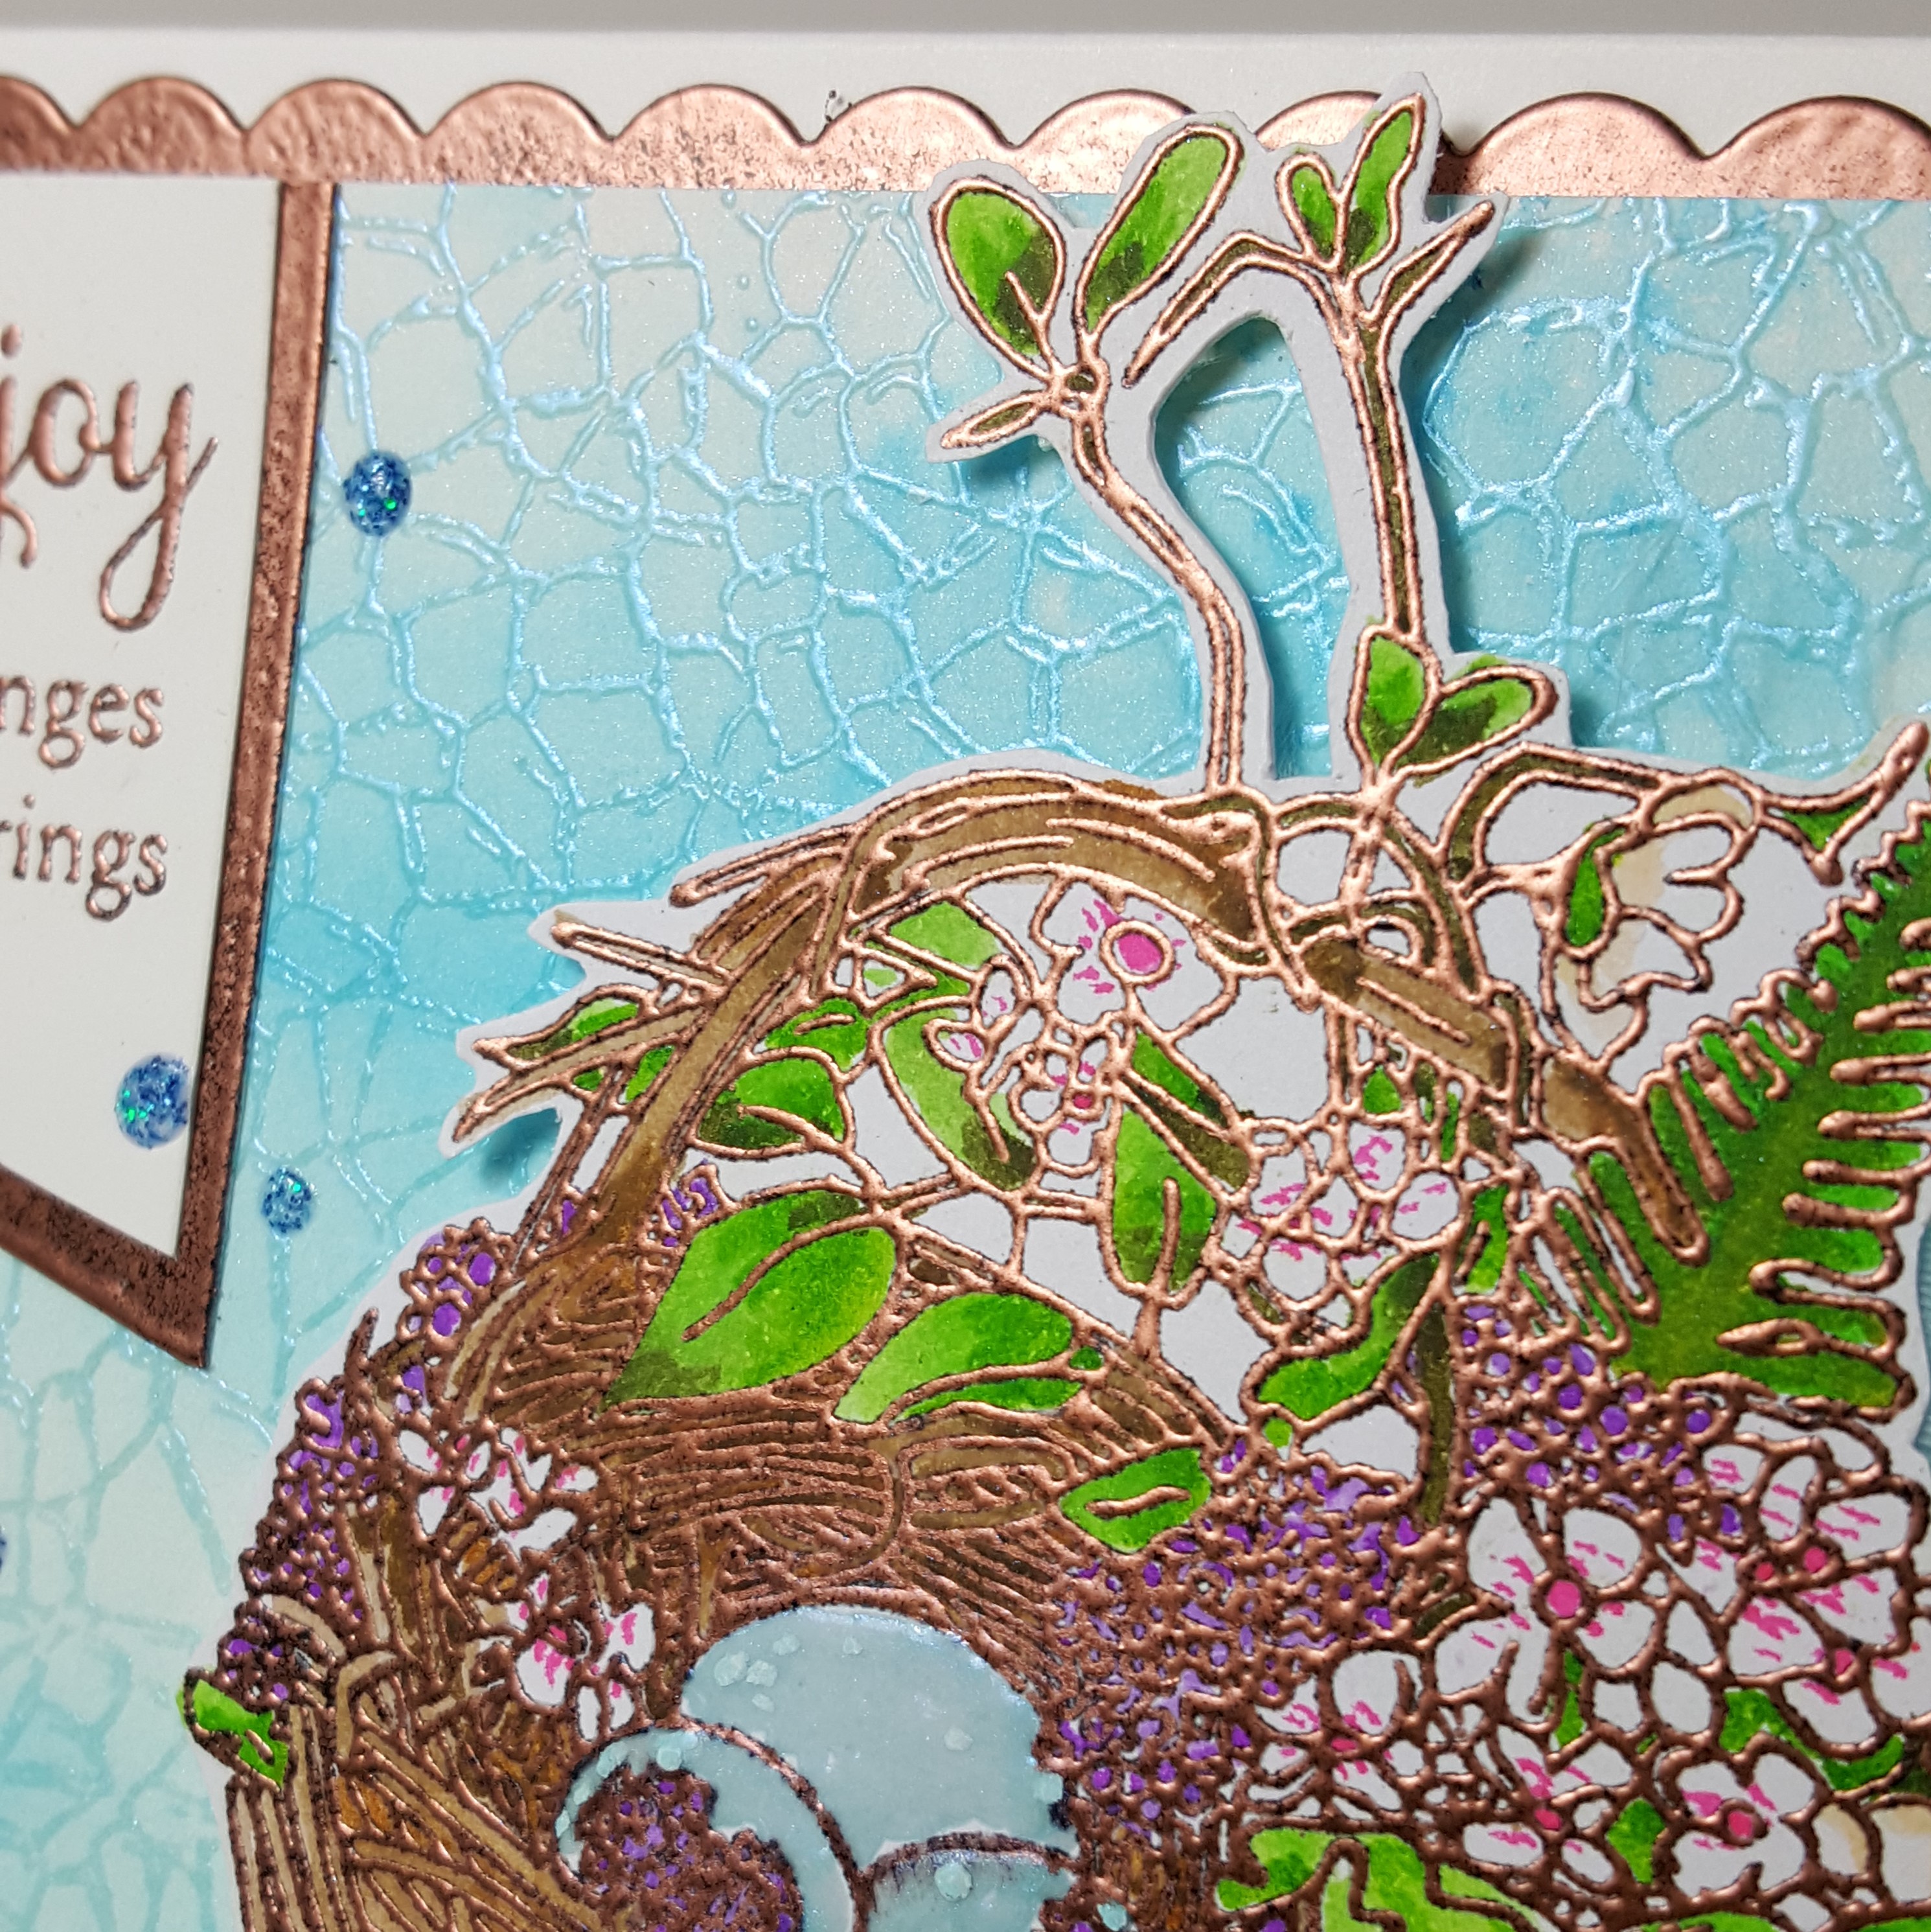
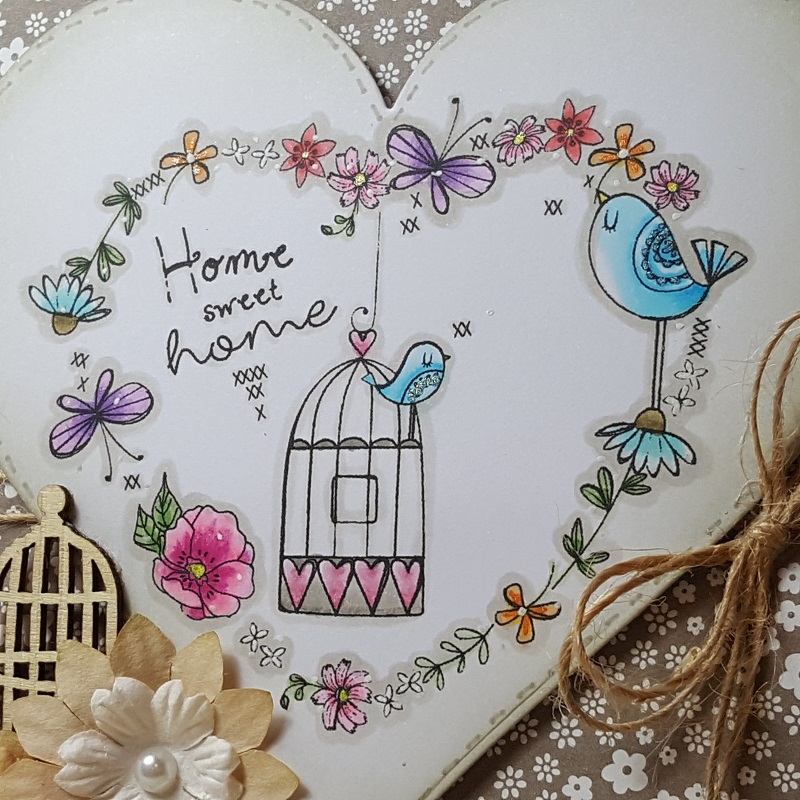
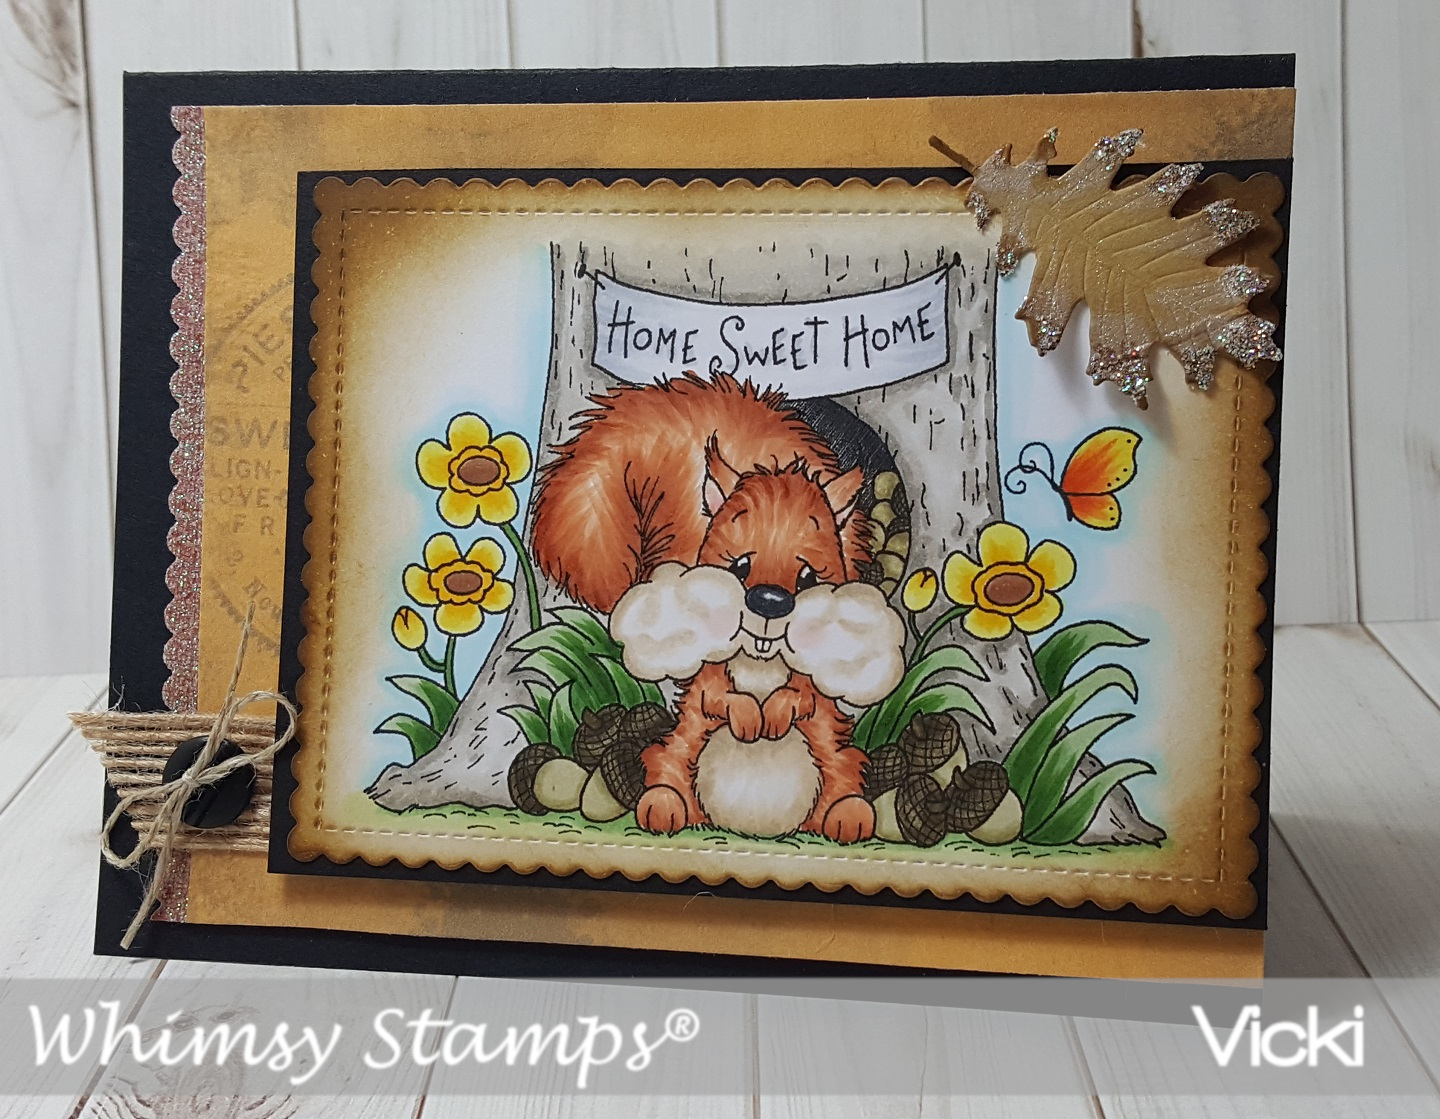
I have pulled out an older card kit from Simon Says Stamp called “Home Sweet Home” and used some of the cloud papers that came in the kit along with the stamp set to make my little square on the left.
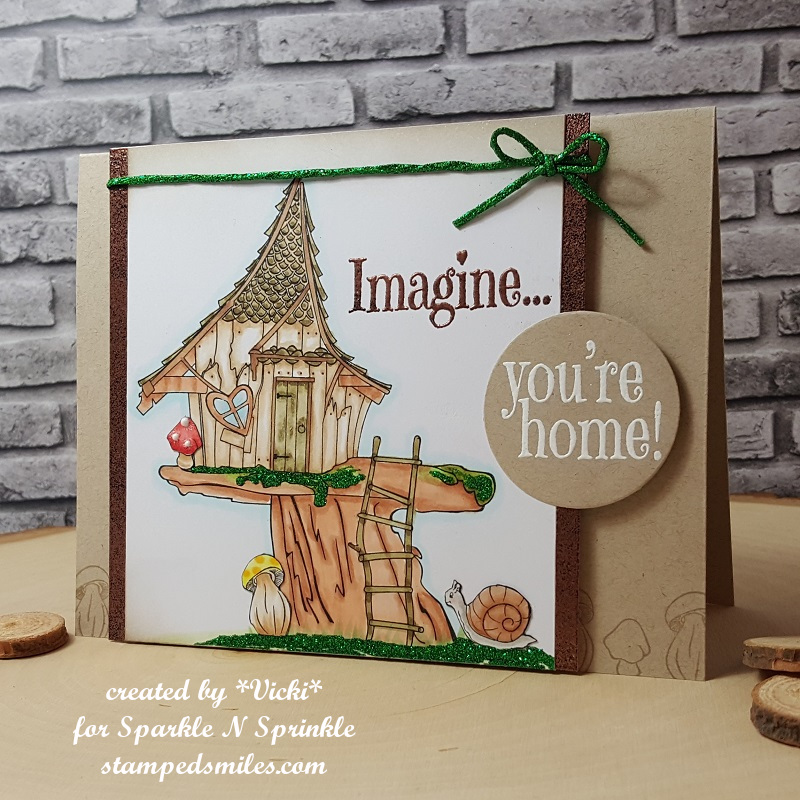
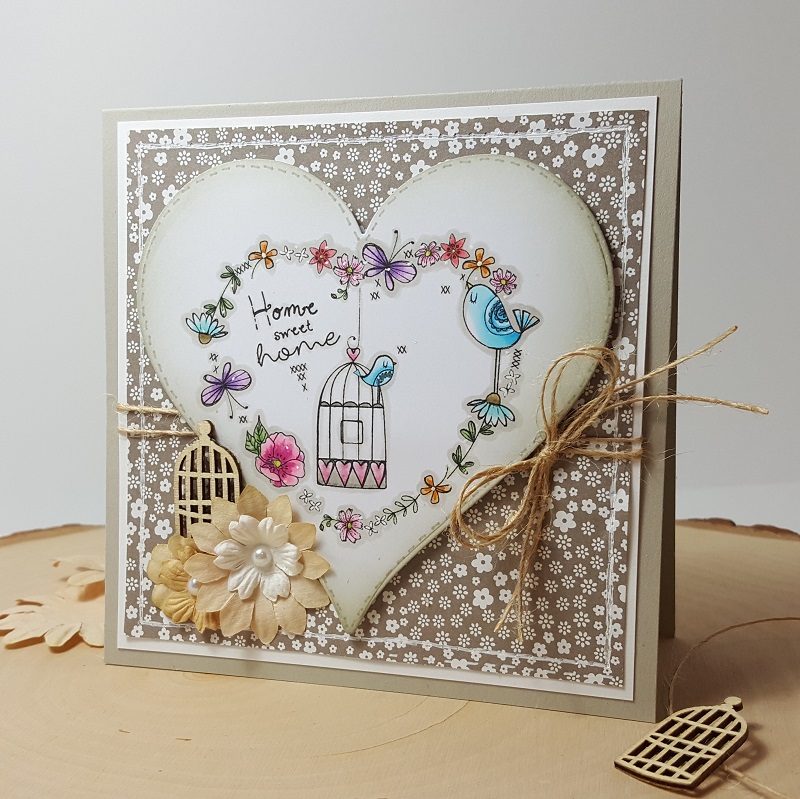
This is a mini slimline sized easel calendar. It folds flat for mailing and then sets up with a base at the bottom. (I figured a message could go on the back.) I got the Square Calendar Tear-Offs as well as the Landscape Calendar Table Tent Base from Taylored Expressions. The “slash marks” on the home sweet home square also came from the TE Square Tear Off Calendar Stacklets Die Set which is how I was able to cut out the square to fit onto the design too.
Obviously, I have August 2025, but I also have 2026 calendars that I will have to replace for the new year. I really love making these calendars every year to give as gifts and I thought it would be nice for someone moving into a new home as well.
- Thanks so much for dropping in today! I hope you will take a look at what the design team has for inspiration and join in the challenge with us!
- I’ll have another scheduled post for tomorrow to share my monthly Art Journal Page.