Hello friends! I had a day of some crafty fun and wanted to share things I’ve made for some challenges. I absolutely love the red, white and blue colors. Most of the time it’s associated with patriotic colors and July 4th Holiday, but I’ve decided to take not just the colors, but the theme using one stamp set and a sheet of paper to create different looks with it.
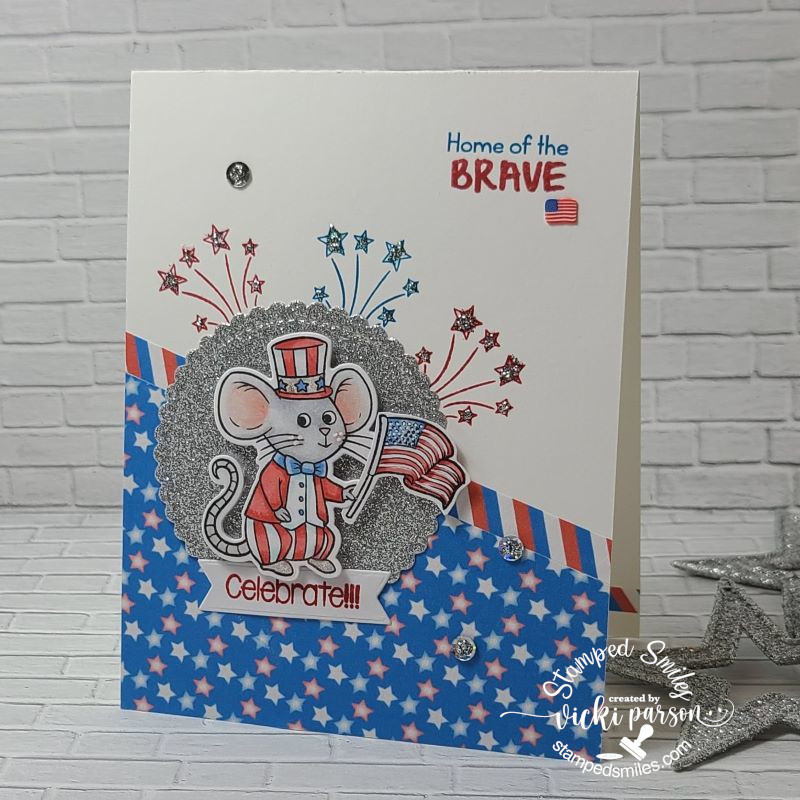
First up is this really cute mouse waving his flag with a fun patriotic theme…which is what this new stamp set from Inky Stamper (called Americana) was intended for. I printed out some freebie papers and used them on all of my cards here today. I colored Ralph up with Copics and popped him up on a scallop circle silver glitter cardstock and stamped the sentiments and stars with red and blue inks. I also added some sequins from the Stars & Stripes sequins mix at Inky Stamper and added some silver Stickles in the centers of those as well as the stars. I also added one of the flags from the sequins mix next to the sentiment at the top. (I’ve used these on all of these cards too.)
I’ve made this card for SCS Teapotter Tuseday challenge as a Patriotic Congrats card for someone in the military whose been promoted to Colonel, so this worked out really well for sending this one out.
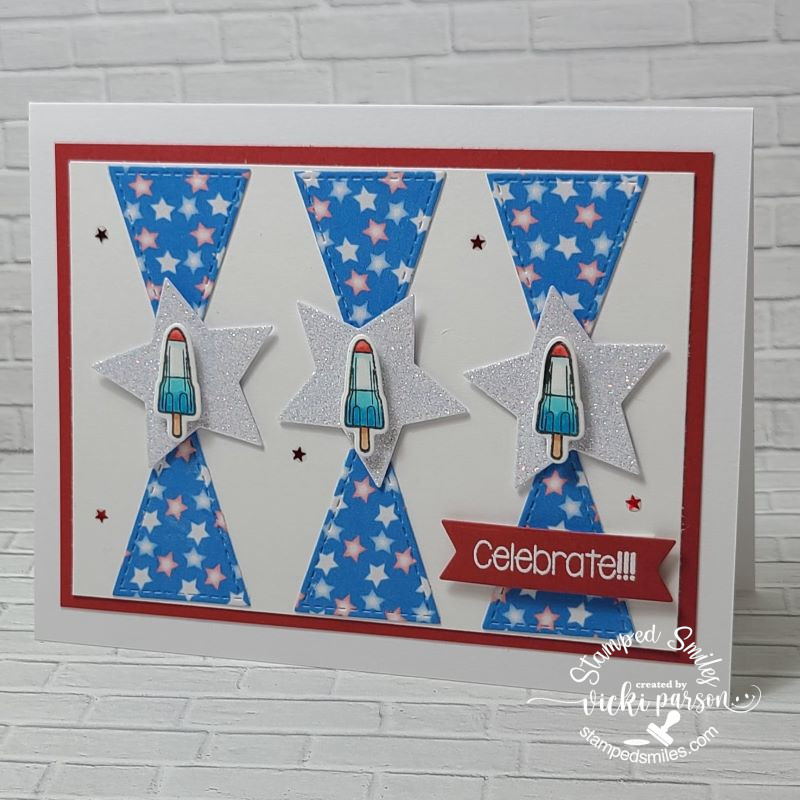
For this card, I wanted to share that a teeny tiny image from a stamp set can be fun to use in a different way as well. I took the “bomb popsicle” image that was stamped and colored and popped them up with foam tape over die cut stars from white glitter cardstock. I’ve used some more of the freebie papers and added a sentiment that was white heat embossed over red cardstock and cut out with a banner die. The tiny red stars came from that sequins mix I mentioned above.
I made this card based on a sketch for a challenge that I wanted to enter before it ended too. (Check it out in the challenges listed below.)
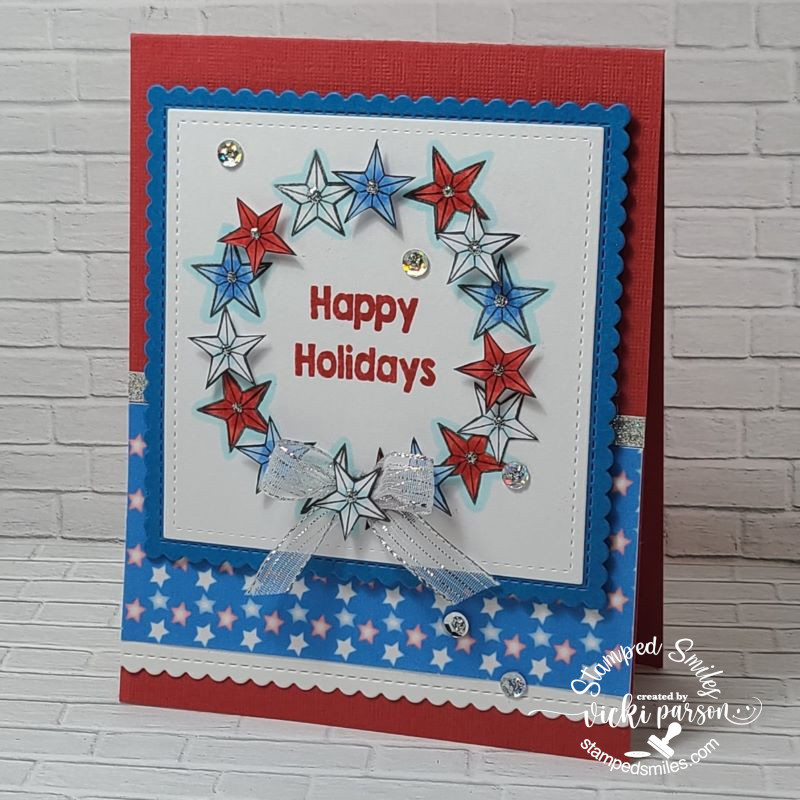
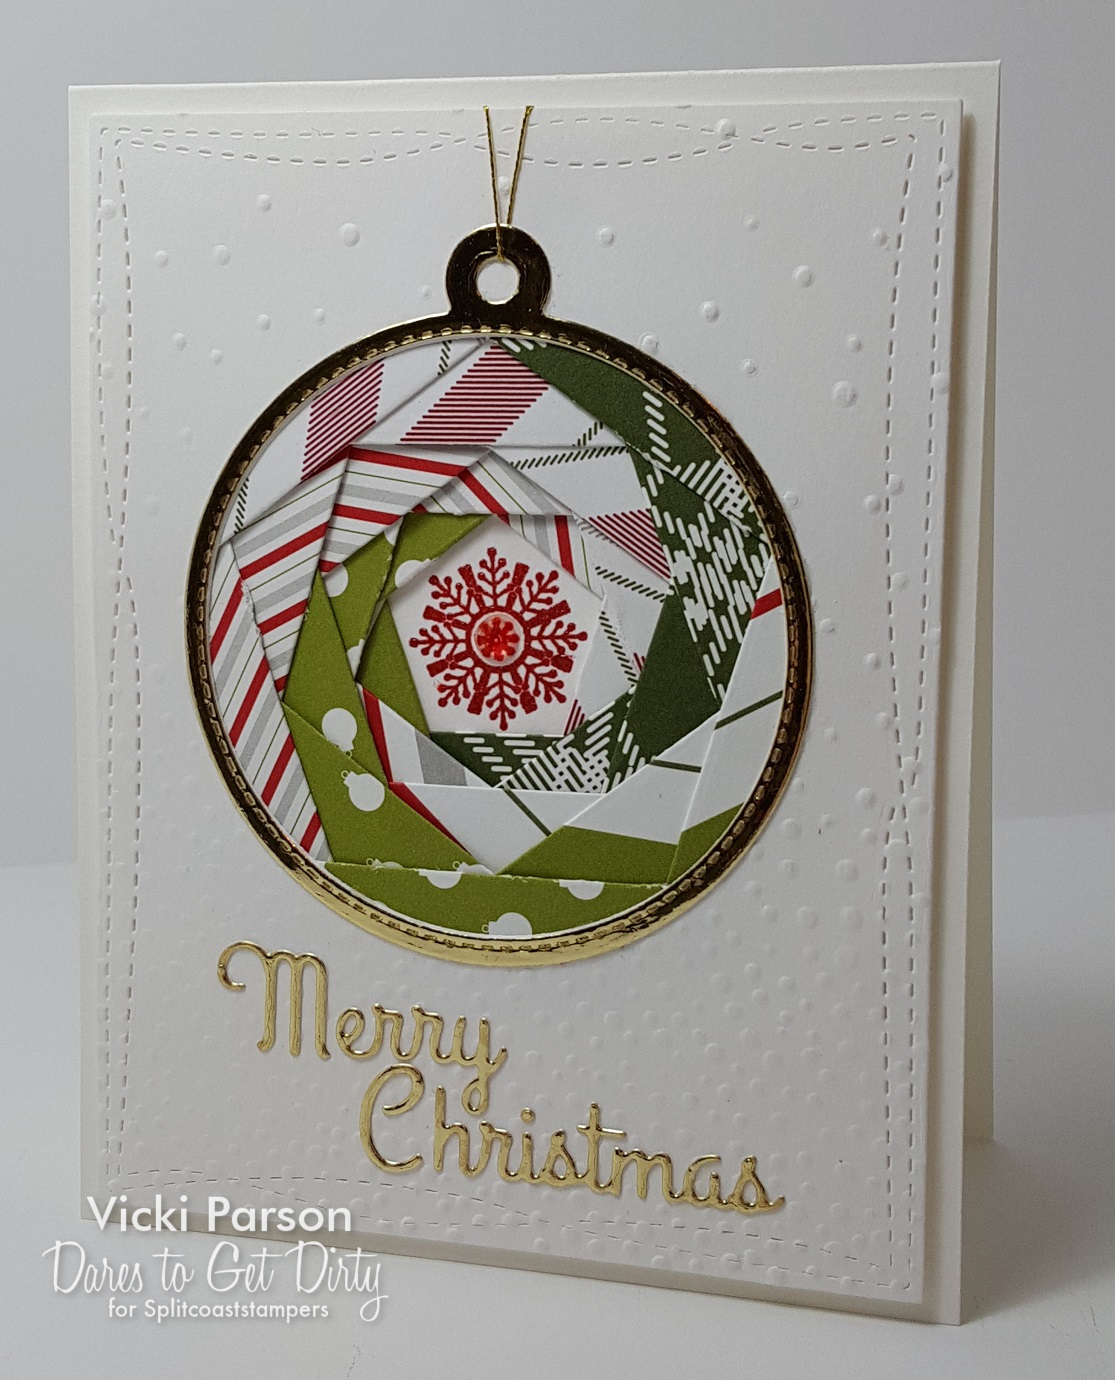
And lastly using this same stamp set, freebie papers, sequins mix and color theme, I made a Christmas card with it. I took the little star image from this stamp set and stamped it several times, colored it in and fussy cut several of them out. It’s not that bad when you’re cutting and watching videos while you do it!
I took a circle die and traced a circle with a pencil so that I would have a guide as to where to create my wreath. I stamped a few stars directly on the circle area and then erased the line before I colored them. the other stars that I fussy cut, I glued some on and popped some up with foam squares. I also added an extra star in the center of the silver bow on the wreath.
I added some silver sequins from the same sequins mix mentioned above and then placed some silver Stickles in the centers of them as well as in the center of the stars.
These were so much fun to make with all of the same products and color theme to challenge myself with. I hope you’ve enjoyed them too or been inspired in some way. Thanks for dropping by!
Challenges:
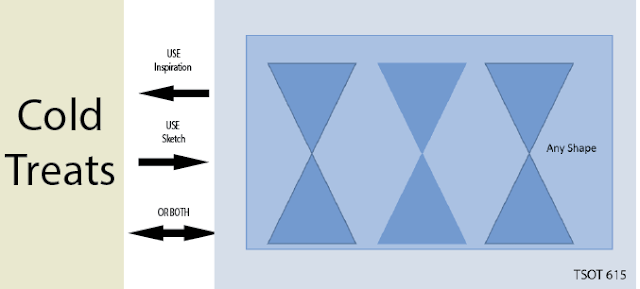
- Try Stampin’ On Tuesday – sketch + cold treats (card 2)
- Crafting Happiness – Anything Goes (card 1)
- Four Seasons – Anything Goes Summer (card 2)
- Crafty Animals – Anything Goes with animal (card 1)
- Critter Crazy – Anything Goes featuring animal (card 1)
- Pearly Sparkles – Christmas in July (card 3)
- Crafty Calendar – Anything Goes (card 1)
- Challenge Up Your Life – Patterned Paper (all cards use papers)
- The Paper Fun Day – Anything Goes optional: red, white & blue (all cards)
- Try it On Tuesday – Use 3 colours (red, white and blue)