Hello friends! I hope that you’re staying cool and having a great weekend so far! This is another pre-scheduled post from me again as I’m away for now. So glad you’re here!
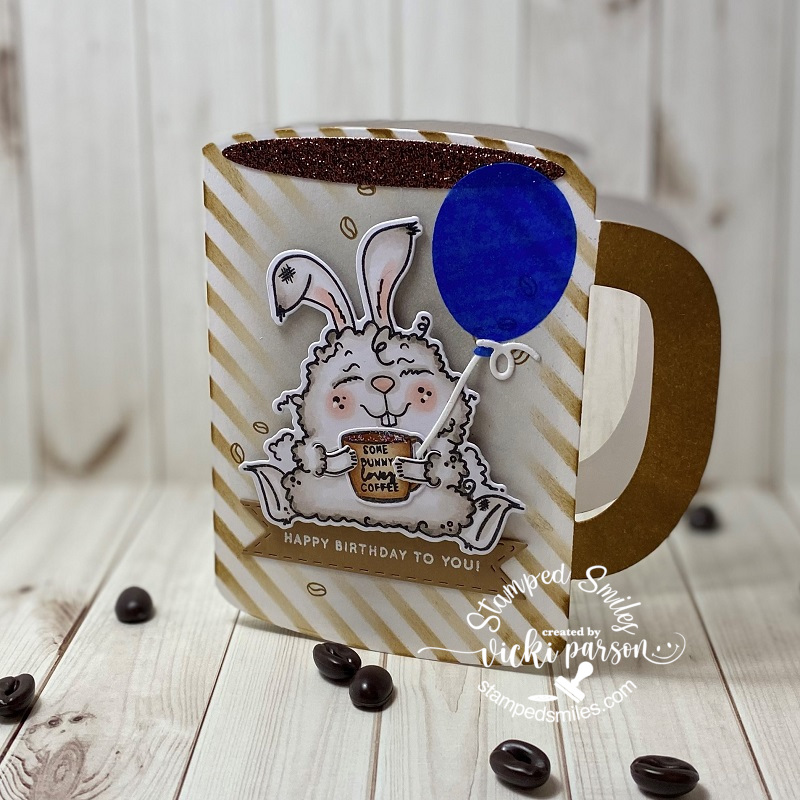
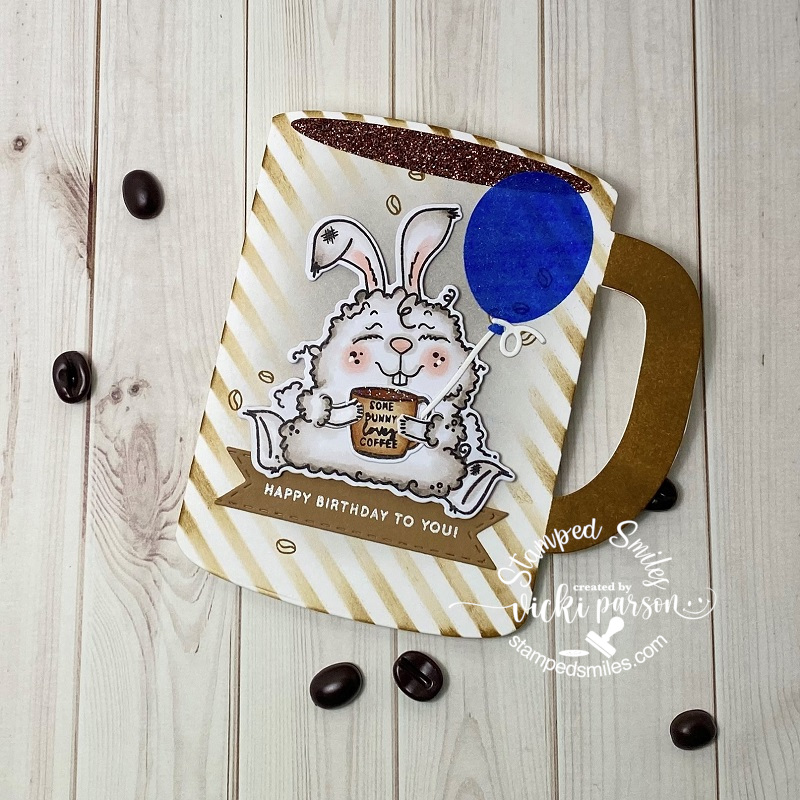
Today starts another monthly AJ page with my crafty friend Carol (from Crafty-Stamper) who is collaborating with me to “SMASH OUR STASH”! We get creative trying to use up our never-ending stash piles along with a prompt for each month. I know she always has great inspiration to share, so please check out her blog too! Here’s my AJ page with the “SMASH OUR STASH” JULY prompt of “ACROSS THE OCEAN”:
At one point I was going through my extremely large stash of card kits and realized how crazy it was that I had SO many mermaid/under the sea type of card kits/stamps, papers, etc. So I didn’t have any problem finding something from my stash for this prompt!
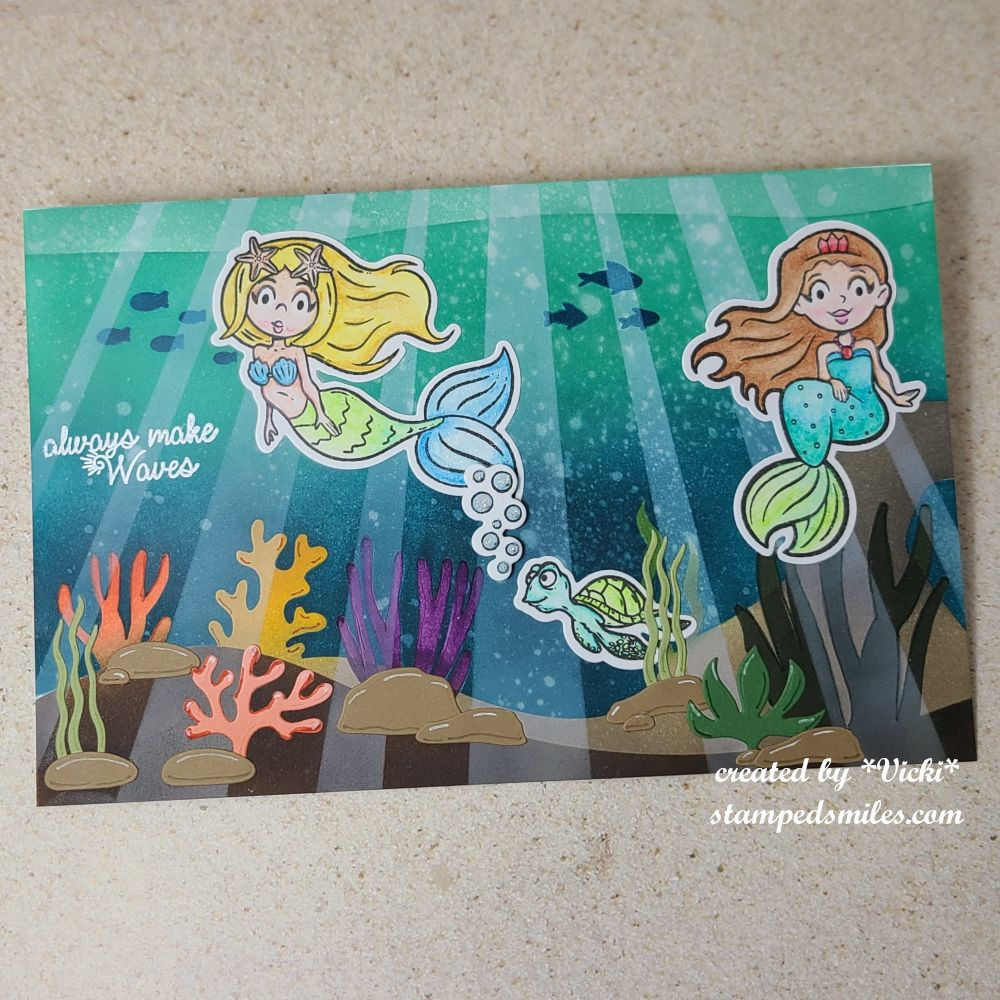
For the Background: I started with my usual size of 8.5″x5.5″ with Bristol Smooth cardstock this time. I wanted to do some ink blending with a large 6″x9″ layered stencil that I got from Trinity Stamps. I’ve used several different ink colors to create the underwater scene with the stencils. I had lots of fun with it. I then used some of the masks in the set and spritzed some water over it for the bubble effects in the “water”. The “light beams” came with the stencil set and I just used white ink for that layer.
I thought since I was using water, that I would watercolor the images from an older mermaid card kit that I had from Brutus Monroe. I die cut those along with the turtle and bubbles. The sentiment came with this set too and I thought it was a wonderful saying, so I white heat embossed it on the page.
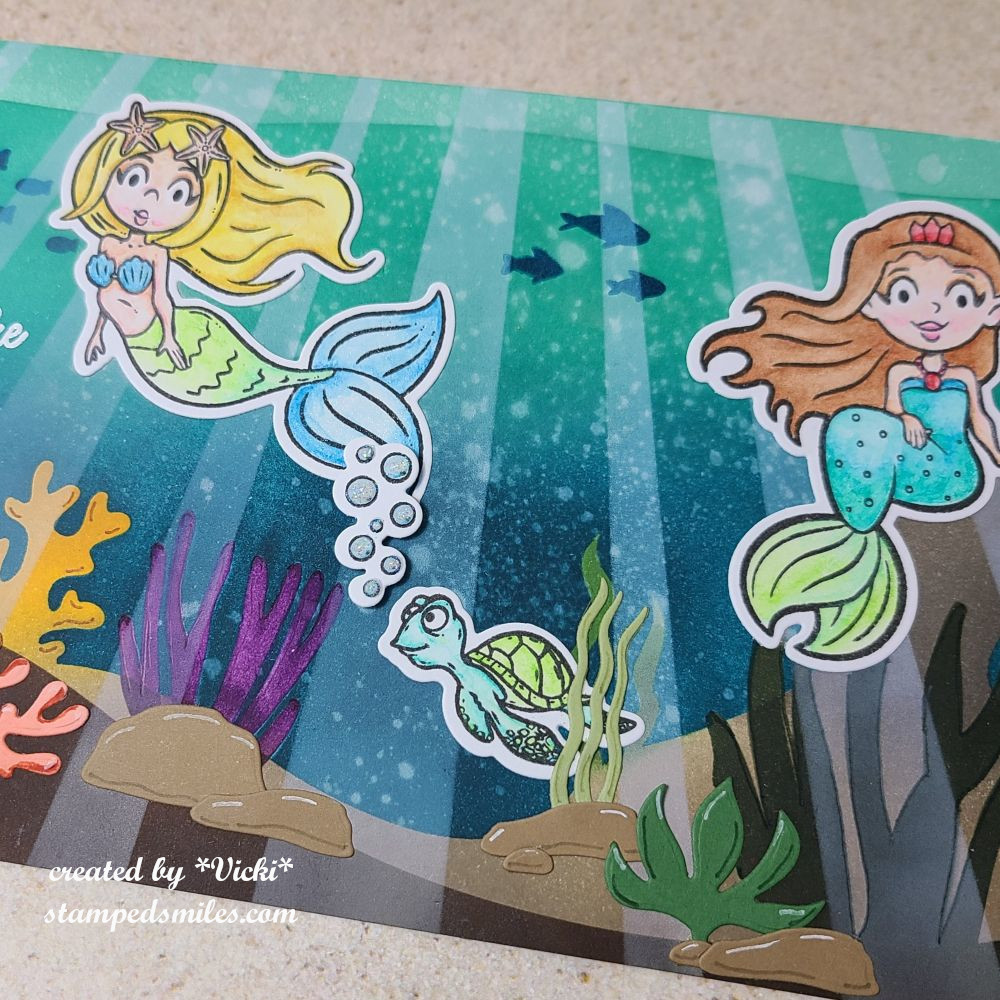
I also had an “Under the Sea” die set from My Favorite Things (store closed) that I cut a few pieces from to add to the scene at the bottom. I took a gel pen and markers to add details to some of the ocean floor botanicals/rocks and then a glitter brush pen on the mermaids and glitter glue over the bubbles above the turtle to finish it off.
- Hope you’ve enjoyed my Art Journal Page today! Thanks so much for dropping by and spending some time with me! I’ll be back later next week to see what you’re all up to! See you soon!
Challenges:
- Art Journal Journey – Botanicals (Hope seaweed counts!)