Turtley Impossible

Hello friends!  I really wanted to post earlier this week, but life sometimes gets in the way of all of the crafty fun that you want to do as I’m sure you know! 🙂

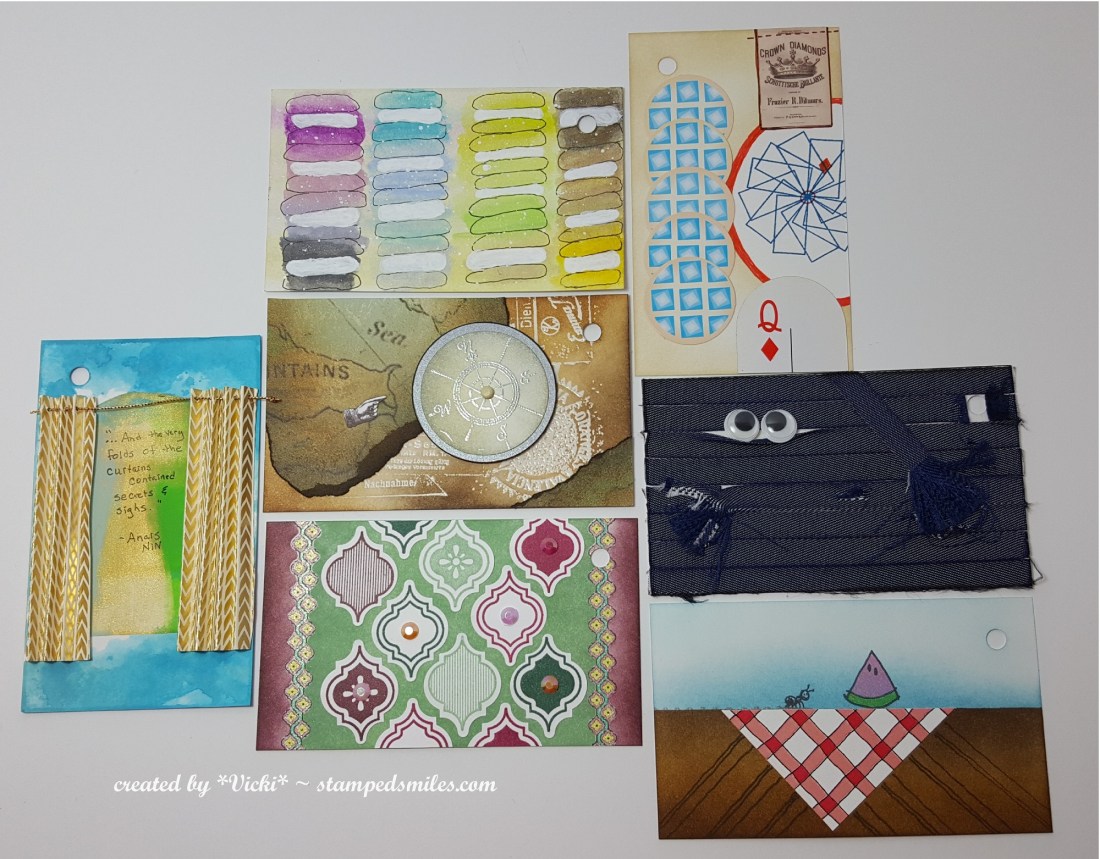
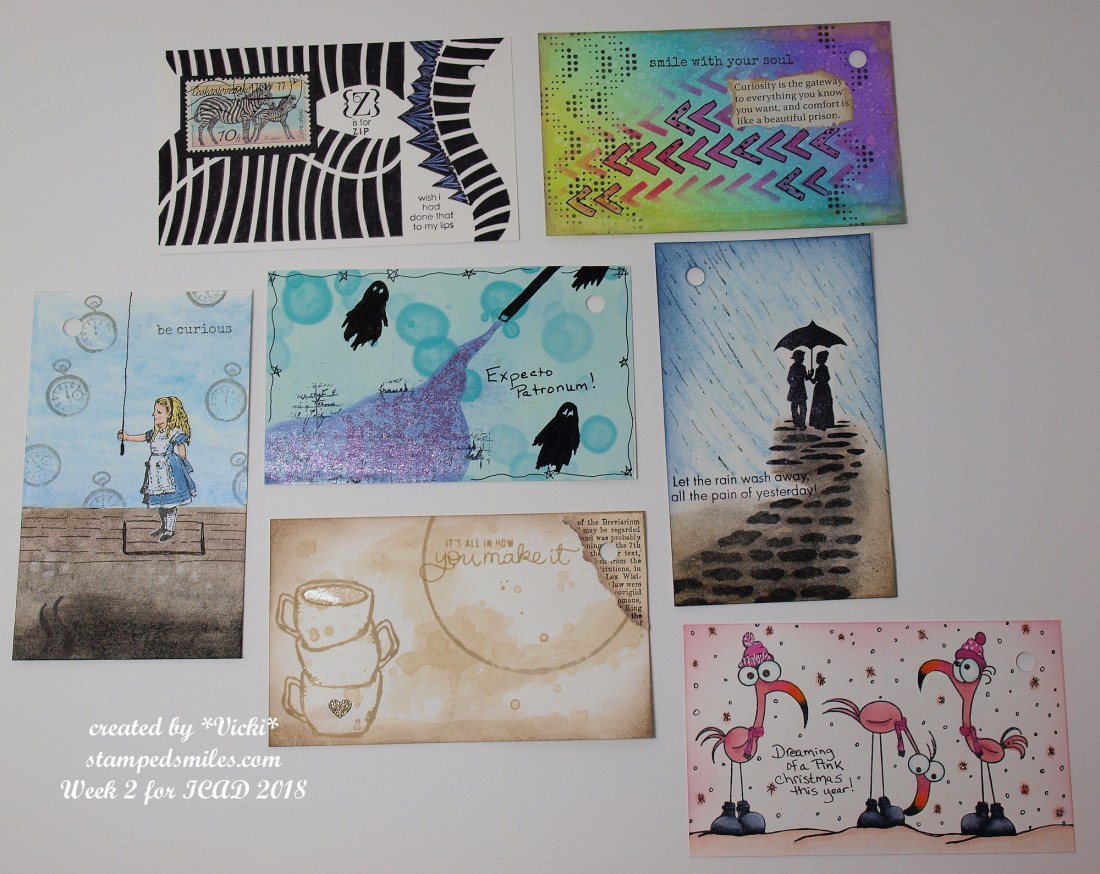
If you remember earlier this Summer my post about the fun stamp convention I went to in Collinsville, I shared a photo of the TONS of things I got while I was there.  I still haven’t been able to play with all of it…yet, but there are a couple of companies that I fell in love with, so I decided to place an order for some things that I wished I had gotten while I was there! LOL!

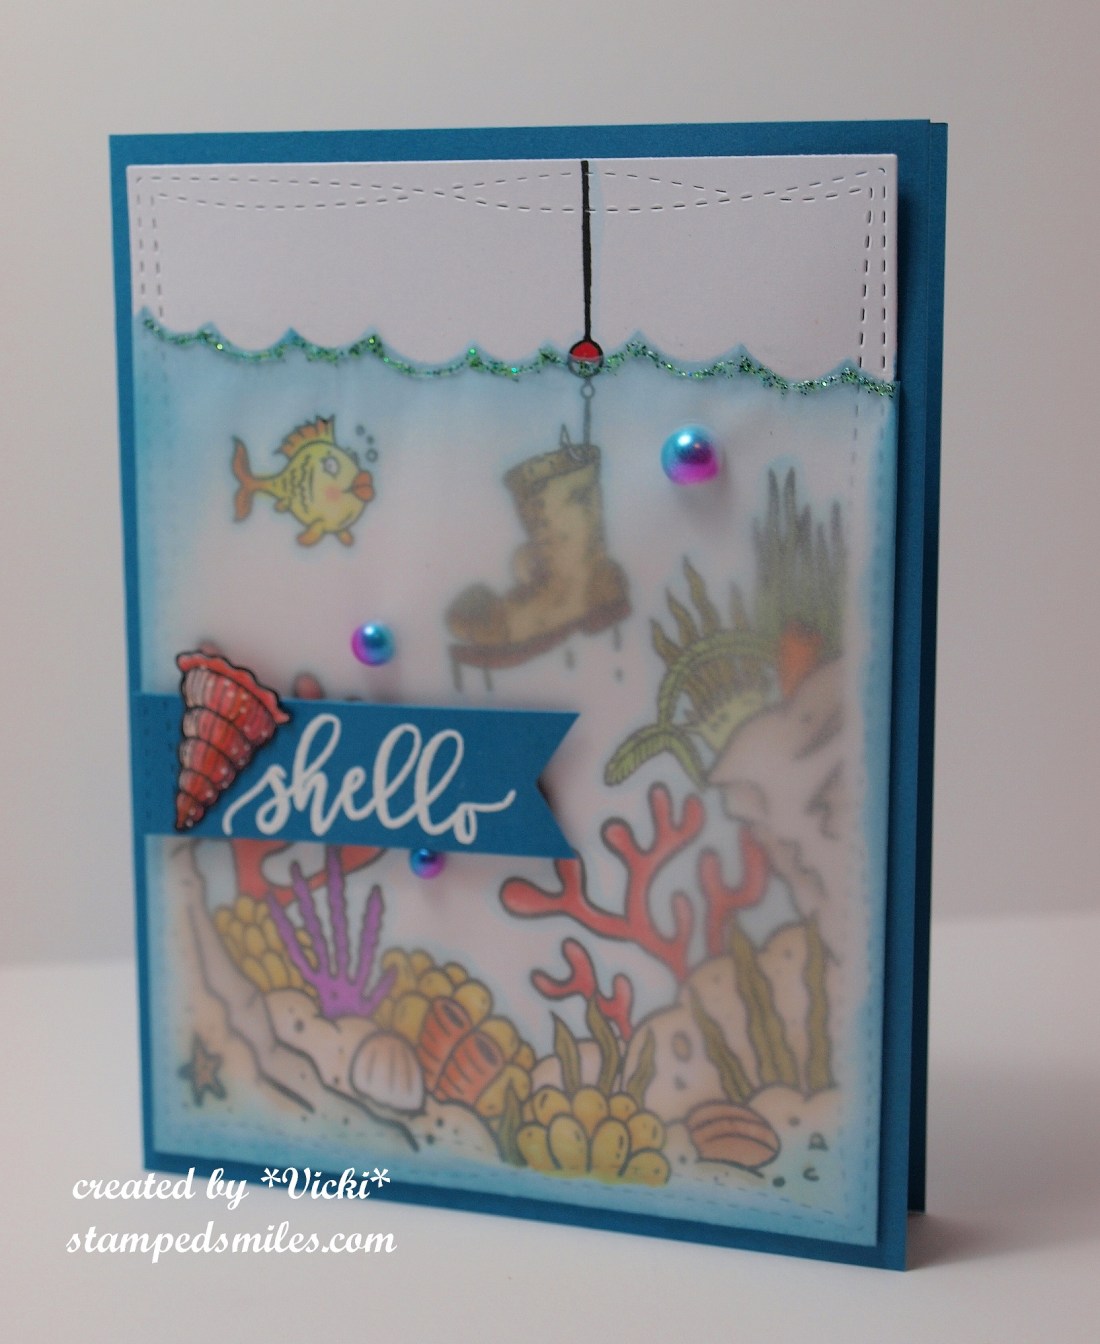
This “new to me” company called Pink & Main was a booth that I went to and bought some items from.  I had seen a video last year of something that I fell in love with and was determined to purchase that while I was there.  I started following along with them and fell in love with these sweet turtles that I’ve used on my card today:

Vicki-Impossible Card-PM

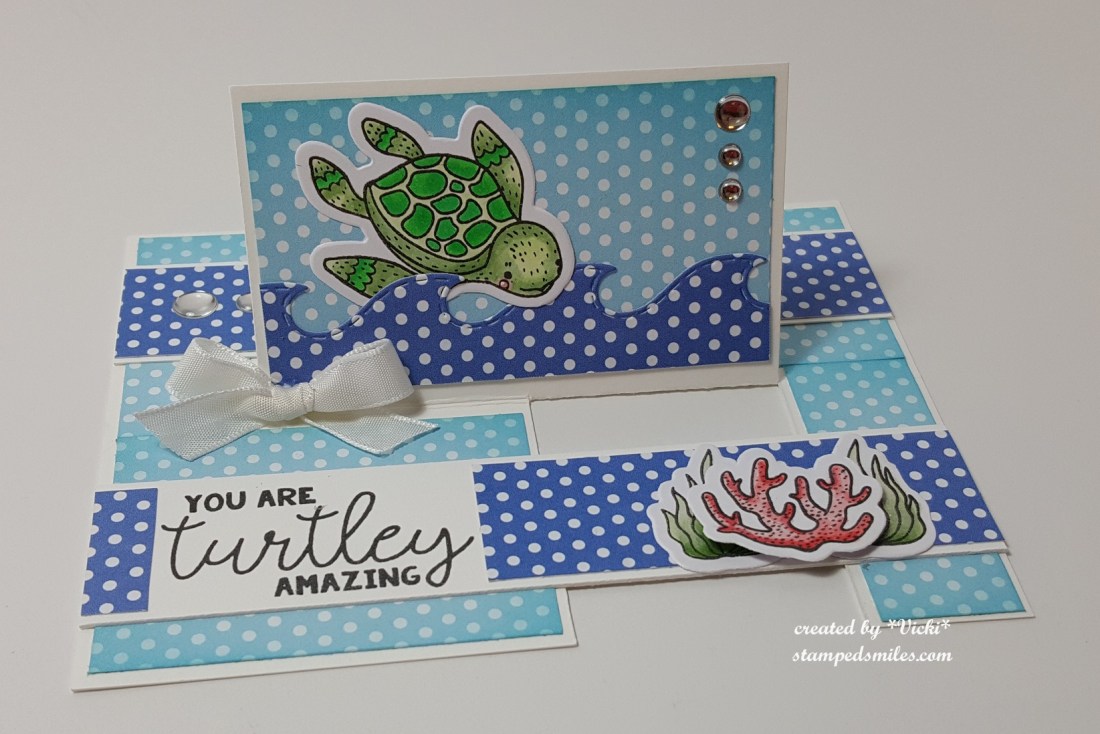
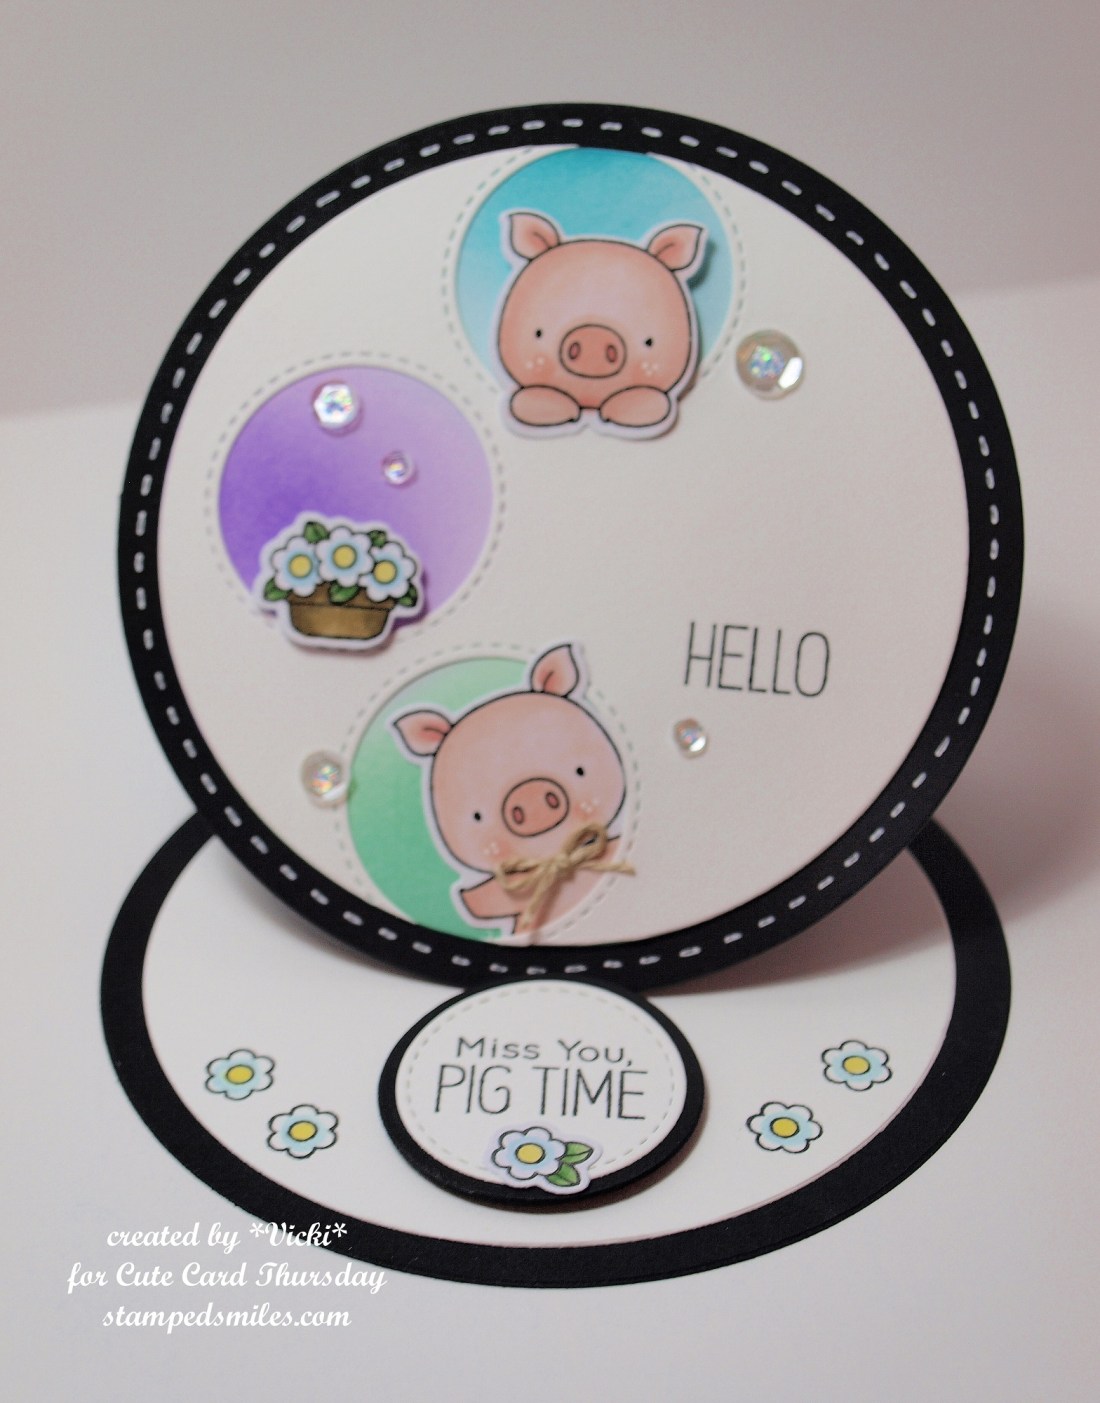
Before I get to the details of this card, I wanted to explain what type of card this is.  There are many challenge blogs I like to follow because I enjoy challenging myself while paper crafting as many of us like to do.  So I came across this challenge that was asking us to make an “Impossible Card“.  (I have linked a tutorial that I found on Splitcoaststampers if you want to learn how to make one for yourself.  Just click on the card name.)  I had not seen nor heard of one of these before, so naturally I had to play along!  What I like about this card (NOT impossible at all…so easy!), is that the center panel naturally pops up like that AND you can fold it down to lay flat in a regular A2 sized envelope!  (You can create different sizes and such, but I kept mine simple.)

To decorate this card, I’ve taken the very cute Pink & Main Turtely Amazing stamp set with the coordinating dies to color with my Copic markers and cut them out.  I’ve also used the Pink & Main Sunset paper pad as well as the Waves Border Dies to decorate the background scene.  The white strips that I’ve used for stability on the card was stamped with the sentiment from the same set and then layered with the blue polka-dotted paper around it.  I added the cut elements and layered them on top of the strip.  For the main popped up panel, I’ve taken the cut out turtle and layered him among the cut wave border at the bottom.  I then took some of the Pink & Main Silver Glossy Dots to embellish the upper corner.  I also took some ribbon and added a bow just below the turtle.  For the light blue polka-dotted papers, I sponged some blue distress ink along the edges for a bit more color.

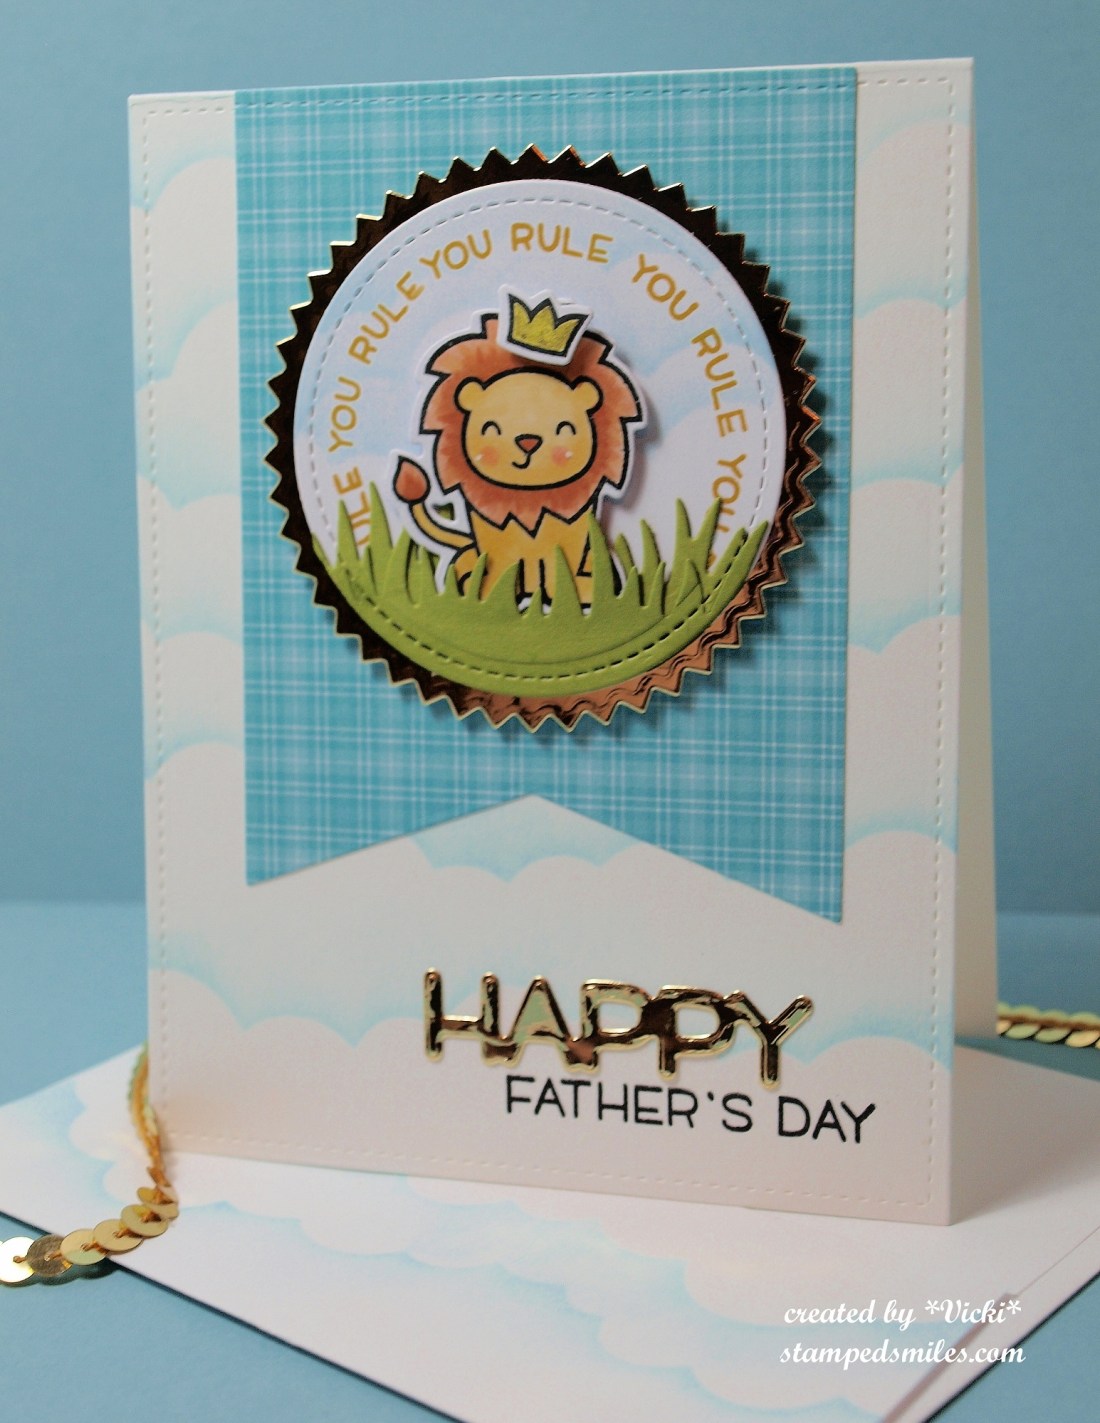
And since you can completely turn this card around, I wanted to decorate the other side as well:

Vicki-Impossible Card2-PM

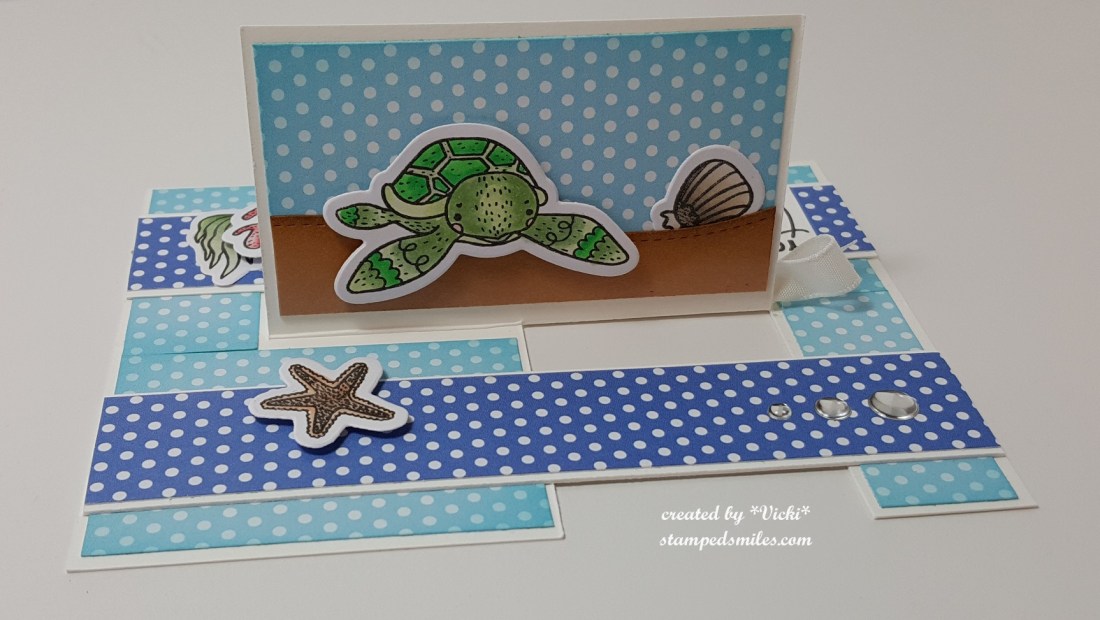
For this side, I took a different turtle from the same stamp set, colored and cut him out along with the other elements to arrange on my card scene.  I took some brown card stock and cut a strip with a stitched border die and inked up one edge for a sandy beach for the turtle to sit on.  I also tucked the shell behind the border and added the star fish on the strip with foam tape.  I also added some more silver glossy dots to the strip.

There would still be room to write a personal message on the bottom portion of the card if someone wanted to.  You could also easily write something on the back somewhere on the lighter blue spots.

Super easy and fun to make which is something that I needed right now, so I’m glad I decided to give this a try!

Here are the challenges I’d like to enter this card for:

  1.   CCEE Stampers (CCEE1827) – The Impossible Card
  2. Brown Sugar – Two patterned papers on project
  3. Artistic Inspirations (204) – Anything Goes
  4. Crafty Creations (#370) – Anything Goes
  5. Crafting by Designs – Anything Goes

Birthday BEAR Hugs & ICAD Week 5!

Happy Friday friends!  Just stopping by to share a few creations that I’ve been working on!  I can’t believe how crazy busy this week has been, but I’m still pressing on and having as much fun as I can stand in my craft room! 🙂

I feel like it’s been a while since I’ve pulled out some of the huge stash of My Favorite Things stamps, so I played around with some challenges!  Check it out:

Vicki-MFT-birthdaybear

How cute is that bear peeking out from the gift box?!  So, keeping with the challenges, I’ve used the MFT sketch and color challenges to base this card on.  I also wanted to play along with the birthday project challenge as well…so killing several ‘birds’ at once here. (See all challenge details below.)

I pulled out the MFT Ripe Raspberry card stock for the base of my card and used the MFT Beary Special Birthday stamp set with the sentiment in white ink to stamp all over the background of the base.  I colored the sweet bear and cut him out with the coordinating die and popped him up with foam tape at the bottom of the card.  For the top panel, I took the MFT Mini Clouds Edges stencil and created a cloudy sky on white card stock. (I didn’t have any but was trying to match up the colors with the MFT Blue Yonder for the color challenge.)  I then cut this panel with the MFT Stitched Basic Edges and then cut out a MFT Blu Raspberry piece of cardstock with the MFT Stitched Scallop Basic Edges die and layered it underneath the cloudy sky background.  I attached this to the Ripe Raspberry card base.

I took the bunch of balloons from the same stamp set and colored them with coordinating colors, I fussy cut just the balloons because I took the image and stamped it on the cloudy sky background so I could pop up the balloons with foam tape.  I also covered the balloons with some Spectrum Noir clear sparkle glitter pen.  I then took a sentiment from the same stamp set and heat embossed it in white embossing powder over some MFT Black Licorice card stock and cut the strip with fish tails and then popped it up over the balloon strings with foam tape.  Lastly, I added some Pretty Pink Posh sparkling clear sequins and added some silver Nuvo glitter drops in the center of each one.

I can’t believe that I have fully completed week 5 of the ICAD challenge so far!  Although things have been a bit hectic, I am determined to continue on with these index cards each day…I am surprised by how they turn out sometimes too!  Here are the weird and random tiny pieces of art I’ve created each day this last week:

Vicki-ICAD2018-week5

I truly am hoping that this will help me to become a better artist.  I am proud of myself for pushing on when I want to just give up sometimes, but that’s exactly why I need to challenge myself to continue when it gets hard.  I’m also happy to pull out media that I’m either not familiar with or pushed to create beyond what I am comfortable with…like drawing! LOL!  I can’t wait to look back at these all at one time when I’m done!

Have YOU challenged yourself lately?

Thanks for stopping by today!  Hope you’ve enjoyed my creations!

Challenges I’d like to enter my ‘Happy Bear-day” card for:

  1.  MFT ‘The Birthday Project’ – Use a bear image on your birthday card
  2. MFT Color Challenge – Blu Raspberry, Ripe Raspberry, Black Licorice & Blue Yonder
  3. MFT Sketch (MFTWSC392) – sketch
  4. The Paper Players – PP400 – Celebration

Going in Circles for Cute Card Thursday

Hello friends!  It’s another Thursday that has gone by this month already!  This Summer seems to be going very quickly and I hope you’re out enjoying it!

There is another fun challenge this week at Cute Card Thursday!  I hope you will join with us to share your “Circles” themed creations!  Here’s the creation that I’ve come up with for my card:

OLYMPUS DIGITAL CAMERA

I have decided to make a circle shaped easel style card along with using even more circles within my card design!  With the exception of the circles for the card shape, everything else I’ve used is from My Favorite Things stamps!  I thought it would be fun to take the Stitched Tripple Peek-a-Boo Window die to cut out the circle windows to fit these adorable pigs in from the Hog Heaven stamp set.  I cut out an additional circle for behind the window and sponged some different colors of distress ink behind them.  I colored and die cut the images out with the coordinating dies and popped them in various places behind the circle windows as well.  I stamped the sentiment and cut it out using some circle dies and this works as a “stopper” for my easel card design.  I popped it up with some foam tape.  I stamped the flowers from the same stamp set.

OLYMPUS DIGITAL CAMERA

And here’s a closer look at the front of my card.  I just love how the top piggy is leaning over the circle and window and the bottom piggy is peeking out with a wave from the bottom circle window!  I thought he needed a little twine bow tie too!  Finished it out with some circle sequins with a little glitter Stickles in each center.

Hope you’ve enjoyed my card today!  Please be sure to stop by the challenge blog to see the other wonderful circle creations from the team!  See you tomorrow!

challenges:

  1.  Allsorts – Use at Least 2 dies (3 circle type dies)
  2. Crafting From the Heart – Anything Goes
  3. Tuesday Throwdown – “You’re On My Mind”
  4. Addicted to Stamps & More – Make Your Mark (ink blending + Copics)
  5. Sunny Day Crafting – Any Animal on Project

King For a Day and ICAD 2018-week 2 results

Hello friends!  The weekend is upon us and I’m told it’s going to be a hot one here, so I think I will be hosting the Father’s Day celebration inside where it’s cooler!

OLYMPUS DIGITAL CAMERA

Thought it would be fun to take the Lawn Fawn Wild For You stamp set and use the lion with the crown image for a Father’s Day card.  I colored the image and crown and cut it out with the coordinating dies.  I stenciled some clouds on the stitched circle background and stamped the sentiment from the same set by curving it to fit the circle along the edge and then die cut a couple strips of grass and cut that with the same stitched circle die.  I nestled the lion in between.  Layered that onto a mirrored gold circle die cut from the Lawn Fawn Zig Zag Circle dies.  I’ve also used the cloud stencil to cover the background of the card along with my envelope for the card.  I used the rectangle stitched dies to cut out the front panel of my card and attached a banner cut from some LF papers.  The sentiment comes from the LF Happy, Happy Happy stamp set and dies.

Also, wanted to share the second week now of the ICAD 2018 Challenge that I’m doing!  Yes, I even took things with me to the Stamp Convention last weekend and worked on the days that I needed to so I stayed with it.  Never stamped in a motel room before, but luckily there was a nice sized desk to spread stuff out on!  🙂  – check out the details if you want to join in the fun too!  Nope, it’s never too late!

OLYMPUS DIGITAL CAMERA

It looks pretty random, but that’s what this challenge is for…pure randomness in creating and I think that’s what I love about it, not to mention that I don’t feel as pressured because it’s just playing on a little index card!  The coffee one was made with a coffee cup I had sitting on my desk…it smells lovely!  This is how my mind works…randomly in thoughts and so different from day to day.  Hope you like seeing the results each week!

Thanks for stopping in as I always enjoy seeing what you have to say!  Not sure if any of you are receiving my replies, but I truly appreciate each one and your support in my love of creating.  If you would like for me to visit your blog, please don’t be shy…leave me a comment and let me know you are here!  Have a wonderful weekend!

I would like to enter the Father’s Day “lion” card in these challenges:

  1.  Lawn Fawnatics – Cards for Guys
  2. Cardz 4 Guyz -Father’s Day
  3. Sweet Stampin’ – Father’s Day
  4. Splitcoaststampers “Free For All” Challenge (F4A33) – Father’s Day

Anything Goes for Cute Card Thursday

Hello friends and welcome to another Thursday!  Hope you are staying cool and enjoying your Summer so far!  I am looking forward to lots of fun in the coming months and into the Fall Season as well, so I still have many things to share with you and what I’ve been working on!

Thursday brings another challenge over at Cute Card Thursday as well!  We have a very easy ANYTHING GOES this week and we are sponsored by Whimsy Stamps!

The sponsor was kind enough to donate some images for the DT and so I’ve used one on my creation for today:

OLYMPUS DIGITAL CAMERA

I just thought this penguin was just as cute as can be!  I’ve used the Whimsy Stamps digital image called Penguin Loves Watermelon.  I had so much fun coloring in this cute image!  I actually decided to cut him away from the scene he was on so I could just pop him up by himself on my card.

Watermelon is something that I love to eat during the Summer when it’s in season.  I had this punch that made the perfect sized “seeds” and so I thought I’d add some on the image as well as on the card I made. (Looks like he’s spitting out seeds! LOL!)  I covered the watermelon that the penguin is holding with the Spectrum Noir sparkle pen.  I covered the “seeds” with some clear sparkling Nuvo drops.

I ended up just printing the template directly on my decorative papers and then cut each one out.  I just cut out the “bite” with my scissors after attaching the layers.  I sponged some coordinating ink on the edges of each layer.  I think you could also easily use a circle die cut and make your own version of this type of card as well.  My finished and folded card measures approximately 3.75 x 6.25 inches.  The sentiment comes from a retired clear Whimsy Stamps set from my stash.

Hope you’ve enjoyed my creation and I hope that you will join us this week over at Cute Card Thursday!  Look forward to seeing your creations!

Don’t forget to share some smiles today! 🙂

These are the challenges I’d like to enter for this card:

  1.  2 Crafty Critter Crazies – Anything Goes (using a critter)
  2. Crazy 4 Challenges (C4C437) – barefoot
  3. Whimsy Stamps – Anything Goes
  4. Crafting by Designs – Anything Goes
  5. That’s Crafty! – A Summer’s Day

Shello

Hello friends!  Hope you had a great weekend!  I’m so tired!  I forgot how much work it takes to put together a garage sale!  We had a nice day for it and it was a great turn out!  We are happy to have gotten rid of those big items in our way around the house.  We ended up donating the rest that did not sell.  Thinking of this, I probably need to go through my craft stash and do the same…but somehow, it’s just so much harder to decide what to keep and what not to…the pile ends up changing eventually! LOL!

If you remember, I have also been participating in the ICAD 2018 challenge which I have been going into my craft studio each day and creating at least once a day.  I can share with you the results of that each week as go, so be looking for that soon!

Today I have some fun “underwater” items to share:

OLYMPUS DIGITAL CAMERA

Along with a fun painting retreat that I had went to in April this year…it was all the kick start I needed and then came the inspiration to blog again!  I am happy that I did as I missed sharing my art and communicating with my fellow crafty friends here! 🙂

For the card above, I wanted most of the card to look underwater and that’s where I’ve used vellum and die cut out a wave at the top of it.  I stamped the shoe image from above, the fish and underwater background stamp and colored with Copics.  I added the sentiment banner and the awesome two toned pearls over the top.  The edges of the vellum were sponged with blue ink and I added some blue sparkle on the waves.

OLYMPUS DIGITAL CAMERA

Next, I have this really cool Jumbo Tag that I’ve decorated with contents from this same kit!  I’ve used this cover die and instead of die cutting with it, I’ve used it for embossing.  Before I used the die, I covered the background with some distress inks and splashed some water droplets over it.  I colored the images with my Copic markers, fussy cut them out and attached to the background.

OLYMPUS DIGITAL CAMERA

Here’s closer view of the images colored up.  Hard to see in the photos, but I have covered the mermaid’s eyes as well as the fisheyes with some glossy accents.  You can also see how cool looking those fish scale flat backs are…love the different shimmery colors in it!  And to give you an idea of the size of the tag, it’s 4″ x 8″!

Hope you’ve enjoyed my underwater creations today and I’ll see you again with more of what I’ve been crafting!  Have a great day!

I would like to enter mermaid tag in following challenge(s):

  1.  Hand Stamped Sentiments (HSSIC291)– inspirational photo:

2.  Cupcake Inspiration Challenge (CIC447) – Magical Creatures

Cute Card Thursday – Hello Summer!

Hello friends!  I’m totally excited to be back on the design team for the challenges over at

cct-logo-designer

If you do not already participate in the challenges over there, I highly recommend it!  There is a brand-new challenge every Thursday of the week along with fun prizes from our sponsors!  The ladies on the team are so talented and fun, so there is plenty of inspiration provided each week as well!

This week’s challenge is of the theme:  Hello Summer! and our sponsor is the lovely Bugaboo Stamps!

I have used one of the sponsor’s images on my card today:

OLYMPUS DIGITAL CAMERA

This image is called, of course, Pig Vacation from Bugaboo.  Now, I’m not sure about that, but this guy looks so happy that I think I’d like to go along him! 🙂  Summer is definitely here where I live as we’ve had some record-breaking temperatures!  I think vacation sound really good about now as well!

I have used my Copic markers and glitter gel pens to color him in, cut him out with a die-cut tag and added some black twine for a luggage tag look.  The wording underneath comes from a Lawn Fawn die-cut that I glued on.  The rest of the decorative papers and embellishments come from an older card kit in my stash.  I cut the decorative papers using the Lawn Fawn Stitched dies which was mounted onto a piece of black card stock and then mounted onto a white top folding card base.

Here’s closer look at the coloring details:

OLYMPUS DIGITAL CAMERA

I hope that you will stop by the Cute Card Thursday challenge blog and have a look at the rest of the inspiration for this challenge and enter your “Hello Summer” creation with us this week!  I can’t wait to see what you come up with!

Thanks so much for stopping by!  Hope you stay cool as we enter Summer and don’t forget to share some smiles! 🙂