Paper Nest Dolls Guest Design Spot with Fishy Kisses!

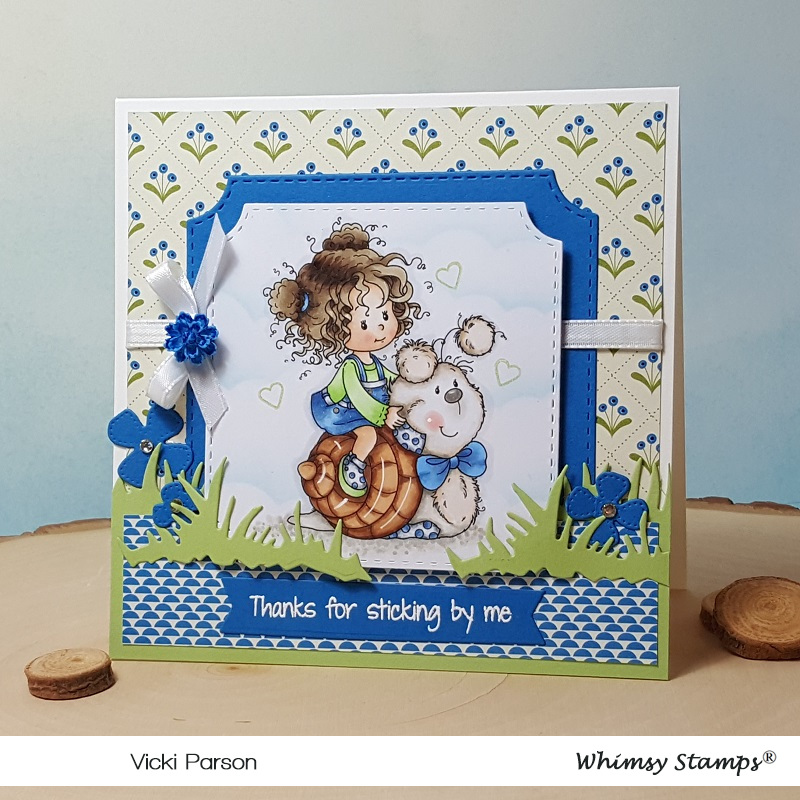
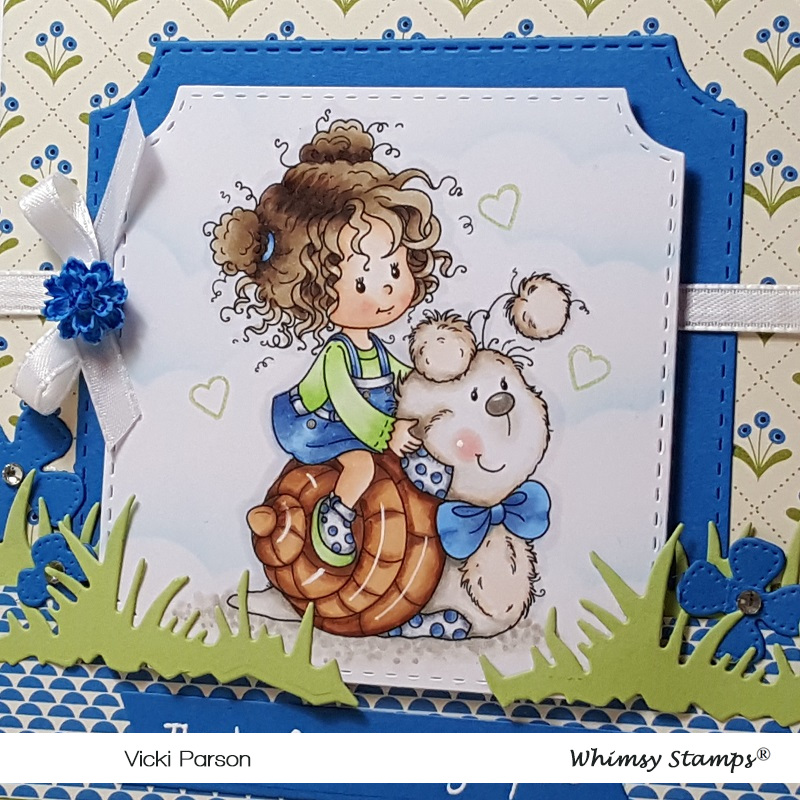
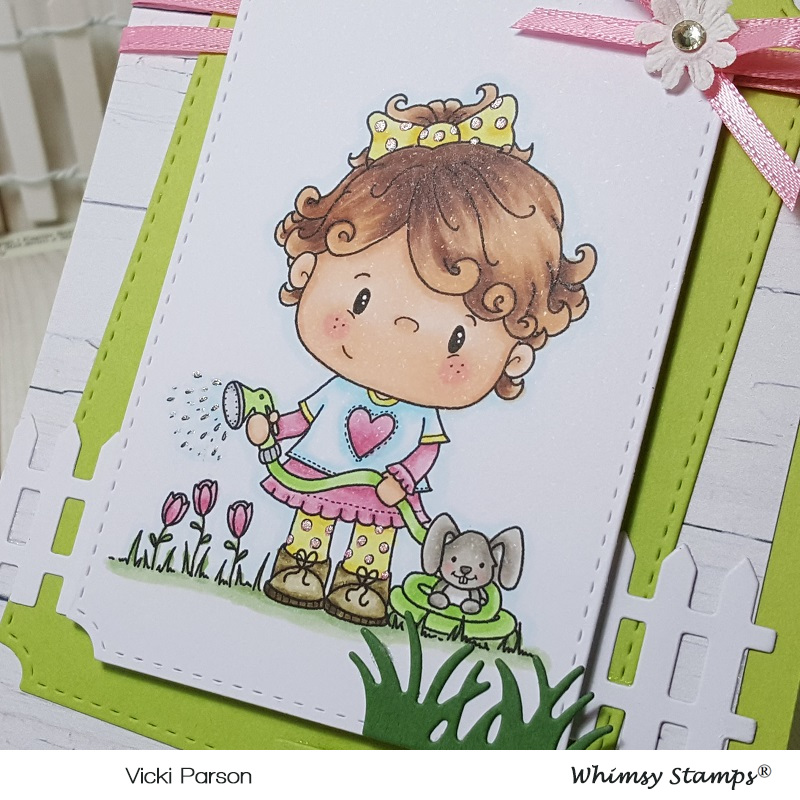
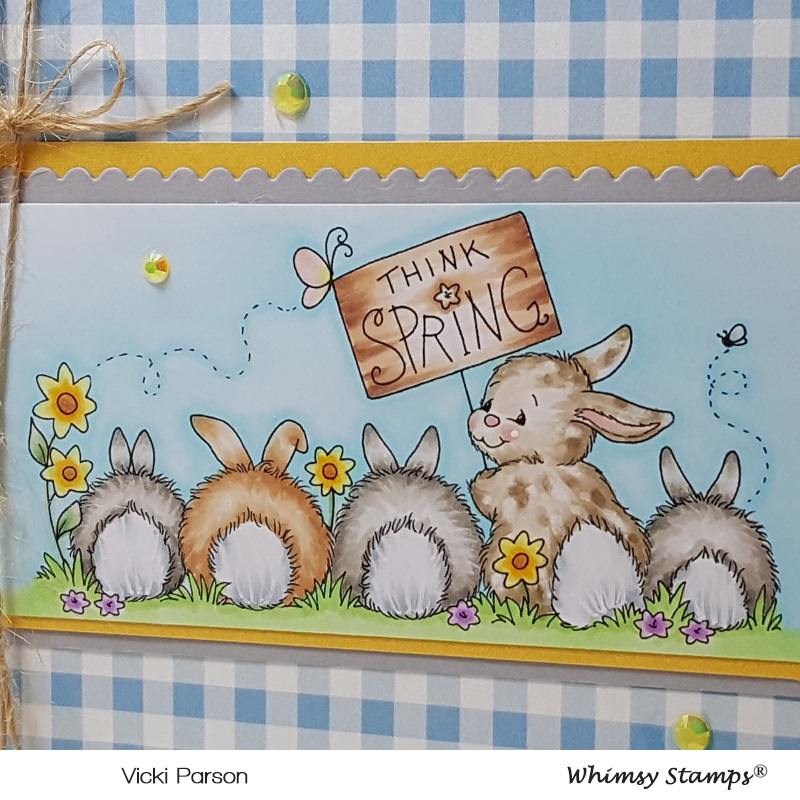
Hello friends!  Happy Memorial Day and I hope you’ve been having a great weekend!  I would like to take a moment on this day to stop and give thank you and remembrance to all of the U.S.  service men and women who’ve served our country.  Your service will never be forgotten.

I am very excited to share a card I made with an image that Christine sent me to play with from the Paper Nest Dolls!  I’m sharing my card as a Guest Designer for her and I’m thrilled to be apart of it with her adorable images!

Vicki-PDMermaid Ellie Seahorse

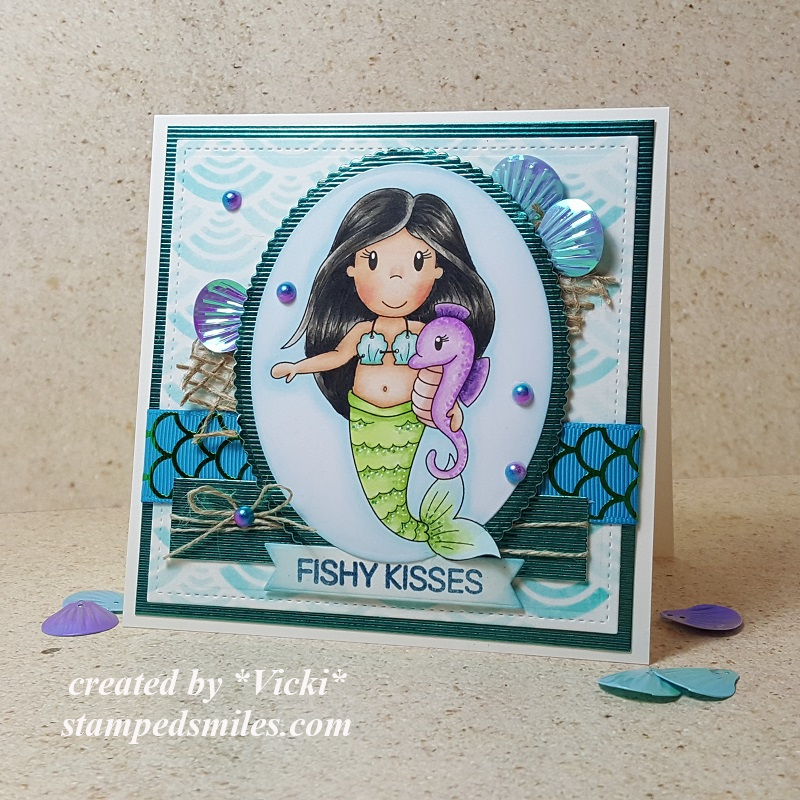
I am using this CUTE image called Mermaid Ellie with Seahorse for my card. Isn’t that little seahorse she has her arm around adorable?!  She was so much fun to color too!

There is just so much shimmer/shine and sparkle on this…so I hope I can capture it all for you!  For the card, I’ve used the Tonic Basic Oval dies to cut her out with, but I’ve used the “Out of the Box” technique and cut out her tail before cutting the rest of the oval.  You can see in the photo below how I’ve slightly curled her tail upwards.

The background of the card was done with a stencil and ink blending.  I thought it was so fun as it reminded me of the scales!  I cut this piece out with a square stitched rectangle die and then layered a piece of aqua colored mirrored cardstock that I’ve also used as an oval layer behind the mermaid image as well as a strip at the bottom.

For the strip at the bottom, I’ve wrapped around some linen thread and tied a bow with it.  I’ve also wrapped around some ribbon to the layered stencil and mirror cardstock panels and then attached them to a 5″ square top folding card base.

I’ve taken a sentiment and heat embossed it with some “Mermaid Tail” EP and cut it out with a word banner die and sponged around the edges of it which I slipped under the first layer of the oval cut mermaid.  I’ve added some burlap and a few of the sea shell sequins behind the oval image panel and popped her up along with the sentiment banner with some foam tape.  Lastly, I added some half-back pearls randomly over the design.

Vicki-PDMermaid Ellie Seahorse-close

Here’s a closer view of the image and all of the shimmer and sparkle details.  I’ve colored her up in the following Copic markers:

  • hair – 100, W9, W7, W5, W3, W1
  • Mermaid shells – BG13, BG10 (covered with glitter brush pen)
  • Mermaid Tail – YG25, YG13, YG11, BG000 (pointillism with darkest and blender 0 and also green and white gel pens.  The fin at the end was also covered with a glitter brush pen.)
  • Mermaid Skin – E21, E11, E02, E00, E000, R20
  • Seahorse – V17, V15, V12, R11, R00, R000 (pointillism with V colors and blender 0)
  • Shading – BG000

Vicki-PDMermaid Ellie Seahorse-flat

It’s hard to see it from the other angles of the card, but it looks like the sentiment heat embossed with “Mermaid Tail” shows more of the shimmer in it as well as the ribbon.

Challenges:

  1.  Cheerful Sketches – using sketch
  2. Tuesday Throwdown – Stenciling
  3. CCEE Stampers – CCEE1921 – Use a die
  4. QKR Stampede – #349 Anything Goes
  5. Cupcake Inspirations – CIC471 – mermaids

It’s Party Time!

Hello friends!  It’s been sort of a crazy few days with our weather!  Usually it’s pretty warm and sunny, but we’ve been having some severe rain and cooler temps.  Plus more rain coming, so I guess I’ll be in my craft room playing!  🙂

Today I have this happy party fellow from Whimsy Stamps to share with you:

Vicki-WSPenguin Bday Party-May21

Isn’t he adorable?!  This image is called Penguin Birthday by Crissy Armstrong.  This was previously released as a rubber stamp, but this month it has been released in digital format so you can have either option available!

I have cut him out with the Whimsy Stamps Notched Squares die set and cut an additional piece in black cardstock for a layer behind him.  For the base of my card, I’ve used a green colored 5″ square top folding card base and attached a piece of striped paper across the lower section and sponged some white ink along the edges of the green card base panel.  I then used a piece of 1/2″ score tape across the top of the striped strip panel and then used some fun glitter over top of it and burnished into the tape.

I’ve also used this same glitter to go over the Whimsy Stamps Happy Large Word die cut out from some double-sided sticker paper.  I white heat embossed the “birthday” over a strip of black cardstock that I’ve cut into a banner and placed it directly underneath the glittered word die.  This came from the Happy Everything Clear Stamp set.

Vicki-WSPenguin Bday Party-May21-close

Here’s a closer look at the coloring I’ve done on this cutie.  You can also see the fun details of the glitter that I’ve used on the word die.  I love the sort of “confetti flex” contained in this glitter.  It’s something I got in a sample size from a card kit a couple of months ago and it’s great for birthdays! 🙂  Hard to see in the photo, but I’ve also used a clear glitter pen to go over the balloon and present.  I sponged around the image panel with some of the same green ink that I’ve used for the card base cardstock color.  I’ve used the following Copic markers to color him with:

  • Penguin – C8, C5, C3, C1, R00, R000, YR27, YR24, Y32
  • Balloon, party hat, present – YG01, YG11, YG13, V17, V15, V12
  • Shading, shadows, ground – C3, C1, E0000

Vicki-WSPenguin Bday Party-May21-flat

It’s always nice to have a good selection of birthday cards on hand when you need to hurry up and send one out and I think this one is great for any gender or age.

Challenges:

  1.  Little Red Wagon – Happy “BIRD”day!
  2. Creative Fingers – Anything Goes
  3. QKR Stampede – #348 Anything Goes
  4. Allsorts – Happy Birthday!!!
  5. Seize the Birthday – Anything Goes + toppings=Balloons!!

P.S.  I know that many of you have been asking for updates on the bird nest situation and so here’s another photo of what we were able to capture:

20190520_185442

After the flowers were done blooming, we were able to get more of a clear shot and CAREFULLY get close enough to get the mother Robin sitting on her nest!  Like I had mentioned, she doesn’t like it when we go out there.  She chirps at us and waits for us to leave.

20190520_184645

Here is one of her standing in the nest.  We think that she may have hatched those eggs as it looks like she might be feeding the babies!  So next time we’ll check back in and see if we can get a look at those babies in there! 🙂

Hope you’ve enjoyed my post today!  Thanks for stopping by and I’ll see you soon!!

Fairy Princess Bunny With a Pocket!

Hello friends!  Hope you have enjoyed your weekend.  Yay!  We are finally getting some decent weather to be outside in!  It’s been rainy and chilly for a while, so it’s been nice to see some sun the last few days!

Today I have this really sweet image to share from Whimsy Stamps May Digital release and a fun extra added element with it!

Vicki-PC Fairy Princess Bunny Tag

I have made a tag using this really sweet Pollycraft image from Whimsy Stamps called Fairy Princess Bunny.  Isn’t she so sweet?!  I found some pretty papers to go with her and placed it over a purchased kraft colored tag that I sponged some white ink around the edges.

After placing the papers where I wanted them and trimming it down, I also attached a lace trim on each end of the papers over the tag.  The papers also had a bunch of sentiments included in the pack, so I added the circle sentiment to the tag and then die cut a kraft piece to layer behind it.  I also added some flowers and the ribbon at the top and then finished it off with some clear sequins.

Vicki-PC Fairy Princess Bunny Tag-close

Here’s a closer view of the coloring I’ve done on this cutie.  I’ve used Copic Markers to color her in with using the following markers:

  • Dress, shirt, shoes, socks – B37, B34, B32, B01, B00, B000
  • Bunny, bunny ears – R11, R00, R000, C3, C1, C0
  • Wings – R00, R000, E000, BG000
  • Hair – YR30, E41, E43, E44, V95
  • Skin – E000, E00, E11, E21, R20, R00
  • Grass – G24, G21, G20
  • I used gel pens to make dots on wings and color in the crowns on the girl and bunny heads.  I also used a Wink of Stella glitter pen to go over the wings.

After I colored her in, I cut her out from a circle stitched scallop die and then sponged around the image with a cloud stencil and distress ink.  I also sponged around the edges of the scallop circle with another color of distress ink and mounted her over the tag with a piece of craft foam behind her.

Vicki-PC Fairy Princess Bunny Tag-otherside

So, when you flip the tag over, you can see that I’ve made a little pocket with the same papers I’ve used on the front of the tag.  I thought this would be a cute way to give out a gift card to your “Fairy Princess”.  The tag happens to be the perfect size for adding a pocket for a gift card to fit into.

Vicki-PC Fairy Princess Bunny Tag-flat

I hope you’ve enjoyed my little tag creation today!

THANKS SO MUCH FOR DROPPIN BY!!  HAVE A GREAT DAY!!

challenges:

  1.  Crafty Creations – Anything Goes
  2. Fab ‘N’ Funky – Anything Goes #437
  3. Crafty Catz – Anything Goes with optional twist of females
  4. QKR Stampede – Anything Goes #347
  5. Crafting By Designs – Fantasy

It’s Easter at Cute Card Thursday!

Yes!  Hello friends!  Easter IS on the way, isn’t it?!  I remember many Easters ago of hiding the eggs for the kids and then forgetting where I hid all of them myself, so I had to join in the Easter egg hunt too!  LOL!  Do you have any fun Easter memories?

So since it’s Thursday, it’s time for a fun new challenge at Cute Card Thursday!  Obviously, the theme this week is “Easter“!  We look forward to seeing what Easter makes you’re making this week, so come join us!  Here’s my card:

Vicki-CCT577-SSSEgg-stra Sweet Easter

I had a lot of fun creating this card!  I couldn’t help myself, I had to snatch up that Simon Says Stamp Limited Edition Egg-Stra Sweet Easter card kit. (Sorry, it’s sold out, but you can still purchase the stamp set, Background stamp, egg dies, and stencil separately from the kit though.  I have actually used all of those items on my card today too!

For the background, I took the jellybean background stamp and clear heat embossed it and then while I was cutting it out with a stitched rectangle die, I also took one of the eggs dies and cut out the center of the yellow card panel.  I cut a piece of white cardstock the same size as the yellow layer and then used the stencil and the Nuvo mousse that came in the kit and sponged it over the white panel.  I layered this piece along with a black heat embossed sentiment over vellum on a strip to wrap around the yellow panel along with a piece of black cord at the top.  I took some foam tape and mounted these pieces onto a white A2 sized top folding card base.  Lastly, I’ve added some clear sequins filled with some Nuvo glitter drops in the centers.

Vicki-CCT577-SSSEgg-stra Sweet Easter-close

Here’s a closer look at this sweet little Easter bunny that I’ve colored in with Copics.  I fussy cut it out and then decided to line up the bottom of it and cut it out with the same stitched die that I used on the yellow background panel.  I kept his ear out of it.

I took the glossy accents that also came in the card kit and covered the jellybeans with it.  I also took a couple of metallic gel pens to make some dots on a few of the Easter eggs and center of wheel.  Up close, you can see some of the shimmer from the Nuvo mousse in the white background egg that I stenciled on.

Vicki-CCT577-SSSEgg-stra Sweet Easter-flat

Lots of fun little details going on in this card, but that’s what I love about Easter…so many colorful and happy things going on!

Thanks so much for dropping in today!  I will see you soon!

challenges:

  1. Simon Says Stamp Wednesday – No Designer Paper
  2.  My time to Craft – Easter or Hedgehogs
  3. Brown Sugar – Spring or Fall
  4. Creative Craft – No Patterned Paper
  5. Crafty Cardmakers – Easter
  6. Crafty Gals Corner – Easter is on its way
  7. Crafting By Designs – Easter Challenge

Whimsy Stamps Cuddly Ride

Hello friends!  🙂

It’s been SO gorgeous outside with this wonderfully warm weather we’re having right now, so I find it hard to stay indoors right now!  We have rain coming, so I will be able to get some crafting done then!

Swinging by to share this really sweet digital image by Sylvia Zet for Whimsy Stamps called Cuddly Ride!  They have sold the rubber stamp version, but now they’re releasing these older images as digital files now!  So weather you like the rubber stamp or the digital images, it’s great to know that you can choose either!

Vicki-WSCuddlyRide-Apr9

I got her colored up in the following Copics:

  • Snail shell – E29, E27, E25, E23, E21
  • Snail body – W5, W3, W1, E21, E000, R20
  • Snail bow/patches, girl outfit – B37, B34, B32, YG13, YG11, C5, C3, C1
  • Girl’s Hair/Skin – E49, E47, E44, E43, E40, R20, R00, E21, E11, E00, E000
  • Pointillism under snail – W3, W1, W0
  • Used a white gel pen for highlights on snail and covered the ground with a Wink of Stella glitter brush pen

After coloring her up, I also sponged some clouds behind her with a stencil and then cut it out with the Whimsy Stamps Notched Square Dies.  I’ve also cut an additional larger blue layer for behind the image.  For the blue flowers scattered around as well as for the pieces for grass accents on my card, I’ve used the Whimsy Stamps No-See All Seasons Tree Dies.

I’ve taken a sentiment from my stash (retired Whimsy Stamps) and white heat embossed it over a piece of the blue cardstock and then I’ve used the Whimsy Stamps Quick Strips Die Set to cut it out.  Lastly, I’ve added some ribbon, a bow with a resin flower glued over the center of it and then I’ve added some rhinestones to the centers of the blue flowers.

Vicki-WSCuddlyRide-Apr9-close

From the same sentiment stamp set that I’ve used, I took a tiny heart image and stamped it with green ink around the colored image.  Of course, I tried to capture the wonderful shimmer underneath the snail where I’ve colored the Pointillism technique, but it just won’t show up in photos very well, but I just love the shimmer under him!  I also used a silver metallic gel pen to color the “buttons” on the girl’s jumper.

Vicki-WS-CuddlyRide-Apr9-flat

I thought she turned out really cute and I think this would make a wonderful card for that special friend who is always by your side!

That’s all for me now.  I think I may need to go back outside and enjoy some fresh air and sunshine before it’s gone!  Have a lovely day!

Challenges:

  1.  Simon Says Stamp Wednesday – Animal Antics
  2. Crafting With an Attitude – Anything Goes
  3. Creative Knockouts – Anything Goes
  4. Crafty Catz – Anything Goes + optional:  Use Your Dies
  5. Creative Fingers – Anything Goes
  6. Simply Create Too – Anything Goes

April New Release for Whimsy Stamps with Interactive Card!

I’m excited to be sharing this really fun and unique interactive design that I’ve made with one of the cute images called Stretchy Giraffe digital stamp from the new release!

Vicki-Giraffe Flies extended neck-April 2nd

This giraffe is so sweet and was fun to color up with Copic markers!  (See below for the full list of the markers I’ve used.)

I took the extended neck version of the giraffe and made some fold marks in his neck so that when folded, it looks like the “regular neck” version of the image, but when you pull up on the purple balloon at the top, the neck extends up with it! LOL!

Check out this 18 second video below to see how it works:

I’ve used the Whimsy Stamps No-See Kinetic Basics die set along with the Kinetic Straight Basics die set to make the straight track behind the large cloud that is under the flying giraffe.  This way there’s no track behind the giraffe to move the neck which I think is pretty cool with these special WS Kinetic No-See dies!

Because this was a giraffe with a long neck, I wanted to make a tall skinny type of card for this design.  (It measures 3″ x 6″ when closed.)  I’ve used a cloud die cut to hide the interactive track behind the giraffe and then I used a cloud stencil to sponge on some Wilted Violet and Tumbled Glass Distress Oxide inks on the cloud die cut as well as the background white panel and the interactive pull behind the balloon so it all matches.  I thought it would be fun to add some stars, so I took the star from the Snappy Birthday clear stamp set and stamped them with the Wilted Violet Distress Oxide ink.  I also took the sentiment from the Dachshund Balloon rubber stamp set and stamped it on the bottom of the white card front panel.  (I thought it was the perfect sentiment to go along with this image!  LOL!)  I’ve rounded the corners of the white panel and cloud panel with a corner chomper.

The giraffe was popped up with the black string wrapped around his left “antler” and then secured on the back.  The other end of the black string was tied around the balloon which is attached to the pull tab underneath the cloud area.  I covered the stars with a clear glitter brush and added some sequins filled with some Nuvo White Blizzard Glitter Drops.  I’ve used foam dots to pop up the giraffe over the design.

Vicki-Giraffe flies extended neck-April 2nd-close

Here’s a closer view of the extended neck and the coloring I’ve done.  Here is the Copic list that I’ve used:

  • giraffe body – YR24, YR21
  • spots, muzzle, mail & tail end – E15, E13, E11
  • Hooves & horns – E49, E47, E44
  • ears & belly – R20, R11, R00, R000
  • balloon – V17, V15, V12

I fussy cut the giraffe and the balloon separately from the image so that I could add my own string and make this an interactive card design.

Vicki-GiraffeFliesExtendedNeck-April 2nd-pulled tab

Really enjoyed creating this fun interactive card in a unique way with this adorable new stamp!  I hope you’ve been inspired with it too!  Would love to see what you come up with if you purchase this image!!

Thanks so much for popping in today!!  I’ll see you soon!

Challenges I’d like to enter this card for:

  1.  TGIF Challenge – Balloons (TGIFC205)
  2. Alphabet Challenge – ‘A’ is for Animals
  3. Crazy 4 Challenges – C4C477 “Trick Card”
  4. Pammies Inky Pinkies – ATG (PIP1913)
  5. Crafty Animals – Anything Goes + animal
  6. 613 Avenue Create – Anything Goes with optional:  create a kinetic card

2 Crafty Critter Crazies – You are my Happy

Hello friends!!  Happy April Fool’s Day! 🙂

Well, there’s “no fooling” here today as I bring you a post to share the creation, I’ve made for a new challenge over at the 2 Crafty Critter Crazies Challenge Blog!  Since it’s the first of April, we have a new challenge starting with the “Anything Goes + critter” theme in mind!  Hope you will join us with your critter creations!

We are being sponsored by Digi Doodle Studios and this is the card I made for the challenge this month:

Vicki-2CCC-DigiDoodle-Mia

Our sponsor was kind enough to share this very sweet image called Mia which I’ve used for my card today.  This is my first experience with these images, and I must say they have some really cute ones in their store, so hop on over and check them out!

I’ve colored her up with Copic markers including drawing extended lines for the grass and coloring it up all the way across and down.  I cut it out with a cross stitched rectangle die and then used a sun ray stencil to ink some yellow behind her by taping off the grass edge, so I didn’t get any on that part.  I then stamped the sentiment in black ink over top of that.

To continue on with the yellow color theme I’ve got going on, I cut out a piece of yellow glitter cardstock that was cut out with a scallop rectangle die (retired from Lawn Fawn) and attached it to the back of the image panel.  I took some plaid papers for the bottom portion of the A2 white top folding card base and then attached some yellow grosgrain ribbon across the top and then attached the image panel and then added a yellow ribbon bow along the edge.  Lastly, I finished it out with some yellow rhinestone crystals.

Vicki-2CCC-DigiDoodle-Mia-close

Here’s a closer look at the coloring I’ve done on the image.  I took a black gel pen to color in the eyeball’s circles.  I wasn’t sure how to go about coloring the eyes, but this is the way that made the most sense to me.  I also went around the edges of the butterfly with the black gel pen.  I took a glitter brush pen and went over the liquid in her cup.

Vicki-2CCC-DigiDoodle-Mia-flat

I have to add that this image really got me thinking about past memories with my sweet little Mocca and how we would go out on nice Spring days like this.  She certainly was always “my happy” for sure and I still miss her like crazy.  I’m sure any of you that have lost pets understand what I’m saying.   It’s great to have the memories we’ve shared after all this time!

Thanks so much for stopping by!  I appreciate it so much!

challenges:

  1.  Crafty Friends – Spring
  2. Crafty Gals Corner – Spring is Here!
  3. Krafty Chicks – Coffee, tea or hot cocoa
  4. As You Like It – Favorite Coloring medium – Copic Why?  It’s my favorite “go to” coloring method and I love the way the markers blend together for shading and highlight effects.
  5. Creative Knockouts – Outside Fun
  6. Allsorts – Use Yellow
  7. Digi Doodle Studios Challenge – #15 Anything Goes

Whimsy Stamps March New Release!

Hello friends!  I don’t think I ever remember being so sick before! WOW!  I was literally stuck in the bed for a couple of days there!  I’ve been taking some meds from doctor and starting to feel a bit better now, just regular cold and not so much the fever and chills any more.  Thank you SO MUCH for the very kind get well thoughts as I truly appreciate that!  So glad that’s over with now!

Have you checked out the new release over at Whimsy Stamps yet?  There are lots of really adorable digital stamps this month and I’m excited to be sharing one of those with you today:

Vicki-WSBunny-NewRelease

I have used this sweet little image by C.C. Designs for Whimsy Stamps called Bunny.  (And that little bunny is too cute wrapped up in the garden hose!!)

I have also used some fun new digital papers for the background on my card here too!  I’ve printed out a piece from the Whimsy Stamps Rustic Wood and Brick Papers digital collection and used it on the background of my green card panel.

I also used some die cuts to add some fun elements to my design as well as wrap some ribbon at the top and add a white flower with a rhinestone in the center of it.  I heat embossed a sentiment in white EP over a piece of the green cardstock and cut it out with a stitched die cut banner.

Vicki-WSBunny-NewR2

I have it all colored up with my Copic markers and then I’ve used some metallic gel pens for the dots and for the water sprinkling from the hose.

Here you can better see how I’ve colored in the image and the details of sparkle with the gel pens.  I’ve used some craft foam behind the image panel for a bit of dimension too.

Vicki-WSBunny-NewRflat

I hope you’ve enjoyed my card for today and have been inspired to go check out the rest of the new release at Whimsy Stamps!

I’ll be back again tomorrow for some more inspiration!  Thanks so much for dropping in!!  Have a great day!

Fistful of Flowers From Whimsy Stamps

Hello friends!  Hope that you are having a great week so far!  There is plenty of ice and snow over my way for the next several days, so I thought I would bring a little ‘happy’ today with a “Fistful of Flowers” from Whimsy Stamps!

Vicki-WSFistfulofFlowers-Feb12

Isn’t she the cutest?!  This was originally released as a rubber stamp from Crissy Armstrong, but this month it has been released in digital format now as well!

I have to be honest and say that after I had colored in the image, I was struggling with the colors of cardstock I wanted to use, and it seemed that anything I picked out wasn’t quite working.  (You ever have this problem?)  My hubby came in to visit me and I told him I was struggling, so he took me over to my paper and picked out these colors and I liked it, so I went with it!  Did he do good? 🙂

I have cut a piece of yellow cardstock out and then took the WS Mom’s Layered Flowers clear stamp set and white heat embossed the background with one of the daisy images.  I wrapped a piece of white ribbon around the yellow embossed piece that was also mounted onto a white 4.25 x 5.5 card front piece.  After wrapping the ribbon around both pieces, I added a bow and this panel was then mounted onto a white top folding A2 sized card base.

The colored image panel was layered with a blue cardstock which I’ve also cut a piece for a fishtail banner and added some daisy accent flowers to it.

Vicki-WSFistfulofFlowers-Feb12-close

                    This cutie has been colored up with the following Copics:

  • Jeans & Bow tie on shirt – B97, B95, B93, B34
  • Shirt & Hair Bows – R85, R83, R81
  • Flower Petals & White Band on Shirt – BG000 (also around image)
  • Flowers – center:  Y17 – Leaves/Stems: YG67, YG63, YG61
  • Grass – G24, G21, G20
  • Hair – YR30, E41, E43, E44, V95
  • Skin – E21, E11, E00, E000, R20

I took a glue pen and added some clear glitter over the edge of the flower petals for a bit of sparkle.  You can see that the daisy accents also have some light touches of glitter on the edges as well.

Vicki-WSFistfulofFlowers-Feb12-flat

So I hope you’ve enjoyed my card today and thanks for dropping by!

Challenges I’d like to enter this card for:

  1.  Crafting With an Attitude – Anything Goes
  2. Creative Fingers – Anything Goes
  3. QKR Stampede – #334 Anything Goes
  4. Crafty Friends – Anything Goes
  5. Pammie’s Inky Pinkies – PIP1906 Anything Goes
  6. Shopping Our Stash – Make Your Mark (colored with markers)

Anything Goes at Cute Card Thursday!

Happy Thursday friends! 🙂  It’s Thursday and that means it’s time for a NEW Cute Card Thursday challenge this week!  So this week it’s our beginning of the month “ANYTHING GOES” challenge!  We can’t wait to see your creations!

Our sponsor for this challenge is Whimsy Stamps.

Vicki-WS-ThinkSpringBunnies-Feb7

Are YOU thinking Spring too?!  I am, but I don’t think it’s working very well with the snow, cold and ice we’ve been getting! LOL!  So I will stay warm inside and bring my thoughts of Spring to my craft room!

I am using this really sweet digital image from Whimsy Stamps called Think Spring Bunnies by Crissy Armstrong.  It was previously released as a rubber stamp, but now it’s available in digital format!  I have printed out this image and used the following Copic Markers for coloring:

  1.  Bunnies – W5, W3, W1, W0, E33, E31, E30, C3, C1, C0 (tails)-, E44, E42, E40, Blender 0 (spotted bunny)
  2. spotted bunny inside ears, nose face – R20, R00
  3. Wooden sign – E25, E23, E21 (E23 used for center of yellow flowers)
  4. flowers – Y17, Y15, Y11, V17, V12 – YG67, YG61 (leaves/stems)
  5. grass – G24, G21, G20
  6. butterfly – Y11, R00
  7. sky around image – B01, B00, B000, B0000

Vicki-WS-ThinkSpringBunnies-Feb7-close

Here’s a closer view of the colored image.  I have also used a white gel pen in the bunny’s tails as well as the spotted bunny’s cheeks.  I also took a Wink of Stella clear glitter brush pen to go over the butterfly and the flying bug’s wings.

It was so fun to color these furry bunny butts!! 🙂

Vicki-WS-ThinkSpringBunnies-Feb7-flat

I’ve used some of the digital papers released last month called Oh Boy…really loving the ginghams in this set!  So, I’ve cut out both these papers along with some solid yellow papers (from same set) and the colored bunny strip with the Whimsy Stamps Hand Stitched Nested Rectangles dies.  I also took a strip of gray colored cardstock and used an older border die from Whimsy Stamps to create the scalloped edge.

These were all layered onto a white A2 sized top folding card base.  I wrapped some twine along the edge and tied it in a bow and then lastly, I’ve added some yellow crystals from Pretty Pink Posh randomly over the card.

Challenges:

  1.  Crafty Animals – Anything Goes + animal
  2. A Bit More Time to Craft – Anything Goes
  3. Crazy 4 Challenges (C4C469) – Ground Hog or Critter
  4. Send a Smile 4 Kids – Anything Goes/Easter/Spring
  5. 613 Avenue Create – Anything Goes with optional: use a critter
  6. Crafting From the Heart – Anything Goes