Hello friends!! I sure hope you’ve all had a wonderful Christmas! I am sure looking forward to starting a New Year as well! Moving on to positive things for sure! 😀
**Needed to apologize for anyone who subscribes to my blog via e-mail and couldn’t get the link to work from my last post. I don’t know what happened, but it got “wonky” when I scheduled it. CLICK HERE for the link to that post if you didn’t get a chance to view it.** THANK YOU!
Although I’m finished with sending out my Christmas cards, I still enjoy creating for Christmas and can ALWAYS get a good start on Christmas cards for the next year too, so that’s what this fun “Bugaboo Holiday Chaos” challenge event has allotted me to do and have some fun! So, this post will finish up the last of my projects for that event before the deadline is up! (To see the first 3 challenge projects, I made CLICK HERE for that post.)
Here are my projects to finish up the challenges:

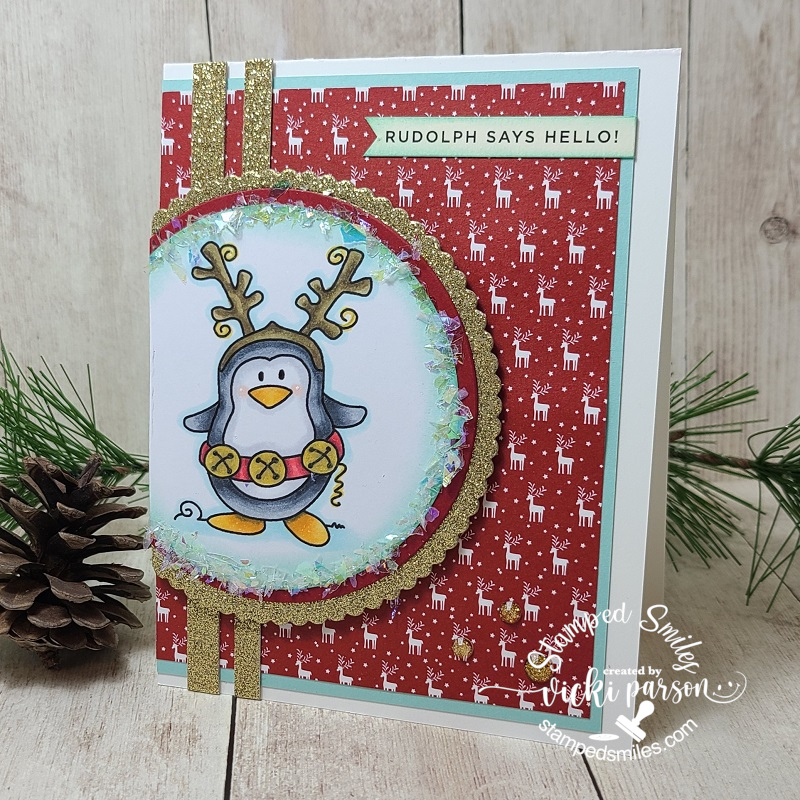
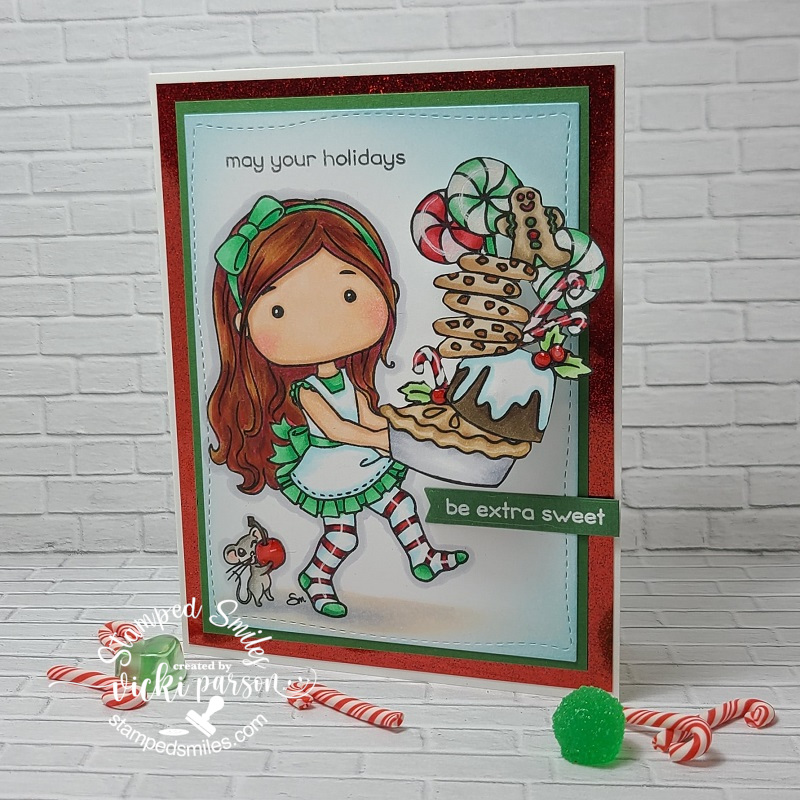
This card was made for the Holiday Chaos Bingo Challenge on Day 4. There was also this really adorable freebie up that day, so I wanted to be sure to grab it while it was available. This is the Kidz Reindeer image and I enjoyed coloring him up for my card here. For the Bingo, I used the middle row across, but could also have used the first row down or first square diagonal too. (See photo below)
I happened to have some Christmas Lights pattern paper with some of the green lightbulbs foiled on it. I thought the green shimmer ribbon would go well with that and break up the “busy-ness” of it! I took a Christmas Lights die from Lawn Fawn to attach across the card and image panel and then white heat embossed a sentiment at the bottom. I’ve used some glitter for the snow around the image and then I’ve covered all the Christmas Lights with glossy accents.
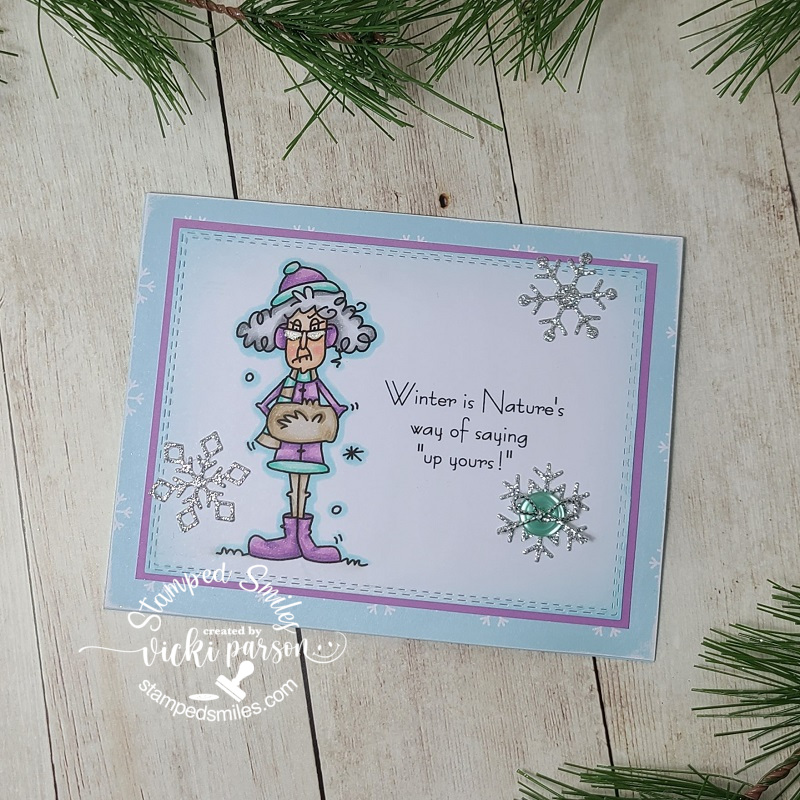
If you know Bugaboo Stamps, then you got to love Stella! 😂 This was made for Day 5 Holiday Chaos with the theme “Make Us Laugh”. So of course, my mind went to Stella, and I thought this Stella Calendar November was a good one for a laugh about now as we were just hit with a winter storm with snow and ice.
Found some snowflake papers and paired her with some purple colors along with just adding some silver glitter snowflakes to the design. I added a button in the center of one of them and attached a sliver bow over top.
Stella’s glasses were colored in with a gel pen for the shine.
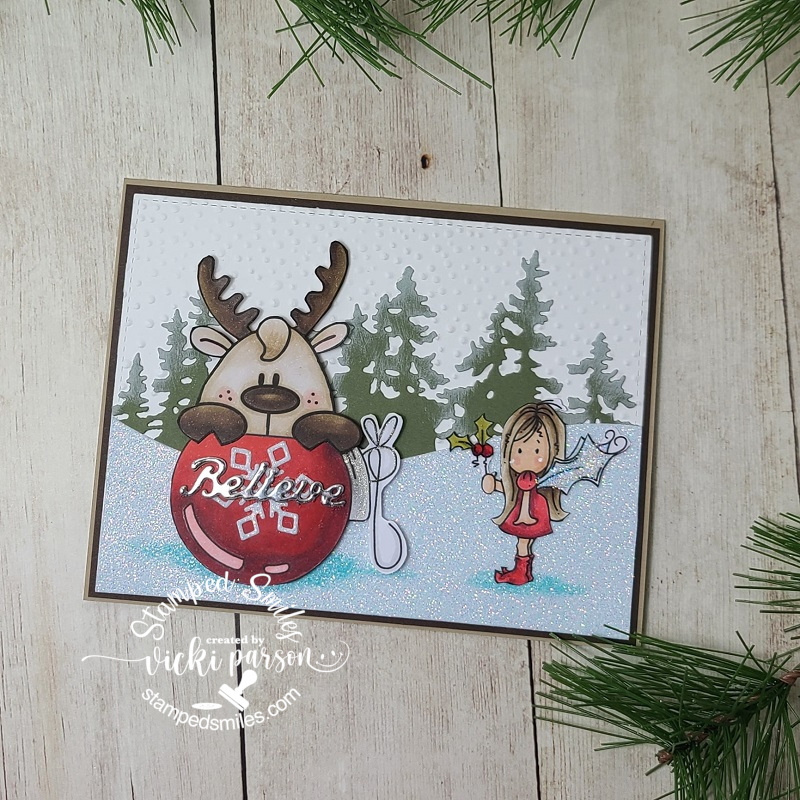
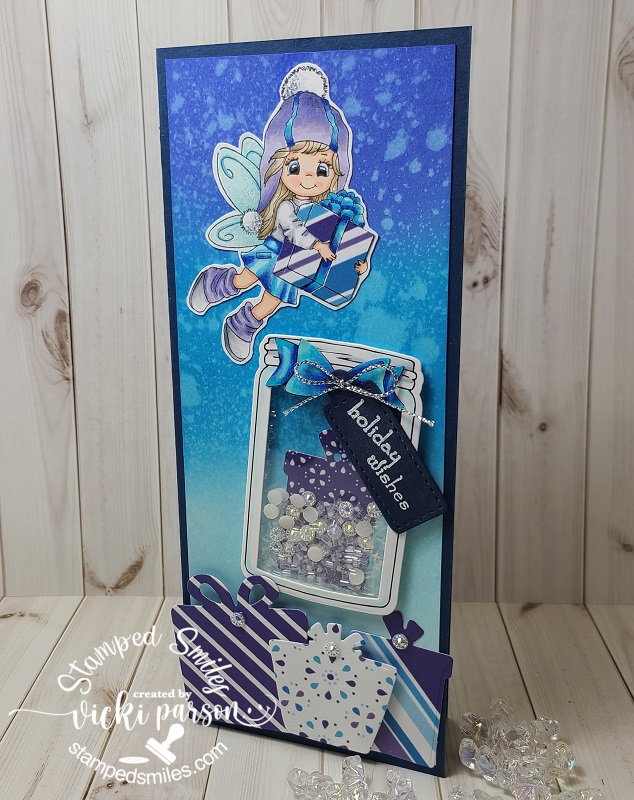
This card was created for Day 6 Photo Inspired Challenge. I thought it was such a darling photo and I noticed that the deer in the photo was so large compared to that little girl and so I was trying to capture that detail about with the photo by making the Bugaboo Ornament Element and this cute moose that was actually part of a tag image that I fussy cut out and attached him to the ornament. (I can’t find the moose I used in the store.) I die cut a snowflake and the “believe” word to attach over top of the ornament. I then took the sweet Bugaboo Ava Mistletoe Fairy that I’ve colored and fussy cut out in a smaller size to place on my scene.
The scene was created with some white Glitterstock that was die cut with a hillside border die with some die cut pines behind it. I also used an embossing folder for the snowfall in the background. I colored the snow with a Copic marker under the images before I attached them to the scene.
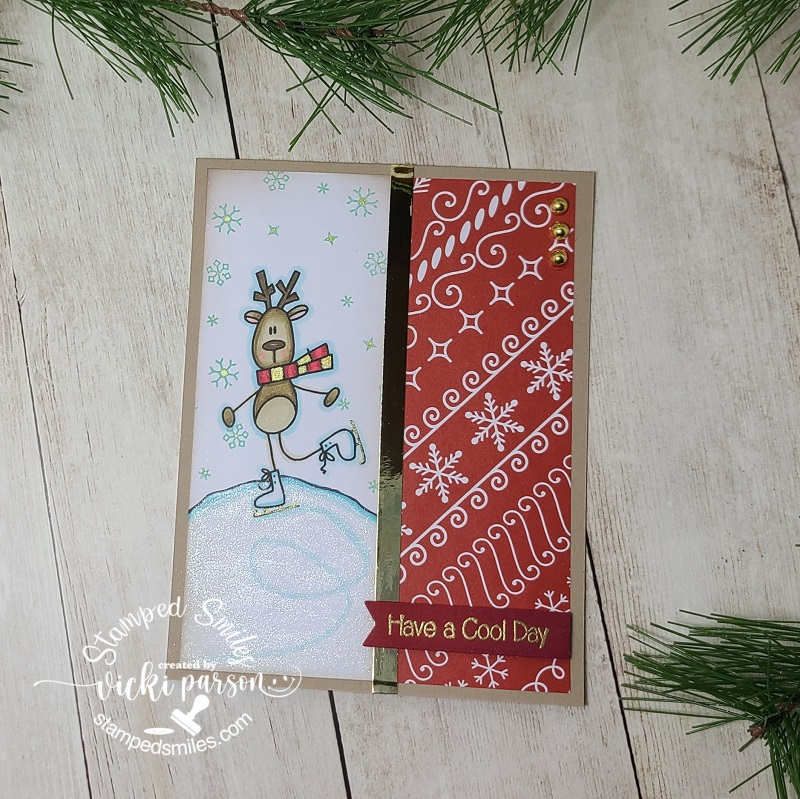
And this card was made for the final Day 7 color combo challenge. Plus, there was this really fun and cute freebie during the event that I grabbed up again before it expired, but it’s the Bugaboo AKV Reindeer Skate image. I colored him up and even created an “ice rink” for him with a pen and then used a Copic marker to make a “skating trail” inside the rink and then I covered the entire area with a glitter pen for shimmer. I also stamped some snowflakes above him and dotted the centers with a gold gel pen which was also used to color part of his scarf with.
I added some papers to the opposite side of the image panel and lined the center between with gold foil paper. I also gold heat embossed a sentiment over a red banner at the bottom and attached three gold accents at the top too. The base of the card is kraft. Hopefully I have met all the challenges. 😉
Thank you SO MUCH for joining me here today friends! I will be back with just one more project for tomorrow as I need to meet another deadline for a challenge…so I’ll see you again soon!
Challenges:
- Catch the Bug – Holiday Chaos Day 4 BINGO!
- Catch the Bug – Holiday Chaos Day 5 “Make Us Laugh!”
- Catch the Bug – Holiday Chaos Day 6 Photo Inspiration
- Catch the Bug – Holiday Chaos Day 7 Color Combo
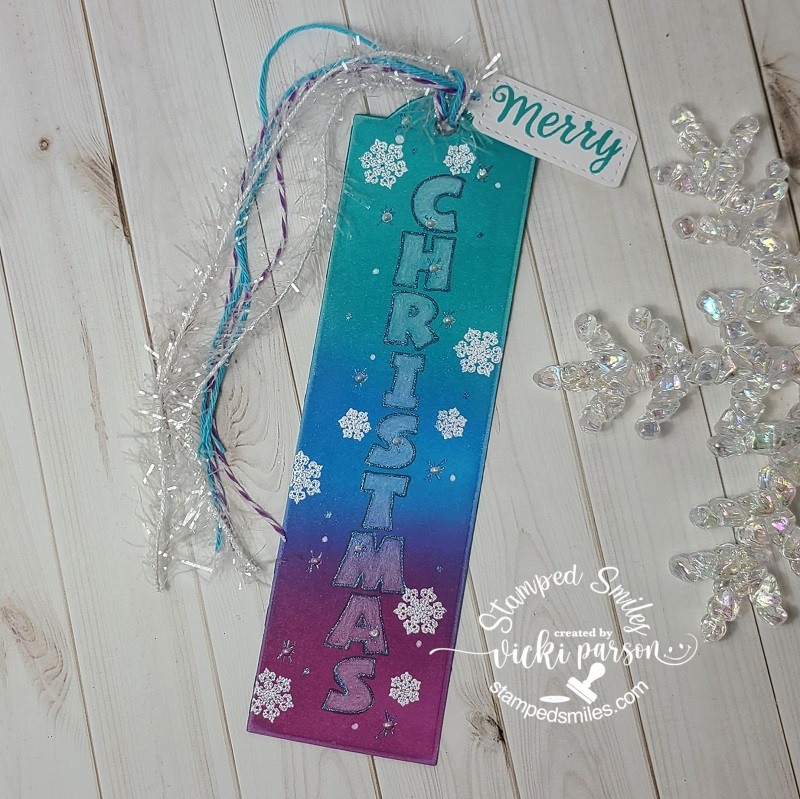
- Papercraft – #65 Snowflakes (second card)
- CRAFT – #581 Christmas the Last Stretch
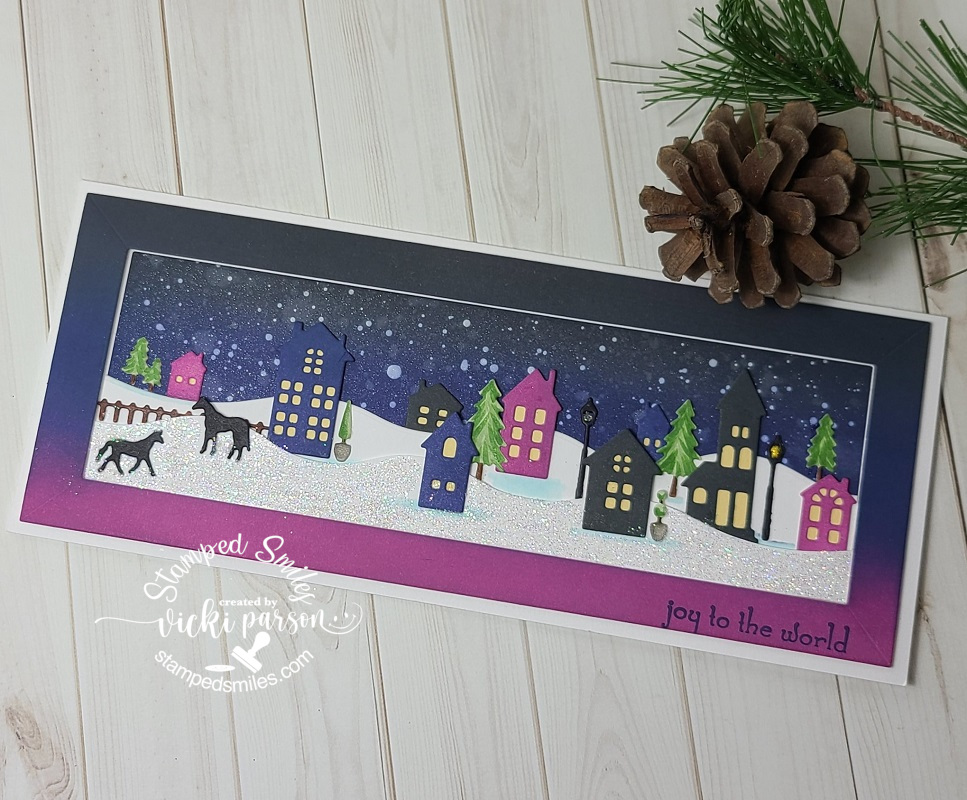
- Alphabet Challenge – ‘S’ is for Snow Scene (third card)
- Lil Patch of Crafty Friends – #148 Anything Goes
- Christmas Kickstart – #45 Christmassy