Hello friends and happy Friday! The weather has decided to cool down quite a bit over the last couple of days and it’s been very nice to have the windows open for a change! I think we’re supposed to have another spell of warm weather, but I’ll take the cool down for now!
Today is a new challenge over at the Alphabet Challenge Blog! Our next letter is “K”, and the hostess has chosen “K is for KEEP IT SIMPLE” (CAS style) *Please remember that this is a bi-weekly challenge, so you have two weeks to enter.* I hope you’ll join in the fun with us. Here’s the project I’ve made for this challenge:
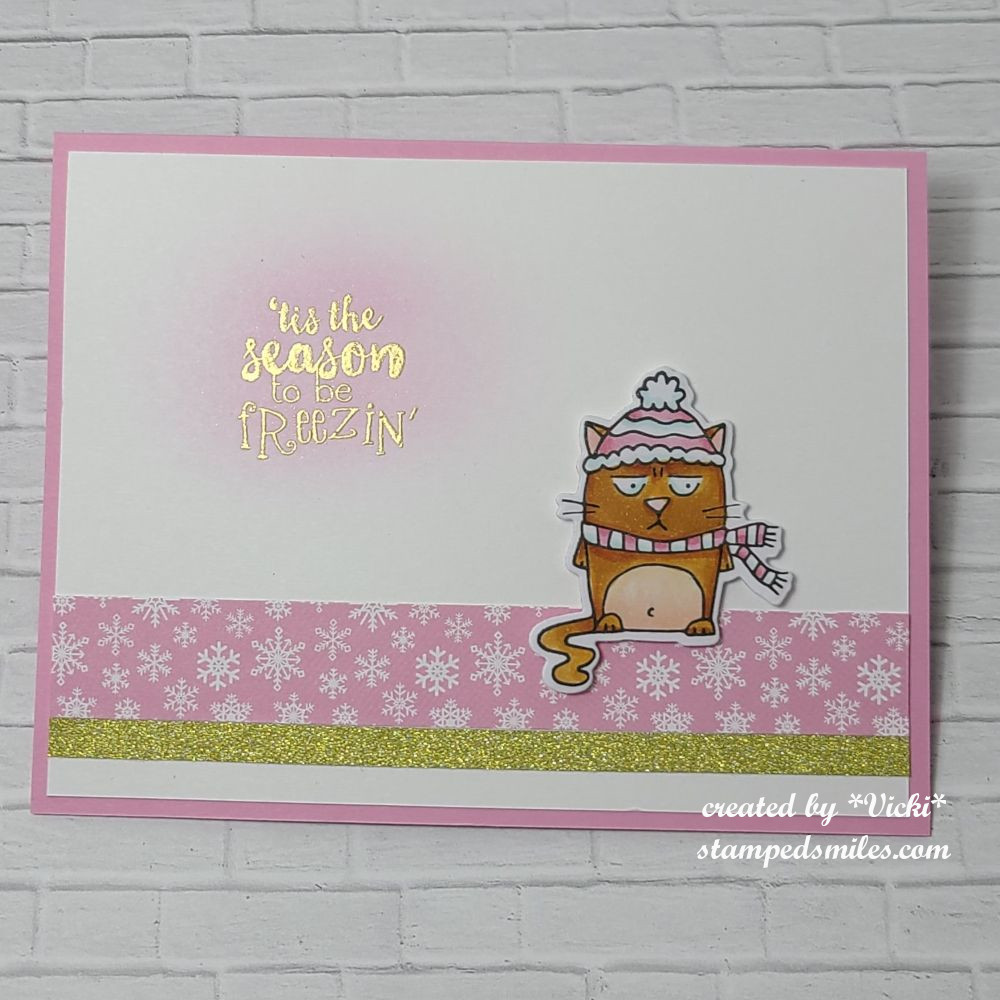
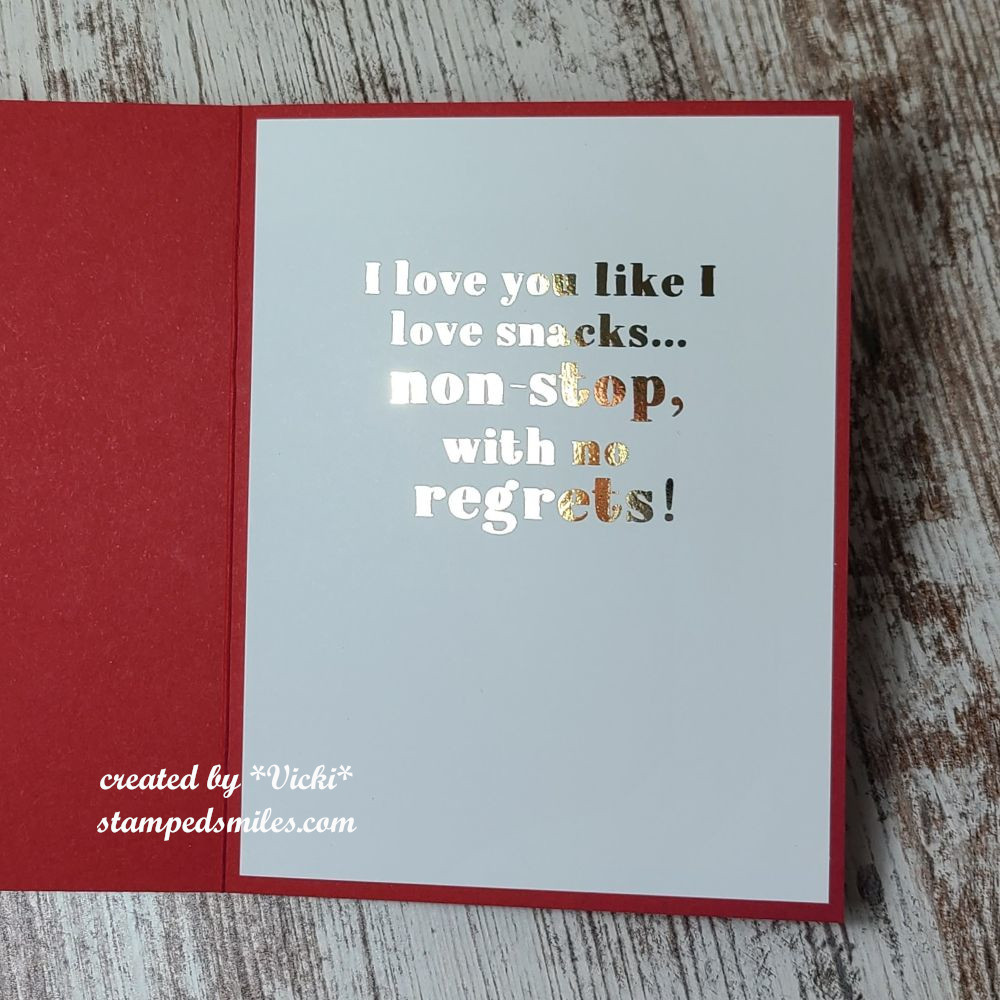
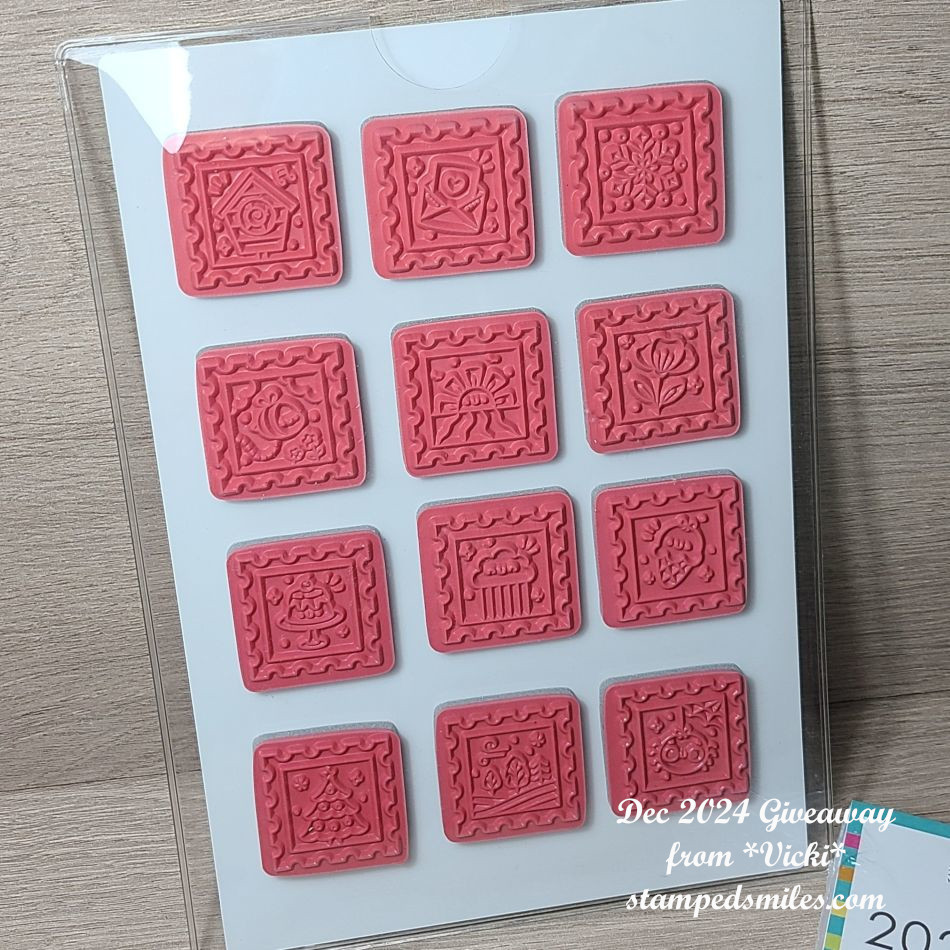
That cat is not a fan of winter! LOL I do love me some snark for the Holidays, so I thought this stamp set called “Holiday Grumplings” (retired stamp set) from Taylored Expressions would be great for a simple Holiday card.
I also think that CAS style cards are great for pulling out those left over scraps from your papers for little strips to create a simple layout, so that’s what I did here. I stamped, colored with Copics the kitty and popped him/her up with foam tape over the snowflake strip.
Lastly, I just added a light brush with pink ink to the left of the kitty and then gold heat embossed the sentiment over it. Placed the white panel over a pink A2 sized top folding card base and done.
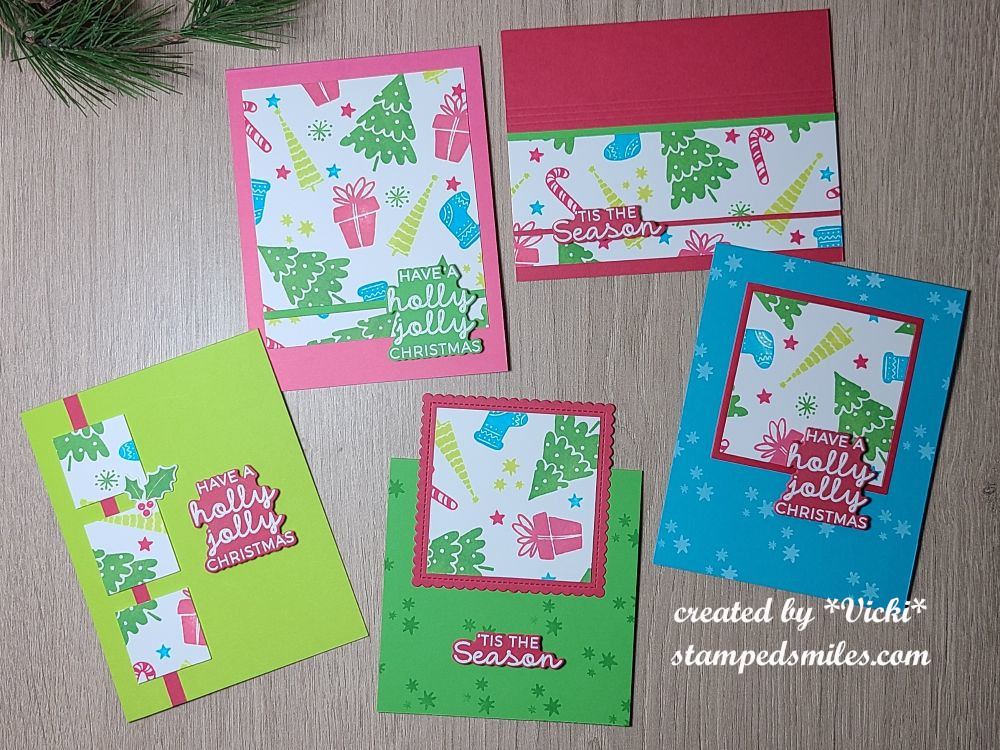
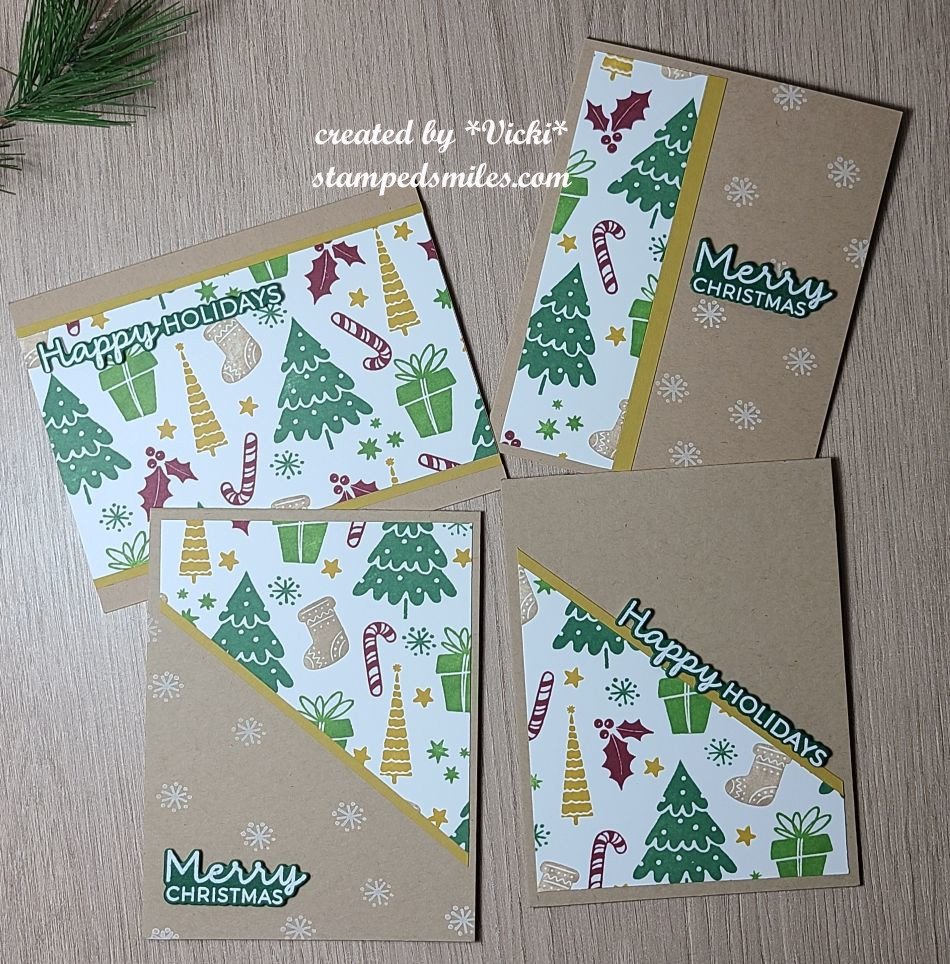
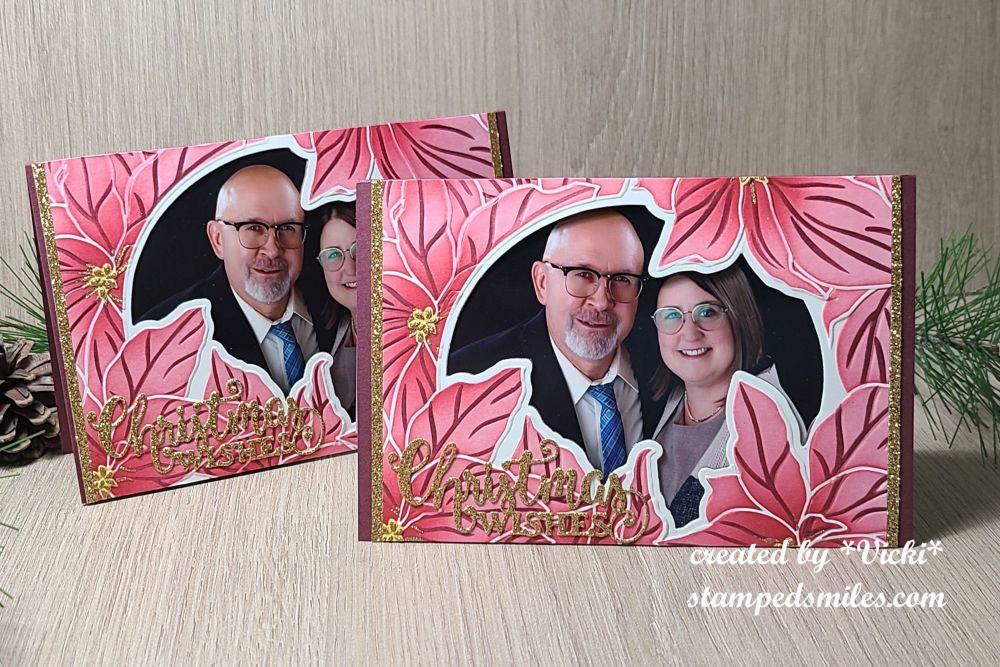
- I’m happy to report that I’ve spent some time going through my stash of cards and realized that I have several already finished and ready for sending out Christmas cards! So I’m basically DONE for Christmas cards! Yay! The first time ever that I’m ready ahead of time! NOW…hopefully I’ll send them out on time too! LOL
Hope you’ve enjoyed my card today and helped to inspire you to “KEEP YOUR CRAFTING SIMPLE” and join us for the challenge! Look forward to seeing what you make! Thanks so much for stopping in today!
Challenges:
- Critter Crazy – #102 Anything Goes with Featured Critter
- Crafty Animals – #98 Anything Goes including Animal
- Pammie’s Inky Pinkies – PIP2535 Anything Goes
- Merry Little Christmas – #64 Anything Christmas Goes
- Creative Inspirations – #202 Christmas in September