Hello friends! I hope that you’re having a great start to your week! We’re almost there as Christmas approaches us quickly! I’ve been enjoying the Season and having fun keeping busy. Currently baking cookies and decided to take a break from that to sit and make a post about all of things that I’ve been doing besides posting!😆
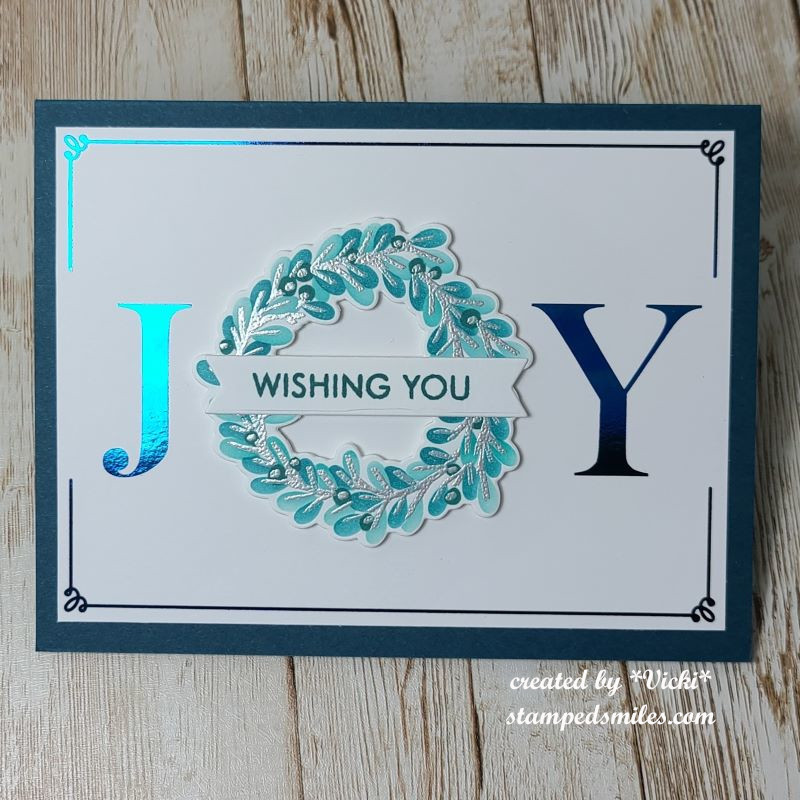
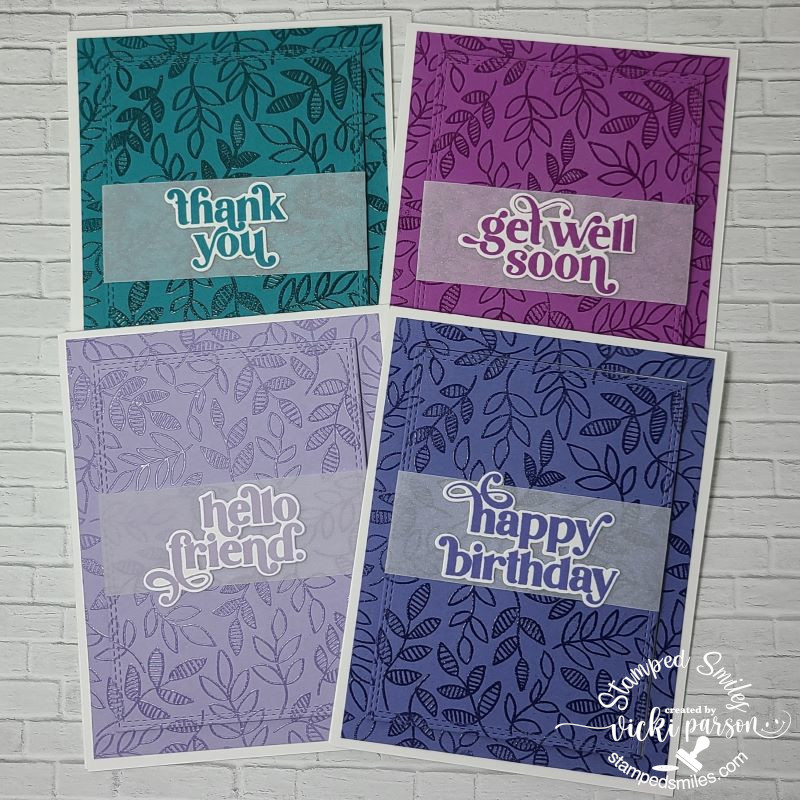
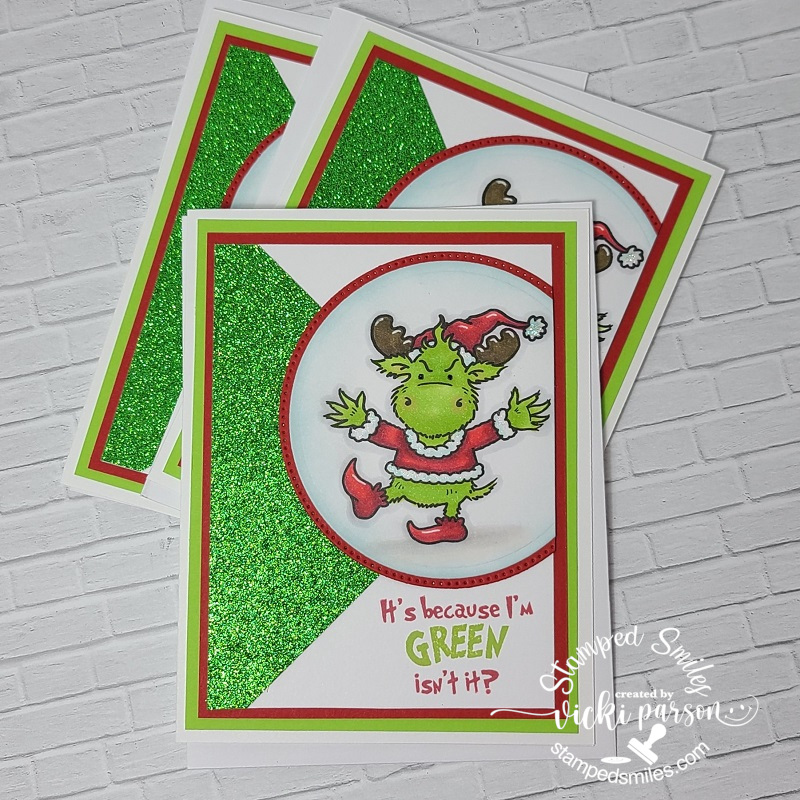
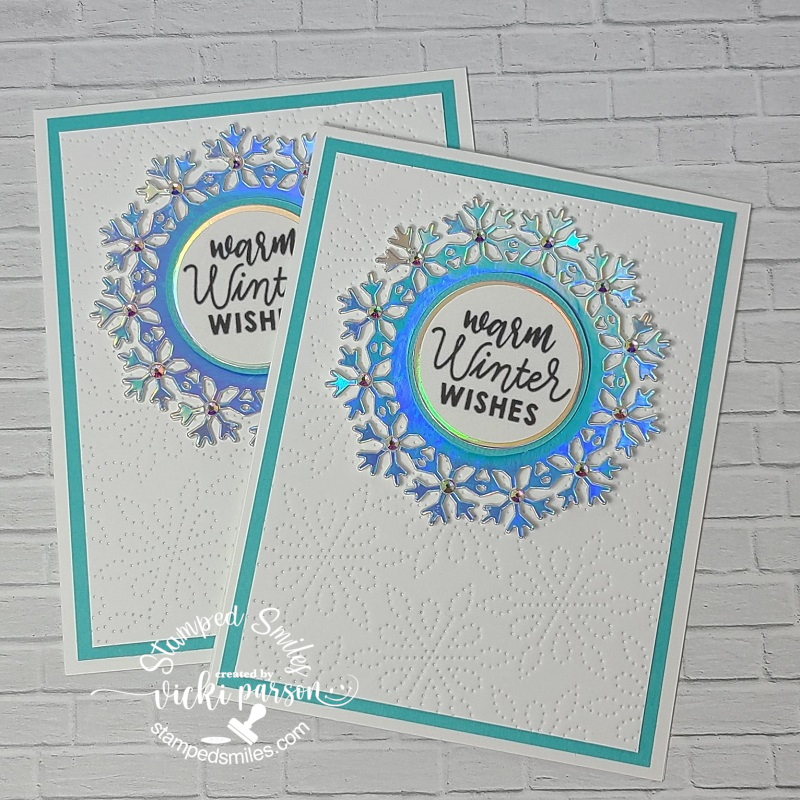
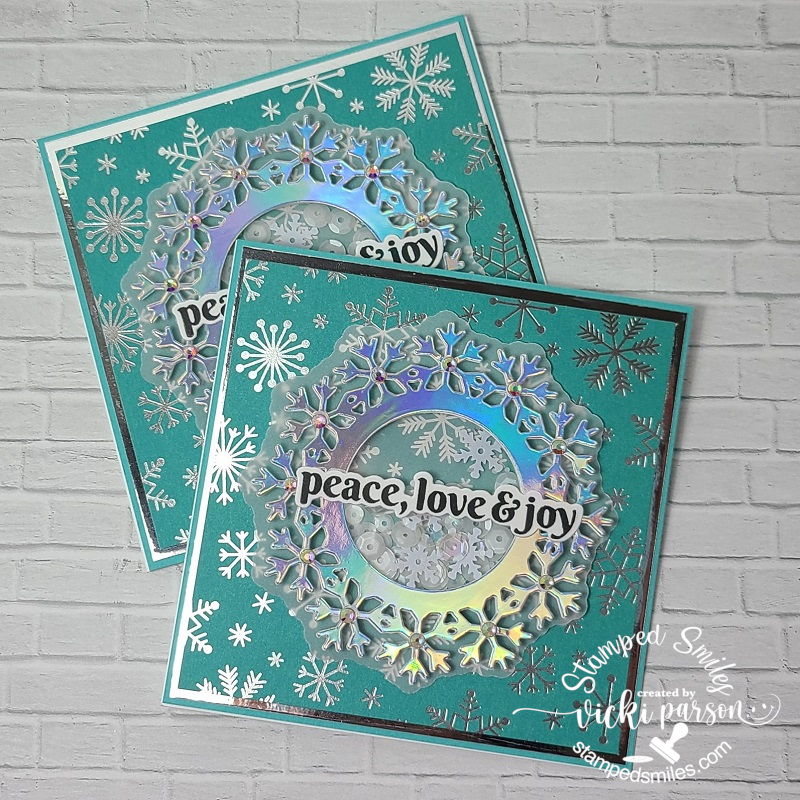
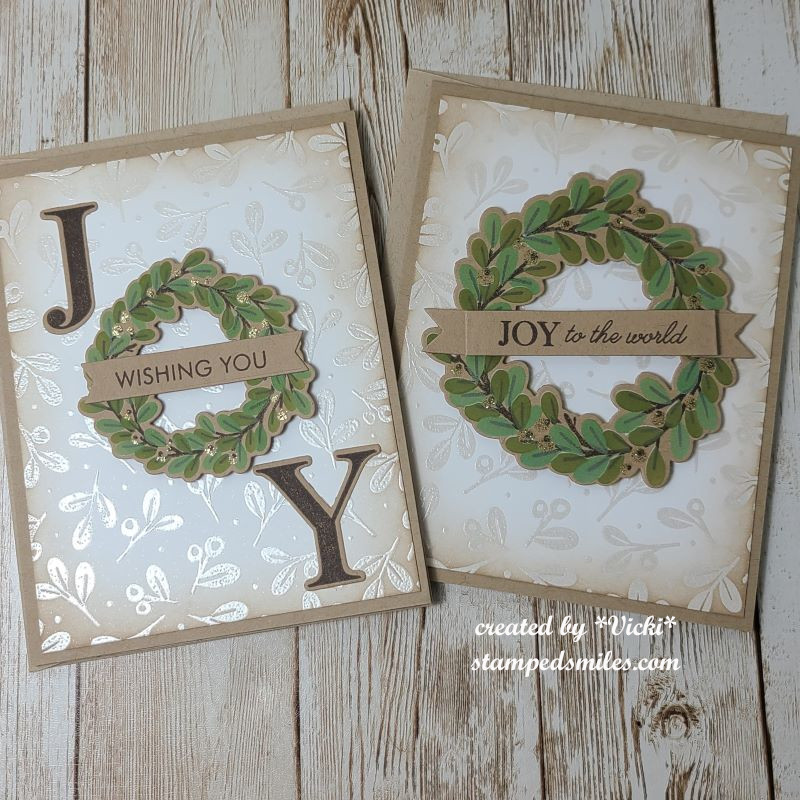
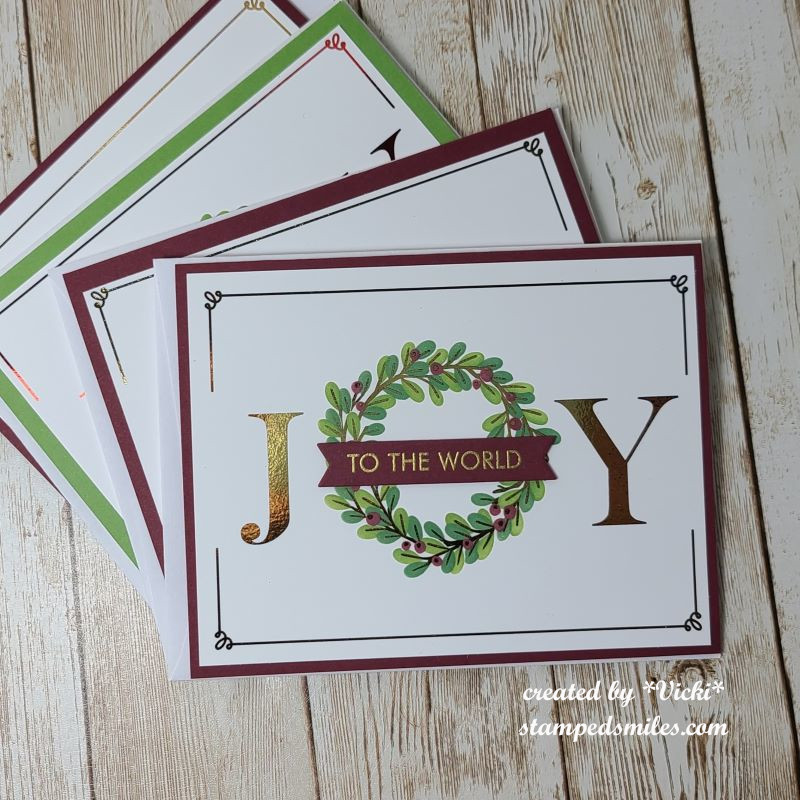
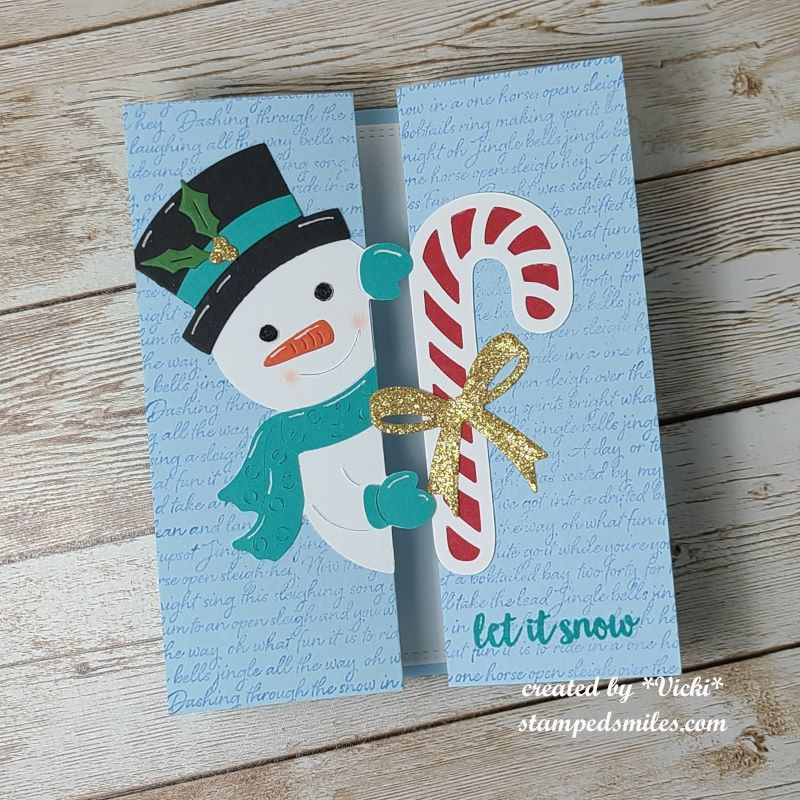
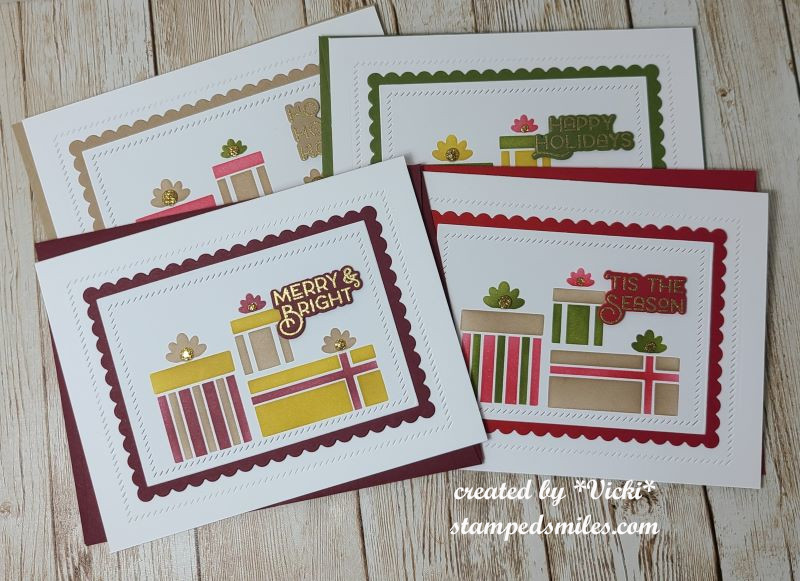
This is just one of the several similar cards that I created for my Christmas cards this year. It came from a Christmas in July card kit from Taylored Expressions. It mainly used the Wreathed in Joy Stamp & Stencil Combo set. There are dies you can cut them out with as well as foilable panels which is shown on this one.
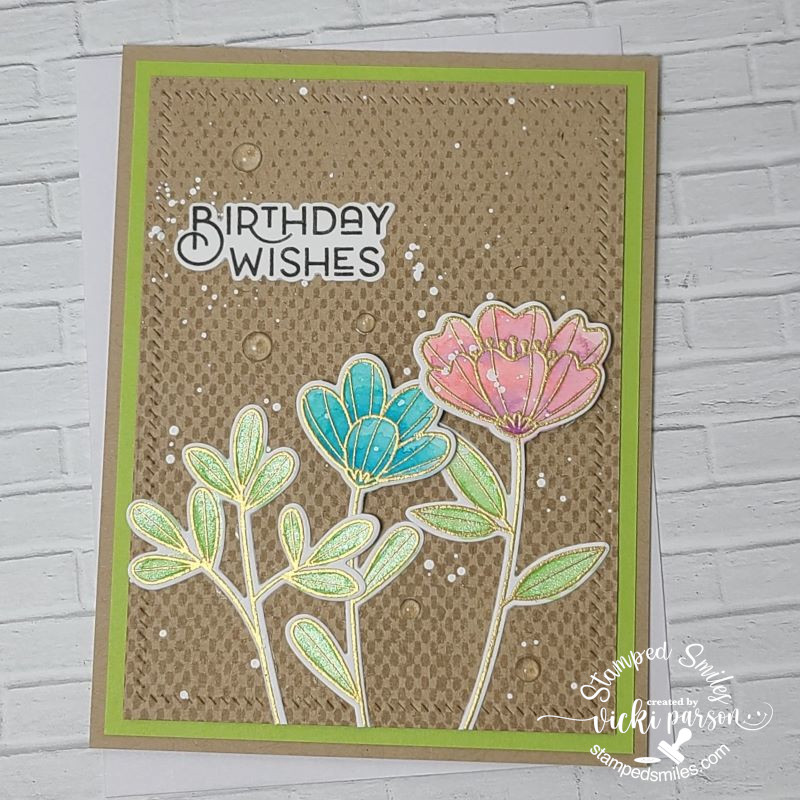
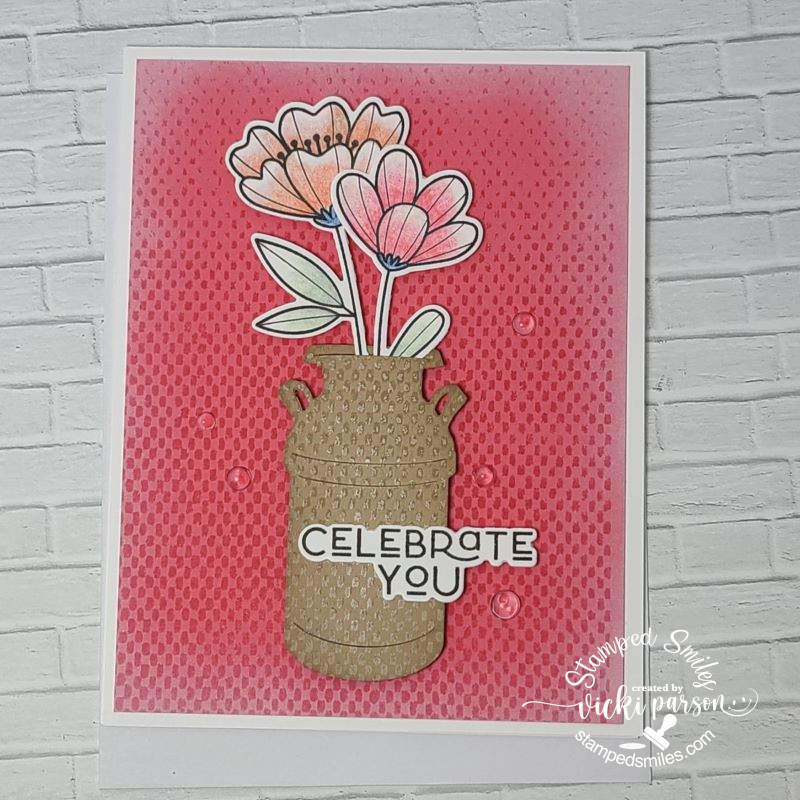
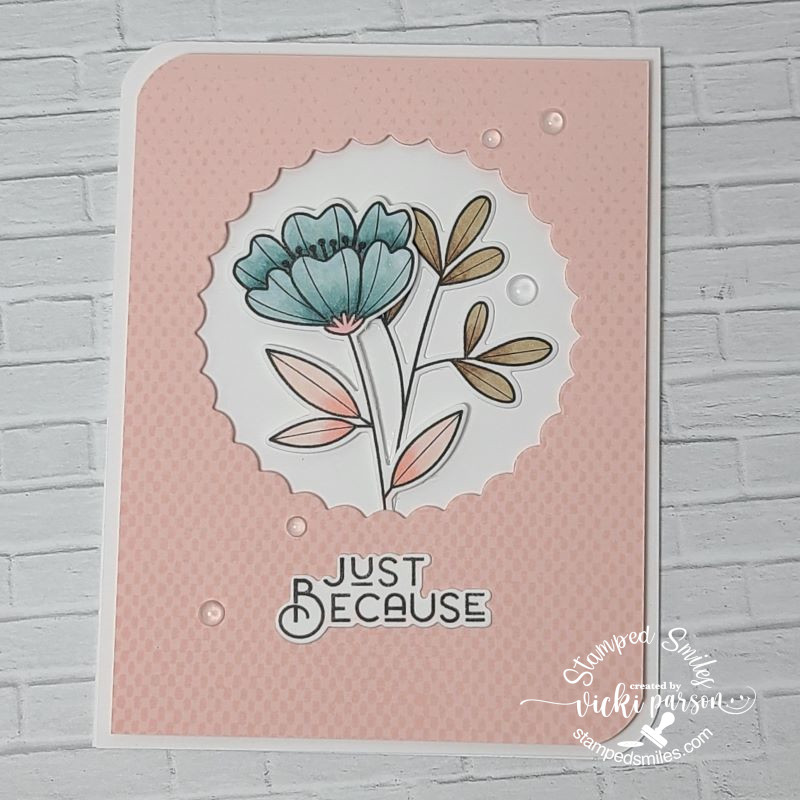
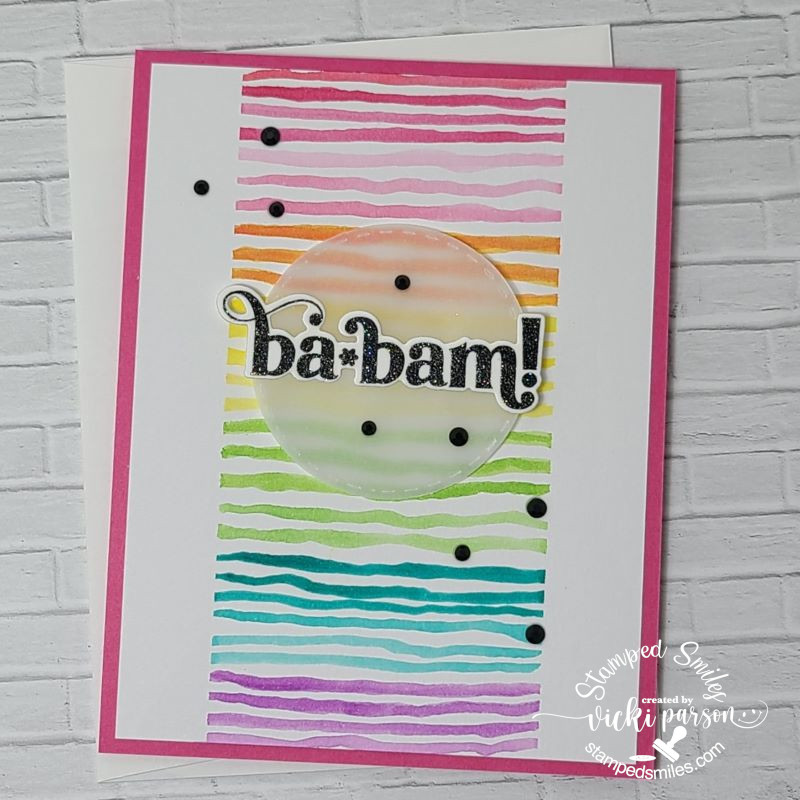
I do not like to make several of the “same thing”, so I’ve changed them up to different colors, layouts, etc. So you can see the different versions I’ve done below. (If you are visiting my web page, just click on each photo to see it enlarged.)
*Apologies for the messy stack for photo taking…it was a lot to do all at once!


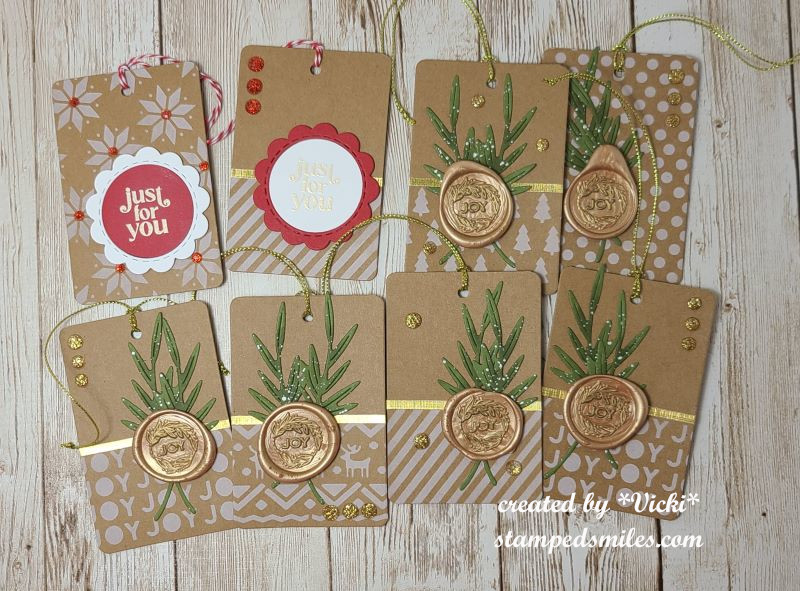
I thought these would be enough for all of the Christmas cards to send out, but I realized going back through my list that I wasn’t going to quite have enough.
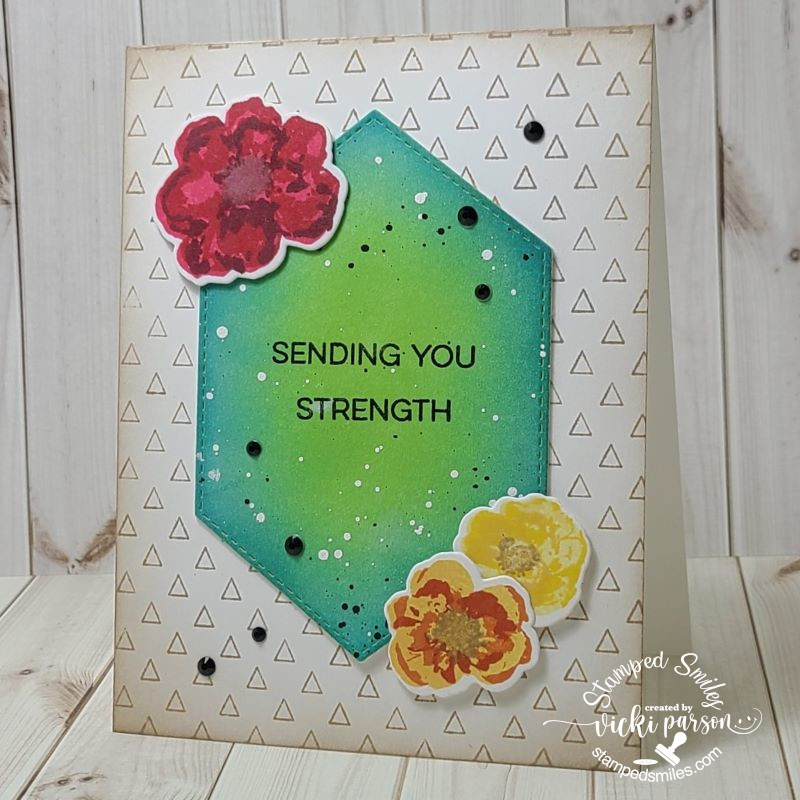
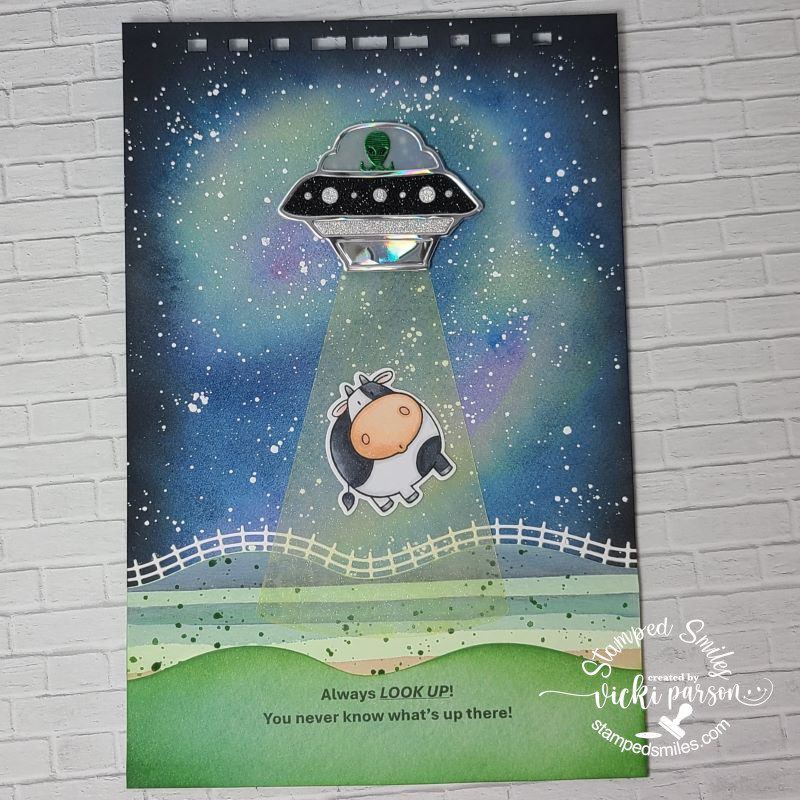
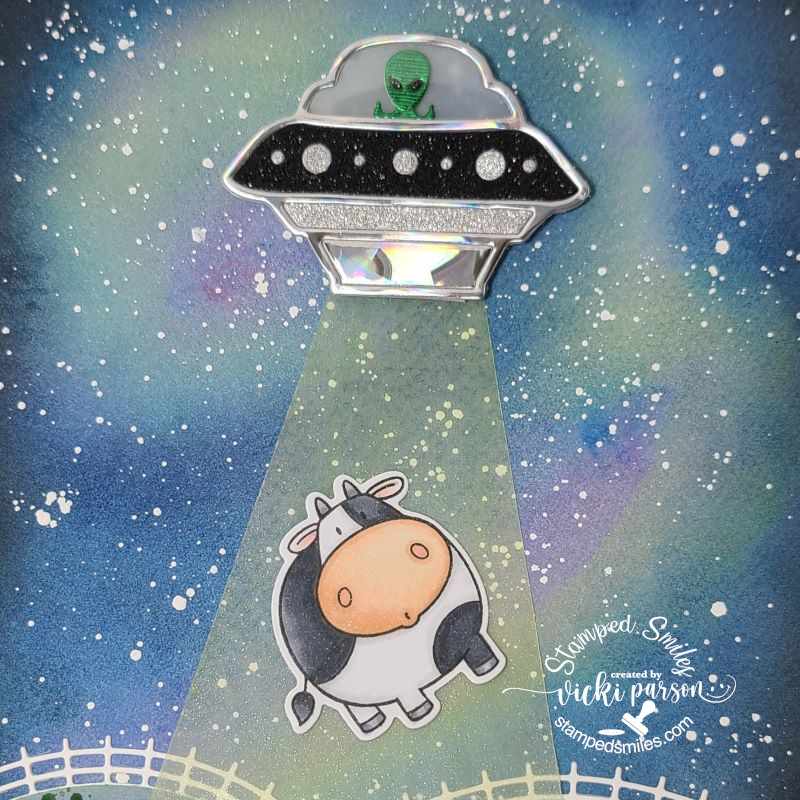
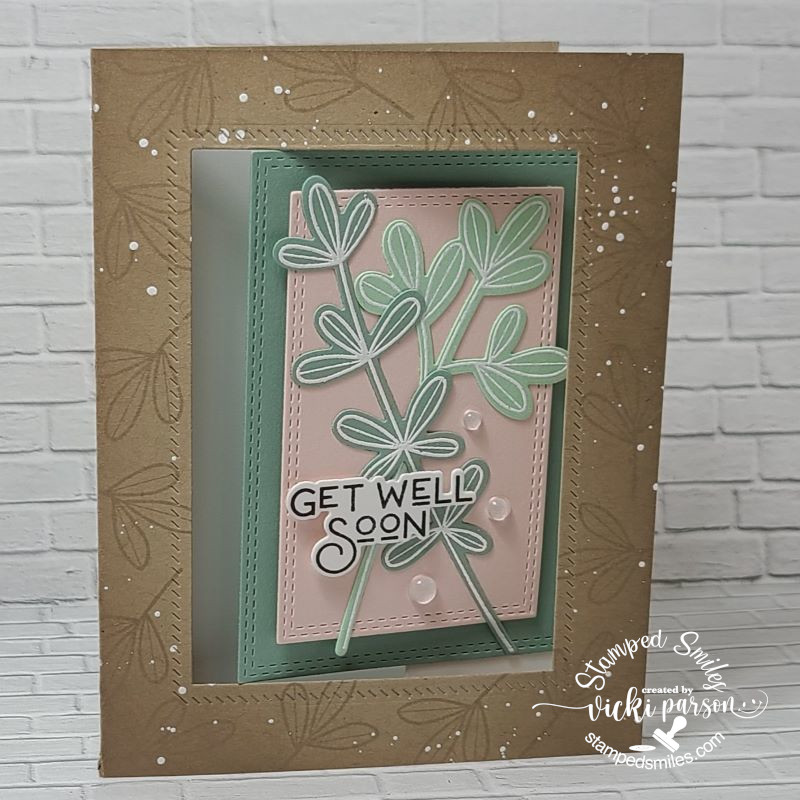
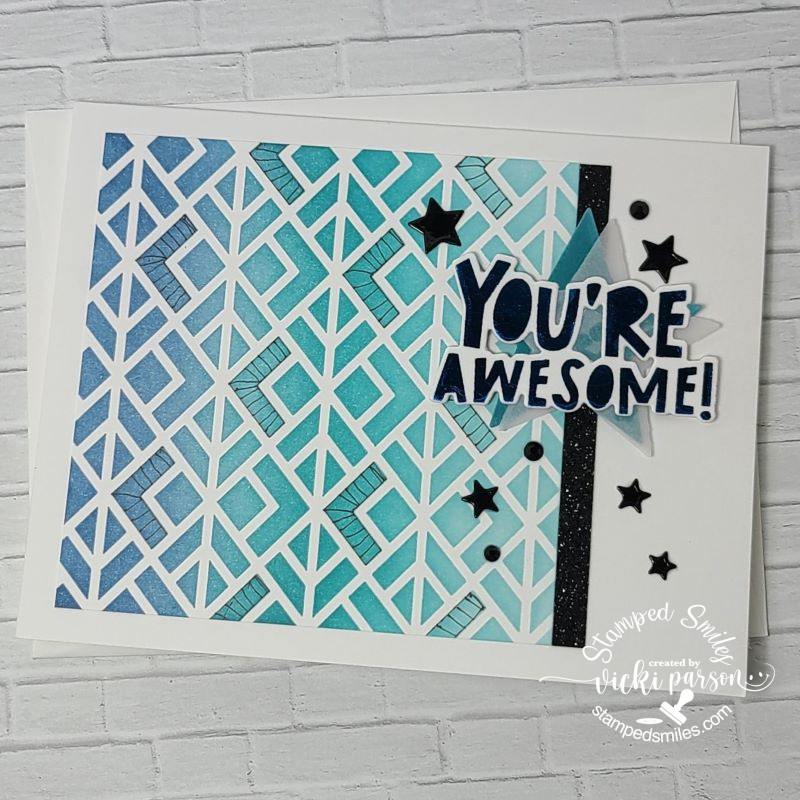
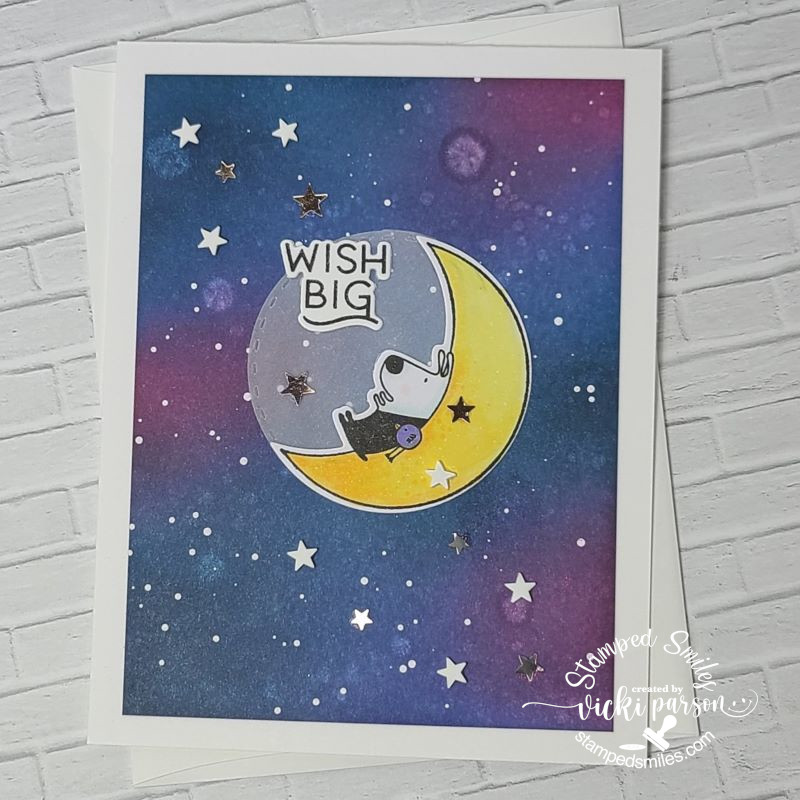
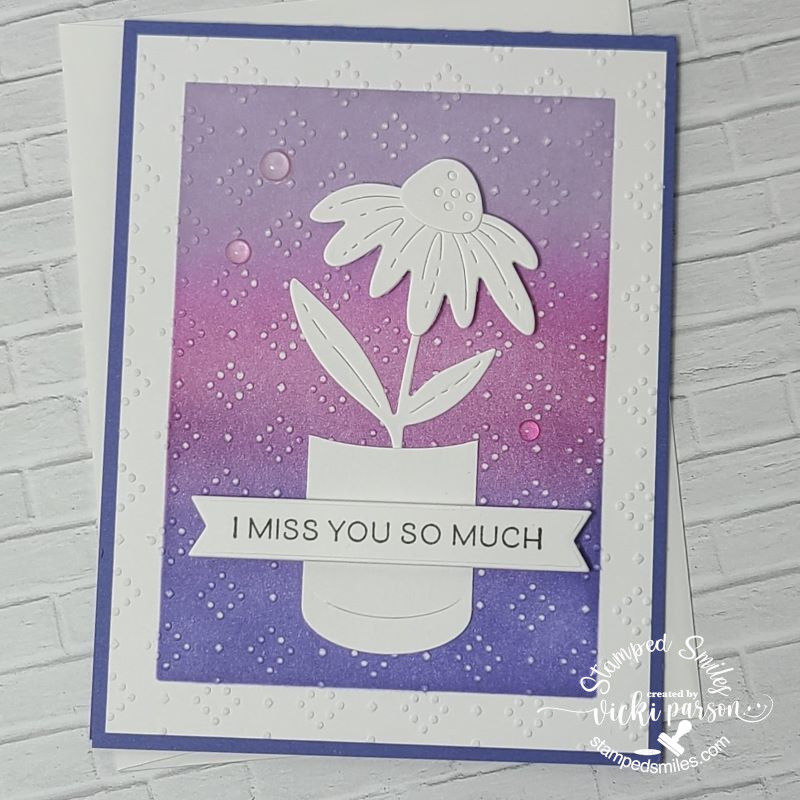
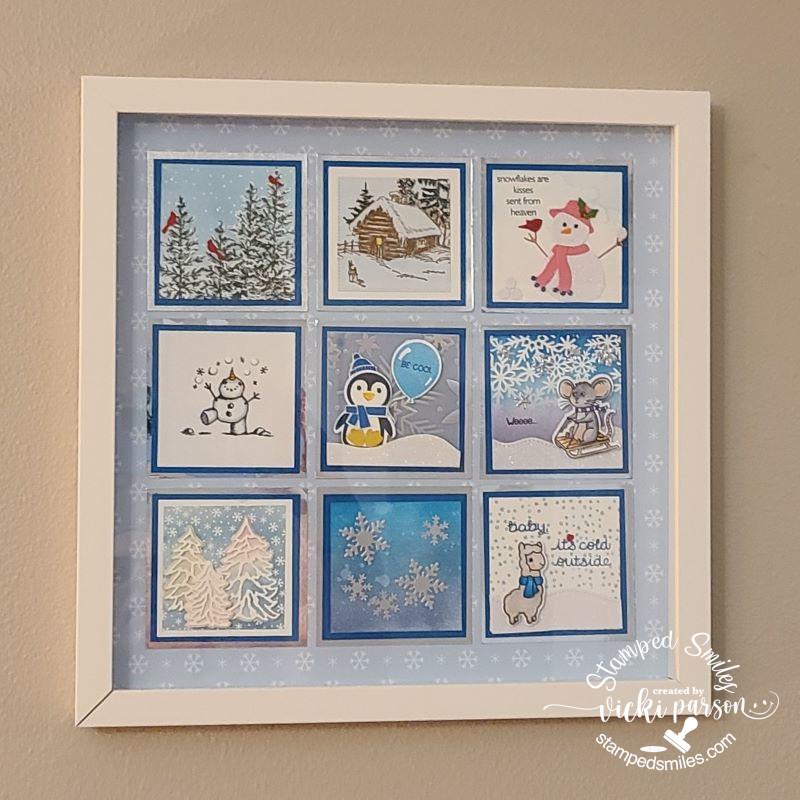
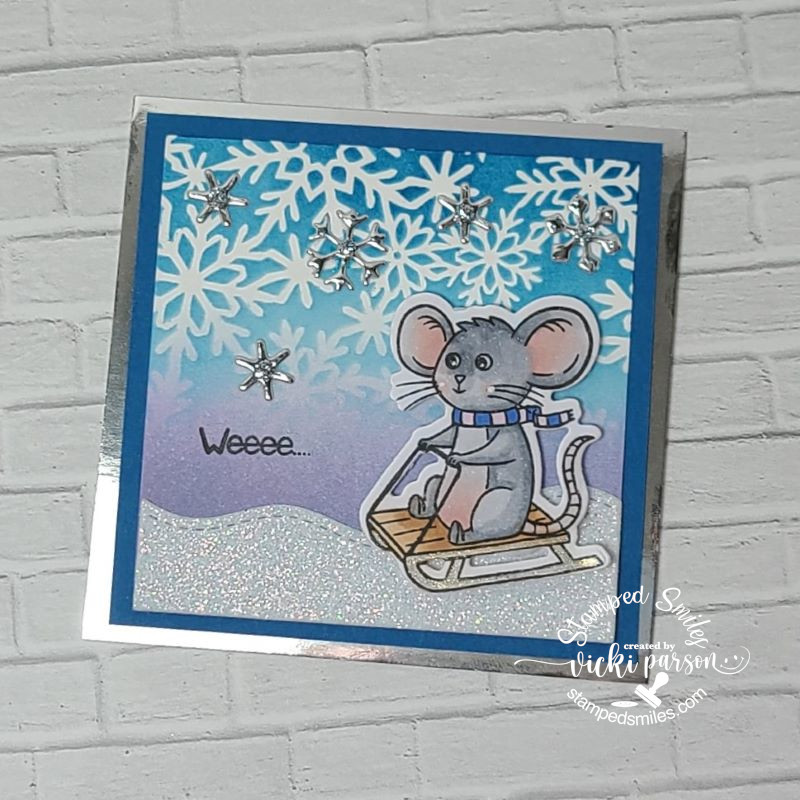
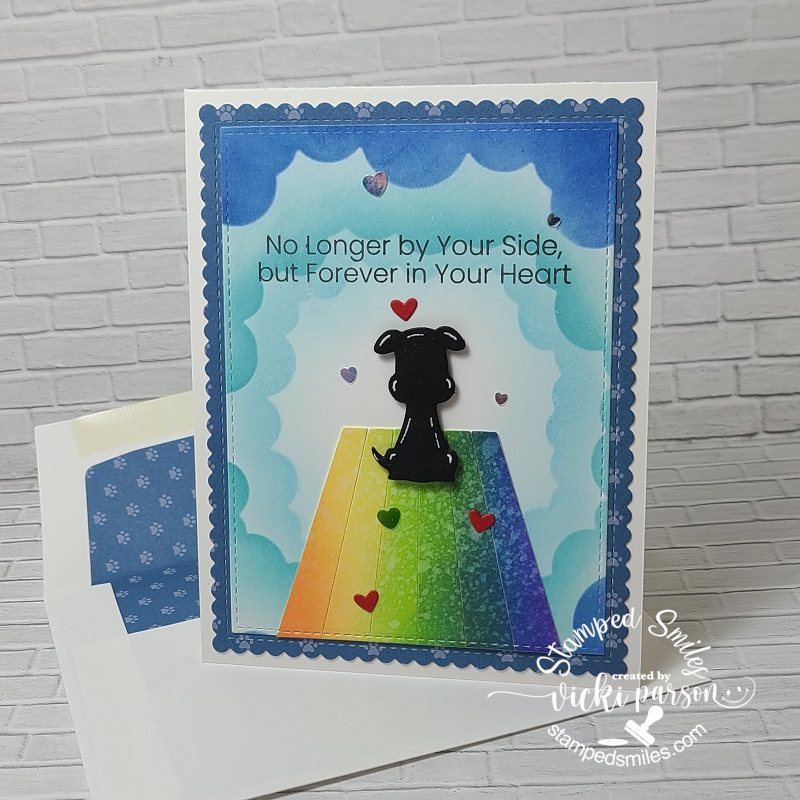
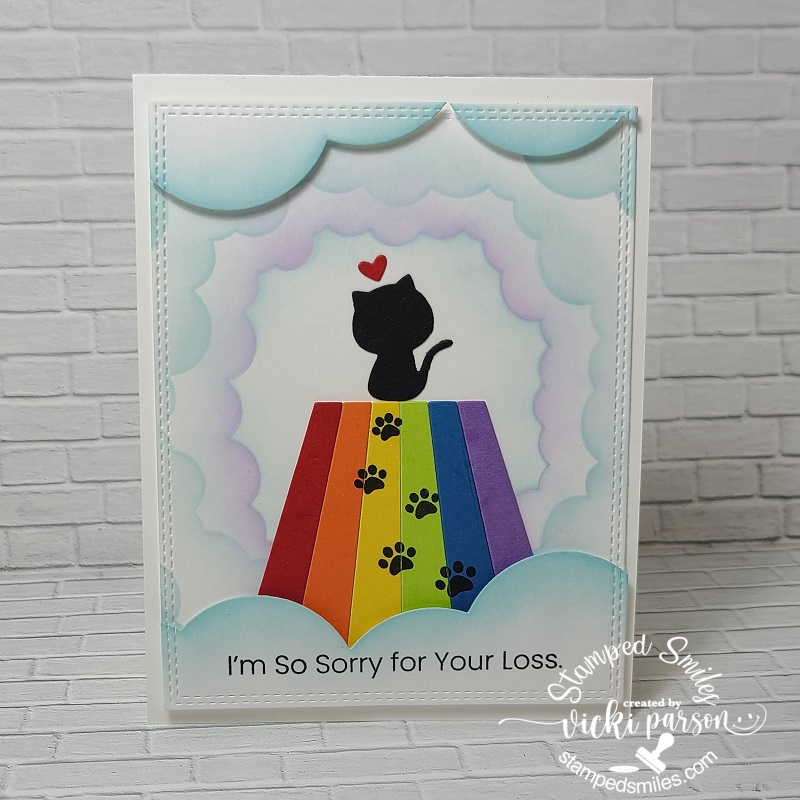
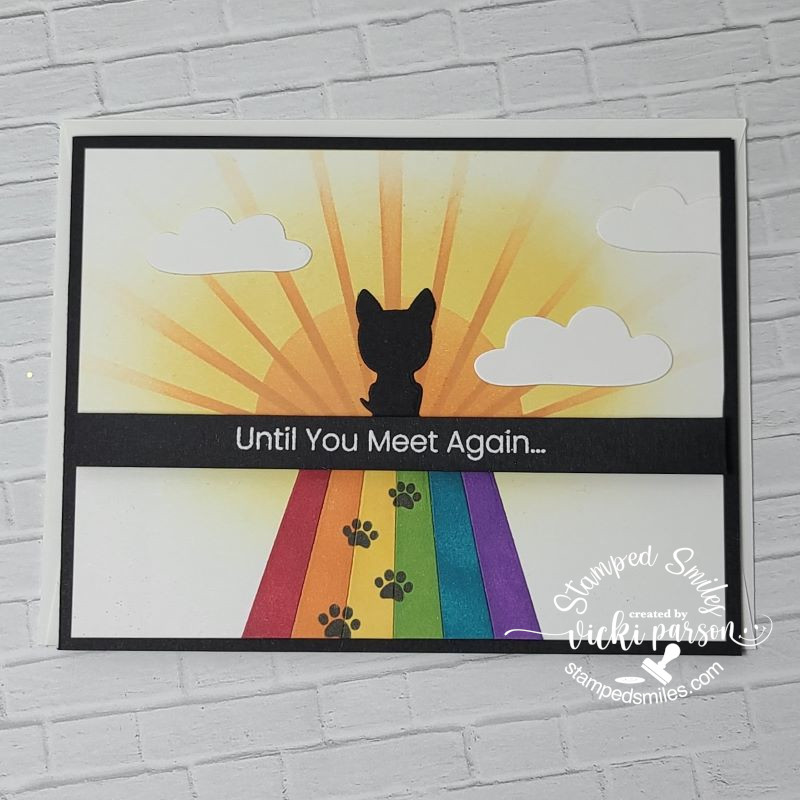
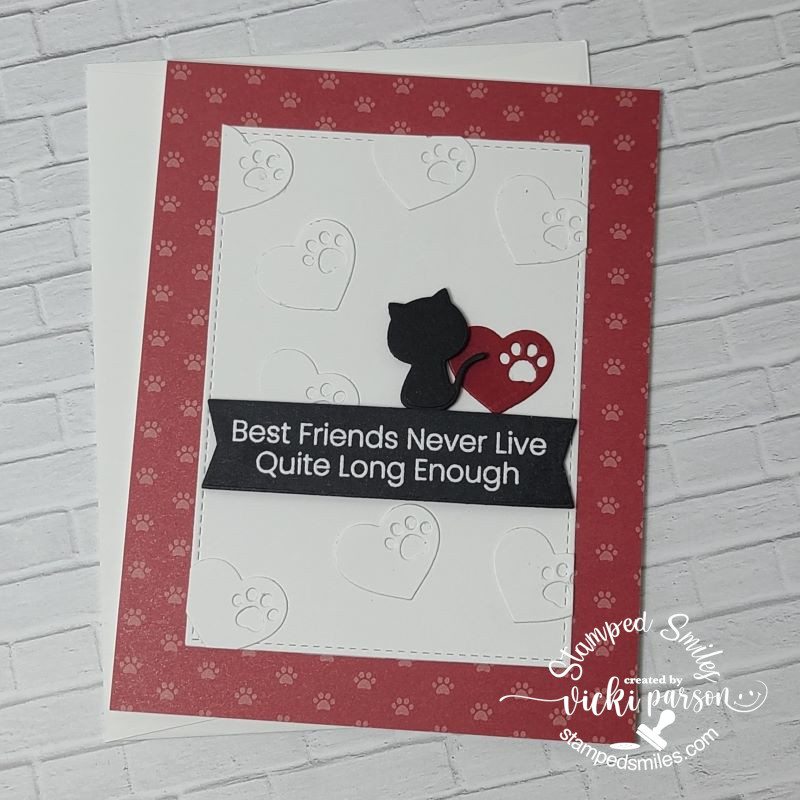
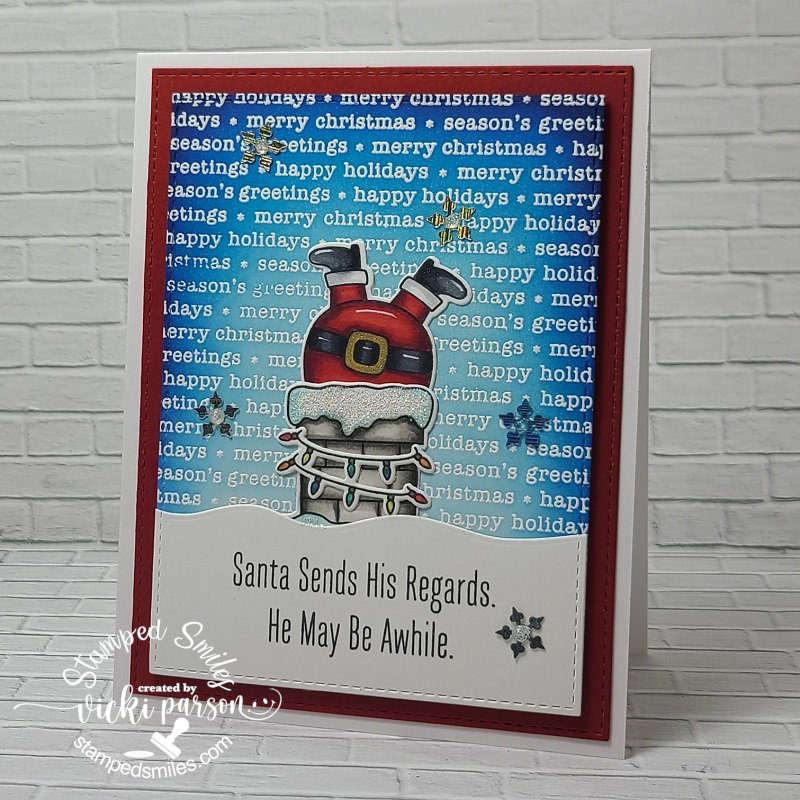
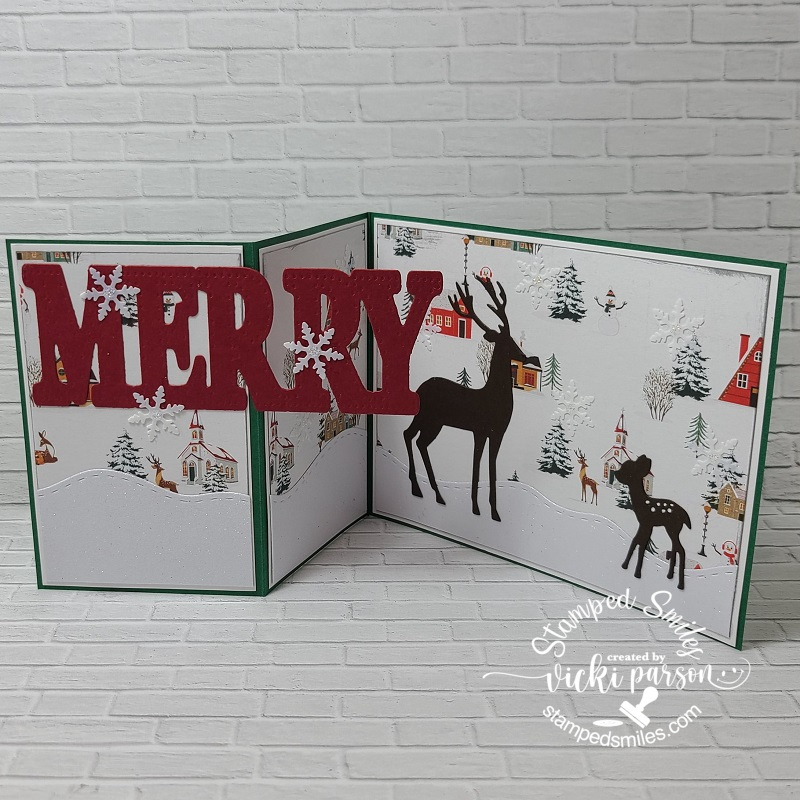
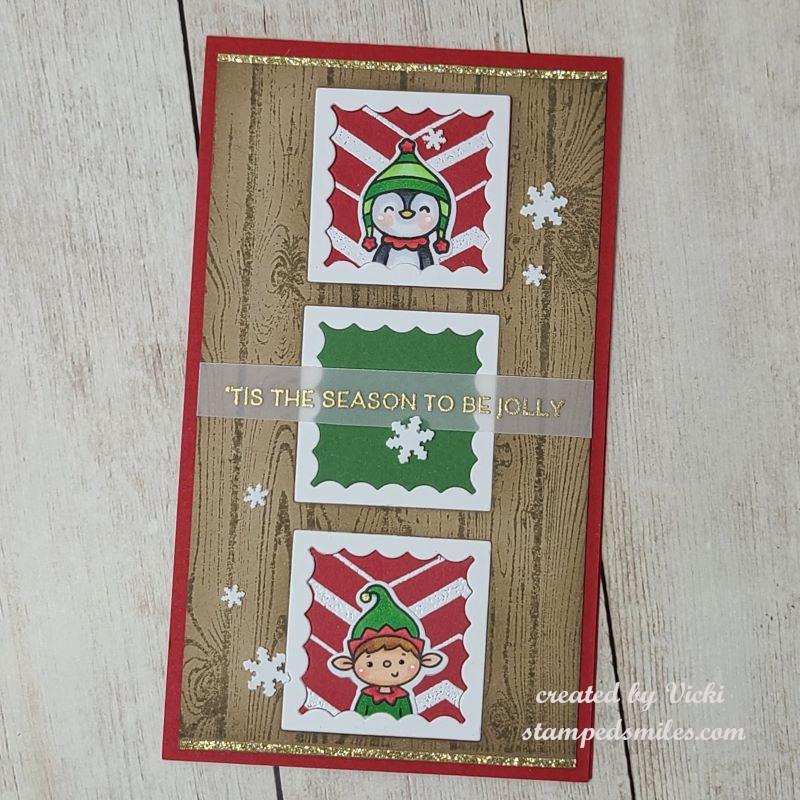
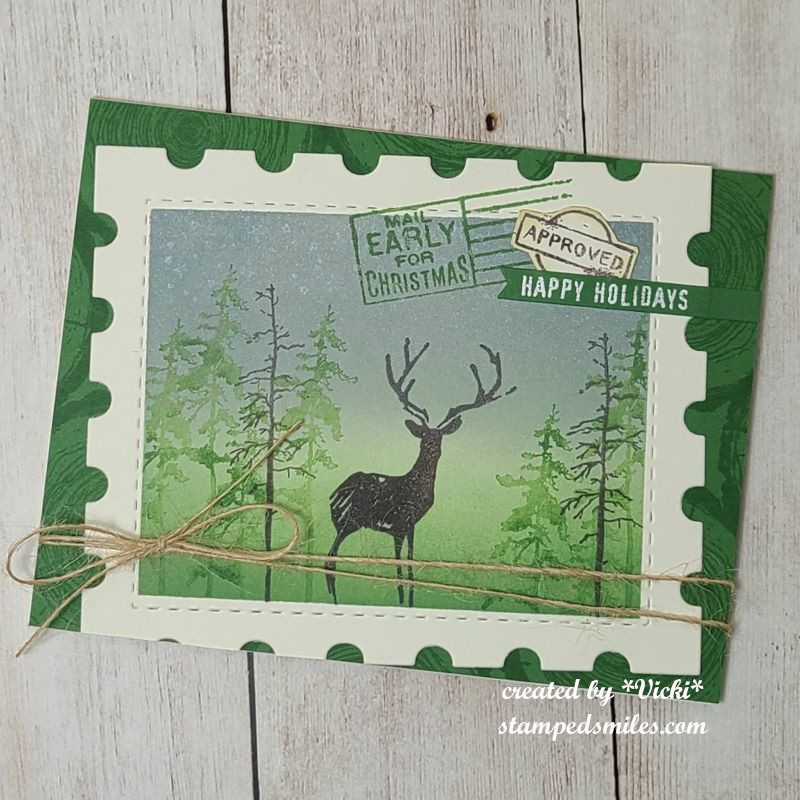
So I’m glad that at the beginning of this month I took a Hero Arts Stamp-a-Long and made several different types of Christmas cards. Here are the results of these below: (Again, if you’re looking on my web page, just click on the photos to enlarge them.)
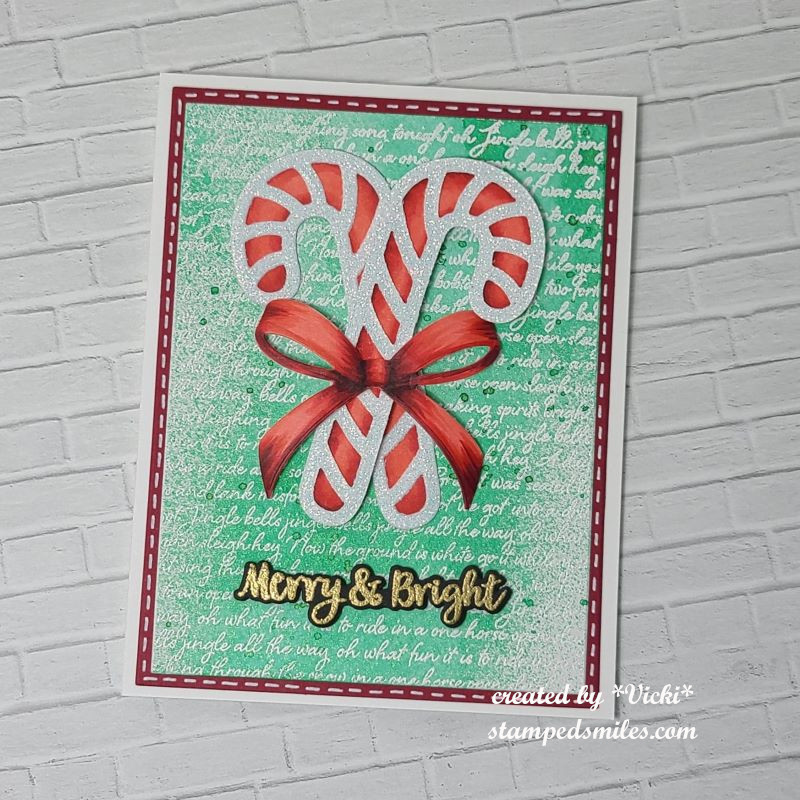
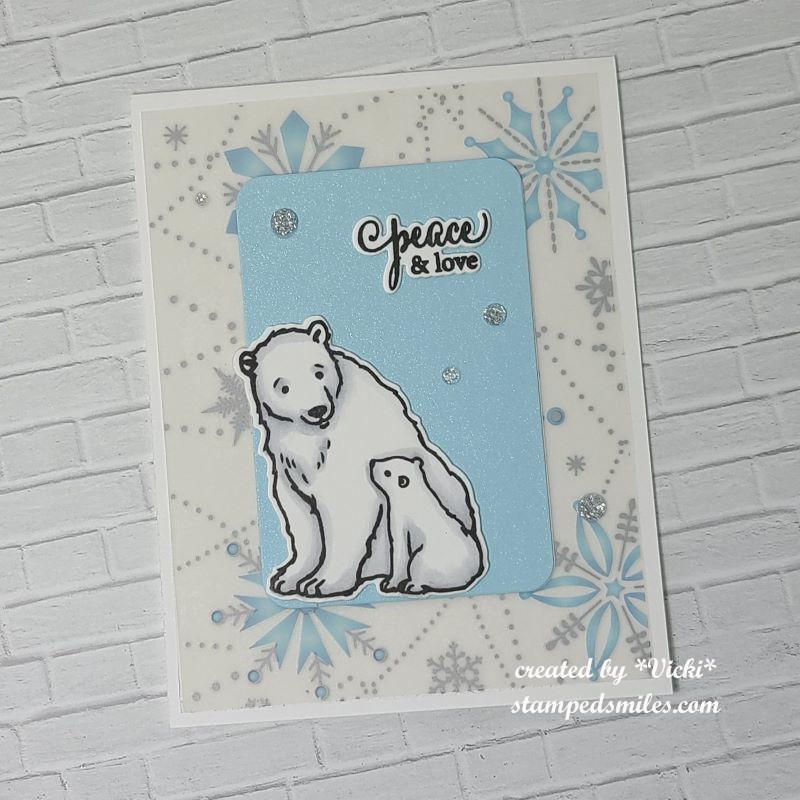
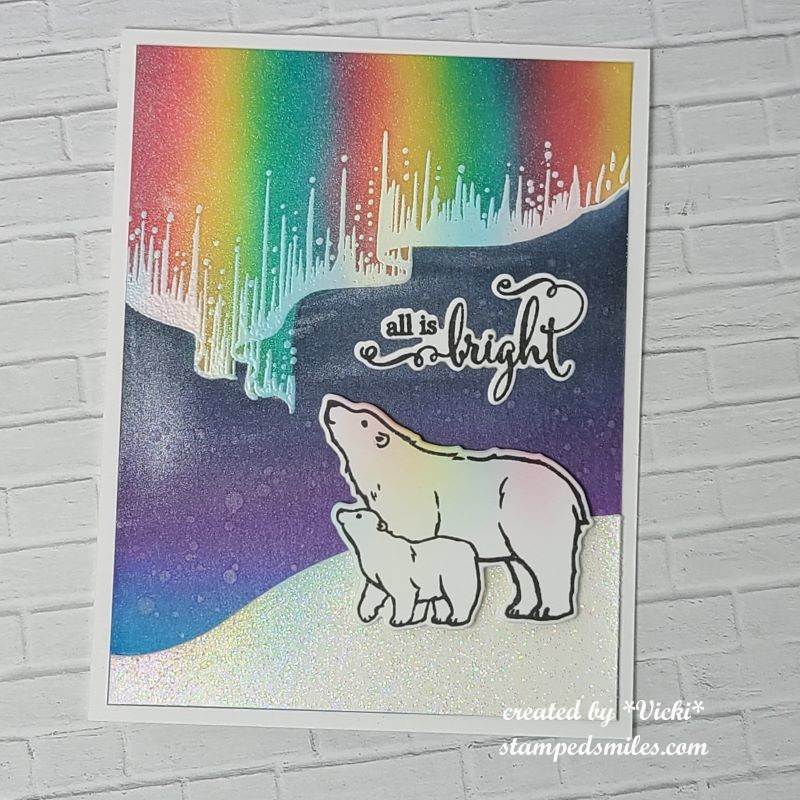


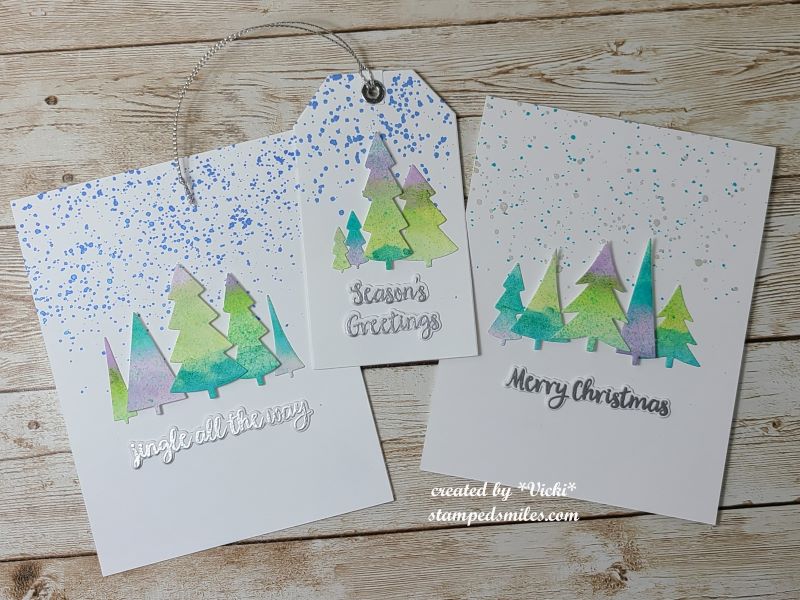

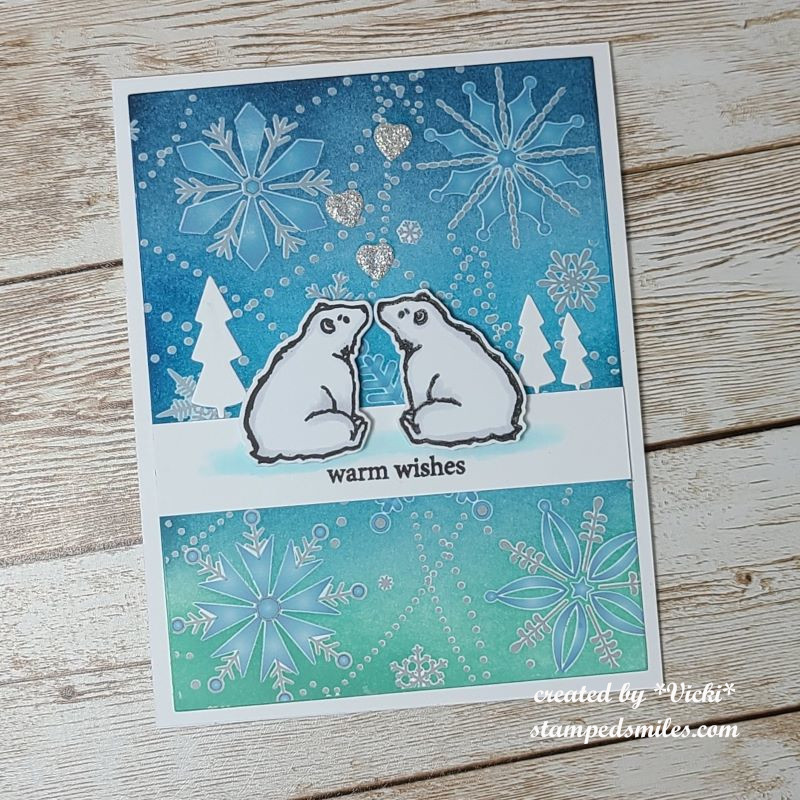
So some of these were also taken and used for sending out more Christmas cards. I’m glad that I did the projects for this class or I probably would not have had enough cards.
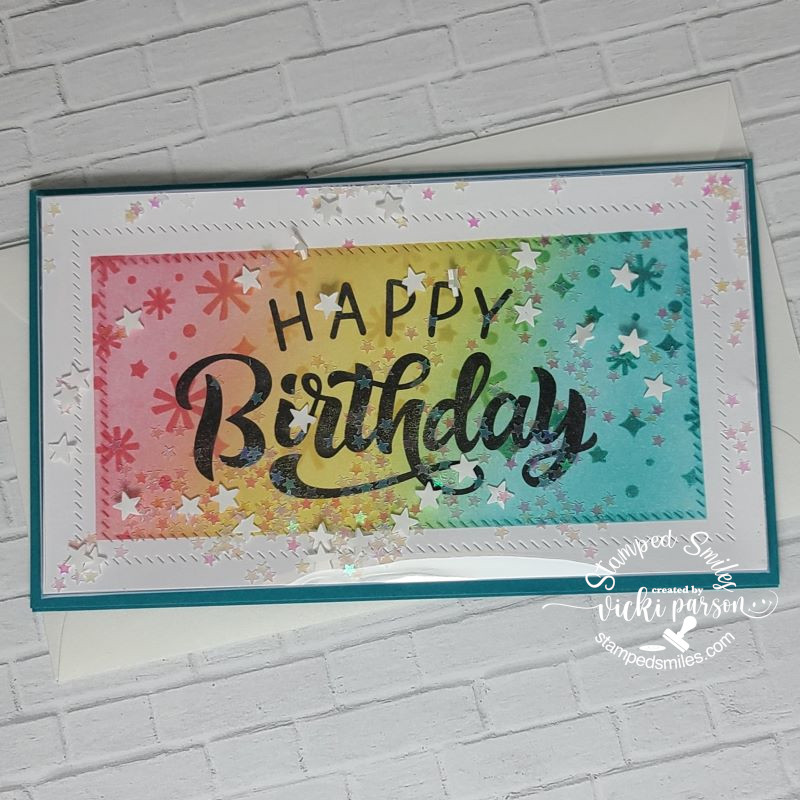
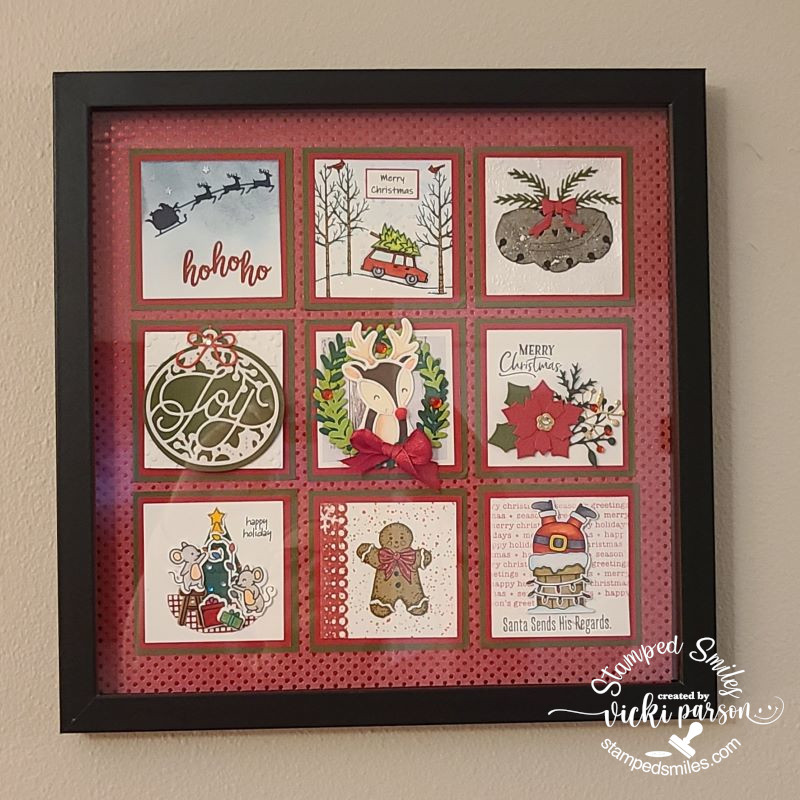
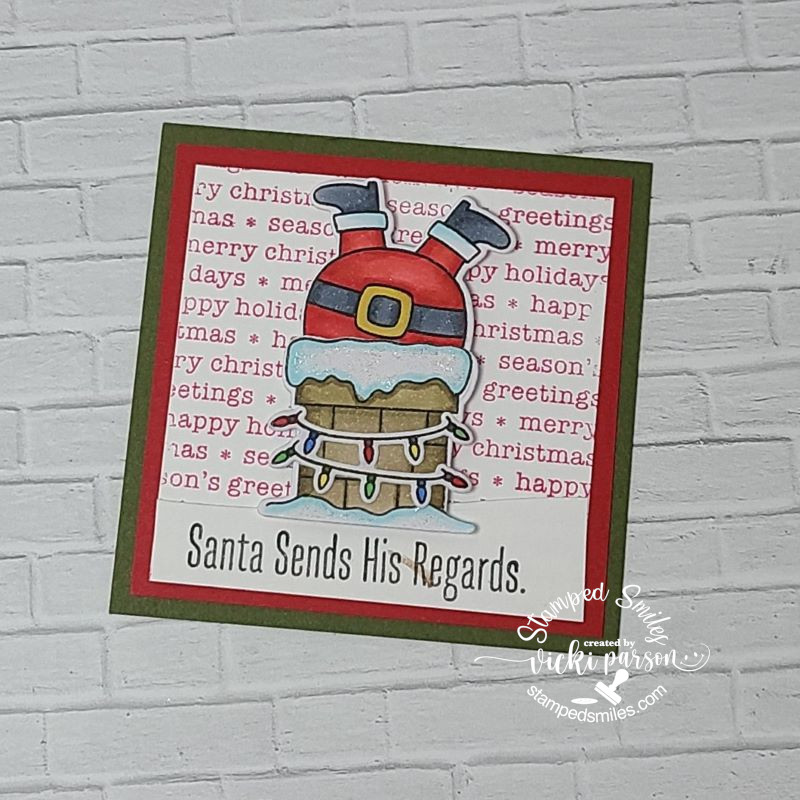
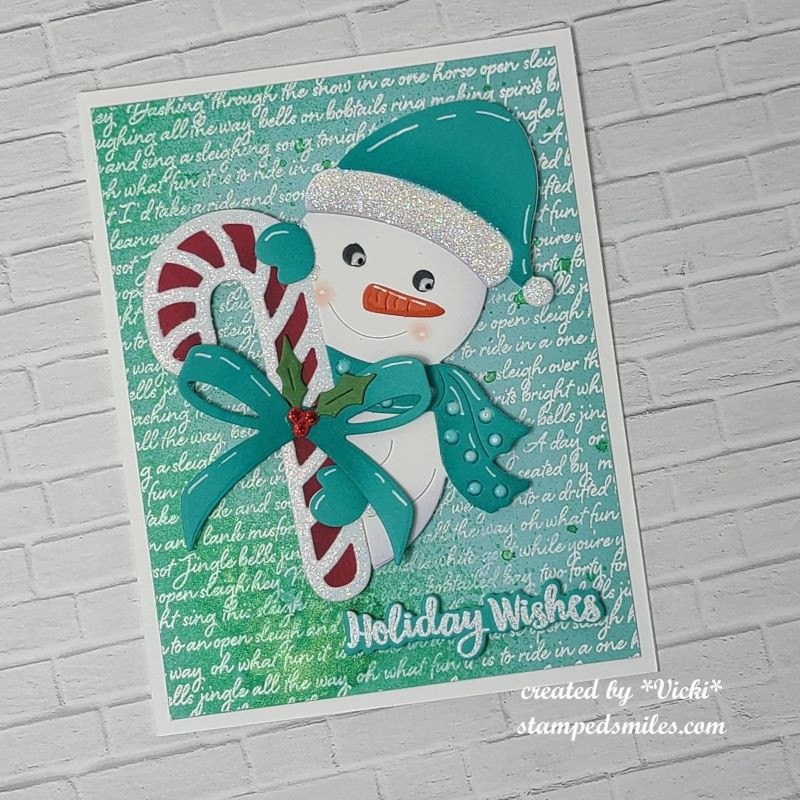
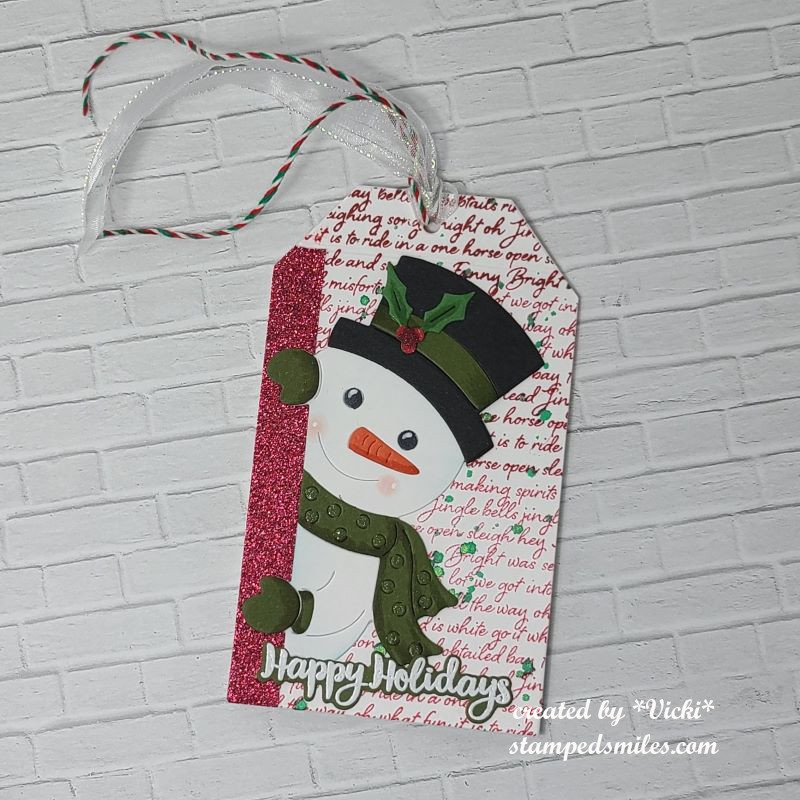
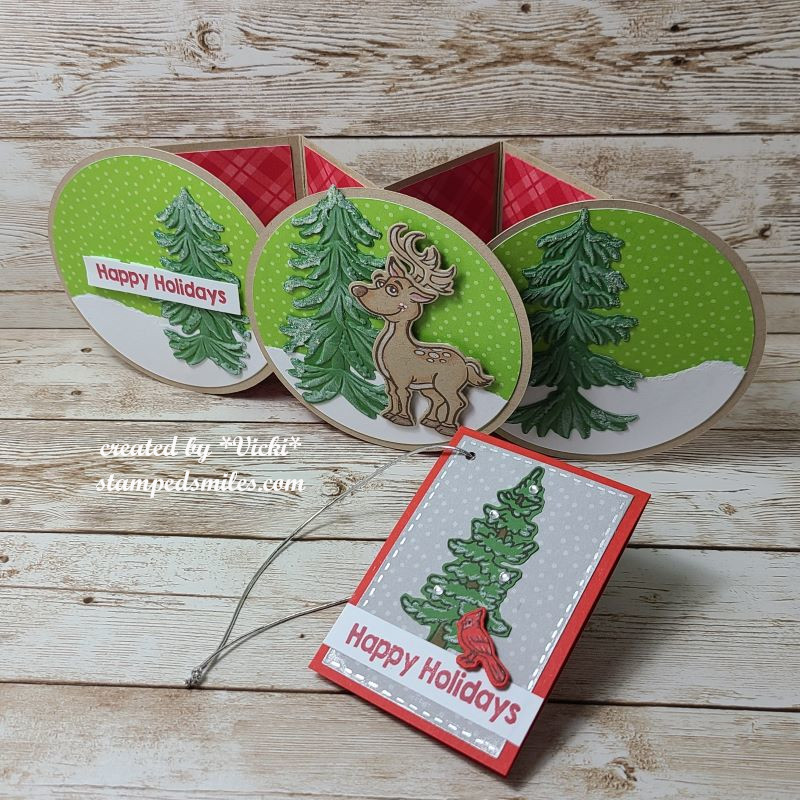
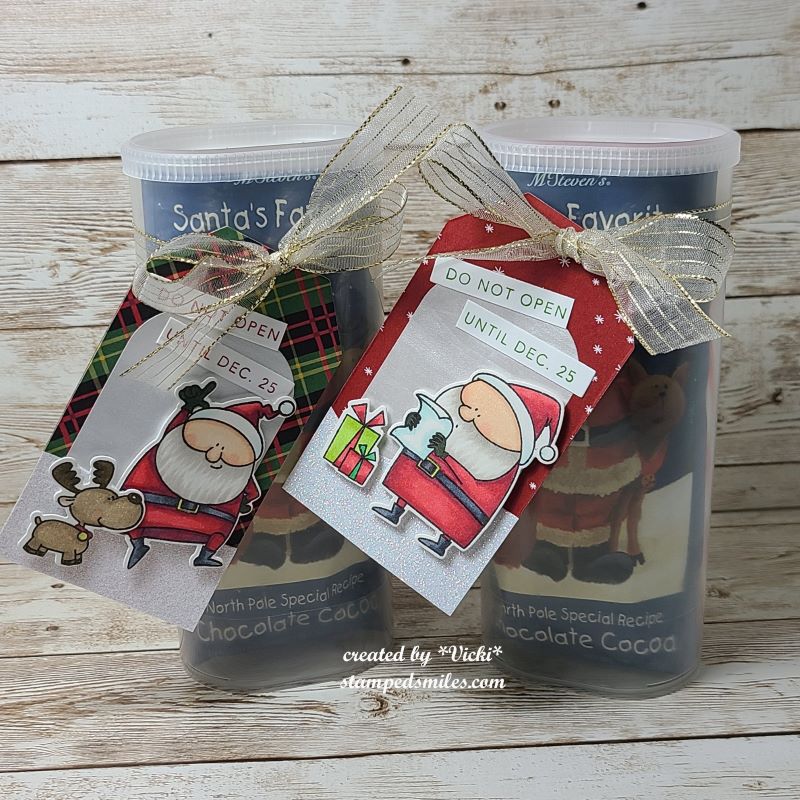
BUT WAIT! That’s not all! I’ve also made a few other Christmas items that I’ve also sent out. I’m also sharing some gifts and gift tags that I’ve made from a Taylored Expressions Advent Calendar that I got this year. I made some more cards and tags. (I tried out wax melting which is something I’ve never done…it was fun) Others are from classes I took or participated in Craft Roulette for.
If you’re on my web page, just click on the photos below to enlarge each one.

Wow, so that was a lot! I know that my blog has been pretty sparse with posts lately and I am finally getting around to posting the things that I’ve been working on, so I hope you’ll get that and you’re able to take some time for yourself this season and enjoy the peaceful quiet moments!
I will be sure to take a moment and catch up with everyone before Christmas arrives. In the meantime, it’s back to cookie making! Thanks so much for stopping in today!❤️