Lots of Stamp Joy and Summer School Sessions!

Hello friends!  I hope you’ve had a wonderful week and looking forward to a great weekend coming up!  We are having a heat advisory for the next several days over my way, so I thought it would be a great idea to stay indoors and craft!  I also thought this would be a great time to catch up with some posts sharing some things that I’ve worked on the first part of this year that I hadn’t gotten a chance to share with you.

  • LONG POST – pull up your chair with your favorite beverage and enjoy!

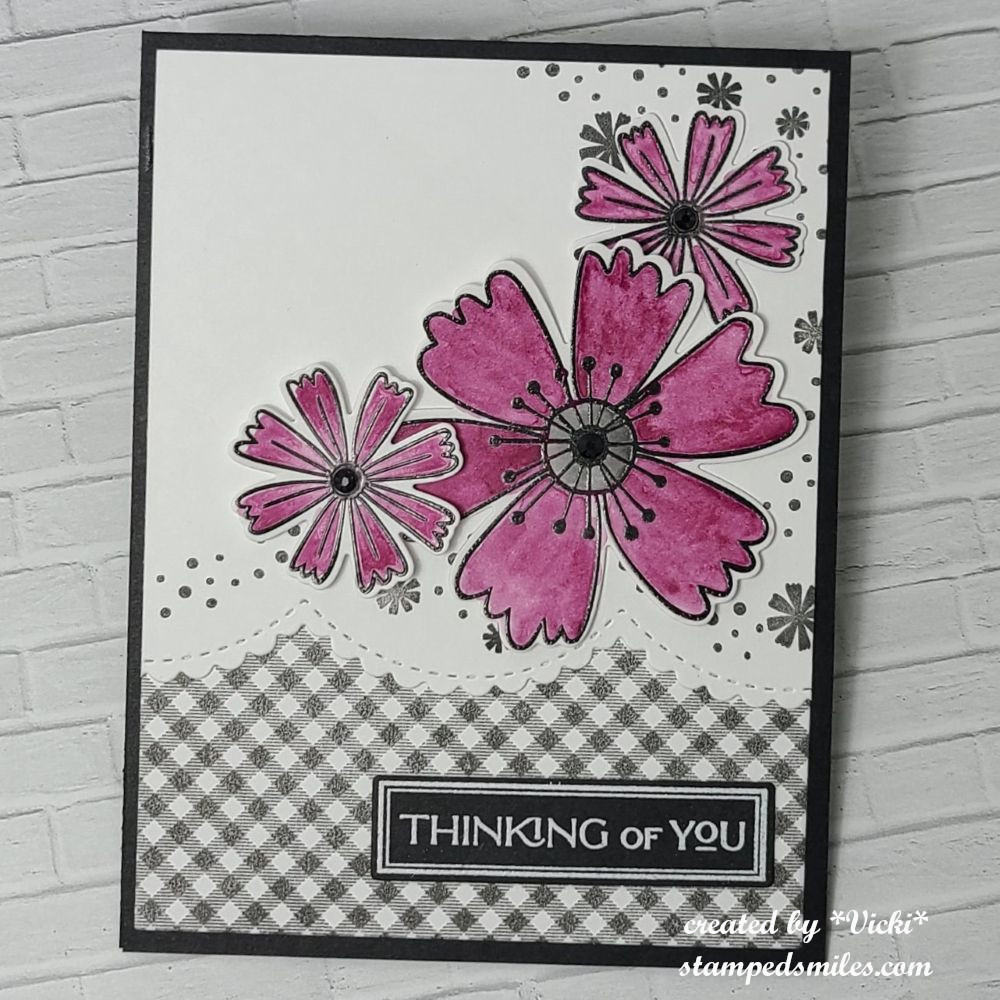
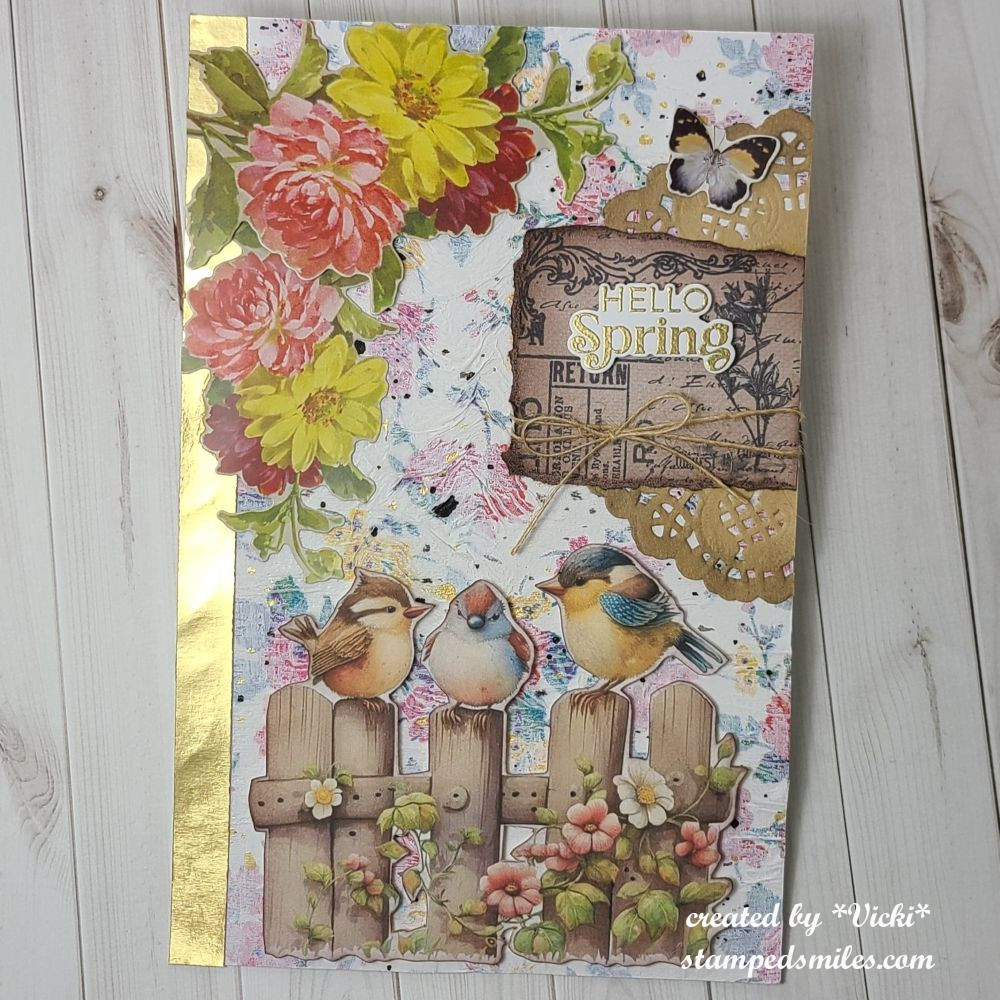
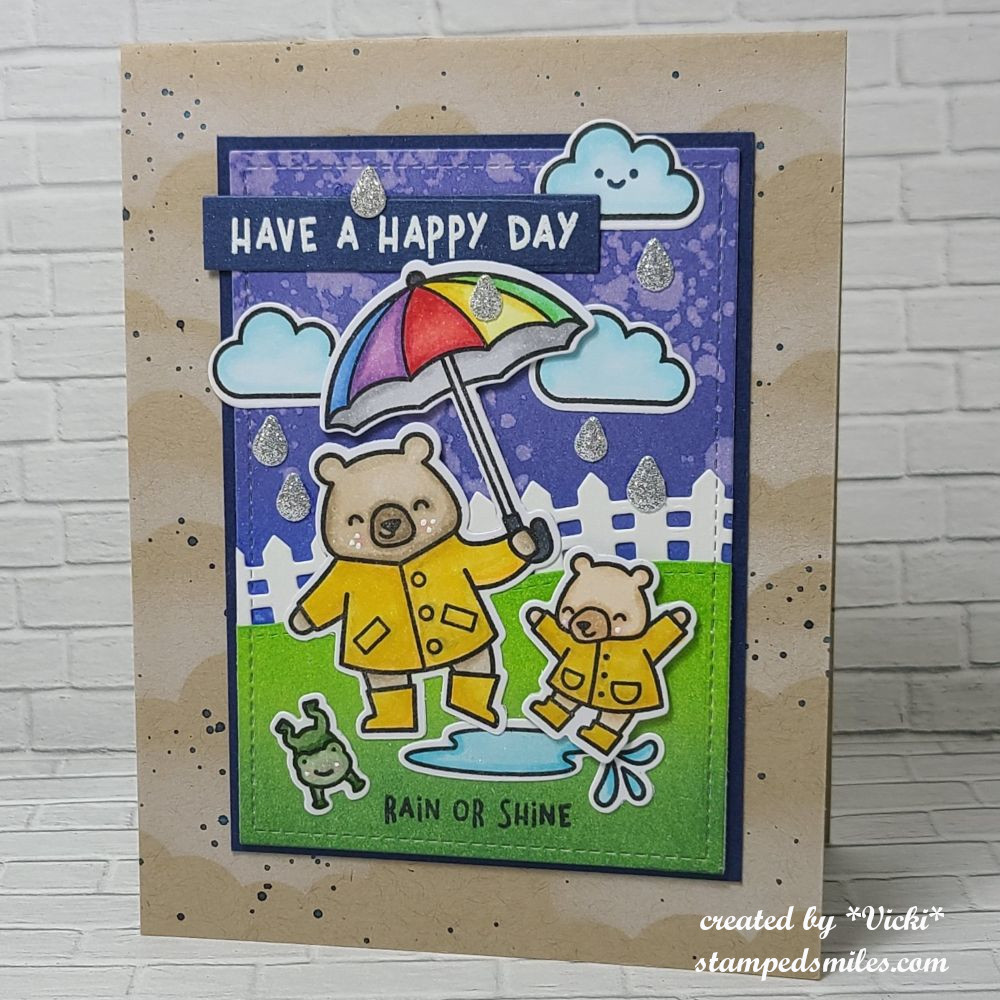
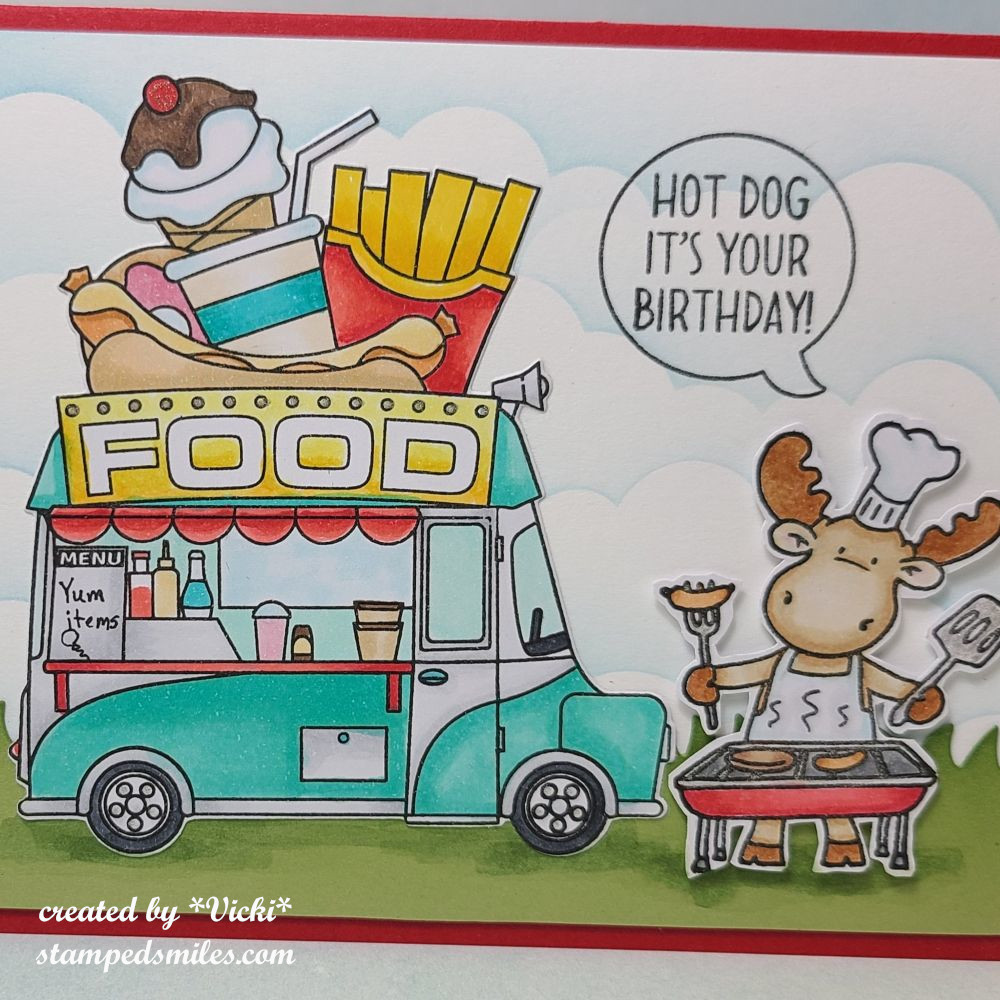
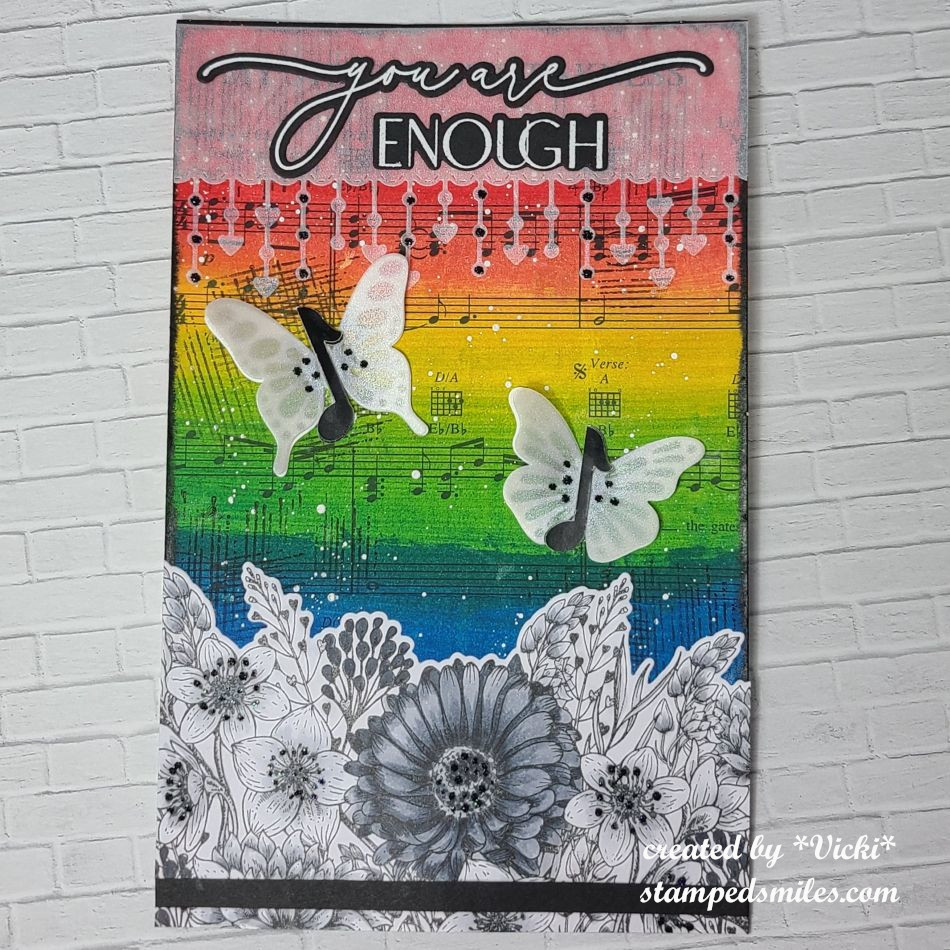
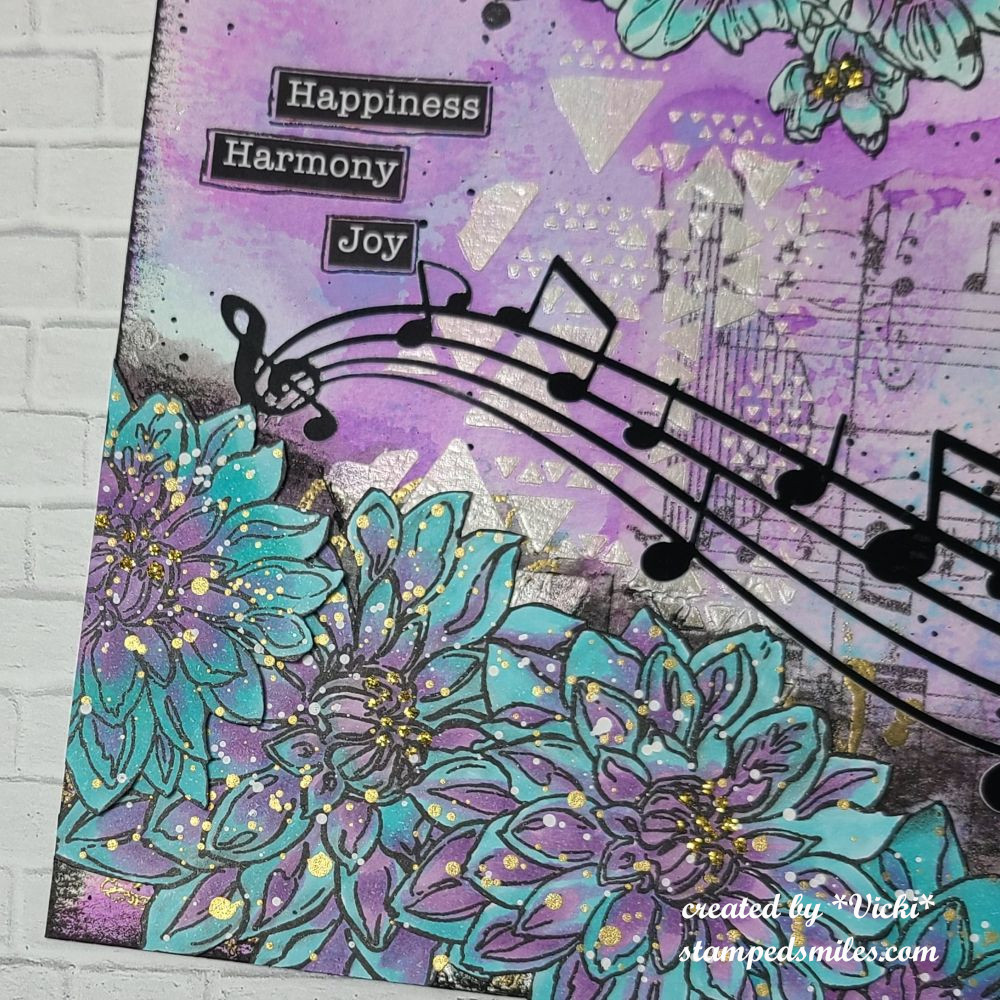
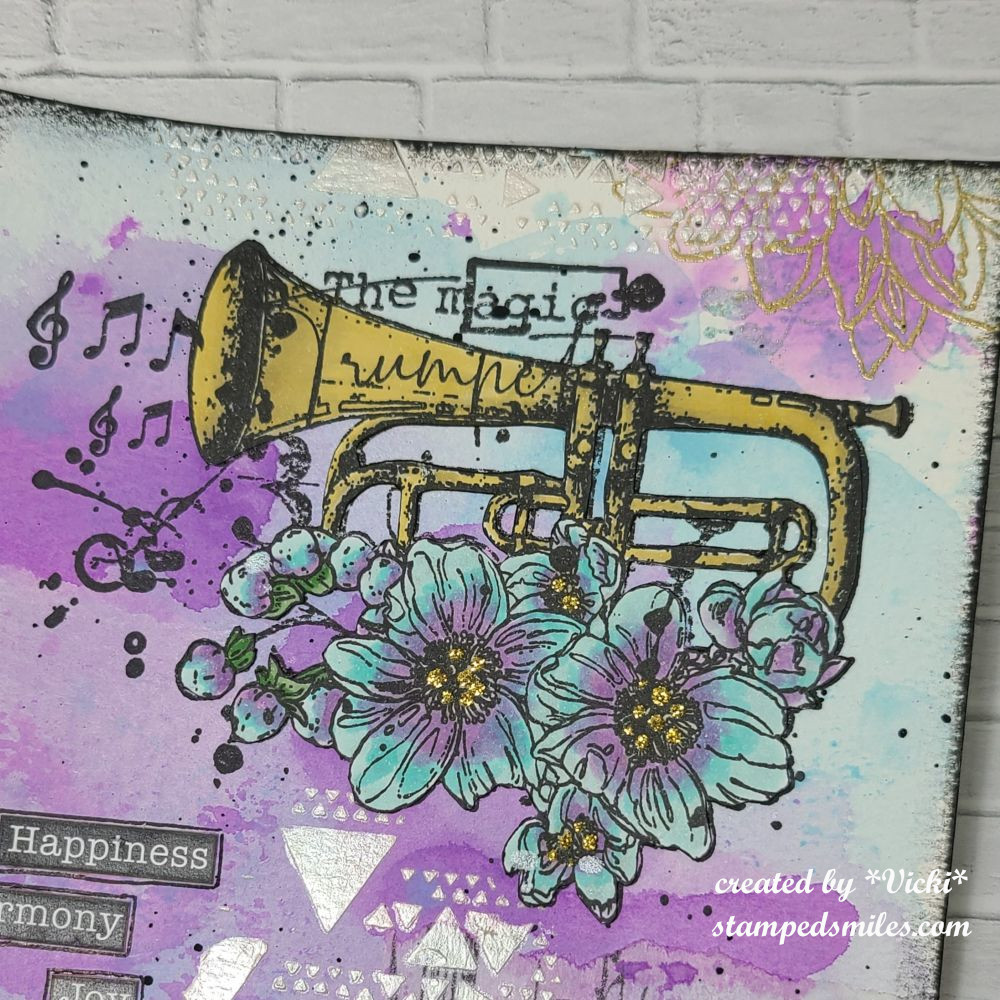
I thought I’d share the Taylored Expressions Virtual Stamp Joy that I did back in March.  I actually spent the weekend attending the classes and creating as I followed along.  I managed to get all of the projects done the day after the event was over, but failed to post all of what I had made due to the fact that I was busy helping two different people move…and then life just got really busy after that as well! LOL

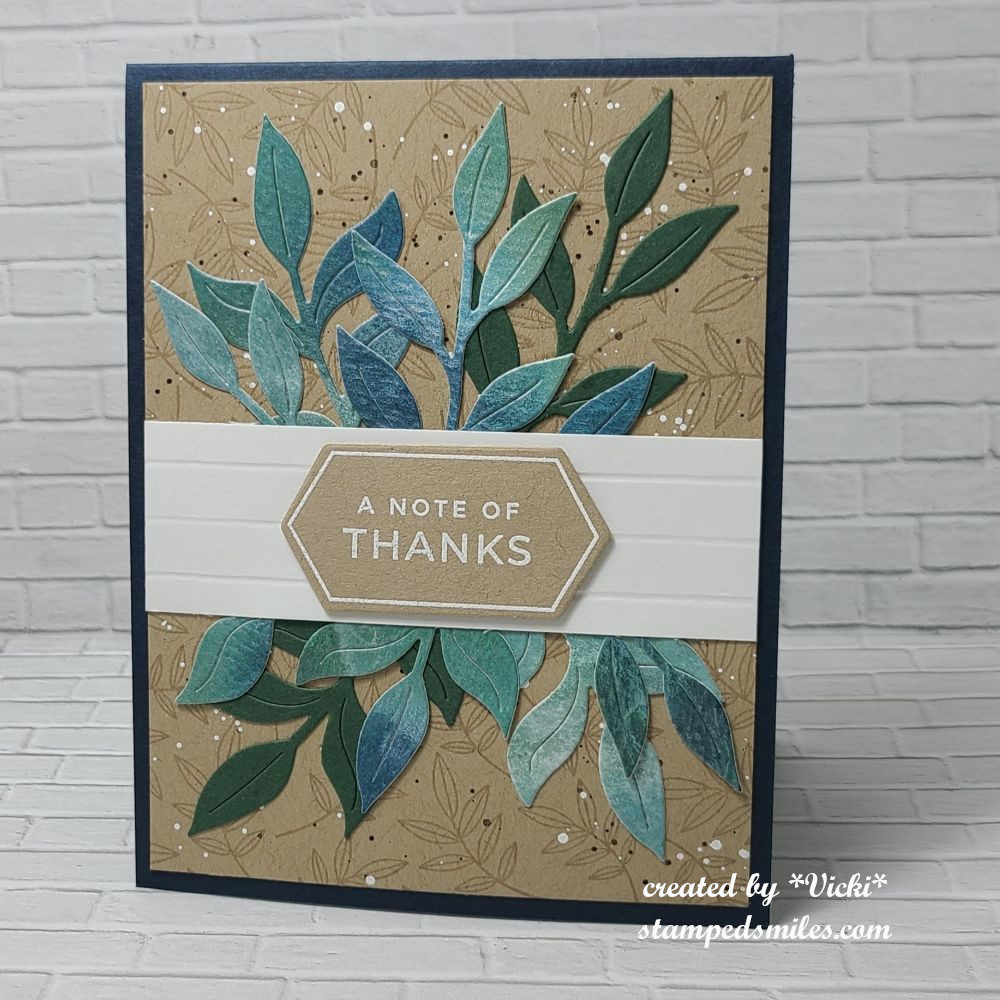
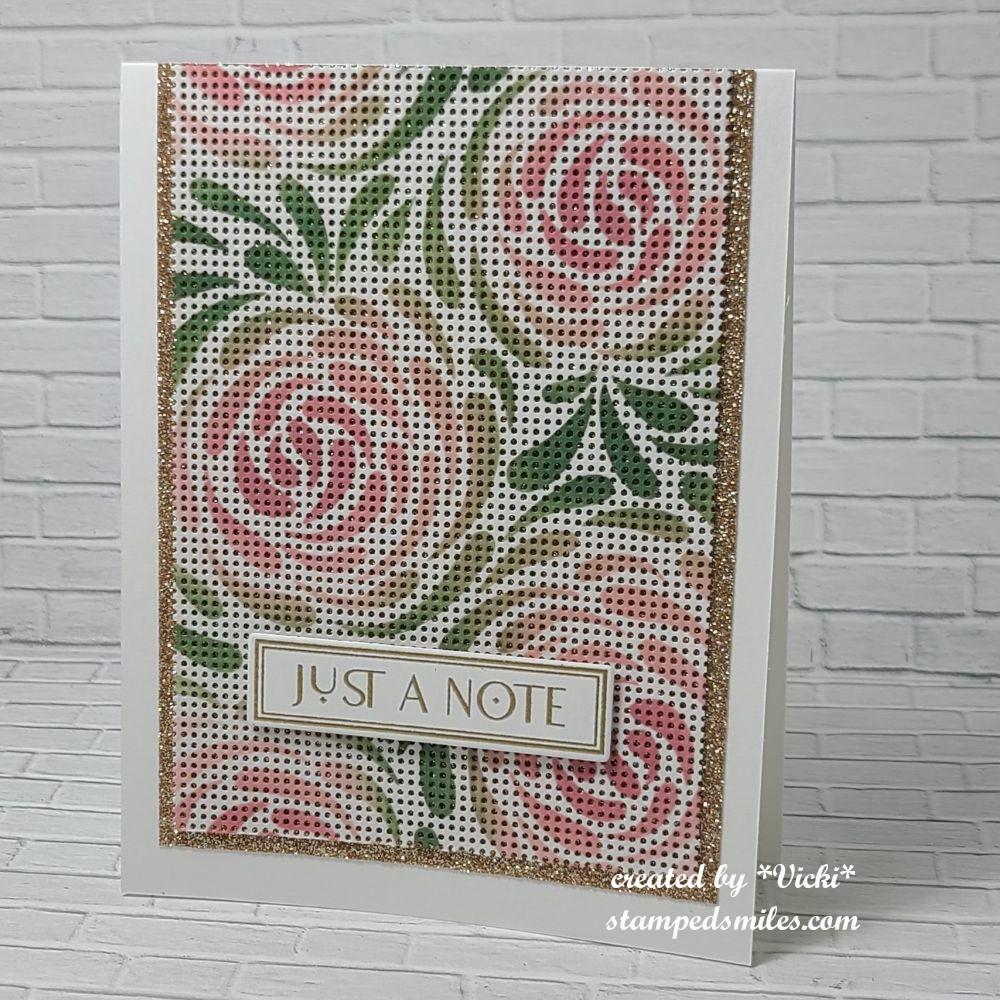
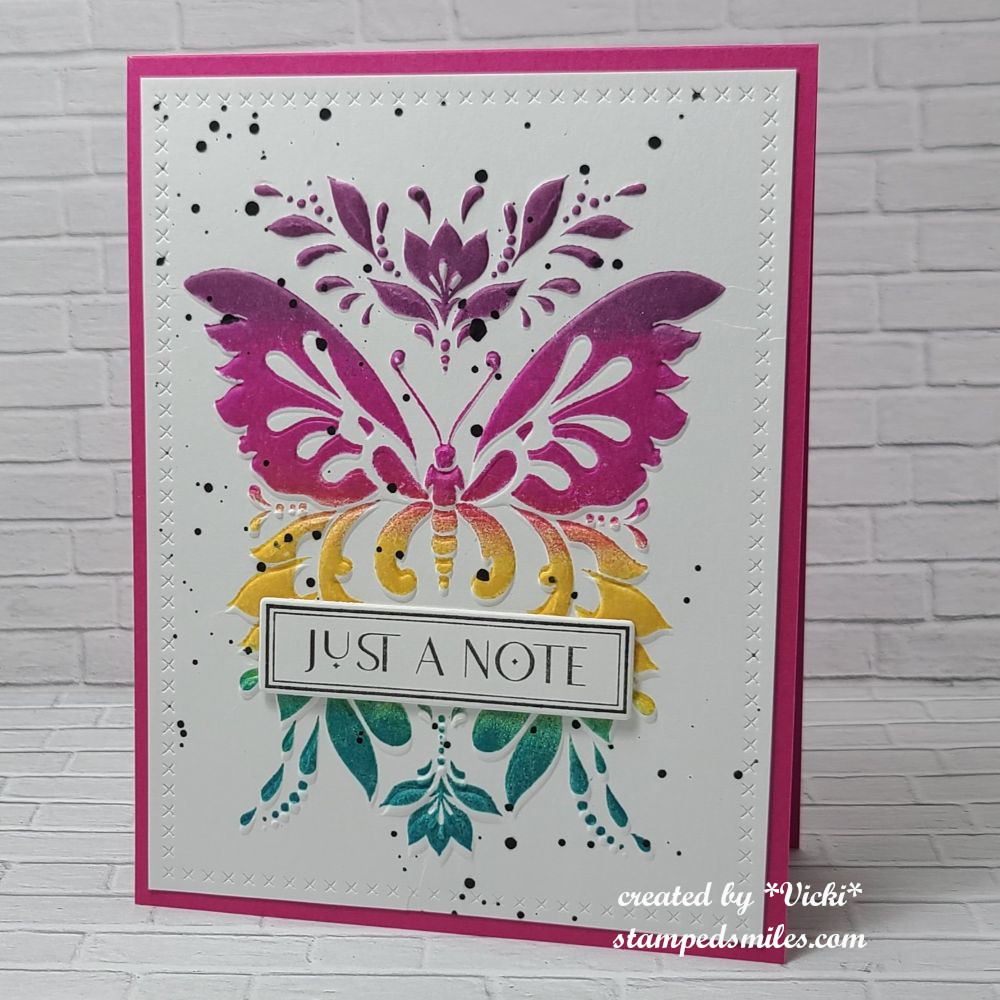
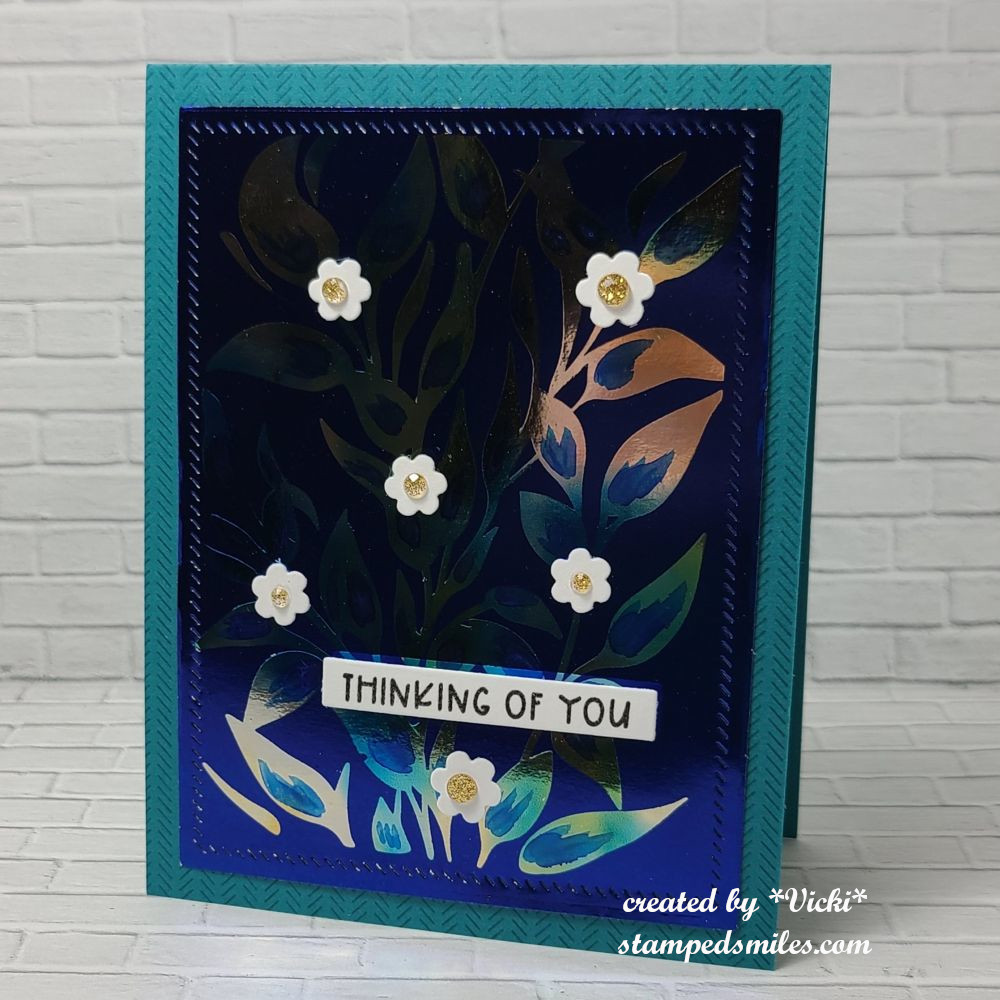
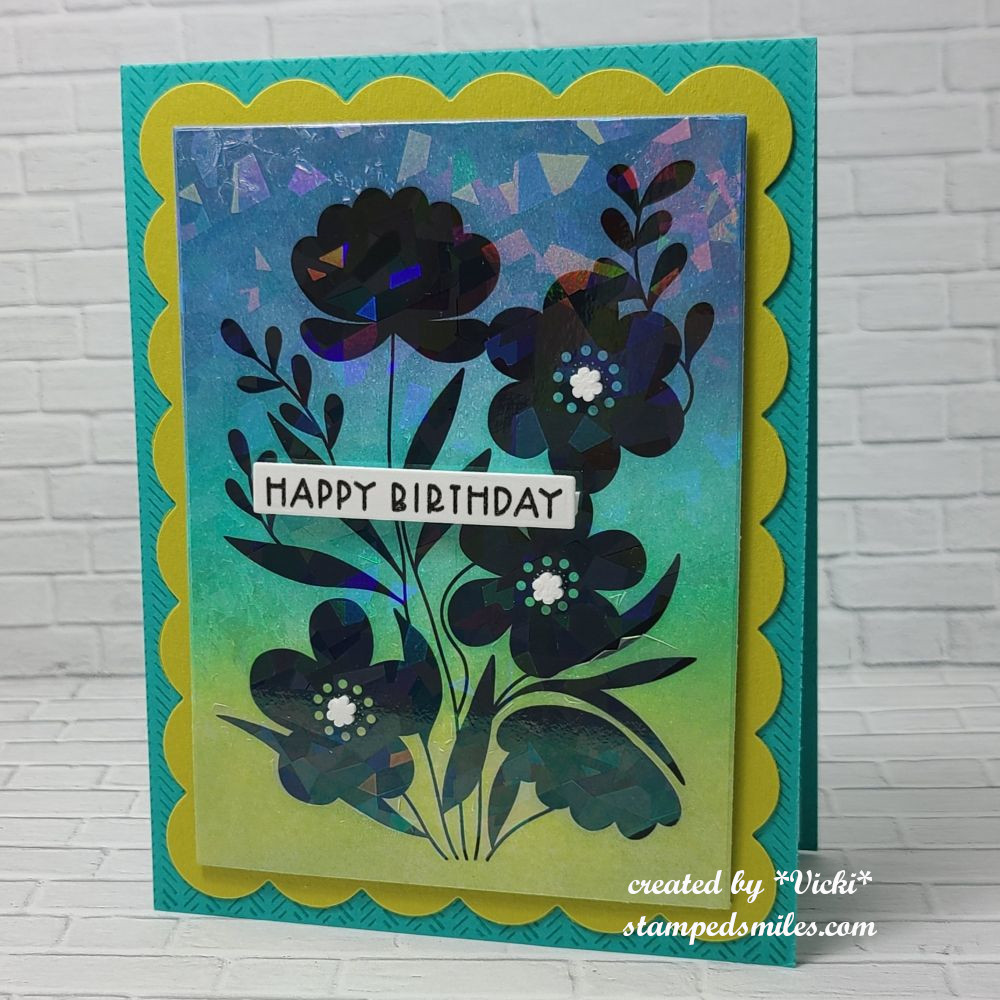
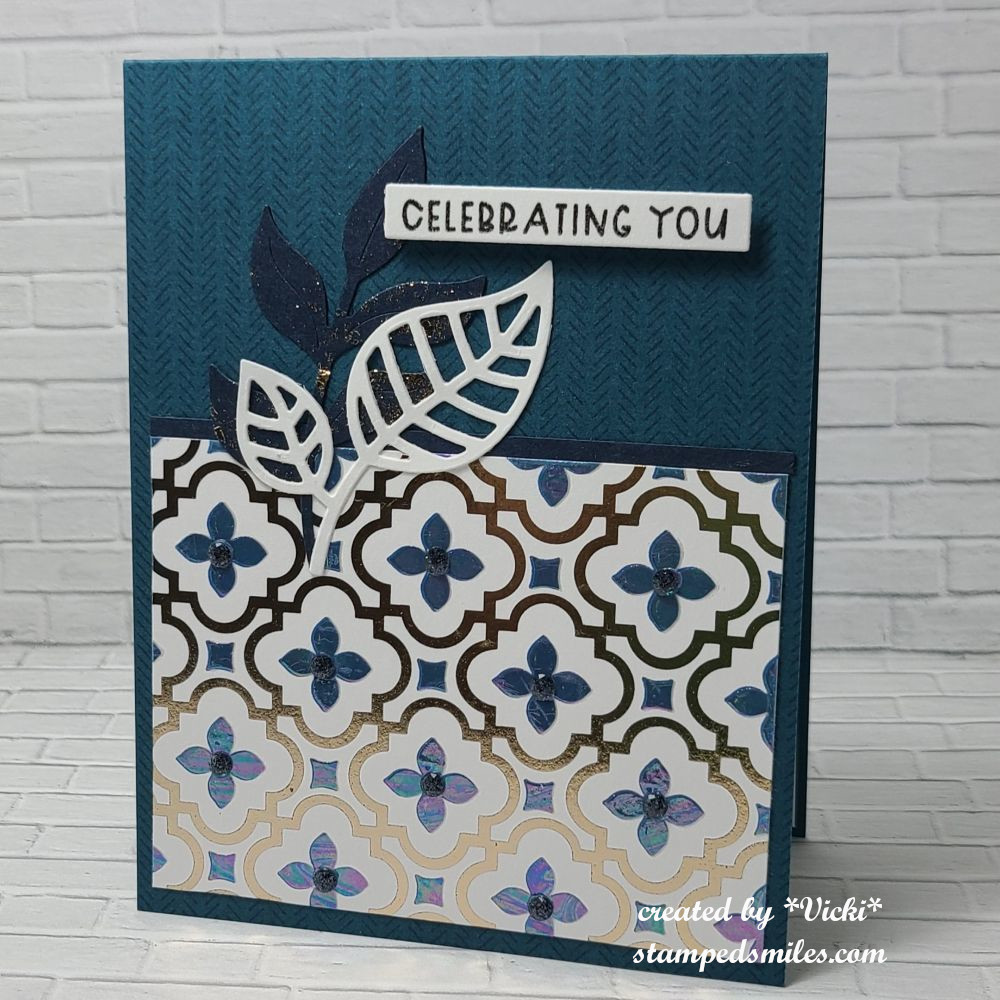
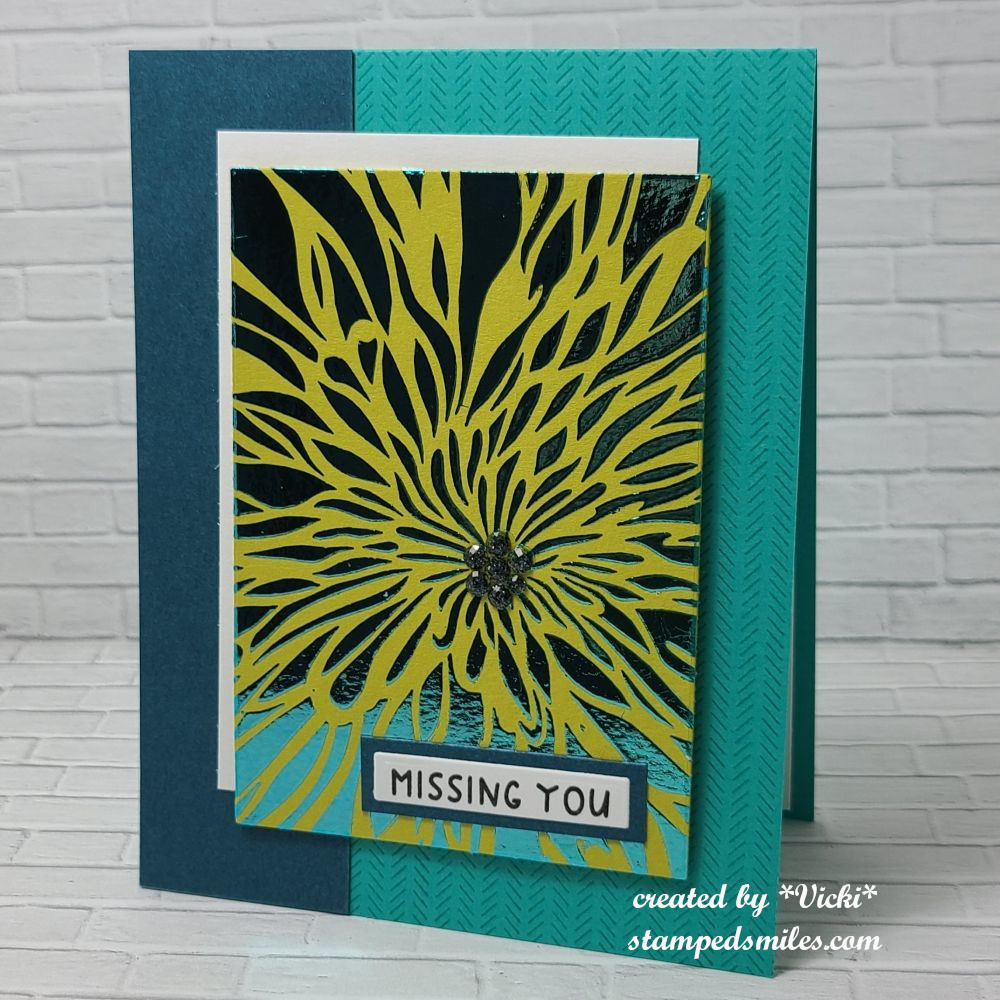
*I also have added an additional event from Taylored Expressions this last weekend called “Summer School” which concentrated on foiling techniques.  Although I’ve done foiling before, I sure enjoyed seeing new products and learning a few new techniques too!  (These four cards are at the end of the gallery photos below)*

  • If you’re on my website, just click on the images below to enlarge the photos and view any details underneath each one.  ENJOY!


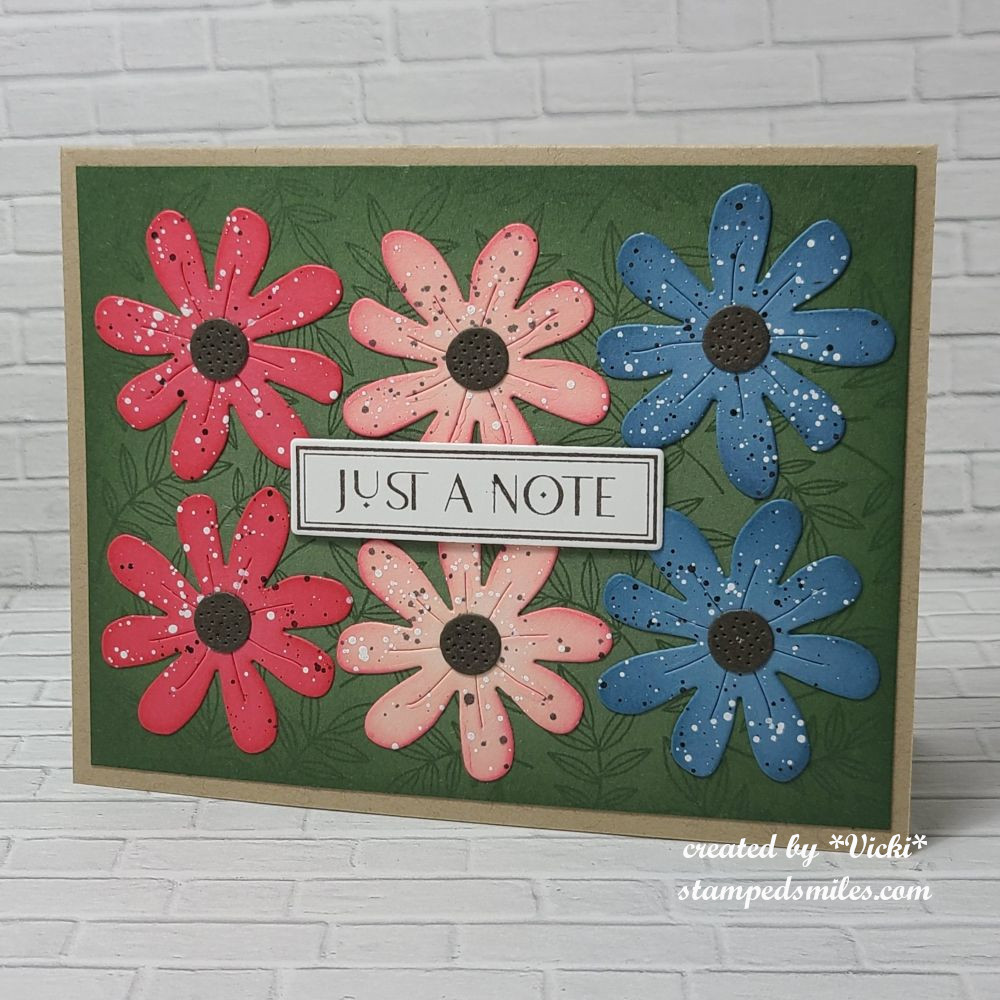
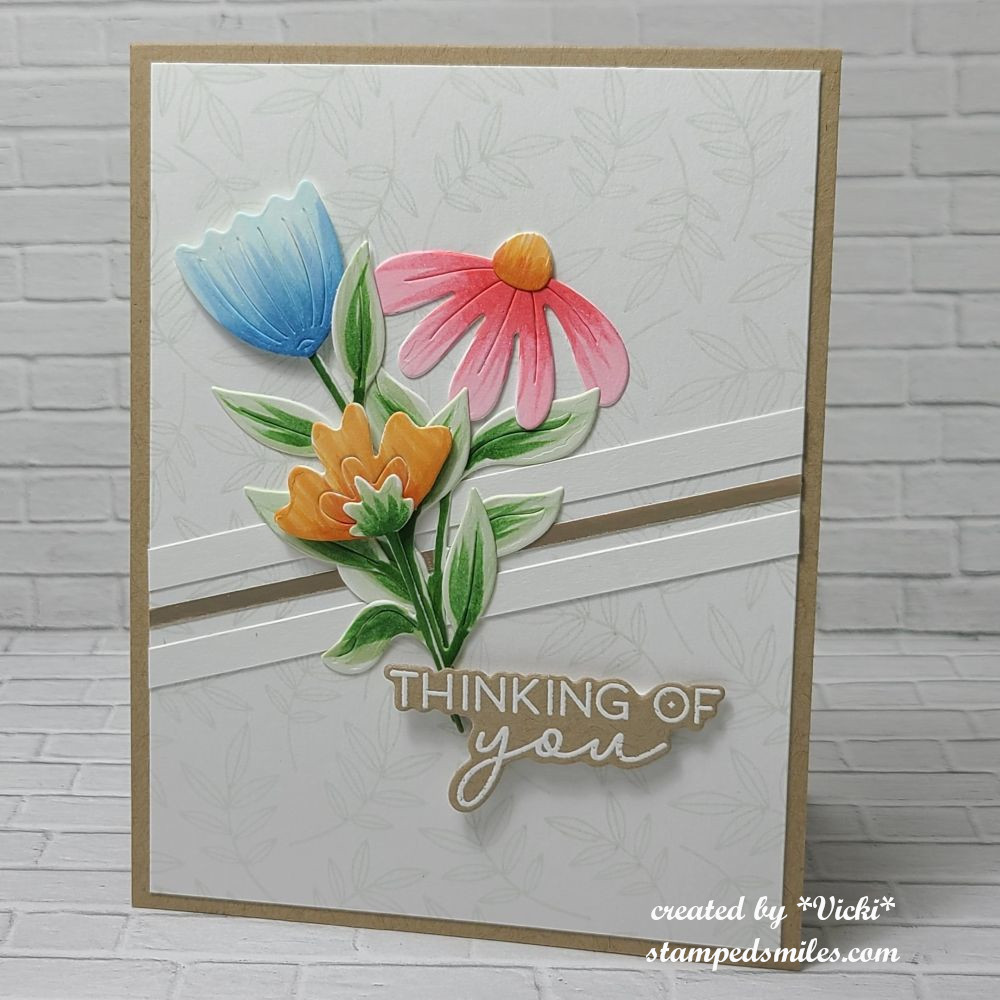
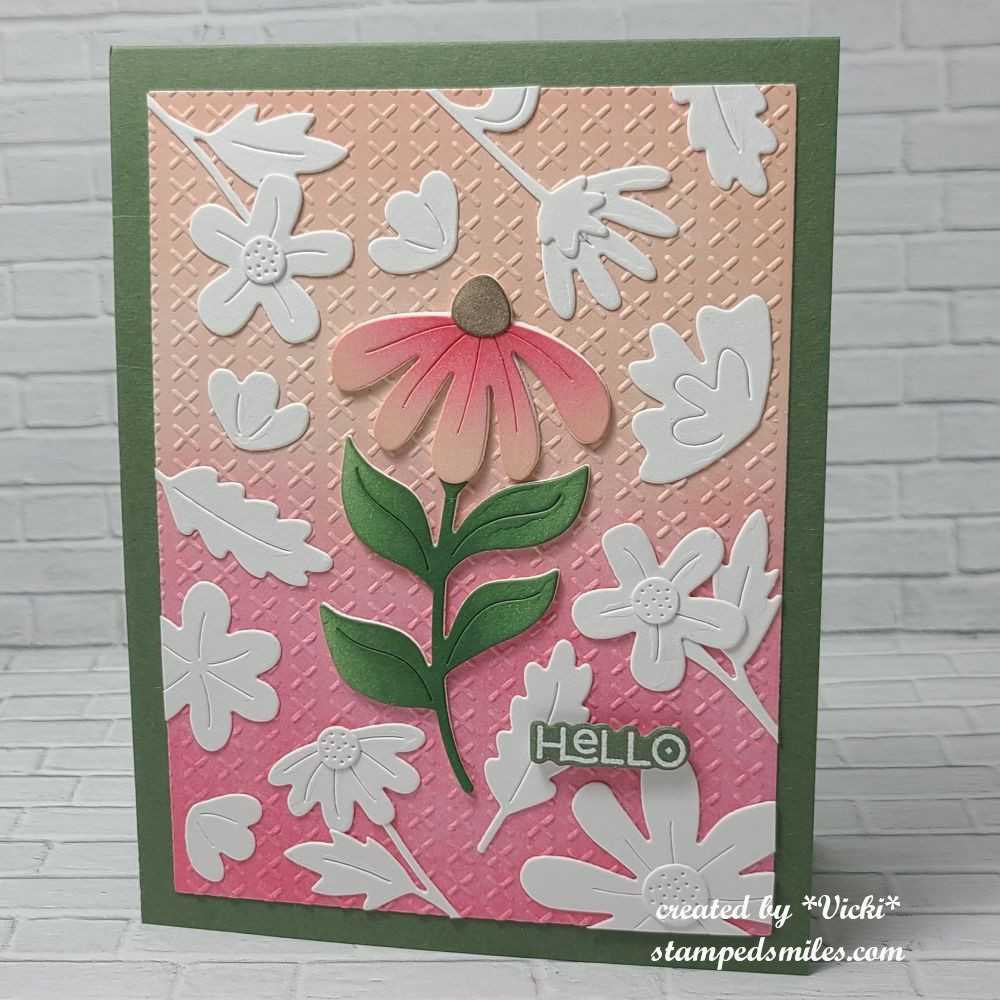
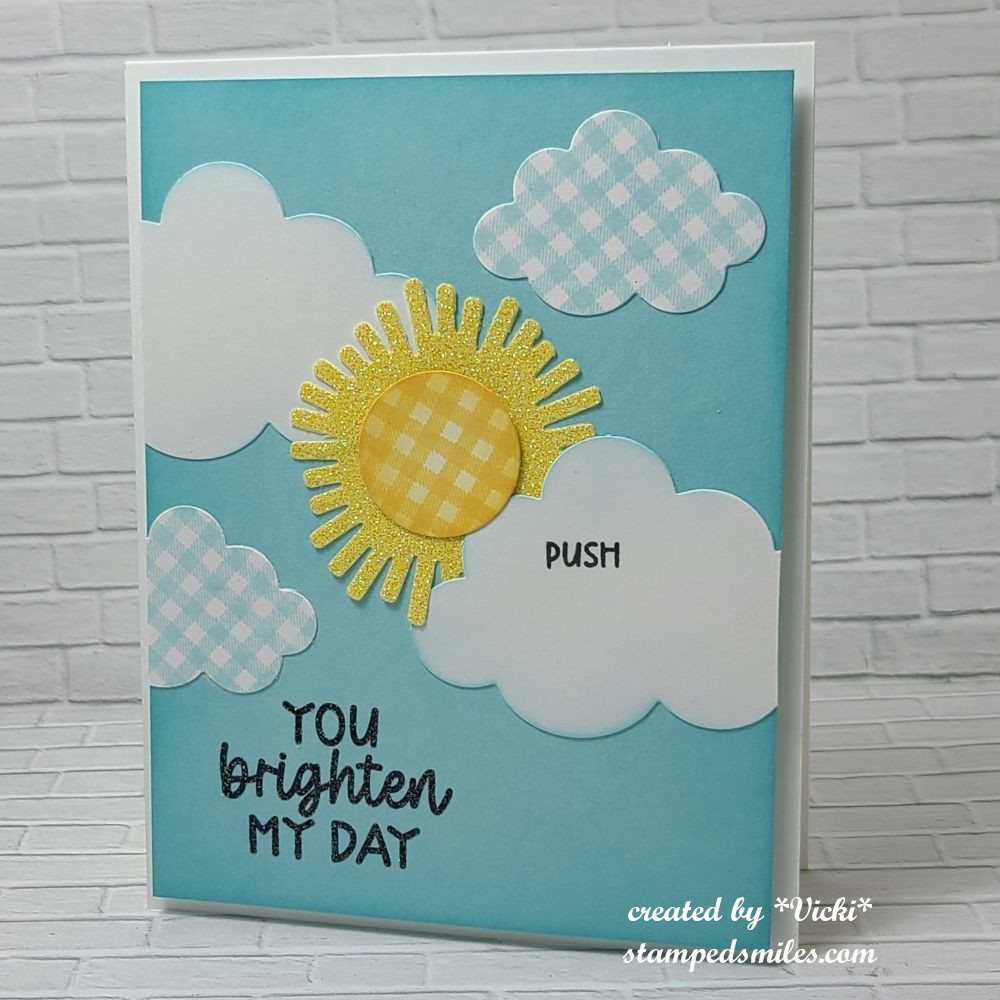
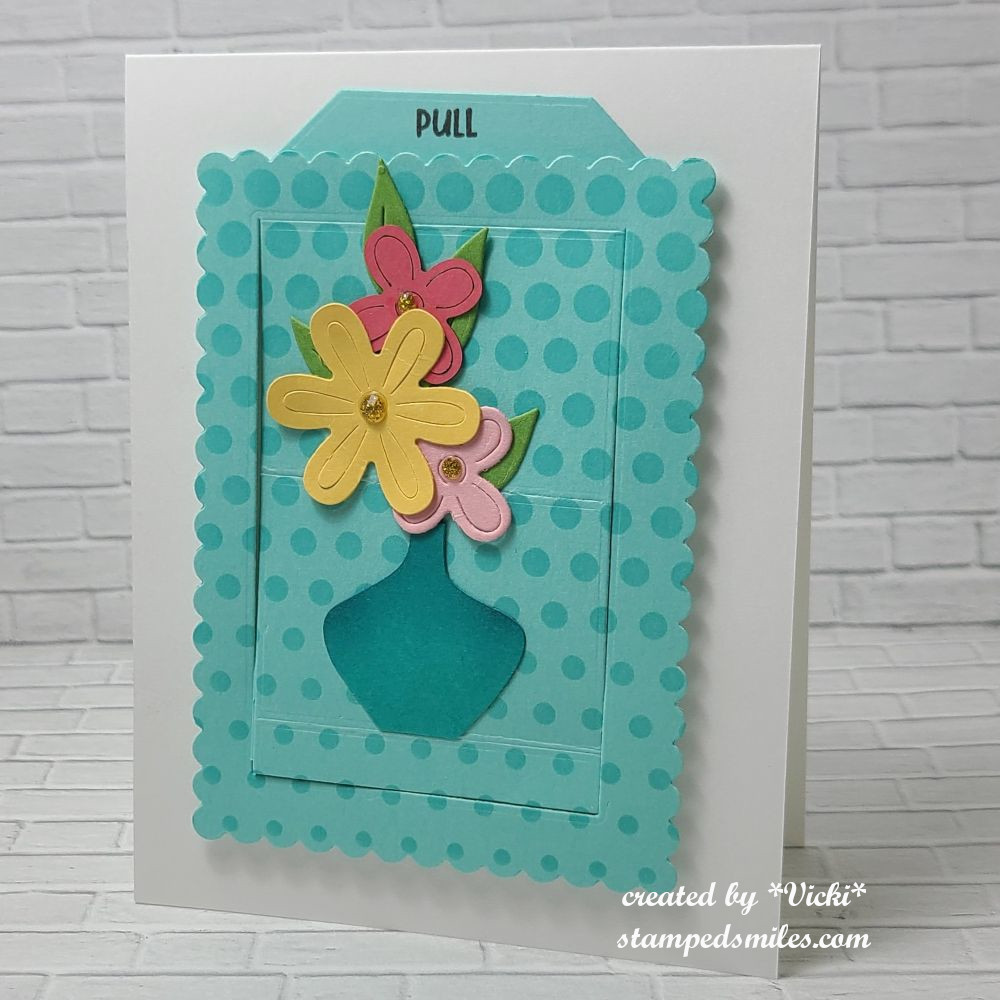
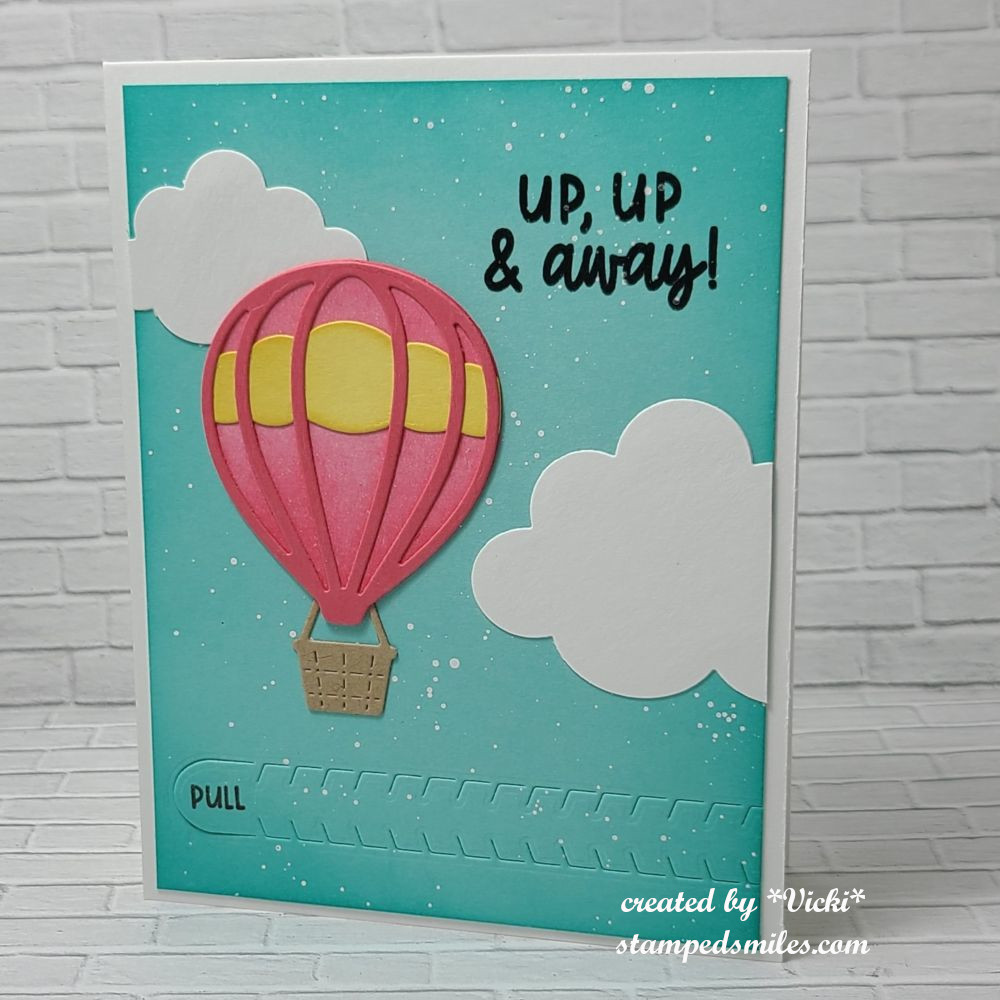
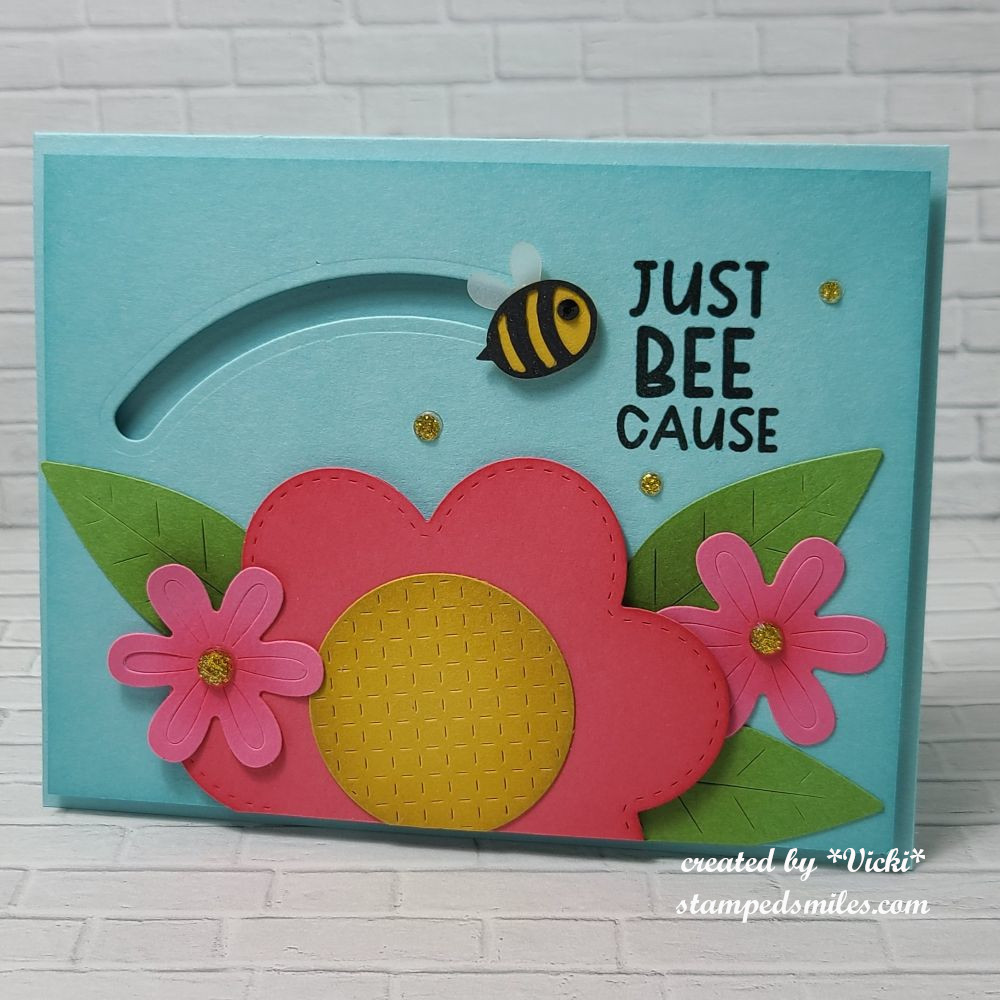
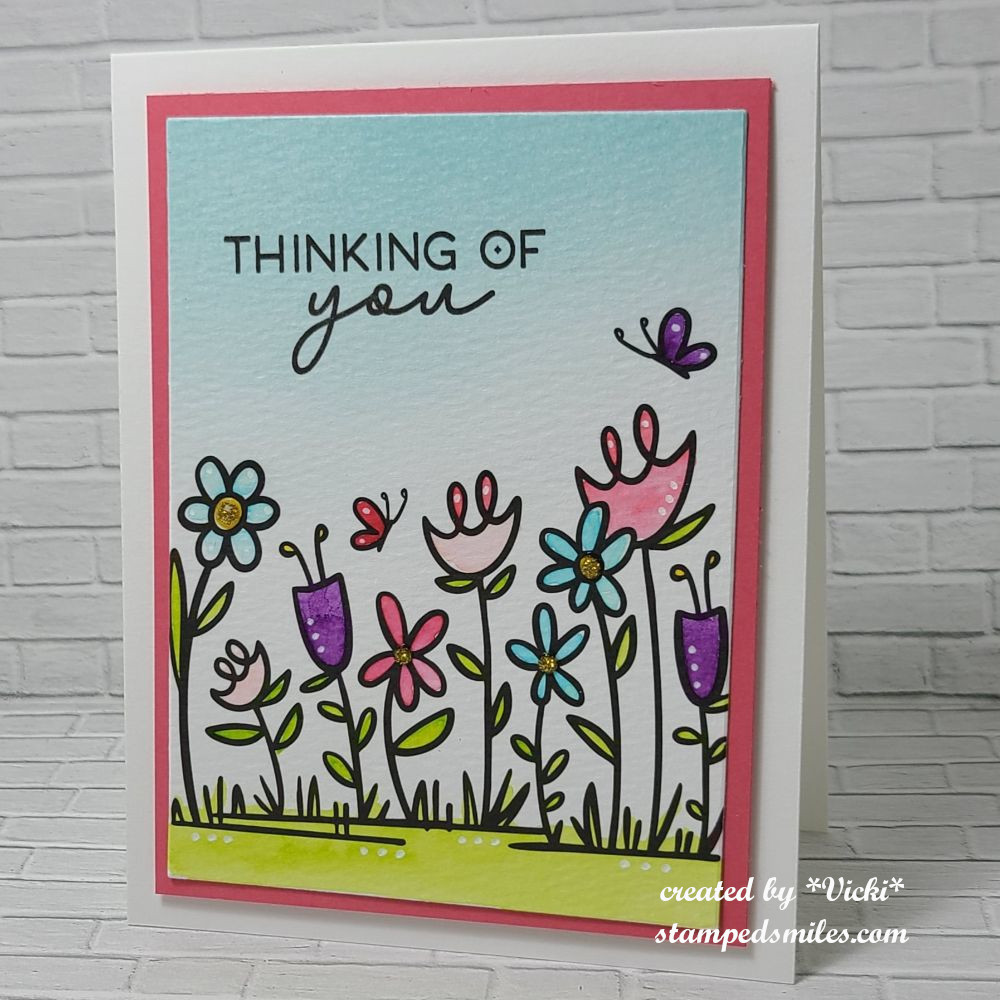
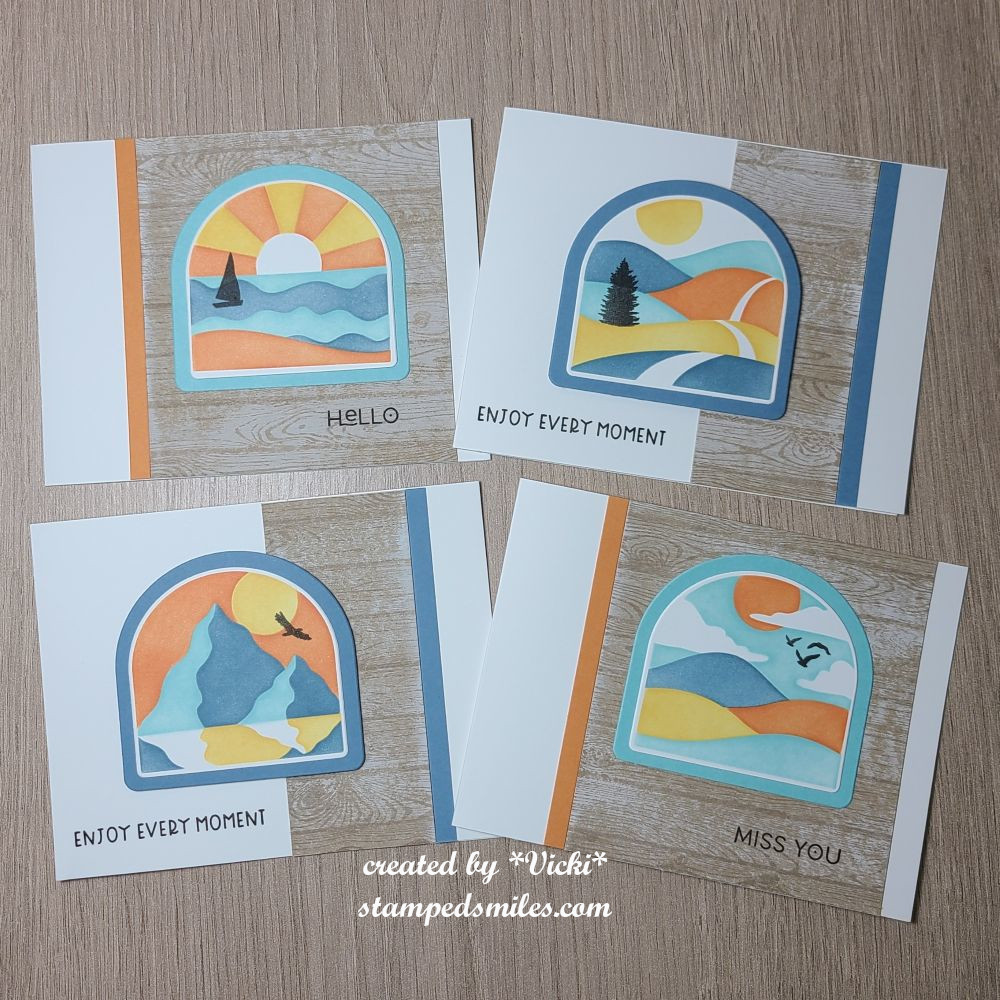
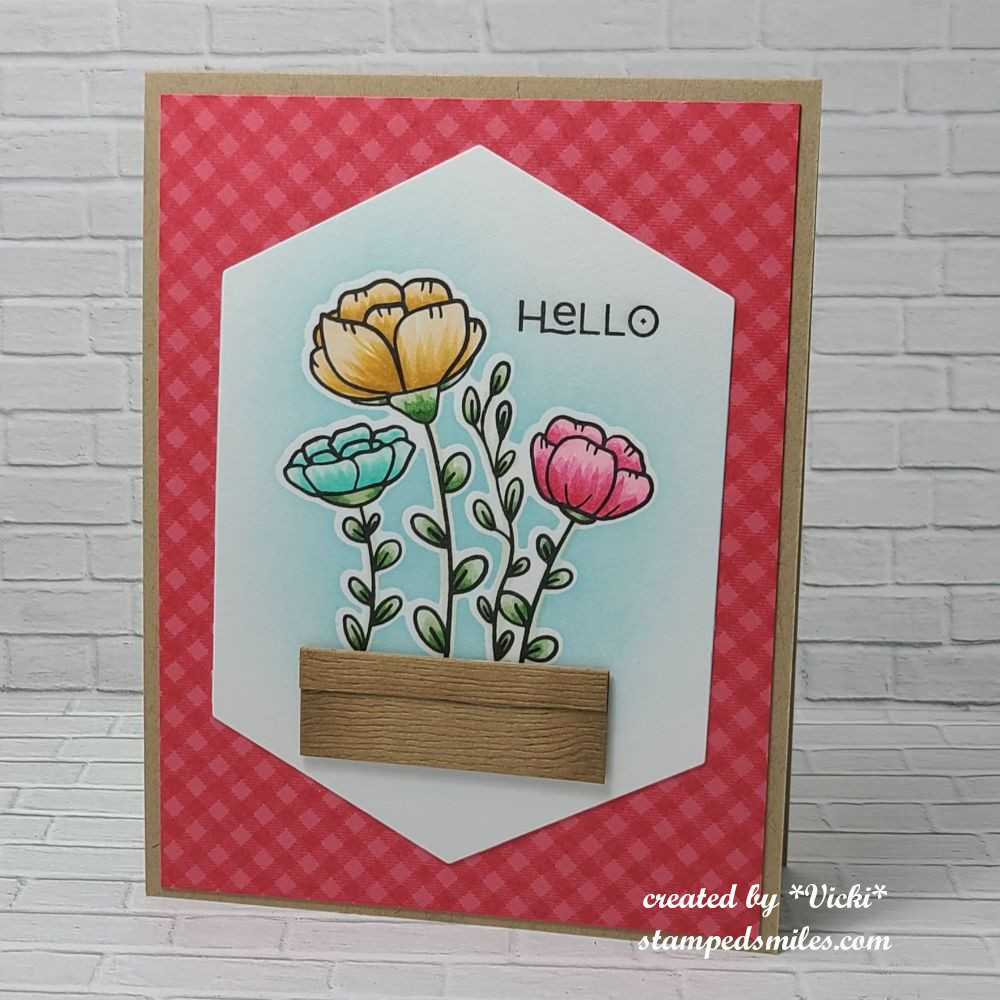
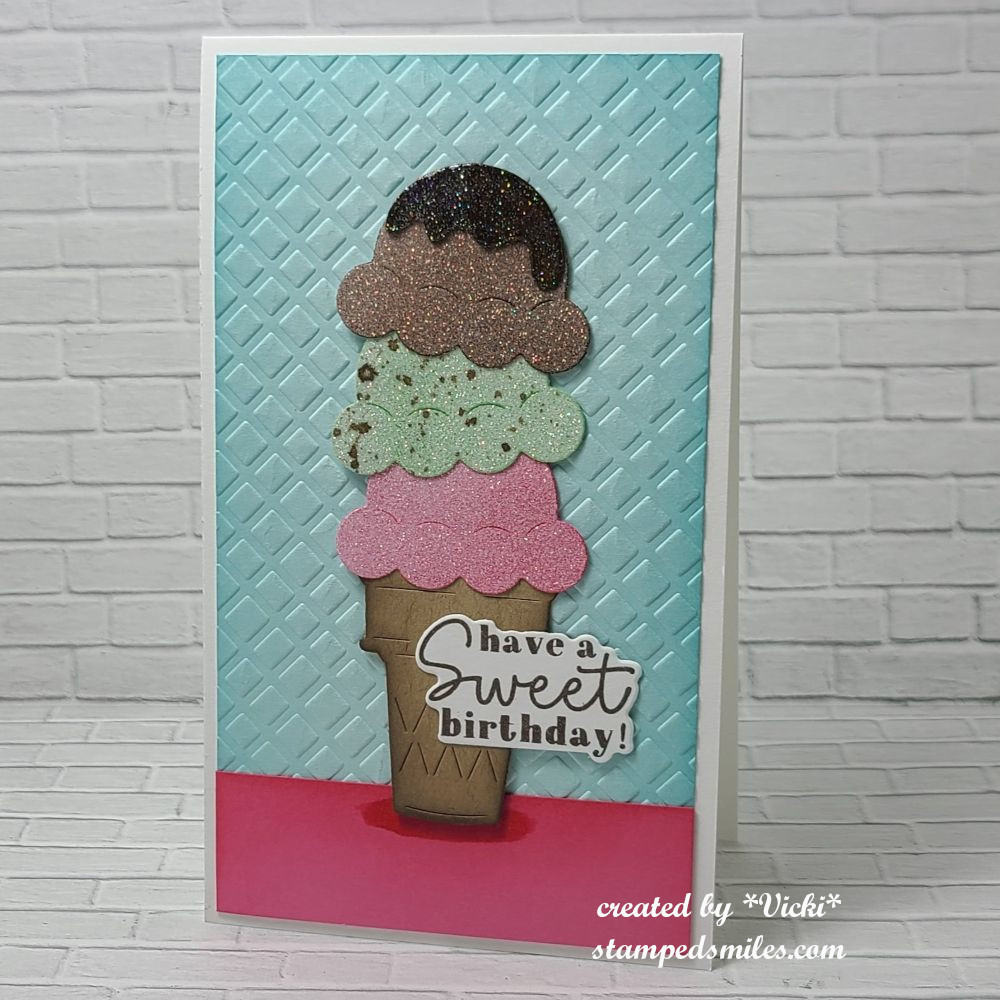
I always love to learn new things with stamping/crafting along with all of the fun new products that come out too!  I know I REALLY don’t need to purchase more things, but when cool stuff comes out, it’s really hard to pass it by!  I think doing these classes and joining in on different challenges help me to use these fun things up!

So I hope you’ve enjoyed my post sharing all of the things that I’ve been doing!  I will have another post sharing more things that I haven’t shared yet too!  In the meantime, I’ve also been working on a scrapbook which has been fun and something that I haven’t done in a really long time!  A baby can do that to you! LOL

Thanks so much for stopping in today my friends!  I’ll be seeing you soon!  Have a great weekend!😊

Flowers for Sparkles Monthly!

Hello friends!  I hope that you’re enjoying this month so far!  The weather has really started to warm up now and it’s been nice and sunny to be outside.  I have so many projects that I’m working on, so my blog has been a bit neglected lately.  I will be able to share with you all of the things that I’ve been working on later…but for now, let’s talk about flowers!

Today starts a new challenge over at Sparkles Monthly and this time it’s my turn to pick a theme and I have chosen “FLOWER(S)  for this month.  Flowers seem to work for so many occasions which is why I chose it.  Here’s the project that I came up with:

I needed a card for Mother’s Day this last weekend, so I thought I’d pull out my stash of die cut flowers from Taylored Expressions and create several pieces in different colors to place inside my wheel barrow.

I’ve die cut several pieces from the Fresh Cut Flowers die set in pineapple, guava, dried fig, chocolate truffle (centers) and green tea (stems and leaves).  I used the same color of ink to sponge a bit of dimension over the centers and then splattered some white Copic ink over just the flowers and the toffee background that was stamped in toffee ink with the Weathered Words Background stamp.  

I arranged all of the die cut flowers and leaves behind the Farmhouse Wheelbarrow die cut from chocolate truffle, toffee and woodgrain textured cardstock.  I also used the Building Blocks Happy Additions to white heat emboss over a piece of chocolate truffle and cut out with the coordinating die.  The toffee background was placed over an A2 sized top folding white card base and then I added a white frame die cut from the A2 Thin Frame Cutting Plate for an “anchor/ground” for the wheelbarrow to sit on.  The sentiment greeting was popped up with a foam strip and then I’ve added a few enamel dots including in the center of the wheel.

  • Thank you so much for stopping in today!  Hope you’ve enjoyed my card and that you will stop by the challenge blog to see the rest of the inspiration from the team.  I look forward to seeing what floral creations you share in the gallery with us!

Challenges:

  1. Craft Rocket Flowers
  2. 613 Avenue Create – Anything Goes with optional: Floral Delight
  3. Creative Friday Spring
  4. Pammie’s Inky Pinkies – PIP2519 Anything goes
  5. Simply Create Too Anything for a Woman
  6. Little Red Wagon ‘D’ is for diecut

B is for Butterflies!

Happy Friday my friends!  Are you ready for the weekend?  I know that I don’t have a regularly scheduled workday every day, but I can still always feel a weekend ahead! LOL  Hopefully I can enjoy some time doing some fun projects that I’ve been wanting to get to and go outdoors!  

Today starts up a new challenge over at the Alphabet Challenge Blog!   We are now onto the letter “B” and the hostess has chosen “B” is for Butterflies (use more than TWO of them.)  *Remember that this is a bi-weekly challenge, so you have two weeks to enter*  I hope you will find some time to join us in the gallery!  Here’s what I’ve created:

I do love me some butterflies!  I love using soft pastel colors for the Spring months too!  I have used this set before, but I have gotten it back out again for my mini slimline card today.  I’ve used the Taylored Expressions Beautiful Butterfly Wings & Coordinating dies to complete this.

I white heat embossed the three wings onto vellum and die cut them out.  I also used the die cut to cut out the colored cardstock butterflies for each one along with their center antennas.  Glued them together and set aside to work on the layout.

The base of the card is mini slim size of 3.5″ x 6″ side folded.  I die cut a white layer with the TE Pettie Scallop Mini Slim dies and then layered another white piece using the Stitched Mini Slim dies.  Before I attached it, I splattered some black paint over it.

I then attached each assembled butterfly to the layout design and added the white heat embossed sentiments between them with foam tape.  The sentiment came from the TE Fluttering By Mini Strips & a coordinating strip die.  I finished by added a rhinestone in the center of each butterfly.

**Just a special attention to the tab pages I’ve added at the top of my blog that shows I now have information about purchasing a handmade card from me as well as another page of craft supplies I have available for purchase if interested.  I will regularly update so check back often to see what’s there!**

  • Thank you for taking the time to stop in and share your support!  It really means a lot and I enjoy hearing from you!  Whatever your weekend brings, I hope there’s some good in there somewhere!

Challenges:

  1. Simon Says Stamp Wednesday – Anything Goes
  2. Krafty Chicks Birthday
  3. AAA Birthday – Anything Birthday Goes (Happy 6th birthday!)
  4. Crafts Galore Encore Anything Goes
  5. As You Like It – Soft or Bold Colors? Why? (I prefer soft tones with calm colors as they seem more pleasing to me)
  6. Love to Craft Anything Goes

Pearly Sparkles Guest

Hello friends again!  I have two posts going up for today, so please see my post for the Mix It Up Challenge details in the above post when it goes live or click HERE.


I’m so excited to have been asked to be a guest for this month’s Pearly Sparkles Challenge!  I always love playing along in challenges and supporting them when I can as I always find inspiration in using my supplies when I play!

So for May’s Challenge, they would like to see:  BLACK, WHITE PLUS ONE OTHER COLOR in your project(s).  Here’s the card I made for this theme to inspire you:

I wasn’t sure what I wanted to do for this, but I thought you couldn’t go wrong with some flowers.  I pulled out a long forgotten stamp set from Taylored Expressions called “Picked Posies” (no longer available) and black heat embossed the images over watercolor paper and used one pink watercolor brushed over the petals.  I die cut each flower with the coordinating die.

I made the rest of the card layout with all black and white elements.  I stamped the TE Checking In Background stamp in black ink over a white panel, placed this over an A2 sized top folding black card base.  I also used the TE More Easy Edgers die to cut an additional piece of white cardstock and placed it over the stamped checkered background.  I also used some more of the elements from the flower stamp set and stamped some more black images on that background before I attached the watercolor flowers on it.  I centered each flower with a black rhinestone.

For the sentiment, I white heat embossed over black cardstock using the TE Hello Friend Stamp & Die set.

  • Thanks so much for stopping in today and I hope you’ll check out this challenge to see what the rest of the team has to inspire you with so you can play along too!

See you again tomorrow!

Challenges:

  1. Creative Fingers – Anything Goes
  2. 613 Avenue Create – Anything Goes with optional: splash of color
  3. Lil’ Patch of Crafty Friends – Anything Goes
  4. Ally’s Angels – Anything Goes
  5. Crafter’s Cafe – Anything Goes optional: Female
  6. Double D – Springtime Flowers

April Art Journal Page-Recycled Spring

Hello friends!  I hope you all had a wonderful Easter and have been enjoying the wonderful Spring weather outside!  We have all sorts of blooms and buds everywhere which is really exciting to see!  I think I need to trim some lilacs from my bush to put in a jar and enjoy the lovely smell from them!

Today is our monthly AJ page with my crafty friend Carol (from Crafty-Stamper) who is collaborating with me to “SMASH OUR STASH”! We get creative trying to use up our never-ending stash piles along with a prompt for each month.  I know she always has great inspiration to share, so please check out her blog too! Here’s my AJ page with the “SMASH OUR STASH” April prompt of “RECYCLE/UPCYCLE”: 

Flowers are everywhere, so I thought I’d place them all over my page today too!

For my “recycled” elements, I have used a floral napkin in the background which gives it some wonderful texture and I’ve also painted some white paint over it for a “wash” so that it wasn’t so bright and vibrant and too busy for the background.  I splattered some black and gold watercolor over it as well.

I found a darling image with these gorgeous Spring birds perched on the fence, cut it out and popped it up at the bottom with foam tape.

I thought that a strip of gold cardstock (left over from a project) would make a nice bright accent to go with my gold embossed “HELLO SPRING” sentiment and gold splatter.

I’ve also “recycled” an old part of an ATC project and half of a doily to add on the side with the sentiment and I’ve tied some old twine around that ATC panel.

Lastly, I’ve added some flowers and a butterfly from my old collection of ephemera pieces left over from years ago!

  • I hope that you’ve enjoyed my art journal page today and it gives you all the feels of Spring in the air!  I had fun putting this one together!  Thanks so much for dropping in!

(Feeling a little bit under the weather this week and I’ll catch up as I can!  Thanks for understanding!)

Challenges:

  1. Art Journal Journey – Spring Birds
  2. Anything Goes in a Card Free Zone – April No Cards
  3. Creative Artiste Mixed Media projects
  4. Neglected Stuff – April (doily, Tim Holtz ephemera)
  5. Simon Says Stamp Monday – Blooming Blooms

Weather Related at Sparkles Monthly

Hello friends!  When I read about the weather from other areas, it always amazes me how different and even to extremes the weather gets especially during this time of the year!  I hear everything from rain, sun, snow, tornadoes, flooding, cold, warm, hot, etc.  So where do you find your own weather to be at right now?  In my area, we have reached past the snow, but it’s still pretty cool at night…so I know that Spring and the rain is here for us with a bright spot of flowers/sprouts starting to come out in the Midwest U.S.

With this in mind, we have a new challenge over at Sparkles Monthly and we have a very fitting theme of “Weather Related  (rain, wind, sun, etc.) this month.  Would love to see lots of different varieties of weather related projects, so I hope you’ll join us.  Here’s what I came up with:

I was so happy to finally get a chance to use this adorable set by Lawn Fawn called Beary Rainy Day as I’ve had it for a while, but never used it until now.  

I started with a kraft A2 sized top folding card base and stenciled some white clouds over it.  I then splattered some navy watercolor paint over it.

While that was drying, I worked on my scene.  For the background, I took some blue oxide inks in Blueprint Sketch and Salty Ocean and ink blended them on the stitched die cut panel.  I used some water to spritz over it for a watermark look.  While that was drying, I took another stitched panel and ink blended some Mowed Lawn and Rustic Wilderness Oxide inks for the grass area and die cut a hill to place at the bottom.  Before I attached it, I also die cut a white picket fence to go behind it.  I placed this scene onto a piece of navy cardstock and attached to the card base.

To complete the scene, I’ve stamped, colored with Copics and die cut the critters, rain puddles and clouds.  I used the coordinating raindrop die with the set and just die cut a few raindrops in silver glitter paper to add to the scene.  Lastly, I white heat embossed part of the sentiment on navy cardstock, cut out with a banner die and then just stamped the sentiment at the bottom in navy ink.  Also hard to see in the photo, but I’ve added some shimmer to the puddles with a glitter brush pen.

  • That’s all from me today!  Hope you’ll stop by the Sparkles Monthly blog is see what the team has come up with using this theme and join us in the challenge!  Thanks so much for stopping in as I love to read your comments!

Challenges:

  1. Craft Rocket Layer it Up 
  2. Addicted to Stamps & More Die cuts and/or stencils (clouds stenciled and variety of die cuts used)
  3. Penny’s Paper-crafty Anything Goes Using Paper
  4. Crafty Gals Corner Fill in the Blank:  “Adorable puddle jumping!”
  5. Time Out Pick 2 from list:  I picked Stencil & Water + Spots ( I was inspired to stencil some clouds and add some spots (splatter) to go with the colors/clouds of my scene and I was inspired by the water with the rain, puddles and watermark for ink blending)
  • Thank you to all the challenge blogs for keeping us all inspired to create and play along with our supplies!  I try to play along as much as I can.

Y is for YUMMY!

Hello and happy Spring!  Hope you’re having a great March so far.  We just received about an inch of snow on Spring day, so I hope it starts getting warmed up from here!  I’m ready for warmer weather so I can cook out on the grill….YUM!  Speaking of that….

Today starts a new letter over at the Alphabet Challenge Blog and our lovely hostess would like to use “Y” is for YUMMY as the theme this time.  How fun is that!  Remember you have two weeks to join in the gallery to play with us.  Here’s my creation for this challenge:

I couldn’t resist getting out this fun “Food Truck” set from Riley and Company to color up!  I also paired it with the BBQ Riley to complete the scene full of yummy goodies!  The images were both stamped and colored up with Copics.  I used the coordinating die to cut out the Food Truck and I just fussy cut with scissors for the BBQ Riley.

Before attaching the images, I used a cloud stencil and blended the background and then took a piece of green cardstock to cut out a grass border for the bottom.  I ink blended the edges of the blades and then used a green Copic marker to add some shadowing for the stamped images before placing them down on the scene.  BBQ Riley was popped up with foam tape.

Here’s a closer view of the images.  I used a liner pen to draw “yum items” under the menu board on the truck with a drawing of a balloon.  I also used a silver gel pen to color in parts of the truck, the lights above the “food” word along with the utensils on BBQ Riley and parts of the grill.

I found a speech bubble and sentiment from my stash that I thought would be perfect for this card and stamped it above Riley’s head as he’s holding up a hot dog.

Do you like to stop and eat at food trucks?  What’s your favorite?  Last summer we went to a small town festival and they served some lemon shake ups at one place along with some BBQ shredded pork and it was so yummy!  We also like to grab some kettle corn to take home too.

Did I make you hungry now?!  Hope you’ve enjoyed my card today and I hope you’ll stop by the Alphabet Challenge Blog to come play along too!  We’d love to see your yummy creations!  Thanks so much for taking the time to stop by!  I enjoy reading your thoughts!  Have a great weekend!

Challenges:

  1. AAA Birthday Masculine
  2. Love to Craft Anything Goes
  3. 613 Avenue Create – Anything Goes with optional: Any Occasion
  4. Unicorn Boys/Men
  5. Passion for Markers Add a Sentiment (colored with Copic markers)
  6. Pammie’s Inky Pinkies – PIP2511 Anything Goes
  7. Lil’ Patch of Crafty Friends Anything Goes

It’s Easter at Sparkles Monthly!

Hello friends!  Hope your March is going along well and you’re starting to see some signs of Spring coming!  We even have a few flowers trying to pop up out of the ground which is so fun to see!  I hope they can hold out for a few cold days ahead.

Today I’m stopping in to share my card for the new challenge over at Sparkles Monthly and we have a very fitting theme of “Easter” this month.  I think I’m more than ready to start some Spring related projects, so I look forward to seeing the gallery.  Here’s the card I came up with:

How sweet is that bunny passing out his colorful eggs!  I pull out an older card kit (2019) and it had this adorable Simon Says Stamp set called “Bunny Wishes” (no longer available) mixed in with the kit which I don’t think came with it, but I wanted to use it with some of the other items that were in the kit like the papers.  It was like getting a brand new order and forgetting what I purchased! 😆 

I also used this beautiful oval die (not available) from SSS that cuts the oval, the flowers and the stitching marks around it.  I added a border of grass to place at the bottom and then I stamped the sentiment from the set and also stamped the “Easter” greeting on another piece of light blue cardstock cut with a banner die.  The gingham background was cut with a double stitched rectangle die and then I used the oval die to cut an opening for the bunny scene.  I added foam tape around the edges to pop up the panel on an A2 top folding pink card base.

Here’s a close-up view of the cute images that I’ve colored with Copic markers, cut out with the coordinating dies and then popped up over the floral oval scene with foam tape.  The extra Easter egg behind the basket was just glued to the scene.  It’s hard to see in a photo, but I’ve covered each egg with a glitter brush pen.  It’s sparkly IRL.

I did recently get this pretty Iridescent White Cord from SSS and took two strands of it to create a bow and then I attached it to the top of the oval.  It gives it a nice sheen and I might be using it again soon!

Thank you for stopping in today!  Hope you enjoyed my card and will join us for the challenge this month!  Have a great weekend!

Challenges:

  1. Pammie’s Inky Pinkies – PIP2510 Anything Goes
  2. Make My Monday Use a Die/Punch 
  3. Passion for Markers Dies &/or Punches + markers (used dies and Copics)
  4. Little Red Wagon Start Easter Projects
  5. Penny’s Anything Goes Using Paper
  6. Tic Tac Toe I used 3rd down or middle across
  7. Four Seasons – Spring/Easter

February AJ Collab-You Are Enough

Hello friends!  I’m back again today to share some more inspiration with my Art Journaling!

Today starts another AJ page with my crafty friend Carol (from Crafty-Stamper) who is collaborating with me to “SMASH OUR STASH”! We get creative trying to use up our never-ending stash piles along with a prompt for each month.  I know she always has great inspiration to share, so please check out her blog too! Here’s my AJ page with the “SMASH OUR STASH” February prompt of “MUSIC” (of course!): 

Really had fun with this page as it’s got that bright and cheerful background which is a great reminder to yourself especially when the world looks black and white.

I was able to pull out several stash items like the DecoArt Fluid Acrylic Paints, the stamp sets and dies, some of which, I’ve had for a long time and some never used!

For the background:  I started with a canvas cardstock 140# measuring 8.5″x5.5″ and attached a music sheet of the same size over it. (I have tons of sheet music ephemera!)  I then used the DecoArt Fluid Acrylic Paints to go over it in a horizontal bright rainbow.  Once dry, I splattered white paint over it.  I also went around the edges with a black paint marker.

The flowers at the bottom came from the Taylored Expressions Botanical Beauty Background (retired), that I stamped in black and colored with cool grey markers.  I liked that it covered the entire width of my panel.  I used a coordinating die to cut it with and attached to the bottom.  I layered a black strip at the very bottom…because I thought it needed it.  

Moving to the top of the page, I used a Lawn Fawn Little Heart Strings border die cut out with some shimmer vellum.  (I also used the same vellum for the butterfly wings.)  I attached this to the top of the page with double sided adhesive strip.  I glued down the tiny hearts. This is the first time I’ve used this die because I had to cut it apart!  The butterfly dies came from a very old My Favorite Things die set that is no longer available…not sure of the name even.  The sentiment at the top over the heart string border came from the Taylored Expressions “You Are” that was white heat embossed over black cardstock and cut out with the coordinating die.  I attached it over the border.

Lastly, I used my Cricut Machine to cut out some single music notes in black glossy cardstock and I attached those to the center of the die cut butterflies.  I used some black Stickles glitter and put “dots” on the heart strings border, the butterflies and the center of the flowers.

Here’s a song that inspired me for this page:  

and if you need to hear this today,  just know that YOU ARE ENOUGH too

Thank you so much for stopping by today and sharing your kind comments and support!  I read them all and appreciate it!  Hope you enjoy the rest of your weekend!

Challenges:

  1.  Art Journal Journey – MUSIC
  2. Moving Along with the Times – Things with Wings
  3. A Cut Above – Anything Goes + die cuts
  4. The Neglected Stuff challenge (I’ve used musical sheet ephemera, paints, butterfly dies)
  5. Anything Goes in a Card Free Zone – No cards
  6. Creative Artiste Anything Goes Mixed Media
  7. We Love to Create – Anything Goes Mixed Media

Art Journal Inspiration-Happiness, Harmony & Joy

Hello friends!  Brr!  It’s a very cold start to the week over my way, so that means I’m staying inside the warmth and crafting up some fun to share!  I’m really enjoying putting together these pages this month as I get to pull some things from my stash that I’ve really been wanting to play with.  This gives me a chance to use things for myself in whatever way I want because I don’t give these pages away and I think I find it to be a bit more “freeing” to do or try things that I may not normally do on a card.  

Maybe I can encourage you to try something for yourself!  I have more inspiration to share for the “MUSIC” prompt I’m hosting this month at Art Journal Journey:

For this page, I pulled out an AALL & Create stamp set that I’ve been wanting to use “Call the Tune” and I wanted to use the trumpet from the set.  I always think of trumpets as a bold and happy musical tune, so I thought flowers and my favorite colors would make me feel happy too!

For the background:  I started with an 8.5″x5.5″ watercolor panel and watered down some purple and turquoise acrylic paints so that I could use them like watercolor.  Once dry,  I attached some musical note tissue paper off the side and I also stamped the trumpet image in black on the top of the page.  I then used the flower image and gold heat embossed it on the bottom and top of the page.  I then took some black paint to splatter over it.   Lastly, I took the AALL & Create Reverse Triangles Stencil and some metallic white embossing paste over it in random areas.  Once that was dry, I went around the edges with the black Distress Crayon.

Moving towards the bottom of the page, I stamped the flower image twice, colored them with Copic markers and fussy cut them out to line the bottom of the page.  Before attaching them, I splattered them with gold watercolor and white Copic Opaque.  I also used the black Distress Crayon to go underneath the flowers before I attached them.

The musical notes were cut from my Cricut Machine with black glossy cardstock.  I also attached a few select words from the AALL & Create Motivation Station Ephemera pack and used a black marker to line around each one.

I stamped another trumpet image and colored it with Copic markers and then fussy cut around the colored images to attach over the black image I stamped on the page.  I even used a knife to go in between the sections of the trumpet.  It was a bit tedious, but worth it.

I finished the page off with some gold Stickles in the center of the flowers for a touch of sparkle because sparkle makes me happy too!

  • So what do you think?  Does this page bring happiness to you?  It gets me looking forward to Spring and seeing some flowers grow!  I’m going to go check out the fun musical inspiration in the Art Journal Journey gallery and I hope you check it out too!  Thanks for dropping by today and I’ll see  you soon!

Challenges:

  1. Art Journal Journey – Music
  2. Anything Goes in a Card Free Zone – no cards
  3. Creative Artiste Anything Goes Mixed Media
  4. We Love 2 Create – Anything Goes Mixed Media/Paper Crafts