A Christmas Pig for 2 Crafty Critter Crazies Challenge

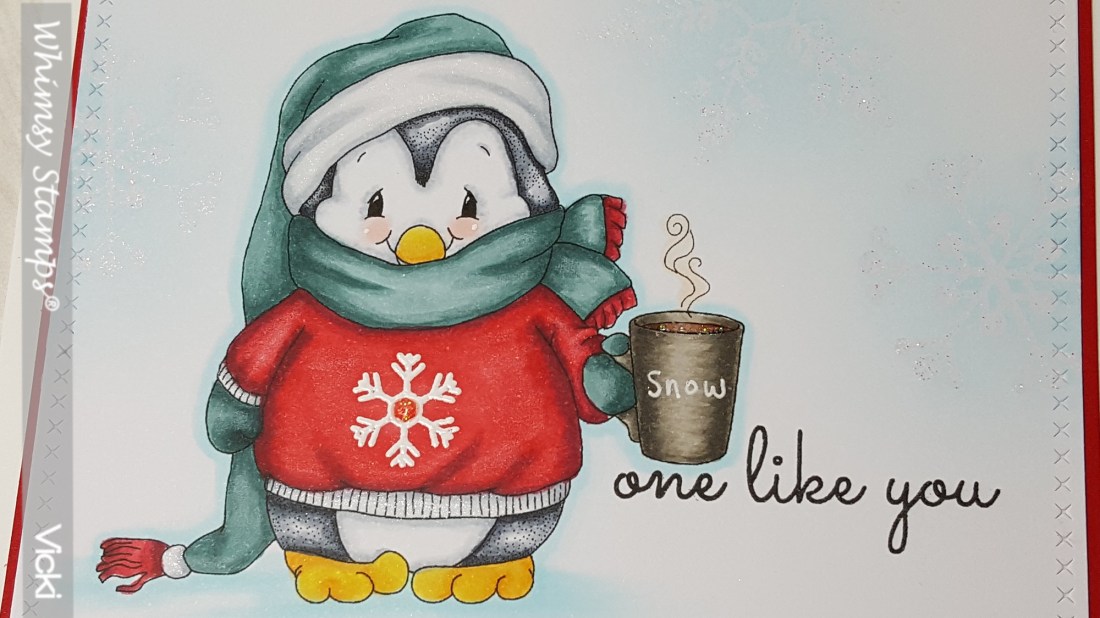
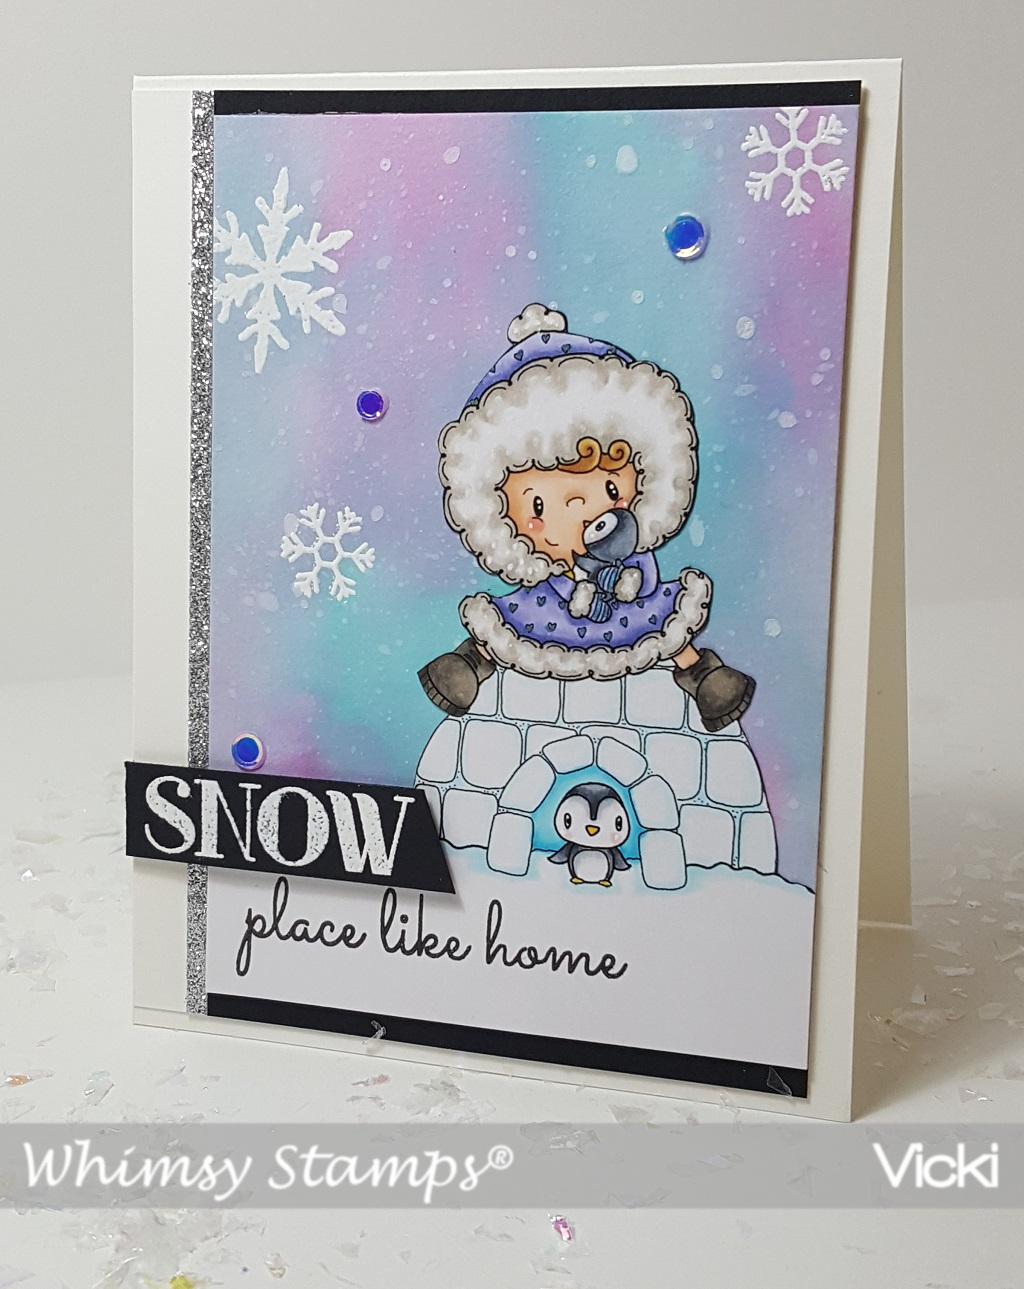
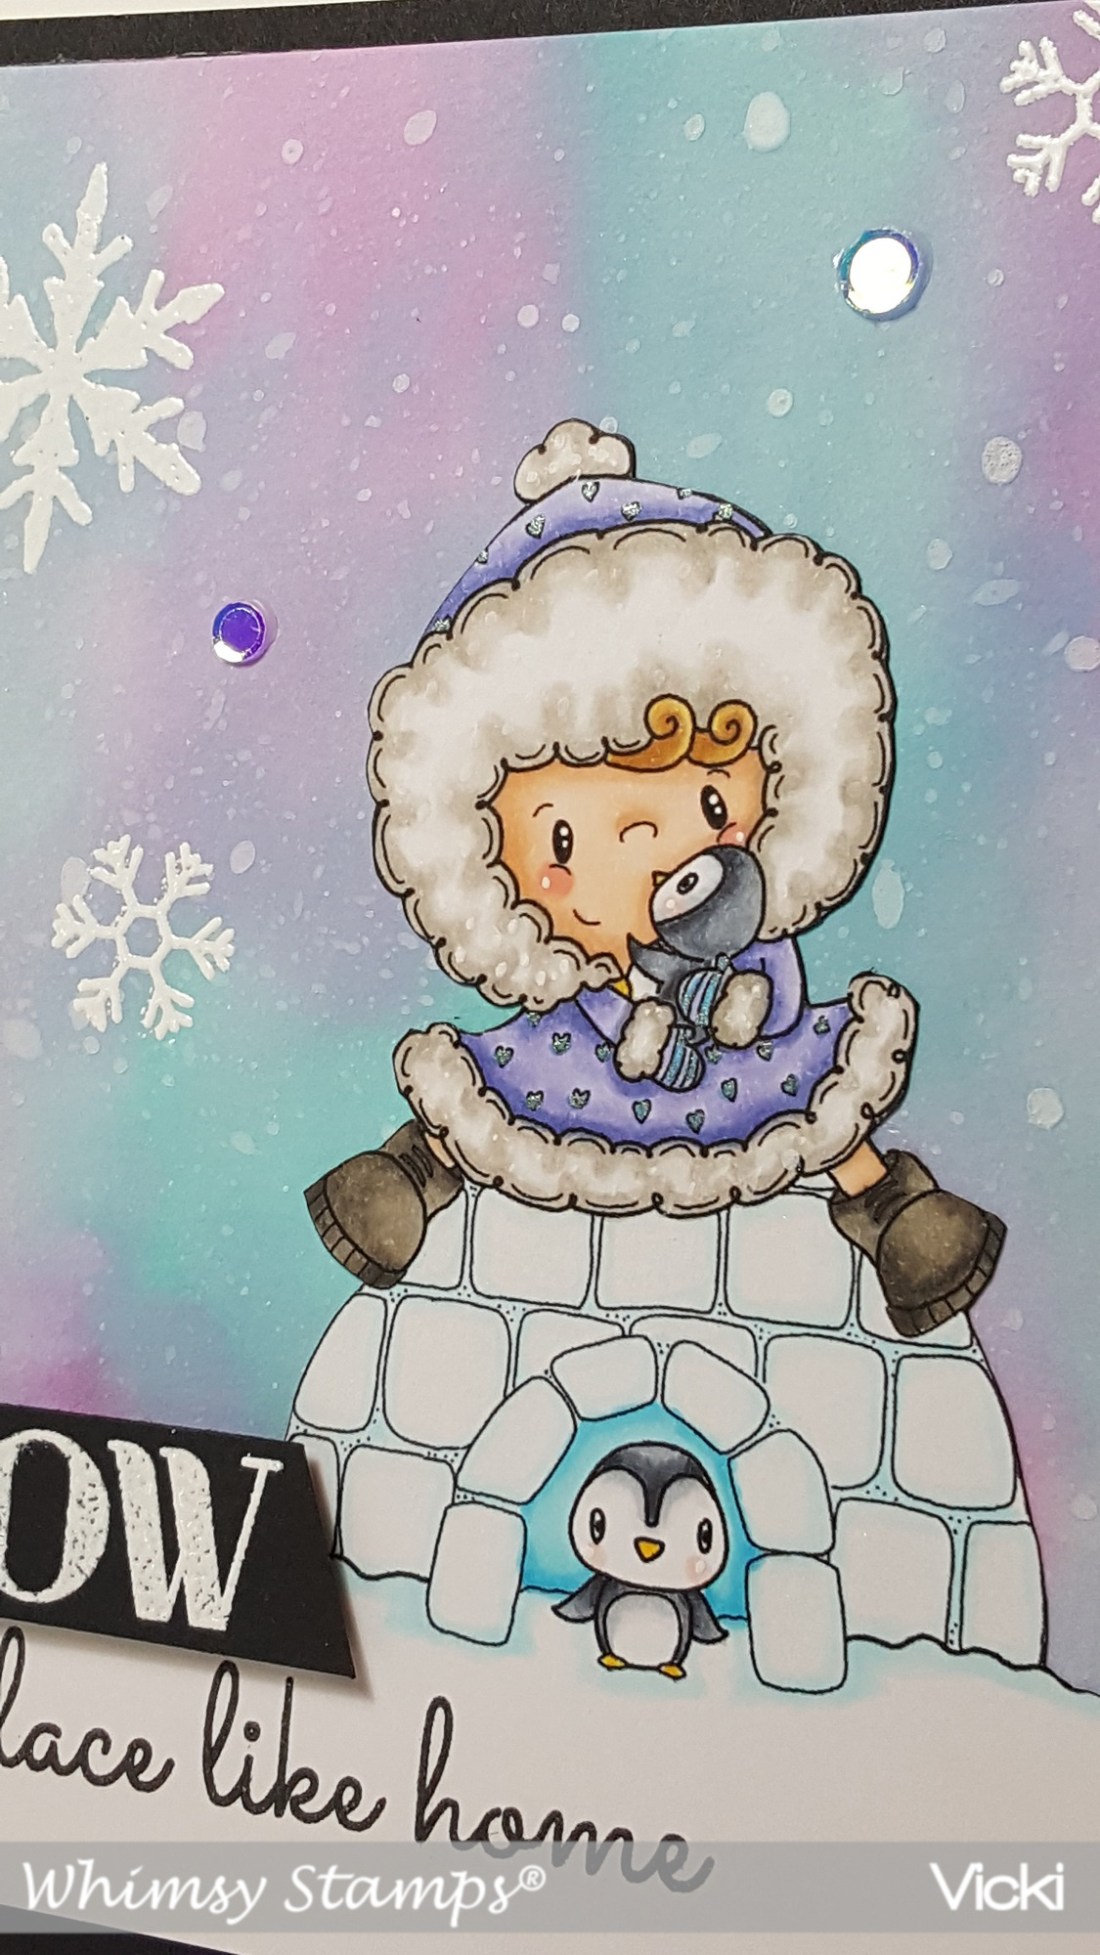
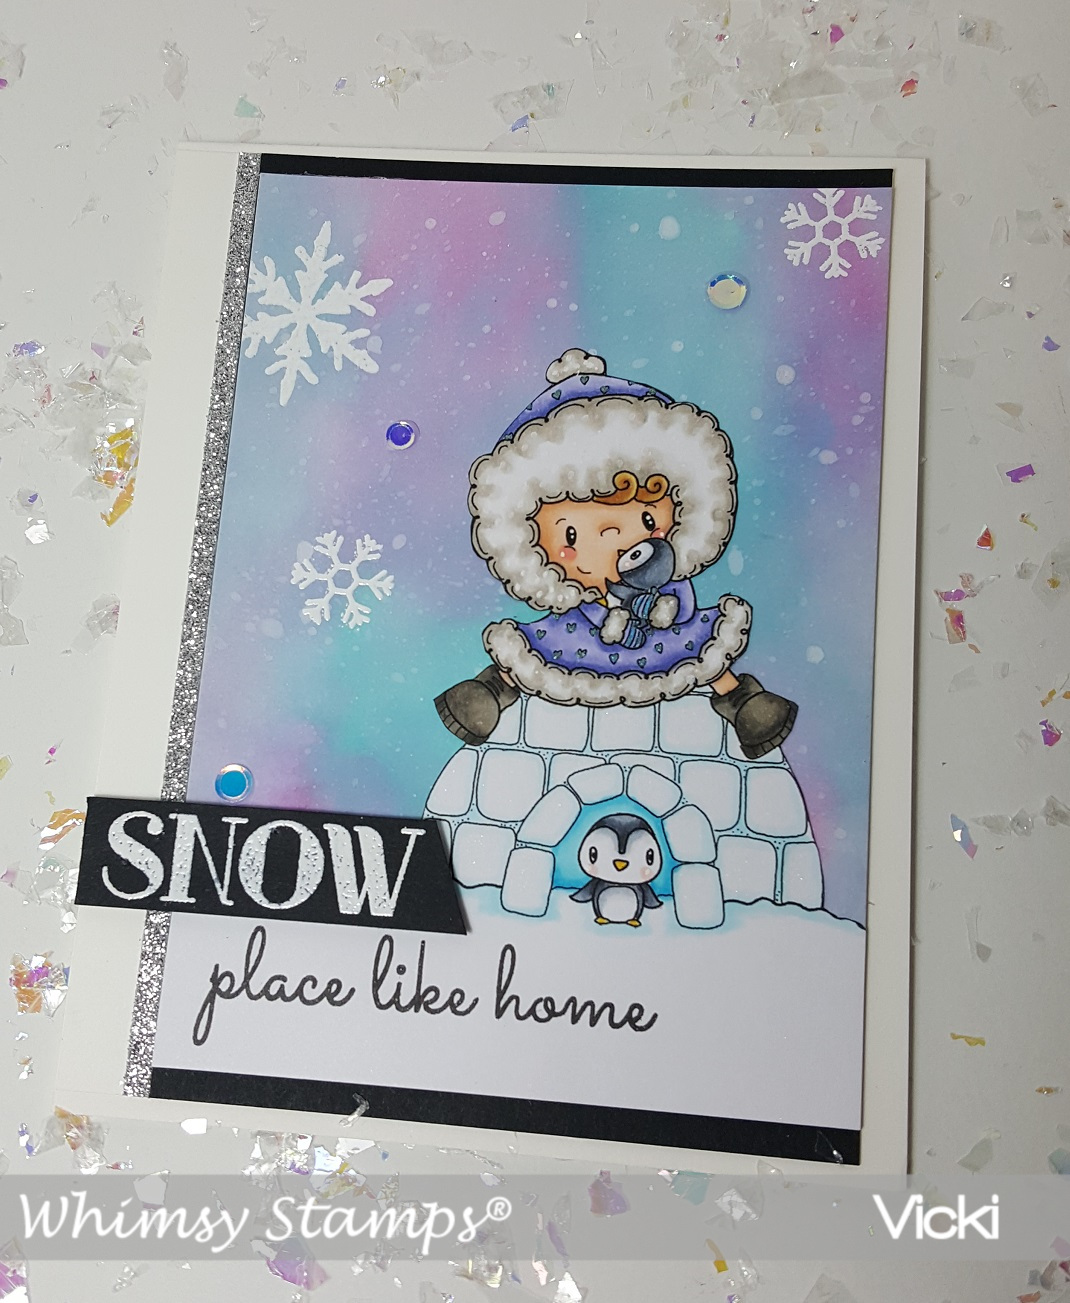
Hello friends!  Here we are in December already!  Christmas will be here before you know it!  I think this is a great time to remember to pull out your critter supplies and have some fun with them while you make up your Christmas projects too!  The first of the month brings us a new challenge over at the 2 Crafty Critter Crazies blog!  So come play along with us this month!  It’s ALWAYS anything goes as long as you use a critter(s) somewhere on your project!  We look forward to seeing what you come up with!

Here’s what I’ve made for the challenge this month:

Vicki-2CCC-QKR

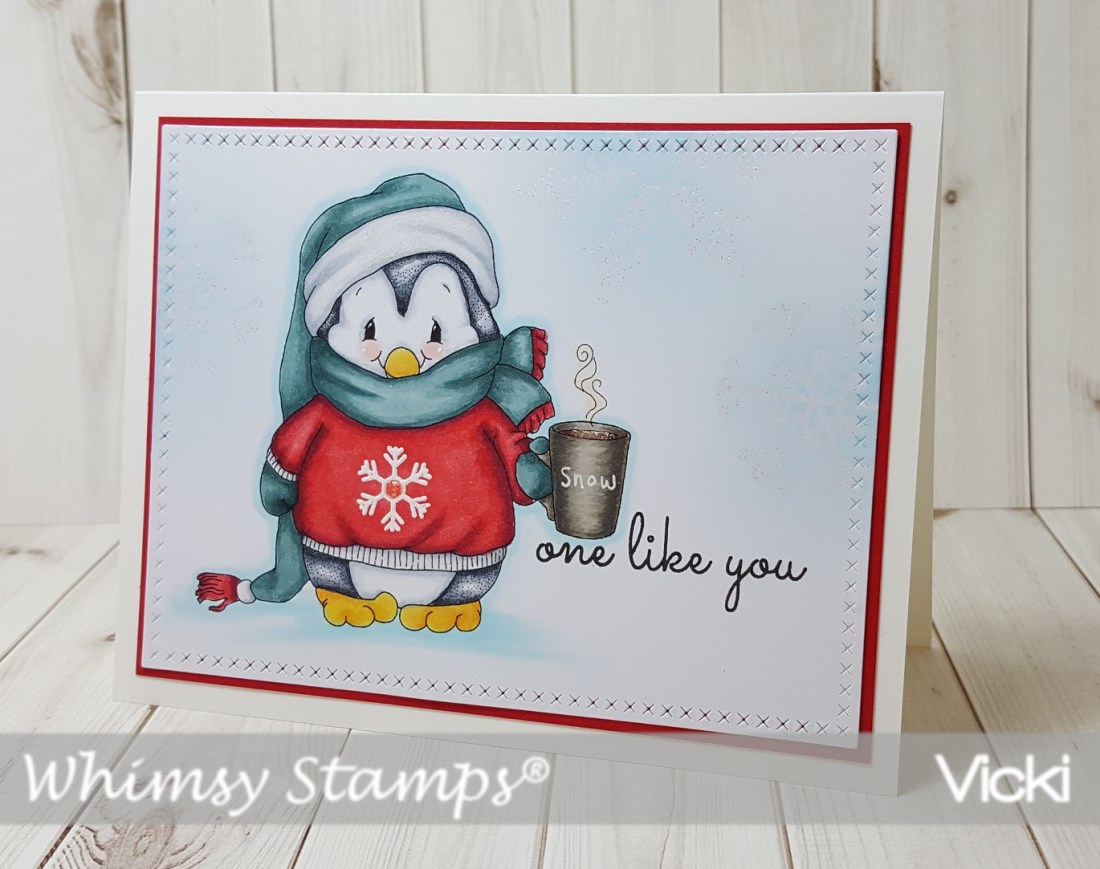
This month our lovely sponsor is QKR Stampede, and they were kind enough to allow our design team to choose an image to play with!  I have to tell you that this image made me literally *snort* when I saw it!!  LOL!  I have used the Christmas Pig image for my card.  I think this piggy is too cute with his present all neatly wrapped next to the decorated tree while he gets sleepy waiting for Santa to come! 🙂  I do recall growing up in the country and having a couple of pigs.  I always wondered about them in the cold, but we had a place they could come inside the barn to stay warm.  They were funny to listen to, but I always thought they were too stinky to get too close! LOL

I decided to color the image with my Copics and then I fussy cut it out and layered it over a piece of red cardstock.  For the base of my card, I took an A2 top folding red cardstock and then layered a piece of decorative paper from DCWV and then also attached a strip of white glitter paper on each side of it.  I then took some woodgrain cardstock that I’ve previously made and die cut a fence border out with it and placed it across my design.

I then took the layered image panel and attached it over the card with craft foam and then added the ribbon with some red jingle bells attached to the bow and attached the die cut greeting below that with red cardstock.

Vicki-2CCC-QKR-close

Upon a closer look at the image panel, you can see that I’ve added some Nuvo Crystal Drops Morning Dew to each red ornament on the tree and then I’ve taken a gold gel pen to color the star on top of the tree along with a clear gel pen to color the star outside the window.  For the snow-covered ground in the window, I’ve used some glitter attached with a Nuvo Smooth Precision glue pen.  I’ve also used this pen to attach some Twinkling Clouds Flocking to the piggy’s hat trimmings!  It makes the area so soft and fuzzy plus it has a bit of sparkle added to it too!

Thanks for stopping by!  Please come back a bit later as I have something very special for you!

Challenges I’d like to enter:

  1.  QKR Stampede – Anything Goes
  2. {Cupcake Inspirations} CIC459 – The Holidays (theme challenge)
  3. Crafty Creations – Anything Goes
  4. The House That Stamps Built (N2818) – Anything Goes
  5. Mod Squad – Use a Critter on your Holiday card

We’re Recycling at Cute Card Thursday!

Hello friends!  I’m back to share our new challenge for Cute Card Thursday this week!  I have to say that I enjoyed this challenge, and I can’t wait to see what you come up with for this one.  We would like to see some “Recycling” on your projects this week!  There are so many different ways you could go…do you have a box full of “trash treasures” waiting to be used?  Now is the time to pull it out! 🙂

Here’s what I’ve come up with for the challenge:

Vicki-CCT558-Recycle-PolarBearSoup

I haven’t made these for a couple of years, but I like to save those Crystal Light plastic containers and decorate them and use them as “gift holders” or like I have here for some “polar bear/snowman soup” containers!

I try and keep the decorating somewhat simple, but I enjoy adding ribbon, glitter, etc. just for the fun of it!  I’ve used an oldie but a goodie and my fave set from My Favorite Things called “Cool Day“.  I’ve used both of the polar bear images and colored them in, fussy cut them out and attached to the containers.  I’ve also white heat embossed the sentiments from the set and cut them out with a banner die for them to stand on.  I found some matching ribbon that I’ve wrapped around the top of the container and then added the bow.  Although I didn’t take a photo of the top of the lid, I’ve also cut out some matching pattern paper to decorate the top of the lid.  I’ve used some liquid glue to add some faux snow at the bottom of the containers and then some glitter under the polar bears feet.

Vicki-CCT558-Recycle-PolarBearSoup-back

This is actually the first time that I’ve done polar bears for these.  I usually use a snowman with the snowman soup poem, but since these were polar bears, I sort of changed out the wording to make it work with my design.  LOL.  I’ve just printed it up on the computer and added a coordinating mat behind it and attached it to the back of the containers.  It slightly sticks out on each side, but I could always trim it down more if I wanted it to fit, but I was fine with it.

Vicki-CCT558-Recycle-PolarBearSoup-containters

I just wanted to share a photo of the original packaging of these containers.  I have my family save these up for me and I will create with them each year.  I have about 10 of them saved up for now.  As a crafter, we always keep our eyes peeled for something we can save and create with! 🙂

Vicki-CCT558-Recycle-PolarBearSoup-close

And here’s a closer look at the details of the polar bears.  I used my Copics to color them.  For the green one, I used the pointillism technique to create the look on the sweater.  I also made the elbow pads and the circles on the mug.  I covered the mug with some glossy accents.  I added some glitter to the top of the hat on the red one.

Thanks for stopping in today!  See you soon!

Challenges I’d like to enter:

  1.  Always Fun – Anything Goes
  2. Christmas with the Cuties – Anything but a Card
  3. Use Your Stuff – Mood board (inspired by the sweet treats, mugs and red/white colors!)
  4. Double TroubleThing 1:  My sweet treat is inside the containers!  Thing 2:  I used the mood board above from “Use Your Stuff” challenge!  Thing 3:  I used lots of “sprinkles” with faux snow and glitter!
  5. Crafty Card Makers – Anything but a Card
  6. Artistic Inspiration – Just for Fun Challenge – Anything Goes

A Snowy Shaker

Hello friends!  I’m back again today to share a shaker card I’ve made using the CUTE digital stamp from Whimsy Stamps called “Snowy“!

Vicki-WS-Snowy Shaker-Nov25-blog

I had “snow” much fun making this shaker card!  Hope you’ve enjoyed it for inspiration as well!

Thanks so much for stopping in at my blog today!  I appreciate your kind thoughts and encouragement more than you know!  I’ll see you soon!

Challenges I’d like to enter this card for:

  1.  Simon Says Stamp Monday – “Let it Snow”
  2. Creative Moments – Anything Goes optional twist:  put sentiment on creation.
  3. Simon Says Stamp Wednesday – “Baby It’s Cold Outside!”
  4. Aud Sentiments – Winter or Christmas Sentiment
  5. Creative Knockouts – Snow Much Fun
  6. Winter Wonderland – Christmas or Winter Characters (people only)
  7. Crafty Catz – Anything Goes with optional twist:  “All Wrapped Up”

Snow One Like You

Hello friends!  Stopping in to share a card I’ve made with an adorable Whimsy Stamps image and to remind you of the December challenge going on over on the Whimsy Stamps Inspiration Facebook Group.  If you are creating with any of your Whimsy Stamps products, I hope you will stop by and add your creation to the gallery!

Vicki-WS-CoffeePenguin-Nov20

This is the really adorable Penguin Coffee Break Digital stamp set by Crissy Armstrong…always LOVE using her adorable penguin images! 🙂  You actually get THREE digital images within this set.  You get the penguin alone like I’ve used on my card here, you also get one with the winter scene background behind him as well as just the scene by itself!  Pretty nice deal for one low price if you ask me!

I’ve made this a pretty simple card by printing out the image, coloring it up with Copics and then for the “snowflake” on the penguin’s shirt as well as the sentiment and the sparkly snowflakes in the background, I’ve pulled out the Whimsy Stamps Snow Flurry Clear Stamp Set.  I have heat embossed the smallest snowflake on the penguin’s shirt with white embossing powder and then I heat embossed the snowflakes in the background with some Sprinkle Embossing Powder and lightly ink blended some Tumbled Glass distress ink over top of it.  I wrote the “snow” letters over the cup with a white gel pen and then stamped the sentiment from the Snow Flurry stamp set underneath the cup.  I’ve cut this panel out with a cross-stitch rectangle die and then layered it over some red cardstock and then mounted this onto a top folding A2 sized white card base.

Vicki-WS-CoffeePenguin-Nov20-close

Upon a closer view, you can sort of see the sparkly embossed snowflakes in the background as well as the coloring details.  For coloring up my penguin, here’s the Copics that I’ve used:

  1.  hat/scarf/mittens:  BG78, BG75, BG72
  2. sweatshirt/hat & scarf trimmings:  R39, R37, R35 for trimming: C3, C1, blender 0
  3. Penguin Body:  C8, C7, C5, C3, C1 for feet/beak:  Y35, Y21, Y11 cheeks:  R00, R000
  4. Cup:  W9, W7, W5, W3 liquid/steam:  E29, E25, E50
  5. Snow/shadow around and under penguin:  B00, B000, B0000

I’ve also covered the trim on his hat along with the trim on shirt with a Spectrum Noir glitter brush pen.  I added a dot of Nuvo White Blizzard Glitter Drops to the center of the snowflake on his shirt as well as the liquid in his cup.

Vicki-WS-CoffeePenguin-Nov20-flat

It’s hard to capture the shimmer on his white hat trimmings, but you can see the sparkle in his cup and the center of his snowflake.   I was thinking of all of the things that you could add to his shirt besides a snowflake…so that would be fun to play with too!

Hope you’ve enjoyed my card today!  Thanks for dropping in!  I’ll be back soon!

Here are some challenges I’d like to enter this card for:

  1.  CAS Colors & Sketches – color challenge:
  2. Fab ‘N’ Funky – With an Animal
  3. 4 Crafty Chicks – Snowflakes
  4. QKR Stampede – Anything Goes

SNOW Place Like Home

Hello friends!  Hope you are having a great week so far!  Well I have to say that this card certainly does feel like home where I’m at right now as it’s pretty cold and a bit snowy over my way!  I tried to hold onto Fall for as long as possible!

Whimsy Stamps has come out with another line of really cute digital stamps from CC Designs and this is the first time that I’ve colored one from the new line and I think they’re really cute!  Check out this card I’ve made for you today:

Vicki-WS-Iggy-Nov13

This darling image is called “Iggy” and I just love these sweet little penguins with her! 🙂  Here are the Copics that I’ve used to color her with:

  1.  Coat/fur trimming – BV04, BV02, BV01/W3, W1, W0, blender, white gel pen for dots, blue gel pen to color hearts
  2. boots – W9, W7, W5
  3. Penguins – C8, C5, C3, C1, Y17, R00
  4. Skin/Hair – E23, E21, E11, E00, E000, R20, R00, white gel pen for cheeks
  5. Igloo/Snow – B04, B01, B00, B000

I fussy cut the image long with the ‘ground snow’ and left a spot at the bottom for the sentiment.  I outlined the image with a black marker and attached it to my winter snow background that I’ve made.

To make the background, I took the Stormy Sky, Peacock Feathers and Dusty Concord Oxide inks and a water brush to swirl a pretty winter sky pattern.  I dried it and then took a toothbrush to flick some white paint over it for the snow.  I then took a couple of the snowflake images from the Whimsy Stamps Snow Flurry clear stamp set and white heat embossed them in places on the background.  I’ve also used this same set to heat emboss the “snow” sentiment over a piece of black cardstock that was popped up with foam tape over the image panel and then the rest of the sentiment was stamped in black ink right below the image.

Vicki-WS-Iggy-Nov13-close

Here you can better see a closer look at the details of the coloring.  I’ve also put some shimmer over the entire igloo with a Spectrum Noir glitter brush pen.    Thought I could see it when I took the photo, but of course it’s not showing up!

Vicki-WS-Iggy-Nov13-2

I took the snowy image panel and mounted it over a piece of black cardstock and then took a very thin strip of silver glitter cardstock to lay right next to it over a piece of white card stock.  I took this white card front base and attached it to the left side of a top folding A2 card base.  Lastly, I’ve taken some sequins and attached them to the snowy background for a bit more sparkle.

I hope you’ve enjoyed my card today!  Thanks for dropping in!

Here are the challenges I’d like to enter this card for:

  1.  Creative Inspirations – November Chill
  2. That’s Crafty – Winter Wonderland
  3. QKR Stampede – #321 Anything Goes
  4. Crafting From the Heart – Anything Goes
  5. Artistic Inspirations – Anything Goes

Snowflakes at Cute Card Thursday

Hello friends!  It’s time already for a new challenge over at Cute Card Thursday and as I can feel it growing even cooler by the day outside, I find that this challenge is very fitting and a great way to keep going on my Christmas pile!  We would like to see some “Snowflakes” on your creations this week!  We look forward to seeing what you come up with!

Our sponsor for this challenge is All Dressed Up Stamps.  They’re kind enough to provide an image to use for this challenge, so here’s what I’ve come up with:

Vicki-CCT555-ADU-Snowflakes

This image is so sweet with the pup and kitty delivering their letters to Santa for Christmas is coming soon! 🙂  The image I’ve used is called Christmas Post from All Dressed Up Stamps and it already had some snowflakes within the image, but I always feel that snowflakes are big, small and fall everywhere, so I decided to add a few more with items from my stash.

I’ve colored my image with Copic markers and used some gel pens for the eyes, cheeks, parts of the mailbox lettering, center of snowflakes as well as adding some adding some random dots in the background for tiny snowfall flakes.  I’ve also had this Christmas Postmark stamp set in my stash and thought it was perfect to use as a sentiment for my card.  I stamped the circle, punched it out and layered it with another scallop circle that was punched from red cardstock.  I stamped the wavy lines post mark image behind that on the image panel.  The image panel was cut with a Wonky Stitched rectangle die.

Vicki-CCT555-ADU-Snowflakes1

Here’s a closer look at the image and how I’ve colored it.  For the top of the mailbox, the snowflake on the circle postmark and for the snow-covered ground, I used some glue in those areas and then sprinkled some Diamond Dust glitter over top of it for some nice sparkling snow coverage.  (I love using that stuff for snowfall!)

You can also see the silver snowflake sequins that I’ve attached and then I’ve added some silver Stickles to the centers of each one.  I’ve layered this image panel to a red cardstock layer and then added some foam tape to the back of it and mounted it over my card front.

Vicki-CCT555-ADU-Snowflakes2

So, for the card front panel, I took a white piece of cardstock measuring 4″ x 5-1/4″ and ran it through my die cut machine with a snowfall embossing folder and then I mounted this to a white top folding A2 sized card base and added the layered image panel over top.

Thanks for stopping by and have a fabulous day!

Here’s the challenges I’d like to enter this card for:

  1.  Daisy Chain – Christmas/Winter
  2. Crafting From the Heart – Anything Goes
  3. The Holly & Ivy Christmas Challenge – Anything Goes Christmas
  4. Shopping Our Stash (SOS379) – Raining Cats and Dogs
  5. Creative Craft Cottage – Christmas is Coming
  6. All Dressed Up Challenge –  Oct Anything Goes + must use ADU image

Joy to the World a Penguin is Born

Hello friends!  I hope that you’ve had a great weekend and a great start to your week so far!  I’m back to share another image from the November digital release at Whimsy Stamps.

Vicki-WSPenguinNativity-Nov6

This one is so sweet and makes me smile!  This image is called Penguin Nativity by Crissy Armstrong.  I really enjoyed coloring up this cute image for my card!  I’ve used several Copic markers to fill the entire panel:

  1.  Penguins’ bodies:  C8, C5, C3, C1, C0, Y00, R00, Y17, Y15, Y11 (wings:  C3, C1), (Halo: Y17, Y11, Y00 and finished with gold gel pen), (Gown:  E84, E81)
  2. seal:  W7, W5, W3, W1, W0, R00
  3. tree:  W7, W5, W1, W0
  4. eggshell:  E53, E51 (straw:  YR24, YR21, Y15), (manger:  E29, E27, E25, E23)
  5. Star:  Y17, Y15, Y13 (finished with shimmer brush pen and gold gel pen)
  6. Ground:  E21, E00, E000
  7. Sky:  BG000, BG10, BG13, Y11, Y00, 0 blender

After I was finished with the coloring, I ripped it out along the edges and then went over the edges with some distress ink and swiped it with a gold ink pad.

I’ve also taken some digital papers from the November release called Christmas Traditions (namely the musical sheet paper) and printed it out and the also ripped along the edges and attached that to another piece of ripped up brown cardstock that was also swiped with a gold ink pad.  I attached these panels to an A2 sized top folding brown cardstock base and then took an additional strip of the musical sheet paper to add to the base of the card and took a white ink pad and sponged around the edges of the card base.

I took some natural twine and wrapped it around the musical sheet and ripped cardstock pieces before attaching it to the card base.  I took an additional strip of brown cardstock and white heat embossed the sentiment from the Whimsy Stamps Holiday Mini Sentiments clear stamp set and made a tag with it by punching a hole at the top and threading the twine through it.  I made a bow and attached it to the card front panel.  I then used my fingers to bend the tag a bit for a more natural feel of the design.

Lastly, I took some foam tape and added my colored image panel to the front of the card.  I took some tiny confetti stars and glued them to random places in the sky.

Vicki-WSPenguinNativity-Nov6-close

Here in the close-up details of the image, you can see where I’ve added some shimmer touches with a gold gel pen and then the places where the animals are ‘glowing’ as well as the side of the tree, I’ve added some shimmer with a clear glitter brush pen.  (Still not sure I was able to fully capture this in my photo.)  I think the ‘glowing’ feature turned out nicely.

Hope you’ve enjoyed my card today and I’ll see you again soon!  Thanks so much for stopping in!

Challenges:

  1.  Crafty Catz – Anything Goes with an Optional Twist:  “Must Have a Sentiment”
  2. QKR Stampede Anything Goes
  3. Papercraft – Anything Goes with optional:  “Christmas Animals.”
  4. Just Us Girls – Word Week:  Music
  5. 613 Avenue Create – Anything Goes with optional twist:  “Christmas/Winter”

Merry & Bright Kitty

Hello friends!  Hope you’re having a great weekend so far!  I’m back to share another creation that I’ve made using the adorable Christmas Kitty Digital Stamp Set:

Vicki-SnS-ChristmasKitty-OctGDT

I wanted this kitty to be the main focus of my card along with the lights and I wanted them to pop out on my design.  I also wanted to add my panel complete with the “extra” light string and greeting.  So I opened up a blank Word doc. to add my images.  I sized and arranged the kitty where I wanted him, then next to him I’ve added the additional “extra” lights and then positioned my greeting from the set where I wanted it, printed it out and colored in the lights and kitty with Copic markers.  To make the lights appear as one continuous string of lights, I took an alcohol friendly fine line marker to draw a line to the existing lights on the kitty.  I just love the look on his face as he was so much fun to color! 🙂

Vicki-SnS-ChristmasKitty-OctGDT1

To get the glowing look on the lights, I added some color around each light with the same color of chalk.  Then I took the Diamond Dust Glitter and added it over the light bulbs with the Nuvo Smooth Precision Glue pen.

I then cut this panel out with a rectangle cross stitch die cut from my stash.  After it was cut, I took some blue colored ink and stamped the pinecone image from the Holiday Greetings Rubber stamp set to frame in the kitty panel.

I decided to cut out some pine leaves with the same light blue card stock with a die cut from my stash and then I covered them with VersaMark ink and heat embossed them with the Vanilla Ice embossing powder.  You will also notice a bit of sparkle around the kitty panel edge too.  I took the panel and pressed the edges into the VersaMark ink pad and then heat embossed the edges with the Sparkle embossing powder.

Vicki-SnS-ChristmasKitty-OctGDT2

Here you can see the design on my light blue card front as well.  This is where I took the same pinecone rubber stamp image and stamped randomly along the edges of the card front and heat embossed it with the Vanilla Ice embossing powder.  The heat embossed pinecone leaves were attached to the edge of the kitty panel along with a sparkly ribbon bow and a snowflake accent.  I layered a piece of black cardstock around the image panel and popped it up with some craft foam and mounted that over the front of the heat embossed light blue card front which was wrapped with some more of the sparkly ribbon.  This was mounted over an A2 sized top folding white card base.

I hope you’ve enjoyed my sparkly cute card today!


Challenges I’d like to enter:

  1.  Crazy 4 Challenges (C4C458) – Card with Cat or Halloween themed
  2. Crafting By Designs – Get Ready for Christmas
  3. 4 Crafty Chicks (4CC427) – Christmas
  4. Craft Rocket – Christmas is Coming
  5. Crafting With an Attitude – Anything Goes

Whimsy Stamps Seal On Ice

Hello friends!  Back with you today to share another image from the November brand new digital release from Whimsy Stamps!  Check it out:

Vicki-WSSealonIce-Nov2

These seals by Crissy Armstrong have stolen my heart!  I had to create with this Seal on Ice digital image too and share it with you today!

I started with my image by coloring it up with the following Copic marker colors:

seal:  C5, C3, C1, C0 W1, W0, R00 – Hat/scarf:  BG49, BG45, E53, E51, E50

I fussy cut him/her out and went along the edges with a black Copic friendly marker.

For the card design, I found some matching cardstock to go with the seal’s outfit and used it as the 5×5 Top folding card base as well as a mat layer behind the image panel.  I took the Whimsy Stamps Pierced Border Trio Dies to cut some pieces for the snow with some glitter paper.  I put one strip at the bottom of the card base and another on the bottom of the woodgrain paper I’ve used to place the seal on.

Before adding the seal to the snow border with foam tape, I took the Whimsy Stamps Snow Flurry clear stamp set and stamped some of the snowflakes with pink ink over the woodgrain paper.  I added this layered panel onto a piece of the new digital papers this month called Christmas Roses & Snowflakes which I’ve cut out with a square stitched die along with the woodgrain paper.  I took a sentiment from the Whimsy Stamps Holiday Mini Sentiments clear set and white heat embossed it and cut it out with a portion of the square stitched die as well and attached it to the design.

I’ve finished it off by adding a bow to the corner of the woodgrain paper panel with some clear sparkly ribbon and added another one of those snowflake gems to the center of it!

Vicki-WSSealonIce-Nov2-close

Here’s closer look at the coloring details.  Isn’t this a cutie?!  I love the feminine look to it by adding in the pink snowflake digital papers and sparkly ribbon.

Thanks so much for stopping by today!!  See you soon!

challenges:

  1.  Cardz 4 Galz – Let’s Go Digital
  2. Addicted to Stamps and More! – Anything Goes
  3. Watercooler Wednesday (WWC194) – Anything Goes
  4. Crafty Animals – Anything Goes + animal/teddy bear
  5. CRAFT – Winter

A Beary Sweet Christmas Tag for 2 Crafty Critter Crazies

Hello friends!  I’m back with another new challenge for you today!

It’s the first of the month, so that means it’s time for a new monthly challenge over at 2 Crafty Critter Crazies!  As always, the challenge will last for 1 whole month and all you need to remember is to add a critter to your creation!  We look forward to seeing your critter makes this month!

Vicki-2CCC-SnS-tag

I have used this darling digital stamp set called A Peppermint Christmas. I used a Word doc. to design it before printing it out.  Once printed out, I cut it down to size for my black tag and rounded the corners with a corner chomper.

I’ve been trying to develop my skills a bit with colored pencils and invested in a large set of them recently.  So, this is what I have used to color in the images of my tag.  After coloring it all in, I took out my Quicky Glue Pen and then sprinkled some Glitter (Semi-Transparent) over the snowflakes and dark gold star bursts.  For the stars, I’ve sprinkled the Lemonade Ultrafine Glitter (Semi-Transparent) over it for a bit brighter sparkle!  I’ve also covered the peppermint candies with the Nuvo Aqua Shimmer Glitter Gloss Pen for some shimmer.  AND… if that wasn’t enough, I took the Quickly Glue Pen again and went along the edges of the white image panel and added the Waterscape Glitter to the edges.

For the assembly of my tag, I’ve used a pre-made tag from Graphic 45 and sponged around the edges of it with white ink.  I took some green colored glitter paper from my stash and added a strip of it across the center of the black tag.  I then added some pink silk ribbon strips on each side of the glitter paper.  I then used some craft foam to pop up the image panel and placed it on the tag.

I finished it off with a pink silk ribbon bow and added some more of it to the tag hole for a hanging element and tied that together with a piece of white twine.  Decided for a finishing touch to add a sparkly snowflake gem in the center of the bow.

I hope that you have enjoyed my critter project!  Thanks for hanging in there with me!

Challenges:

  1. QKR Stampede – Anything Goes (319)
  2. Sunny Day Crafting – Animal
  3. The Holly and Ivy Christmas Challenge – Anything Christmas Goes
  4. The Merry Christmas Challenge – Anything Christmas Goes