Hello there friends! I hope that you enjoyed Thanksgiving Day for those of you that celebrate. It’s difficult not being able to celebrate the holiday in the usual way with sitting at the table with family and I really miss them all so much and look forward to being able to hug them tightly in the future. I did have a nice dinner with hubby and we stuffed ourselves, also enjoyed spending time with each other.
After Thanksgiving comes the “Black Friday” shopping which I don’t go out and do in the department stores anyway let alone during this time, but I do enjoy taking advantage of deals online! Did you shop any sales or plan to this weekend?
Today I have a Christmas card that I’ve made for a very special individual with Down Syndrome. He has a very weakened immune system and is unable to go out and visit Santa like he usually does (6 times at least each year)! Santa is his friend, and he doesn’t understand why he can’t see him and thinks he’s been “bad” this year. 😥 Although he is an adult in age, he doesn’t understand with his mental handicap and his mother has asked if people would help in sending a Christmas card to him. Of course, THIS is the reason I love making cards! Here’s the card I made for Danny:
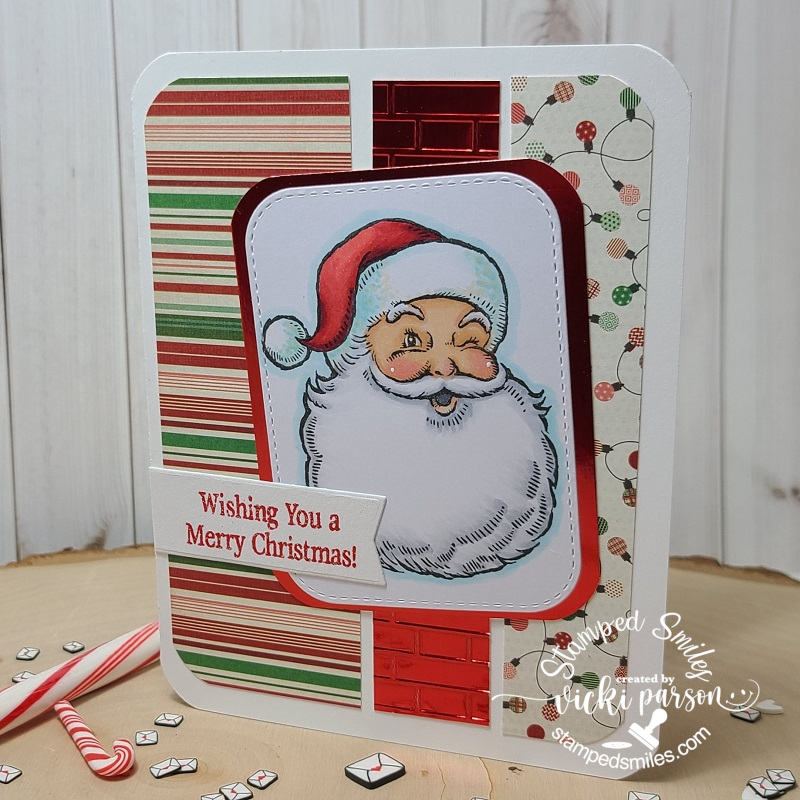
I was trying to go through all of my stamps that had a Santa and the first one that came to my mind was this older Stampin’ Up! stamp set called “Jolly Old Saint Nick” and it’s one of my favorite images for a Santa! I love how he’s got that “wink” going!
I colored him up with Copic markers and cut it out with a stitched round rectangle die and then layered it over a piece of red mirror cardstock that was cut with a rounder punch. For the design of this card, I’ve used a current sketch challenge (see below this post). I found some festive papers in my stash and cut the strips that I rounded the corners on with the punch as well. For the middle strip, I used some more of the red mirror cardstock and ran it through a brick embossing folder before attaching it to the other pieces. I layered them over a white A2 sized side folding card base that I also rounded the corners on as well.
For the sentiment, which also came from the same stamp set, I heat embossed it with Brutus Monroe Christmas Eve EP over a piece of white cardstock and cut it out with a banner die and cut off the edge of the card.
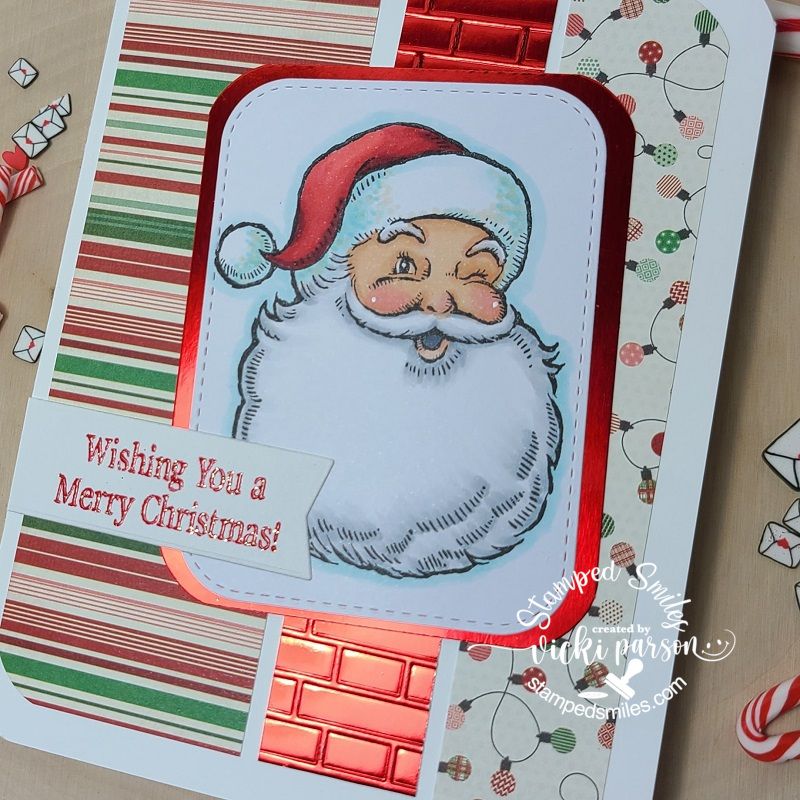
Here’s a closer look at Santa and how I’ve colored him in. I couldn’t resist giving him white highlights on his cheeks with a gel pen. You can see the beautiful mirror effect with that embossed middle strip as well as the pretty sparkle in the sentiment from that EP I mentioned above.
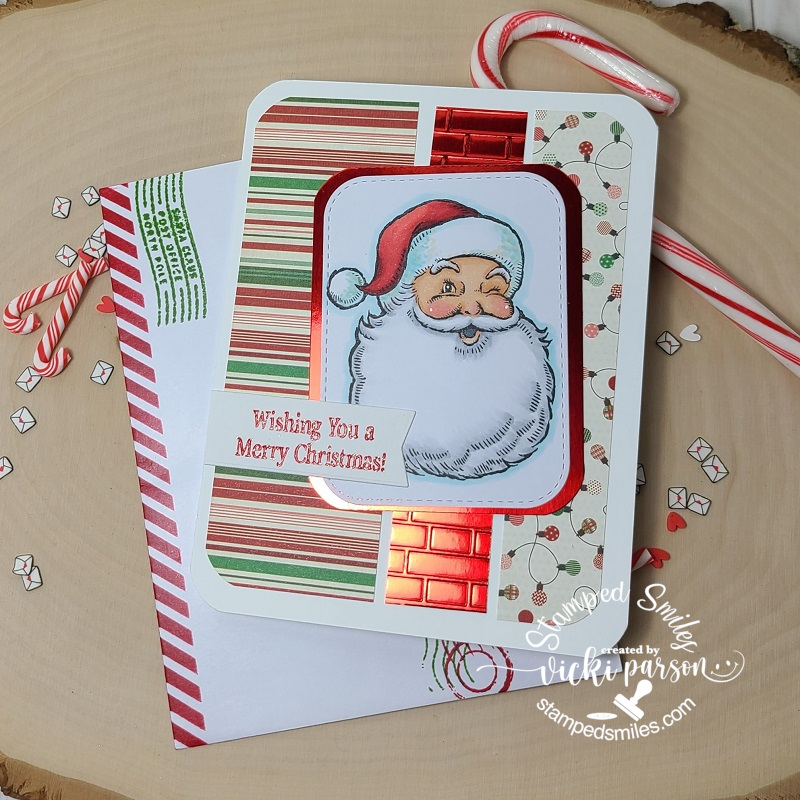
And of course, I wanted to make the outside envelope that it’s getting mailed in just as fun! I took a diagonal striped stencil and inked it up with red ink along the bottom on both sides. I also had a fun “Postal Christmas” stamp set (unknown) and stamped a few of those all over the envelope in red and green inks. I sure hope that he enjoys this card and helps to bring a smile to let him know that Santa KNOWS he’s been good! 😉
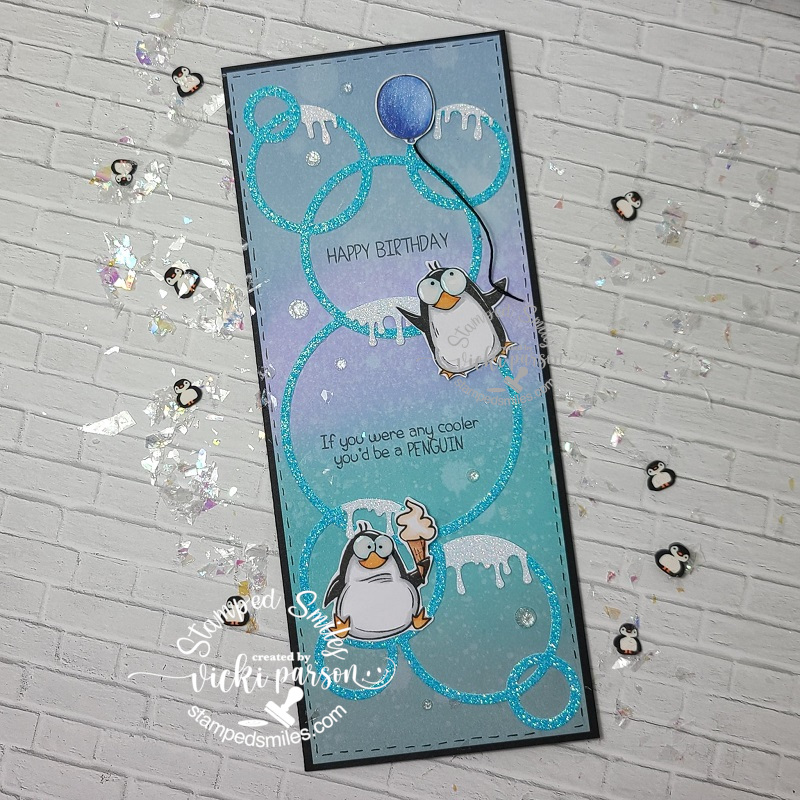
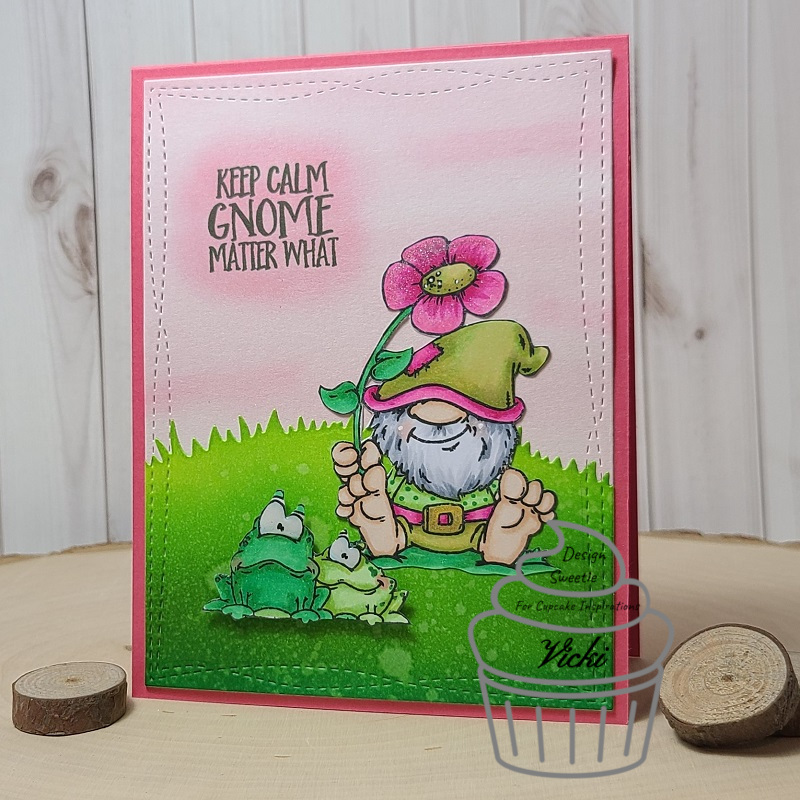
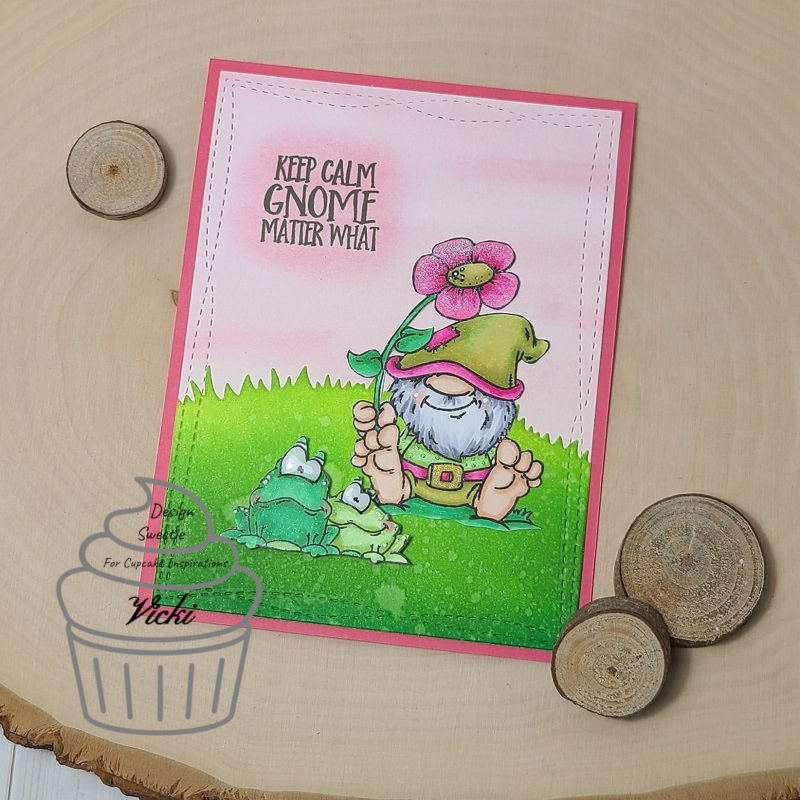
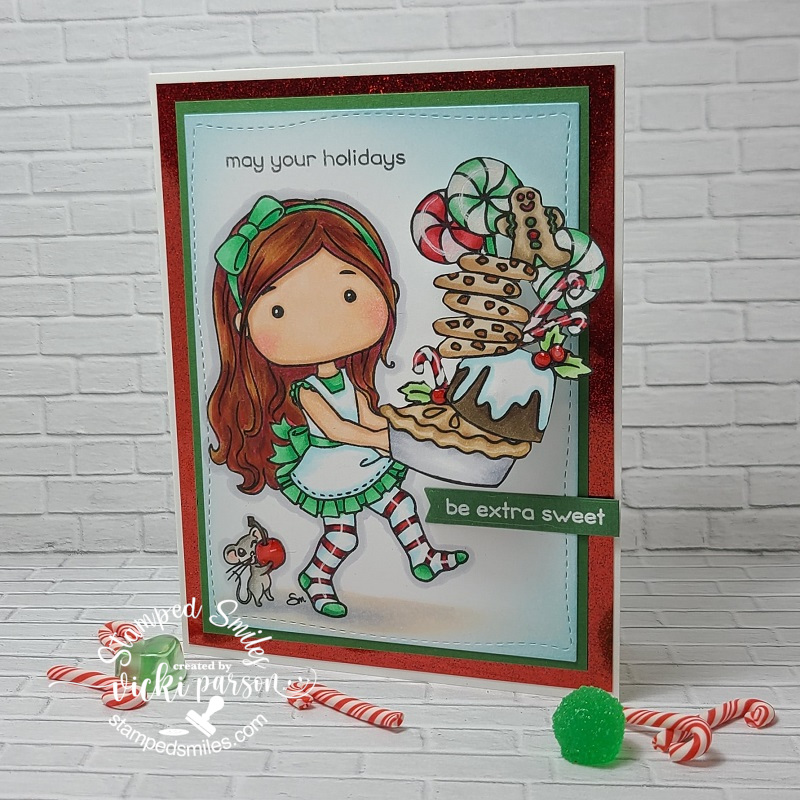
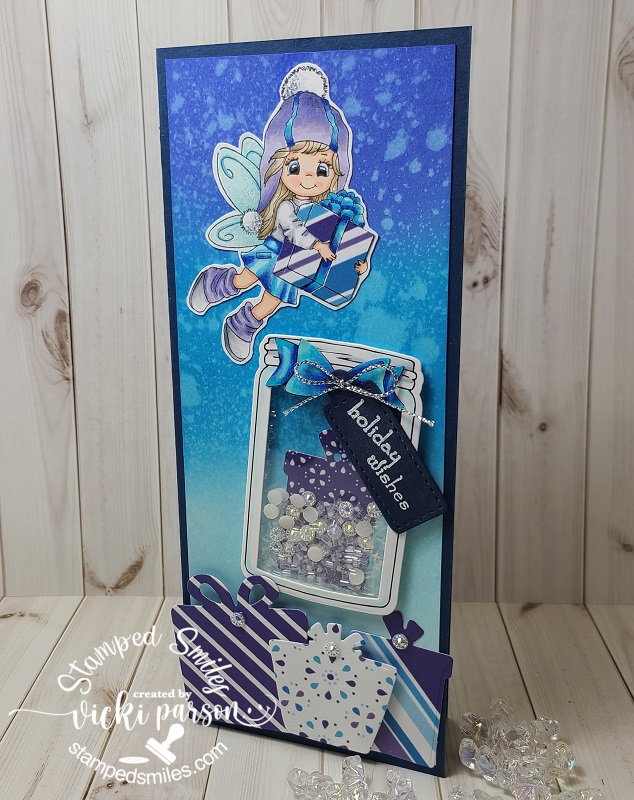
I had also told you in a previous post that I was still working on projects from the Whimsy Stamps Virtual Workshop that I participated in during October…well I’ve just been slowly enjoying completing them as I go, and I saved the Christmas projects for last for this reason! LOL! I’m getting closer to finishing up all of those projects! (Only 3-4 left to do I think!) For now…here’s some Christmas projects from the retreat:
That was a rather long post! I’m a bit behind and trying to catch up with my projects, posting right now. I hope that you’ve enjoyed my projects today and have been inspired to get some festive projects going! I’ll be back very soon with another project and challenge reminder soon!
Challenges for Santa card only:
- Try Stampin’ On Tuesday – Sketch
- Creative Moments – Anything Goes
- Pammie’s Inky Pinkies – PIP2047 Anything Goes
- Always Fun – #190 Inspired On a Movie (“The Santa Clause” starring Tim Allen)
- Sweet Stampers – #50 Christmas
- The House That Stamps Built – N2520 Anything Goes
- Sweet Stampin’ – Spots or Stripes
- Christmas 24 – #22 Santa Claus