Hello friends! I hope you’re having a wonderful week so far!
Today I have creation to share with you using this really sweet image from Whimsy Stamps:

I really adore this digital stamp that came out this month for Whimsy Stamps called Tawny. It’s one that I picked to make something with as it was a bit personal to me. That little owl with those big eyes is so sweet and really reminds me of my grandma who passed several years ago. She was an owl lover….so she’s like a sweet little angel with me here! There was SNOW one like her either!
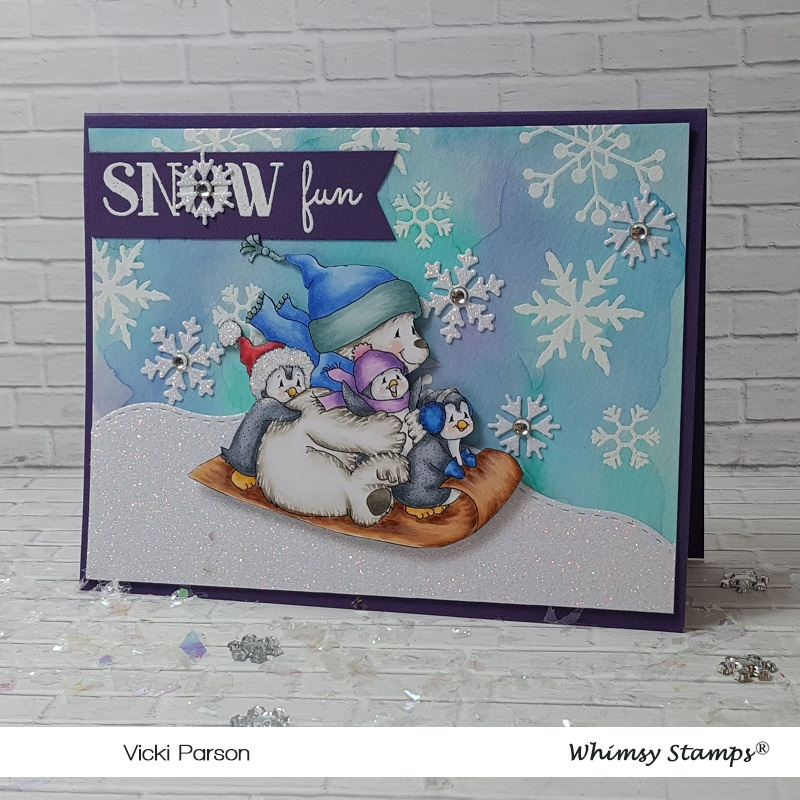
To create my card, I started with some watercolor paper and Distress Oxide Inks in Seedless Preserves, Dusty Concord, Stormy Sky and Broken China (from bottom to top order.) I spritzed it with a water bottle and soaked it up with a paper towel. I then took some white paint watered down and splatter it with a fan brush over the panel. I also took some shimmer spray and covered the entire panel. You can see it better in the photo below.
I took a Lawn Fawn die to create the tree border with woodgrain paper and then die cut a snow border with glitter cardstock and glued it behind the frame. I also took the sentiment from the Whimsy Stamps Snow Flurry clear stamp set and white heat embossed it over a strip of vellum that I’ve attached over top of these layers (with the inked background also) by using my Xyron Sticker machine. These pieces were die cut with a stitched rectangle die, layered over a piece of white cardstock and then mounted onto a purple A2 sized top folding card base.
Lastly, I’ve added my image and some snowflakes that were cut out with some more glitter cardstock and each snowflake was dotted with some Nuvo White Blizzard Glitter drops.
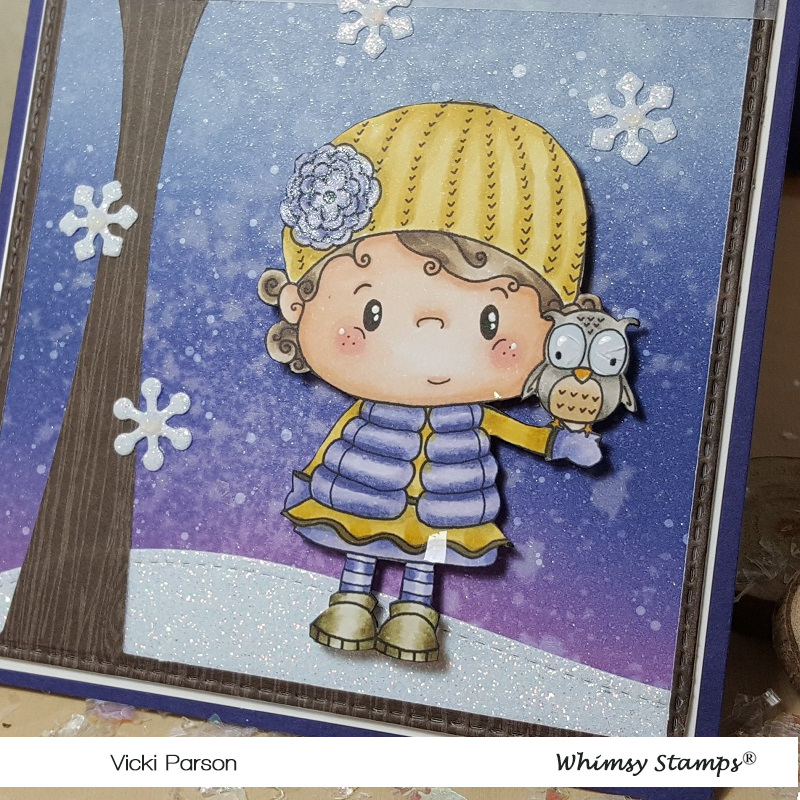
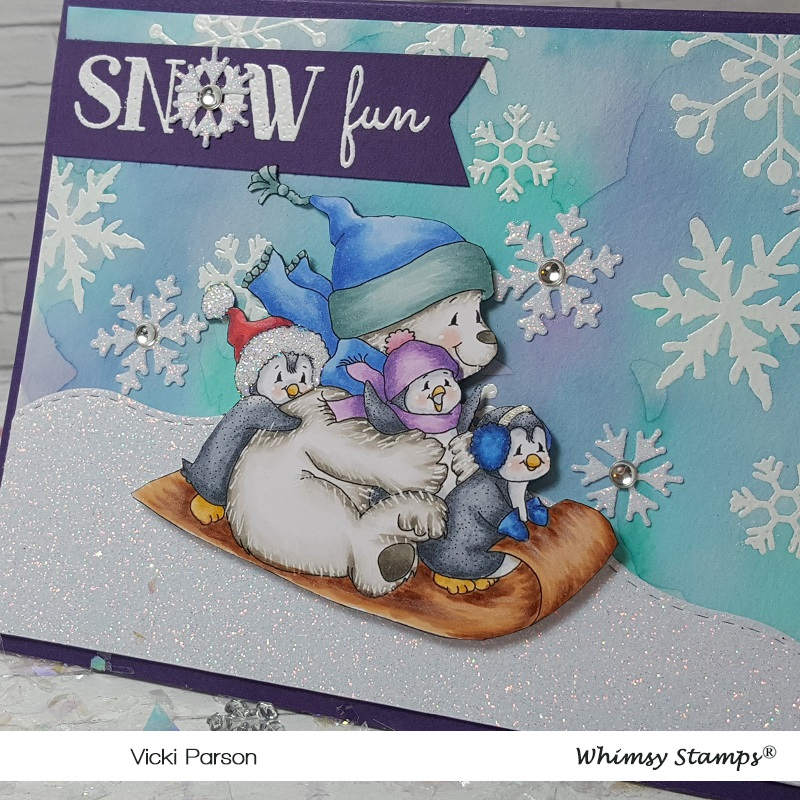
Here’s a closer view of the image and how I’ve got her colored up with Copic markers.
If you take a good look at the top portion of the background, you can sort of see the shimmer from the spray. It’s really sparkly in the light.
I accidentally got a piece of the “faux snow” photo prop on her skirt. LOL! I covered the flower on her hat with a glitter brush pen and I’ve used some Nuvo Morning Dew Crystal Drops over the owl’s eyes, but it cracked. I don’t like it as much as the glossy accents as it doesn’t crack so easily like this does.
She was fussy cut out and popped up over the snow border with foam dots.

I really like how this one turned out with the colors and I hope you like it too! The inked snowy backgrounds are really fun to play with!
Thanks so much for dropping into today and I’ll see you again soon!
Challenges:
- Shopping Our Stash – Snowflakes
- Crafting By Designs – November Anything Goes
- Cardz 4 Galz – Let it Snow
- Moving Along With the Times – Snowflakes
- Creative Moments – Anything Goes with Optional: “Baby it’s Cold Outside”
- Krafty Chicks – Winter
- QKR Stampede – #371 Anything Goes