Hello friends! This is my second post for today, so please scroll down to see it or CLICK HERE for the {Cupcake Inspirations} Reminder post.
I have several creations to share with you today because while I’m working on trying to get some last-minute Christmas projects finished, I thought that I would join in the fun weeklong “Holiday Chaos” challenges over at the Catch the Bug Blog for Bugaboo Stamps. I’ve caught up with all of the challenges up to today and then hopefully later this week I’ll be able to post the remainder of them:
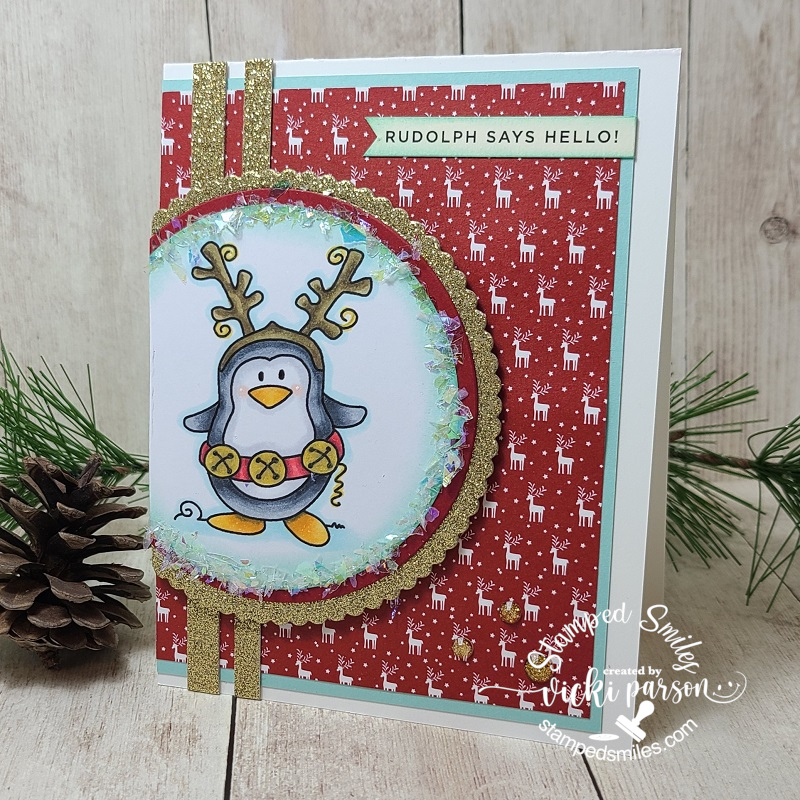
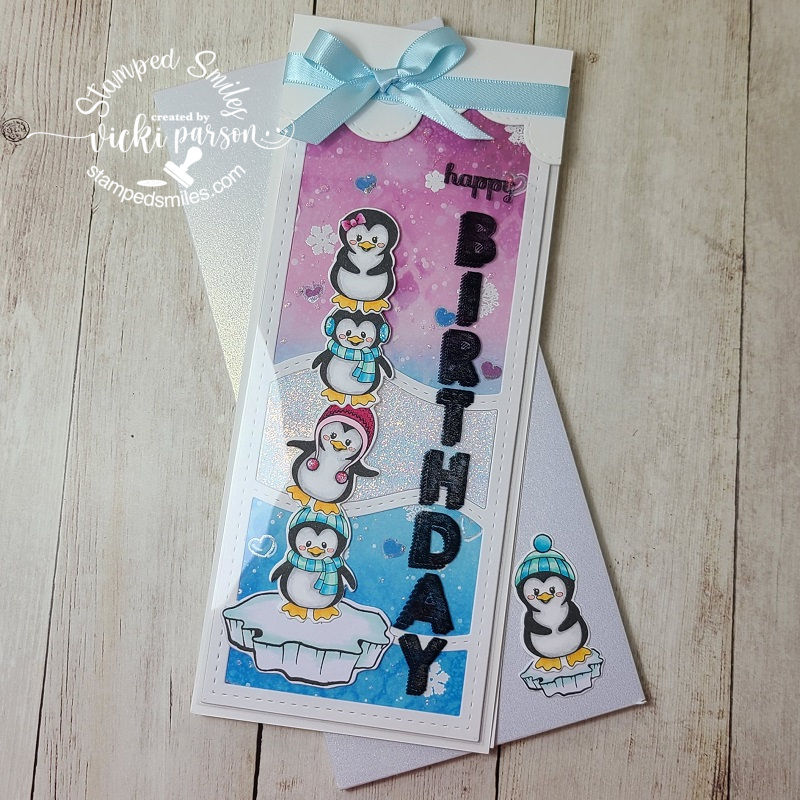
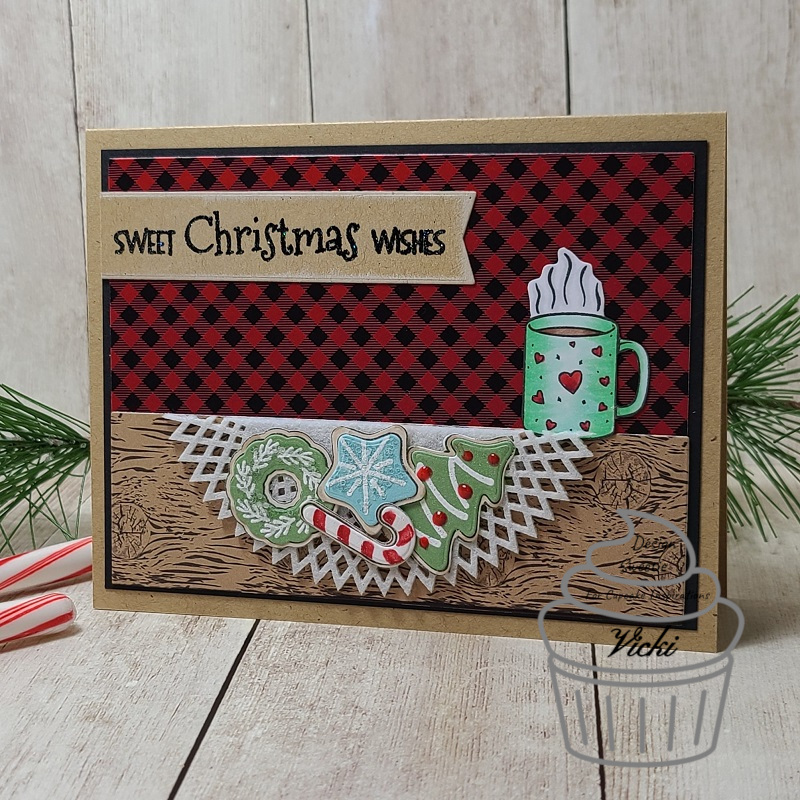
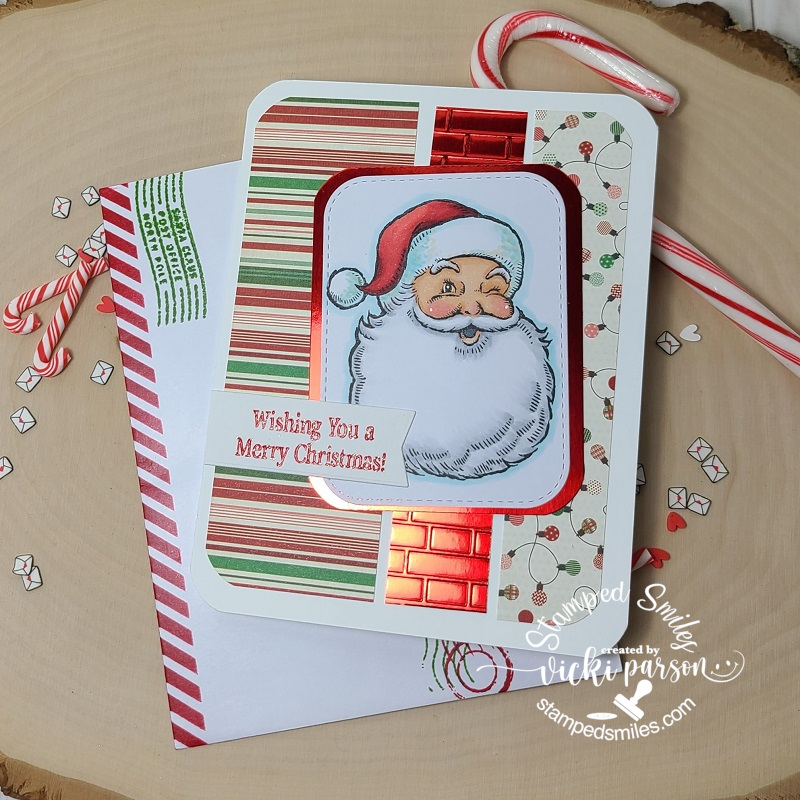
This card is for the Day 1 challenge of “Reindeer Games”, so I had this really cute Bugaboo image called Little Penguin Reindeer and colored him up for my card. I had these fun reindeer papers in my stash to pair with him and then found this fun sentiment strip to add with it as well.😂
I’ve used some gold glitter paper and added some gold glitter enamel dots in the corner. The bells on the penguin’s waist were covered with a gold glitter pen and then I added some faux snowflakes along the circle image border too.
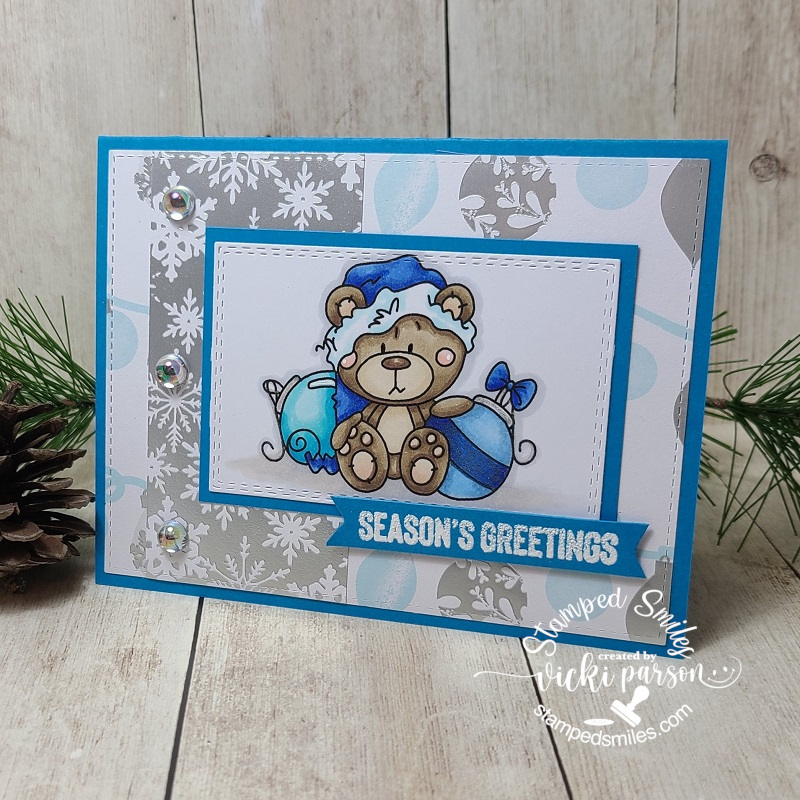
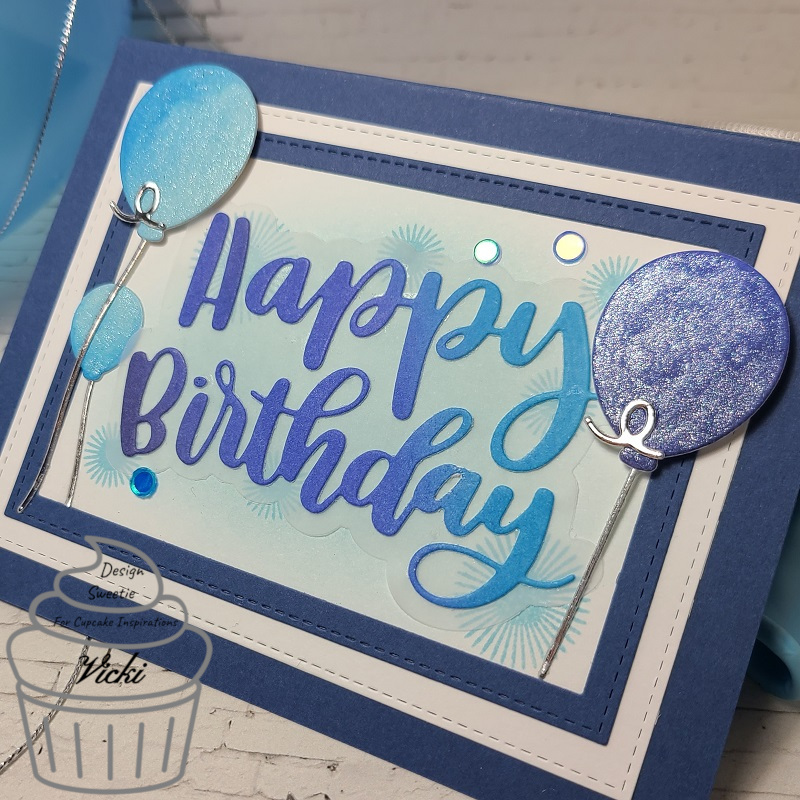
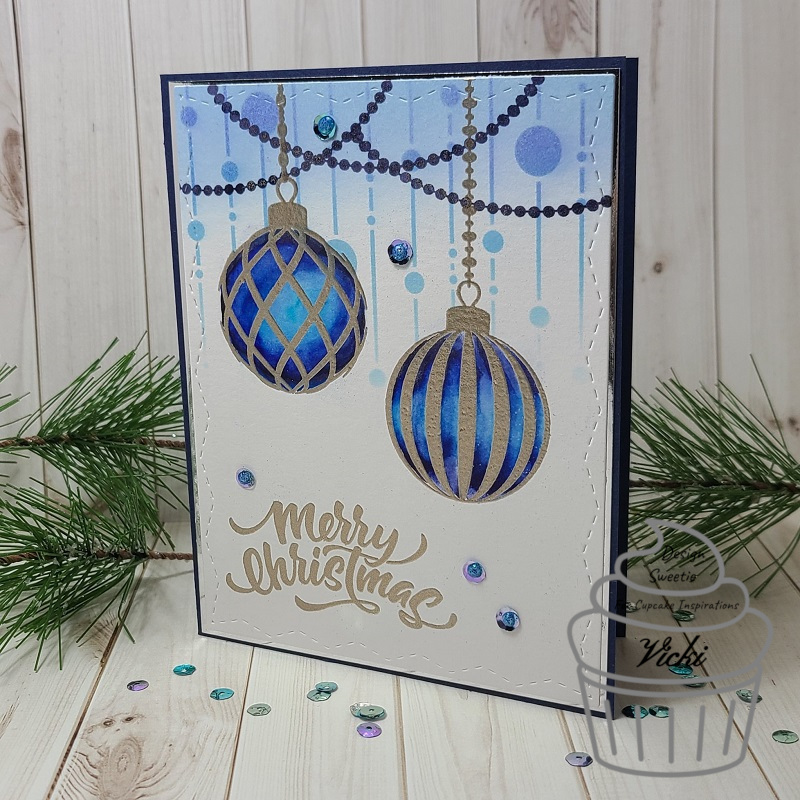
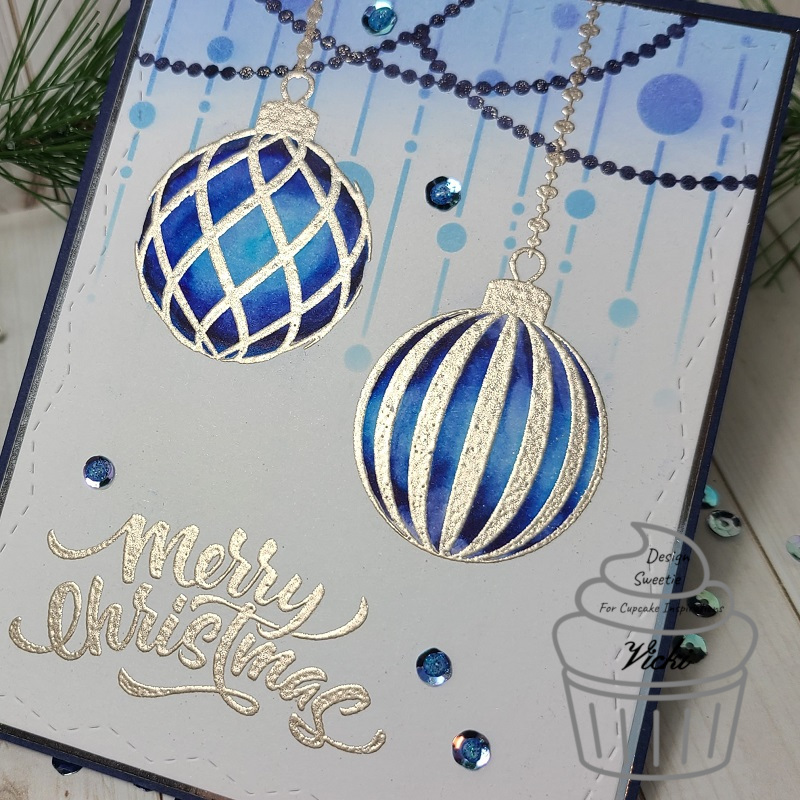
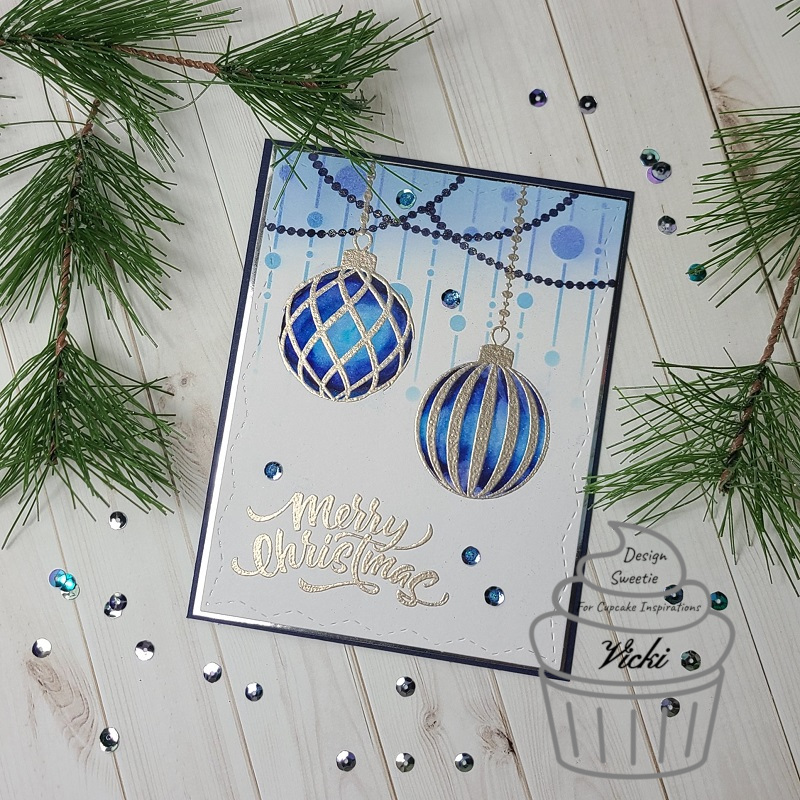
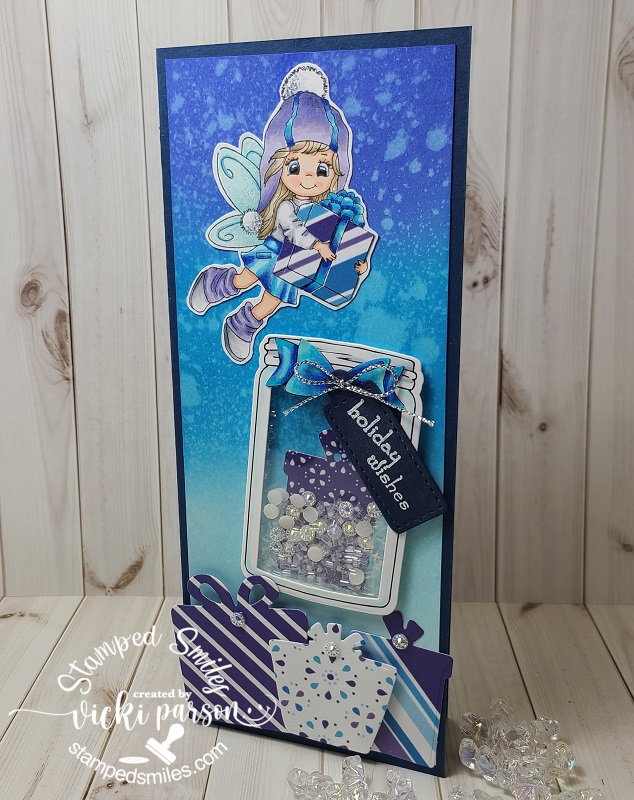
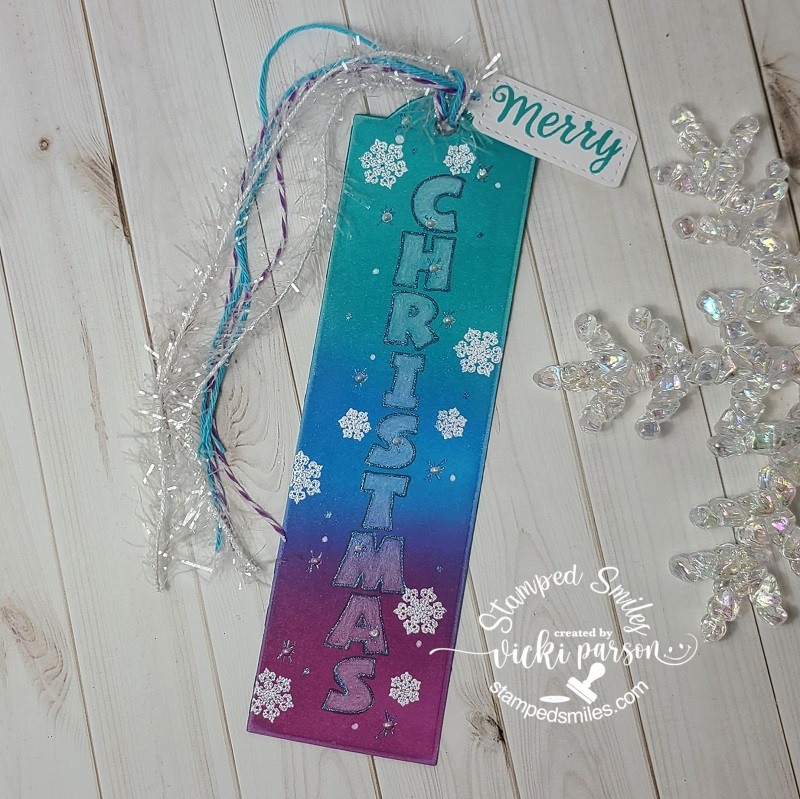
This next card was created for Day 2 Challenge of a sketch. I’ve colored up this adorable Bugaboo image called Christmas Teddy 2 Ornaments all in blue colors! Hard to tell in the photo, but I’ve used glitter gel pens to color in the stripe of the ornament and the silver tops.
I have been itching to pull out my Martha Stewart papers that have been lurking in my stash and I really love the colors in them along with the silver foil! I white heat embossed the sentiment from the Brutus Monroe “Holiday Essentials” stamp set and cut it out as a banner with my scissors and popped it up over the card with foam tape. I finished the design with some Drip Drops from Taylored Expressions.
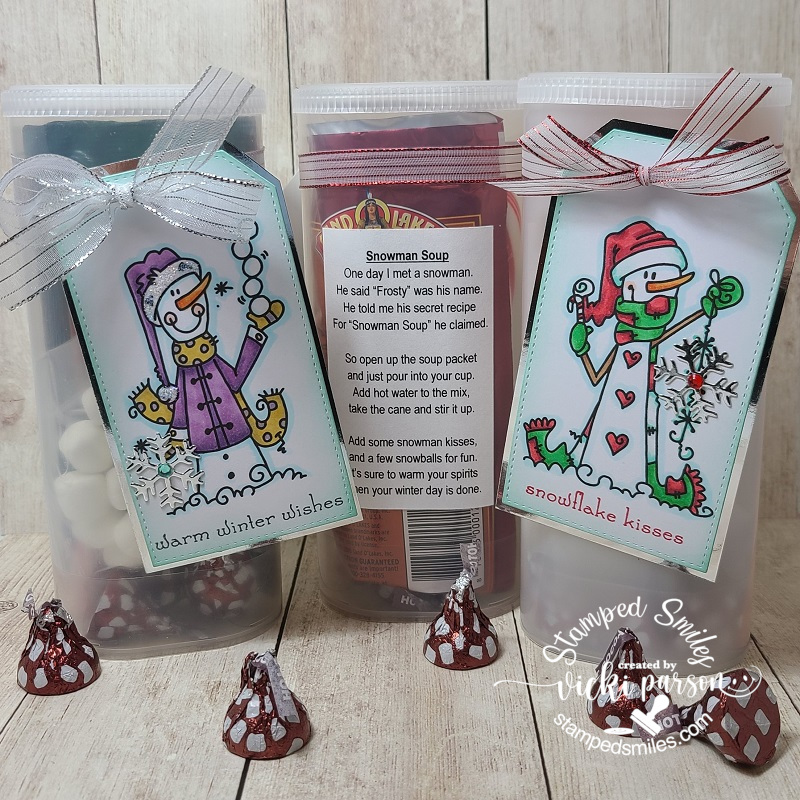
And of course, here’s my project for today’s challenge Day 3 ABC/Anything but a Card. I make these little “snowman soup” containers every year for my family and sometimes sneak in an extra “surprise” or 2 inside! You may have recalled these on my blog before, but they’re just recycled Crystal Light containers and they fit the hot cocoa, candy cane, marshmallows and a few chocolate kisses all in there perfectly together. I’ve decorated them in many different ways. CLICK HERE to see a previous post that shows another way I’ve made them in the past. This time, I just made tags to attach around the containers. I have made another set of 3 of these containers (different images) that I will show in a future post too!
I’ve used these adorable snowmen from Bugaboo Stamps called “Snowman Snowflakes” (right) and “Snowman Snowballs” (left). I colored them up with Copics and added a sentiment that was stamped at the bottom from Whimsy Stamps Holiday Mini Sentiments stamp set.
I’ve had this “snowman soup” poem for years and years and just printed it out on my computer and attached it to the back of the containers. The top of the lids are also covered with pattern papers. P.S. If you haven’t tried the “Hot Cocoa Hershey Kisses”…oh my goodness they’re so good! 😋
UPDATE:
I also wanted to share an update on the “Christmas Cards for Danny” post you may remember that I posted about a few weeks back. I’ve actually seen an update in my own hometown newspaper about all the cards he’s received and as of December 10th, he’s received 2,544 Christmas cards from ALL OVER THE WORLD! How cool is that?! This really touches my heart and uplifts me about the kindness in the human spirit. Thank you to those that took the time to send a Christmas card his way! It’s really what Christmas is all about.
Challenges:
- Catch the Bug – Holiday Chaos Day 1: Reindeer Games (card 1)
- Catch the Bug – Holiday Chaos Day 2: Sketch (card 2)
- Catch the Bug – Holiday Chaos Day 3: ABC Anything but a Card (snowmen soup)
- Christmas Crafts All Year ‘Round – December Gifts/Containers (snowmen soup)
- 2 Crafty Critter Crazies – #45 Anything Goes + critter (card 2)
- Crafty Animals – #45 Anything Goes + animal (card 2)
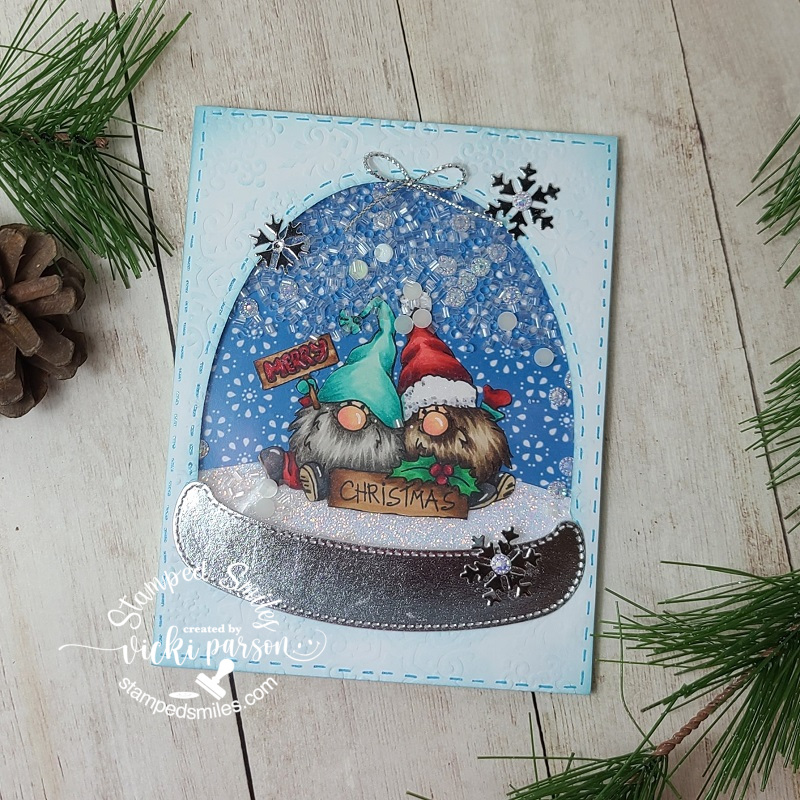
- Daring Cardmakers – Animal Antics at Christmas (card 1)
- The Sisterhood of Crafters – Anything Christmas/Winter (snowmen soup)
- Crazy 4 Challenges – C4C565 past sketch from 2020 (I used sketch C4C553 for card 1)