Guest Design for the Retro Rubber Challenge

Hello friends!  I’m super excited to have been asked to be a guest designer for one of the challenges over at the Retro Rubber Challenge blog!  Yay!  I really enjoy playing along in their challenges when I feel the need to break out some of my older stamps that have either been unused or neglected for a while.  If you have some stamps that are at least one year or older…or older yet as many of mine can be, then this is a great challenge to play along with!  Be sure to pop on over there and see what it’s all about, check out the inspiration from the design team and play along!

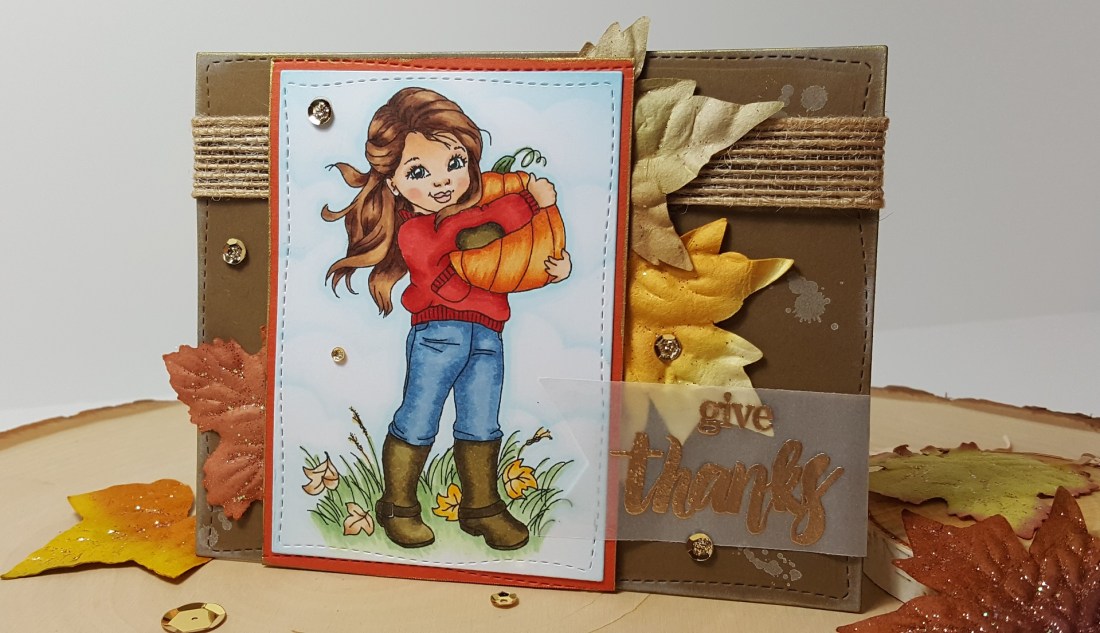
Here’s the card that I’ve created for the challenge but be sure to check out the full details along with lots more photos below!

Vicki-rrcb97-GDT

For my card, I went with the bottom row of “animals, window and circles“:

Vicki-rrcb97guestDT

I have pulled out some stamps from my “penguin stash” as I like to call it!  LOL!  I have lots and lots of them and most of them are years and years old.  I’m actually not really sure how old this stamp set that I’ve used on my card today is, but it’s from Darcie’s Stamps and they haven’t been in the store for quite a while now I think.

For my card, I’ve taken a circle die and cut out my colored images.  I had to mask the hat so that it looked like the penguin was wearing it as well as mask that giggling penguin along with the hat so that I could stamp the mug so that it looked like the penguin was in front of the mug.  I also white heat embossed the sentiment and cut it out with a banner die at the top.  The sentiment also came with the stamp set.  I cut out a scallop circle and then cut the center out with the same size circle as the penguins to create the frame around the penguin scene.  I’ve used some older SU! papers from my stash to go along with my theme and then lastly added some red baker’s twine at the top along with some white enamel dots as well as a cute little wrapped up peppermint candy accent.

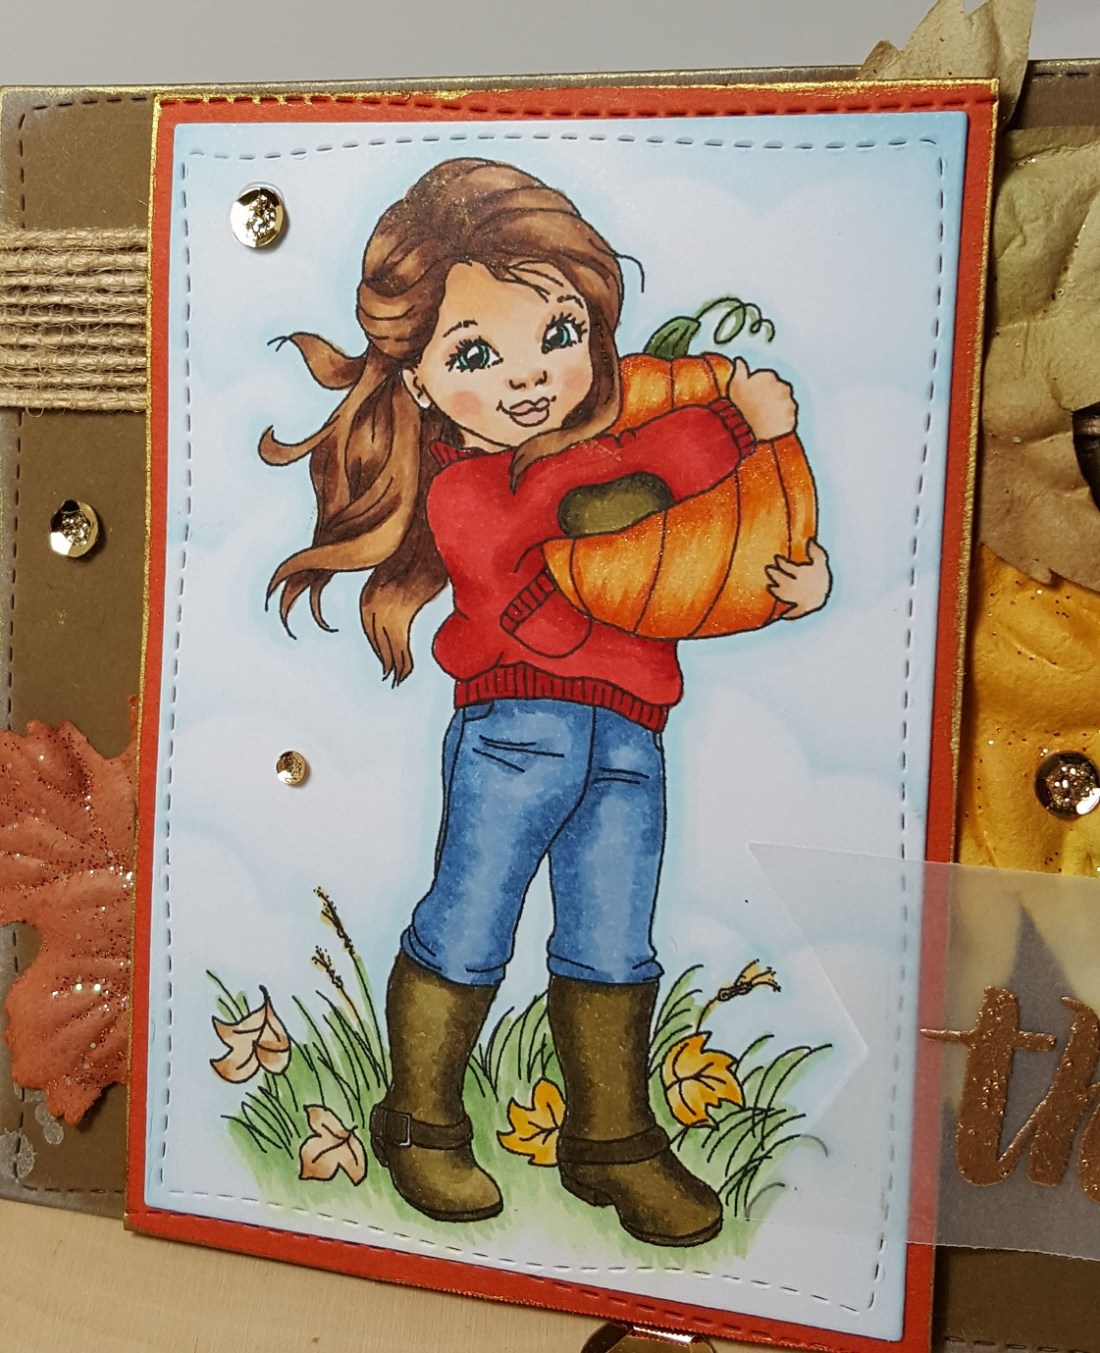
I have cut the center of the heart on the mug with my craft knife and now we are going to zoom in on the mug….

Vicki-rrcb97-GDT-windowcloseup

Here you can see the glittery heart window with the penguin on the other side!  I have made a window by cutting out the heart on the mug and then on the other side, I’ve used some packing tape with the sticky side exposed through the window so that I could add some glitter to it.

Vicki-rrbc97-GDT-insidecard

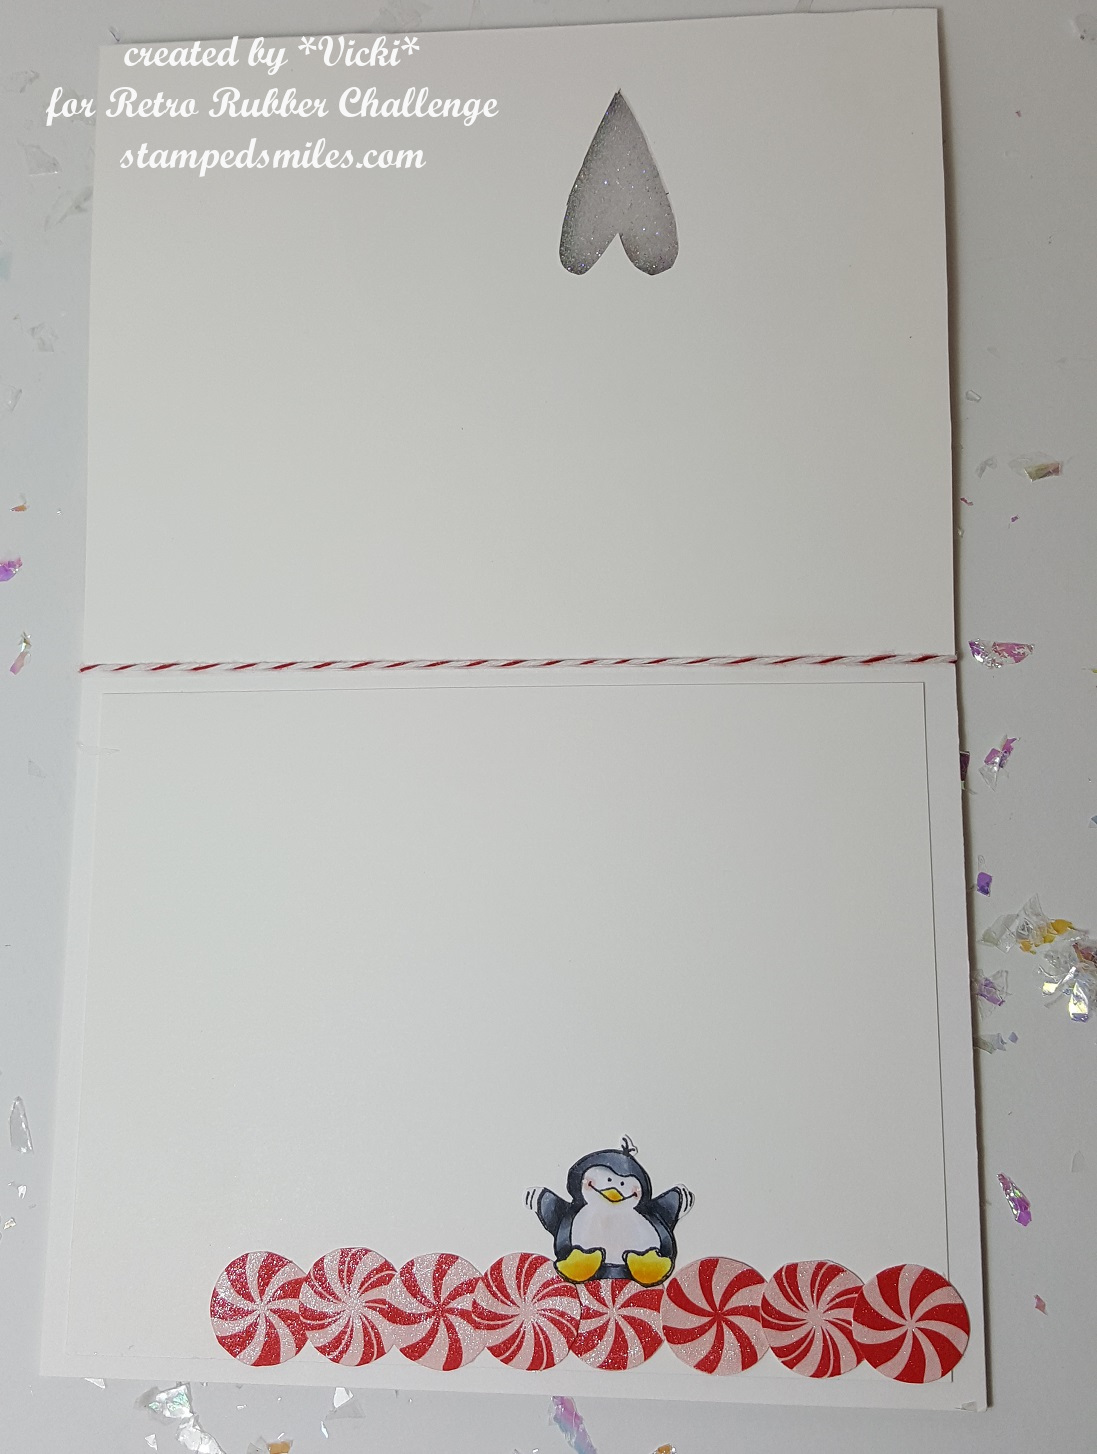
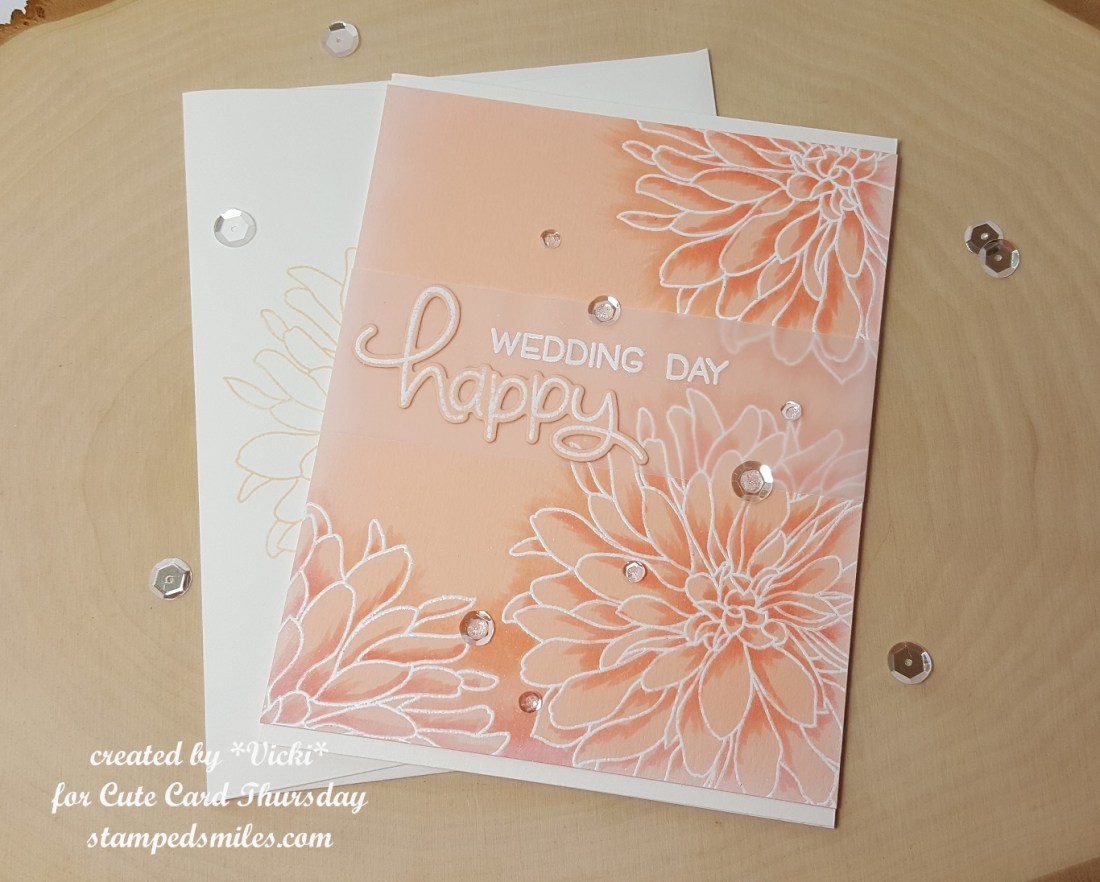
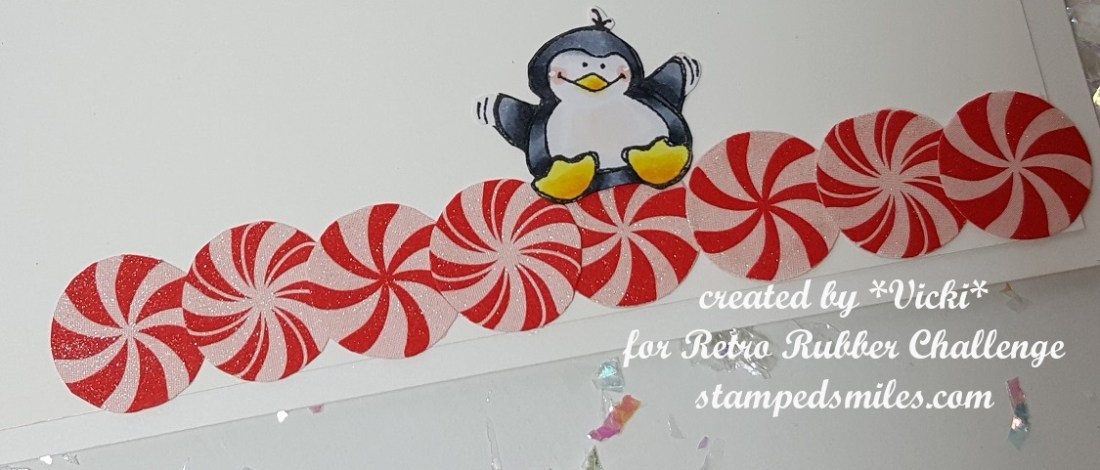
And then of course when you open the card, you can see this cute little penguin trying to balance himself on these glittery rolling peppermint candies!  LOL!  This is why the penguin on the front was giggling.  I think they had too much sugar!

I colored in a penguin from the set, fussy cut him out and then layered him over this line of peppermint circles that I found from an older card kit I had in my stash.  It’s from a piece of patterned paper that I cut out.  I added some shimmer over them with a glitter brush pen.  At the top you can see the cut-out heart I made.

Vicki-rrbc97-GDT-inside

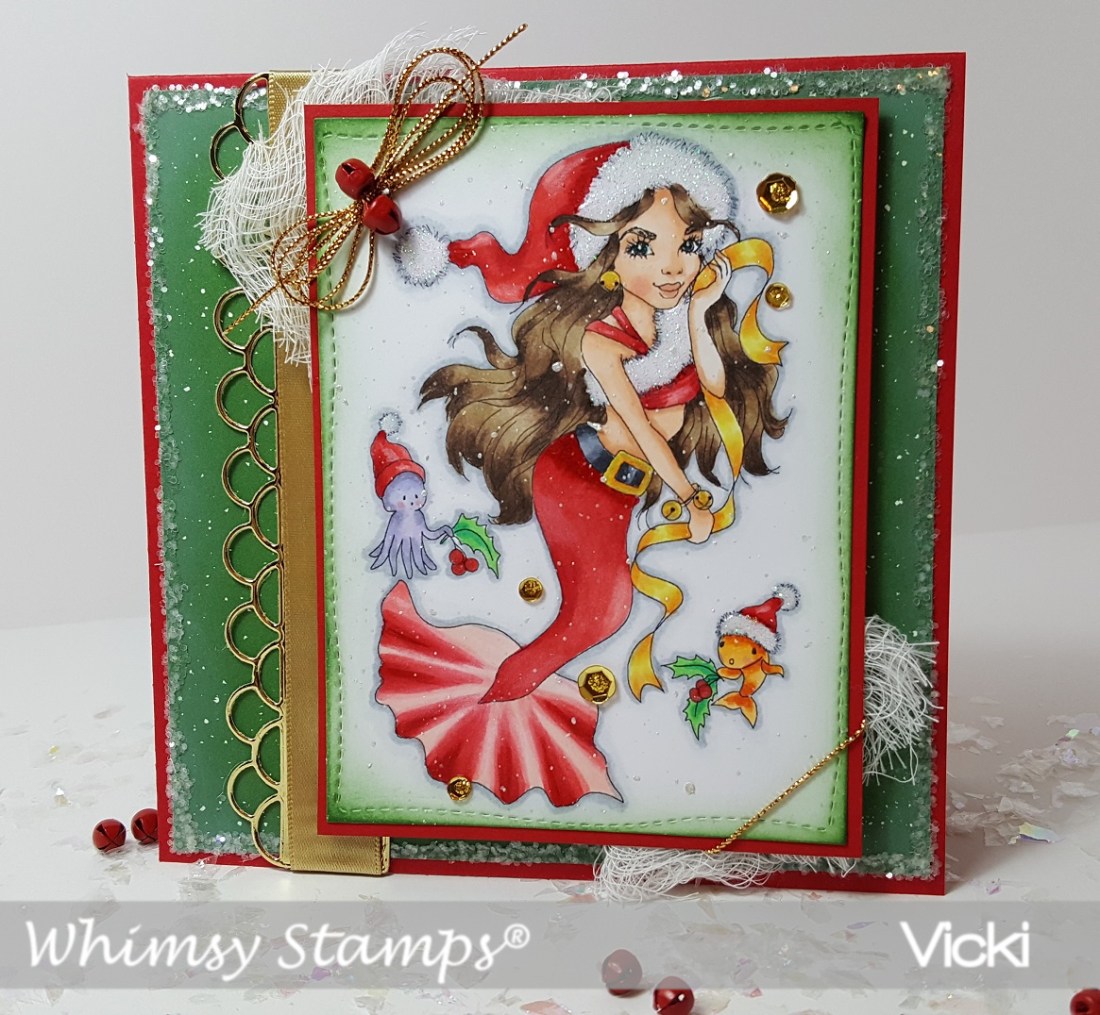
This is just a closer view of the penguin on the inside.  There is plenty of room above him to write a message.  Wasn’t sure if I wanted to leave this blank or put a Christmas sentiment on the inside yet.

I hope you’ve enjoyed my card for today!

Challenges:

  1.  Simon Says Stamp Wednesday – Get Ready for Christmas
  2. 4 Crafty Chicks – (4CC423) Something Old is Something New (old stamps and paper)
  3. Crafting with An Attitude – Anything Goes
  4. Happy Little Stampers Christmas – Anything Goes with Optional Twist:  ribbon
  5. Crazy 4 Challenges (C4C455) – Make any card in honor of WCMD
  6. Crafting By Designs – Anything Goes

Happy World Card Making Day!

Hello friends!  Of course I can’t let this day go by without making a card for it, right?!

I love Halloween and when I received this image, I thought it would be so fun to create a card with it for the occasion!

Vicki-WCMD2018-Freebieimage on FB

This image is from the retired artist Kirsten Winkelbauer (for Whimsy Stamps) and she’s so cute and perfect for Halloween crafting!  I’ve colored her up with Copic markers and added a few details with my gel pens.  I’ve also put some loose glitter over the eyes and nose of the pumpkin on her hat.  I fussy cut her out and popped her up with foam squares over a Kraft cardstock cut out stitched oval that was sponged with some black ink.  I’ve also cut around the sentiment and sponged some more black ink around the edges and attached it to the oval panel.

For the card base, I used an A2 sized Kraft card base and then I took another piece of Kraft card stock and cut out a piece using the Whimsy Stamps Hand Stitched Nested dies that I’ve covered with a piece of Halloween paper from my stash and also sponged around the edges with some black ink.   I wrapped a piece of Halloween purple ribbon around it and attached it to the back and then adhered my card front to the card base.  I die cut a web twice with black card stock and glued it to the corners of the card front and then brushed over it with a clear glitter brush marker.

Vicki-WCMD2018-WSCloseup

Here’s a closer look at my coloring.  You can better see where I’ve added my gel pen dots and the glitter on my pumpkin.  Her green hair was so fun to color! 🙂

Hope that you are taking the time to have fun and create a card today!  Thanks so much for stopping by!!  See you soon!

Challenges:

  1.  {Cupcake Inspirations} – CIC455 ‘Bump in the Night’
  2. Always Fun – Dies & Punches
  3. Creative With Stamps – (CWS31) Halloween or Leaves
  4. Artistic Inspirations – Anything Goes

Anything Goes For Cute Card Thursday!

Hello friends!  It’s Thursday and time for a new challenge over at Cute Card Thursday!

This week is an easy “Anything Goes” challenge!  So please share with us what you are working on this week weather it be a card, a scrapbook page, journal page or altered item, etc.  We look forward to seeing what you’re doing!

I’ve decided to use another newly released image from Whimsy Stamps (our sponsor this week) on my design today:

Vicki-CCT550-WS-Oct 4

Isn’t this cat just too stinkin’ CUTE?!   I’ve used the newly released October digital stamp Scruffy Cat by Crissy Armstrong for Whimsy Stamps on my card today.

*Edited to Add Copic marker colors I’ve used! *

For hat:  R59 for darkest shadows blended out with R29, R27 and R24.  I’ve used a white Prismacolor pencil for some highlighting.  I did use some B000 for shadows on the hat trimmings, but the loose glitter I glued on covers it up in the photo.

For cat:  I used W5, W3, W1 and W0 and started with the darkest color along edges and flicked in with the other colors.  R20 blended out with R00 for his ears and cheeks.

Collar:  G07 and G05.  I used a glitter gel pen for the tag.

I have used the Whimsy Stamps Notched Rectangles die set to cut him out with and mount him over a piece of red card stock.  I’ve also used a strip of red card stock cut with the same die and white heat embossed the sentiment from the Whimsy Stamps Holiday Mini Sentiments clear stamp set and attached under the kitty.

Before attaching the kitty panel, I’ve used some of the Whimsy Stamps Christmas Cool Mix digital papers and added a white organza ribbon around it.  I also sponged around the edges with some white ink using a sponge dauber and then I attached that to the front of a red top folding card base.  Lastly, I’ve attached the kitty panel along with the ribbon bow underneath and finished the card with snowflake sequins and silver glitter in the centers.

Vicki-CCT550-WS-Oct 4-close

Here’s a closer look at my coloring as well as the glittery details on the kitty collar tag and the loose fine glitter on the hat trimmings.

Please be sure to check out the challenge blog to see the details of the challenge and catch the inspiration from the rest of the design team!

Hope you’ve enjoyed my card today and look forward to seeing what you come up with!  Thanks so much for stopping in!

Challenges:

  1.  QKR Stampede – Anything Goes #315
  2. The Paper Players (PP412) – Tic-Tac-Toe:  Green, any embossing, sequins/glitter
  3. Crafty Animals – Anything Goes
  4. Crafty Cardmakers – Lace or Ribbon

It’s New Release Time at Whimsy Stamps!

Hello friends!  Can you believe that October has gotten here so fast?!  I thank you SO MUCH to everyone that has shared about my give away and I really have been enjoying your comments about the way you share smiles through your creations.  It is such an inspiration and joy to hear about this.

For my card today, I am sharing a sweet and fun festive image from the new release:

Vicki-PenguinElvesWorkshop-Oct2

Yes, I cannot get enough of the penguins that Crissy Armstrong makes up for Whimsy Stamps!  This image is called Penguin Elves at the Workshop and I think they’re having lots of fun for Christmas!  They’re colored up with Copic markers and then I’ve taken a white gel pen for highlights as well as a silver and gold gel pen for detailing.  I took some fine loose glitter and attached with liquid glue on parts of the penguins’ hats and then a glitter brush pen on the bow the penguin is holding.  I have used the Pierced Border Trio dies to cut the panel on the top and bottom of the image.  I then took an ink blending tool to add some distress ink around the panel.

For the sentiment banner, I printed out the new released Penguin Christmas Sentiments 1 and cut out a banner and then went over it with a Copic marker so that it matched up with my design.  For the front panel of my card, I also took the newly released digital papers called Christmas Red, Gold and Green and printed them out and trimmed it to size my A2 white card base.  I also took my ink blending tool to distress more coloring on the edges to match my image panel.  I then took that and mounted it over the papers and then glued some gold thin ribbon on the top and bottom of the image panel and added a bow along with some festive sequins filled with Stickles tinsel glitter glue.

I hope you’ve enjoyed my card today using the new digital release from Whimsy Stamps this month.  Be sure to check back for other creations I make from the new release this month too!!  Thanks so much for stopping by!

challenges:

  1.  The Holly and Ivy Christmas Challenge – Anything Goes with Christmas
  2. Christmas Card Throwdown – Technique:  Coloring
  3. Crafting By Designs – Get Ready for Christmas
  4. Aud Sentiments – Use a 2 word sentiment
  5. Winter Wonderland – Anything Goes + Christmas
  6. Crafting From the Heart – Anything Goes
  7. Make My Monday – Animals

I’m Joining a Critter Challenge Design Team!

Hello friends!  Welcome to October!  There are so many fun and exciting things yet to come this month and I’m thinking it will probably fly right by me!  But first, this exciting news is something that I will share with you first!

I have been invited to join the 2 Crafty Critter Crazies challenge blog as a design team member and I’m truly honored to be crafting alongside several of my blog friends already on the team!  Thanks so much for welcoming me to this wonderful team! 🙂  If you are not already familiar with this challenge blog, please stop by and check it out!  Obviously you must use a critter on your creation (any crafty style make), plus it’s an always “anything goes” as long as you use a critter and you have an entire month to enter!  Of course I am a huge critter fan and love using those type of images on my creations…so I hope you’ll come along and play! – The challenges are always the very 1st of each month.

So for my creation this month, I have used a gorgeous image kindly provided by our sponsor:

Vicki-2CCC-Ching-Chou Kuik

I have used Flutter Butterflies Grey Scale digital image from Ching-Chou Kuik on my card for today.  for this image, I decided to pull out my case of Prisma pencils to color it in as I thought it would be a good one to practice with.  Including the background, I’ve colored the entire panel with pencils.  It took some time to do the blending and such, but it was very therapeutic, and I enjoyed the process of it.  I used a white gel pen for a few highlights in areas on the butterflies.  (Some of it was also from a white pencil.)

I cut out the colored panel with a stitched rectangle die and mounted it onto a black scallop rectangle panel that I’ve popped up with craft foam.  I’ve also added a kraft doily that I’ve cut in half on both the top and bottom of the panel.  I found some pretty black and ivory design paper to mount her on.  I took some sparkly black ribbon to go across that paper and then mounted it all over a top folding A2 sized black card base.

Lastly, I’ve cut out some extra butterflies in black cardstock to accent my image panel and then I’ve added some clear glitter Stickles along the edges of the image panel to finish it off.  I really wanted the image to be the main focal of this especially since I spent so much time in the coloring.

Here’s a closer look at the image and coloring:

Vicki-2CCC-Ching-Chou Kuik-close

Looking at this photo, I also added some shimmer to the colored butterflies with a Spectrum Noir clear glitter brush pen.  Sometimes you have to angle it just right to capture the shimmer on it.

I hope you have enjoyed my card today!

Thanks so much for stopping by today!  See you soon!

challenges:

  1.  Crafty Creations – Anything Goes #375
  2. Fab ‘n’ Funky – All Creatures Great & Small
  3. Creative Moments – Anything Goes
  4. Creative Knockouts – Anything Goes

IT’S GIVE AWAY TIME!!

CLOSED!!!!

cropped-clear-smile1.jpg

-Please note that I have sticky noted this post to the top of my blog, you will need to scroll down for new posts.-

Hello friends!  It has been quite some time that I have had a little give away on my blog and since I’ve started up this new place, I have thought about it many times.  Since my birthday is tomorrow, I thought it would be a great idea to give someone else a fun present instead!  I have many things going on during the month of October and it will be hard to accomplish everything, so this is another way of saying thanks for stopping in and sharing your support with me!

Here’s what I’m giving away and I hope it’s something many of you would love to get:

I have added several of my favorite items that I enjoy using in this package.  Everything is brand new and unopened of course as I already have these items! 🙂  – I have also ordered two more Distress Oxide inks to include in this package (not shown above) that will also be included in this give away!  – Of course I will be throwing in a couple of other little fun surprises tucked inside of the parcel too!

That’s a package well worth over $85.00!!!  Wow!  Yes, I know I’m crazy, but I’m crazy about all of you and being able to share the love of my crafting with you all is something enjoyable that I get to do every day!  I’m honored to have you join with me on this journey and that’s why I do it! 🙂

**EDITED TO ADD MORE GOODIES!!!***

The Distress Oxide inks that I’ve described above came in! Yay!  PLUS, when another order came in, I realized that these other items are a few more “extras” that I don’t need, so I put those in there too!  Plus, there is another stamp set that I forgot to take a photo of even after this addition! LOL!  So I’m guessing this parcel will probably be well over $100.00 by the time I’m sending it out!! LOL!!

Best of luck my friends and thanks for joining me!!


*I will announce the winner right here on my blog on Tuesday, October 30th and I will also personally e-mail the winner using whatever e-mail address was provided to me in the InLinkz below.*

  1. So what do you need to do to win?!  You have choices to make!  The first choice is a really easy one to do.  All you have to do is enter your name along with your e-mail address (so I can contact the winner) through the InLinkz shown below.  No matter what, if you are at all interested in winning this prize, please enter that by October 29th! – This is open to anyone world wide
  2. IF you would like an EXTRA entry to win, then just share the photo above with a link to my blog post on how to enter!  If you do this, then please leave me a comment telling me that you’ve shared it….no need for a link….just tell me that you’ve shared it on your blog, on Facebook, on instagram, etc.  Please leave a SEPARATE comment for each time you share it!  You get another chance for each time! – I know there are some people that were wondering where I went from my last blog and were trying to find me…so I’m hoping that the people who were looking for me can find me here again to follow along if they choose to do so.
  3. Additional Optional EXTRA entry to win – I’m all about spreading smiles as far as I can with my handmade creations.  I would love it if in honor of my birthday you can find a special person or a special place/charity that takes your card donations and send a special smile to someone.  That would make my day! – If you do this, please leave me another comment about that!

Whatever way you choose to enter, I thank you for any and all of your support especially with the changes that have gone on through my blog and life!  I enjoy seeing your lovely creations, visiting your blogs and sharing my crafty life with you.  So glad that we are enjoying it together!

It’s Autumn at Cute Card Thursday

Hello friends!  It’s Cute Card Thursday again and we are going all Autumn over there this week!  Sounds like a great challenge to me…hope you will stop over and check out the inspiration and add your creation in the gallery too!  Looking forward to seeing your makes!

Here’s my card:

Vicki-CCT549-KindaCute

I thought this image was so darn cute!  I’ve used an image from our sponsor this week called Girl with Wheelbarrow from Kinda Cute Stamps.  She is busy gathering pumpkins in that wheelbarrow and looks to be on a mission with it too!  I adore that sweet little bunny along for the ride!

I’ve colored the image with Copic markers including for the ground.  I’ve taken a tiny sponge with some blue ink and very lightly sponged in a sky.  The sentiment was stamped with brown ink from an older Lawn Fawn set.  I’ve also used the Stitched Leaves die from Lawn Fawn to cut out some leaves with kraft cardstock and then sponged some color over the edges to attach to the design.

I cut out both the image panel and the orange design paper with a Stitched Scallop rectangle die set from My Favorite Things.  I’ve also cut out a tiny brown banner at the top left corner from a die set from MFT as well.  Lastly, I’ve added some gold sparkling enamel dots around the leaves.

Hope you are out and about enjoying the Autumn season!  Thanks so much for stopping by my blog today, I’m so happy to have you here!  See you very soon!

Challenges:

  1.  Sweet Stampin’ – Dies/Punches (I stamped the sentiment-hopefully this qualifies)
  2. Always Fun – Anything Goes
  3. Addicted to Stamps & More – Anything Goes #311
  4. Crafty Gals Corner – Anything Goes + Fall
  5. Mod Squad – Autumn Colors (Orange, red, purple, yellow, brown) I used all EXCEPT purple! – must use at least 3

Just A Girl and Her Pumpkin

Hello friends!  Wow, I think Fall has begun over my way as the air has changed with cooler temperatures and I absolutely LOVE it! 🙂  Although I’ve been busy crafting away in my room, I like to get outdoors for a few breaks to walk around and see signs of the leave starting to change over.

Today, I am over at the Whimsy Stamps Inspiration blog to share my card with you using one of the really adorable images from this month’s release called “A Girl and Her Pumpkin” digital stamp by Crissy Armstrong:

Vicki-WSGirlPumpkin-Sept25-blogpost

Isn’t she adorable?!  I really enjoyed coloring her up with my Copic markers.  As I was coloring, it actually reminded me of going to a near-by apple orchid with my children as they were growing up.  I would take photos of them with all of the pumpkins surrounding them as they would pick out which one they wanted to carve for Halloween.  (My oldest was not a fan of “pumpkin guts” and so we always ended up doing that part for him! LOL!)  But it must have made an impression with them because they still enjoy going as adults now!   Besides, what’s better than apple cider donuts and freshly picked apples?!  YUM!

So, after the reminiscing of memories, I cut her out with the WS Hand Stitched Nested Rectangles along with the card front base and attached to a white A2 sized top folding card base.  For the sentiment, I took a piece of vellum and heat embossed a greeting from the WS Painted Sayings stamp set and I also took some of the splatter images from the same set and stamped them randomly in the background with white ink.

Before attaching the image panels onto the card, I’ve added some gold ink around the edges, attached some leaves behind it and popped it up with foam tape.  The piece of vellum was hand cut into a banner and folded around card base and attached with glue behind the letters to hide it.  I then put some burlap ribbon around the card front base as well as the image panel, vellum banner and gold sequins filled with gold Stickles.

Vicki-WSGirlPumpkin-Sept25-close

Here’s a closer view of the image and how she’s colored.  You can also better see the gold inked edges.  And of course, the photo didn’t pick it up, but I took some Wink of Stella clear glitter brush pen to go over the pumpkin with.

I’ve also used a cloud stencil to lightly sponge in a nice Fall sky behind her.

I think she would look so cute surrounded by a field of pumpkins…so there’s an idea!  Maybe I’ll work on that for next time!

Thanks so much for stopping in today!  I appreciate you taking the time!  See you soon!

challenges:

  1.  QKR Stampeded – Anything Goes #314
  2. Just Us Girls – JUGS459 photo week
  3. Crafty Friends – Autumn Colors
  4. Stamps & Fun = Creativity – Fall
  5. Crafting From the Heart – Anything Goes

It’s a Monochromatic Cute Card Thursday

Hello friends!  Trying to work hard on projects and getting things ready for next month.   So please excuse me if I seem a bit sporadic in my presence!

Stopping in to share a new challenge with you over at Cute Card Thursday!  This week the theme is “monochromatic” or some people say “monochrome” which simply means that your project mainly consists of one color or tone.   Stop by the challenge blog and be sure to check out the rest of the inspiration from the design team while you’re there!  Here’s my project for the challenge:

Vicki-CCT548-monochrome

I absolutely fell in love with this flower image from the My Favorite Things card kit that they came out with!  And I can’t say that I came up with this idea all on my own either, as it is very similar to one of the samples on the project sheet that comes with the kit.

It’s very simple to do, just white heat embossed the floral image and color areas in with a Copic marker and then I used a sentiment from Lawn Fawn to white heat emboss over vellum and the card stock again and then die cut the word out and attach over the vellum strip.  I had been requested to make up some wedding cards and so I’m trying to make up a few of them as this is something that I’ve completely missed in my card creating.  Taking mental notes for myself!

Thanks for stopping by friends!  See you soon!

challenges:

  1.  QKR Stampede –  #313 Anything Goes
  2. The Flower Challenge – Anything Goes + flower(s)
  3. The Creative Crafters – Anything Goes

Traditional Mermaid Christmas

Hello friends!  Although it still feels a bit like summer outside where I’m from with the temps in upper 80s and 90s all week long, I enjoy creating Christmas and snow-themed cards any time of the year!  Besides, I know that once Fall hits, it will soon be time for Christmas to come along right behind it!  I have used this adorable September release from Whimsy Stamps once again to inspire you with a more traditional Christmas themed colors and design this time:

Vicki-ChristmasMermaid-Sept18

I have used this gorgeous Christmas Mermaid digital stamp by Crissy Armstrong for my card today.  She is an amazing image for the coloring enthusiasts for sure!

My last card with this image showed her in more soft pastel tones.  (You can see that post by CLICKING HERE if you don’t remember it.)  This time I went for a more traditional Christmas color theme.  I found some really cool green with white splatter pattern paper to use, so I worked around that by coloring the mermaid outfit in reds with gold trimmings.  I took inspiration from the gold ribbon, bells and buckle and added in more elements with some gold on my card as well.

I was almost too scared to try this, but after coloring the image, I took some white Shimmerz paint and a paint brush to add some white splattering effect over top of her to give the appearance of snow and to also coordinate with the pattern paper in the background.  I didn’t get too carried away, but just enough and then I cut her out with the Whimsy Stamps Hand Stitched Nested Rectangles die set and took my ink foam blending tool and went around the edges with some Pine Needles distress ink.  I then took some gold cord and wrapped it around the two corners and then added a double bow with some red jingle bells on one end.  I also glued some cheese cloth on each corner before I added some foam tape behind her to mount her on the card design.

For the card design, the base is a red top folding 5.5″ square design with the green splattered pattern paper over it.  I took some chunky glitter and glued it around the edges and then perhaps you remember this “oldie but a goodie” border die from Whimsy Stamps along the edge of the image panel?  I cut it out with mirror gold card stock and then wrapped some gold silk ribbon over it and attached to the card.  I placed the foam taped image panel over top and then added the finishing touches over the image:

Vicki-ChristmasMermaid-Sept18-close

Here’s a closer look at the image where you can see all of the glitter and shimmer on her.  Before I splattered it, I covered her outfit with a clear glitter brush pen and went over her gold buckle and the jingle bells with a gold metallic gel pen.  I went over the tiny holly berries with a red metallic gel pen.  I then took some liquid glue and added some clear glitter to her hat and outfit trimmings along with the tiny creature’s hats.

After she was splattered, I added some gold sequins and then some gold Stickles in the centers of each one.

Those tiny creature faces just make me giggle every time! 🙂

I know she has tons of shimmer and sparkle, but she is a mermaid after all, and I do love adding a little bit of this and that as much as I can!  Do you like lots of bling?

Thanks so much for stopping by my blog, I truly appreciate your time!  I’ll see you again very soon!

Challenges:

  1.  The Holly & Ivy Christmas Challenge – Anything Goes + Christmas
  2. Crafty Creations – Anything Goes
  3. The Merry Christmas Challenge – Anything Goes + Christmas
  4. Winter Wonderland – Use Ribbon and/or Twine
  5. Little Red Wagon – Bling It On!
  6. CRAFT – Christmas
  7. Crafty Gals Corner – 3+ Layers