Hello friends and happy Friday! The weekend starts and we’ve had some snow blowing around over our way with wind and colder weather, BUT next week it’s supposed to be warmer with Spring-like temps…but that’s the Midwestern climate! It will level out later in the month.
Today is another new challenge over at the Alphabet Challenge Blog! Our theme for the next two weeks is “X is for X’s and O’s (as in hugs & kisses)“. We look forward to your entries! I had some fun with this one:
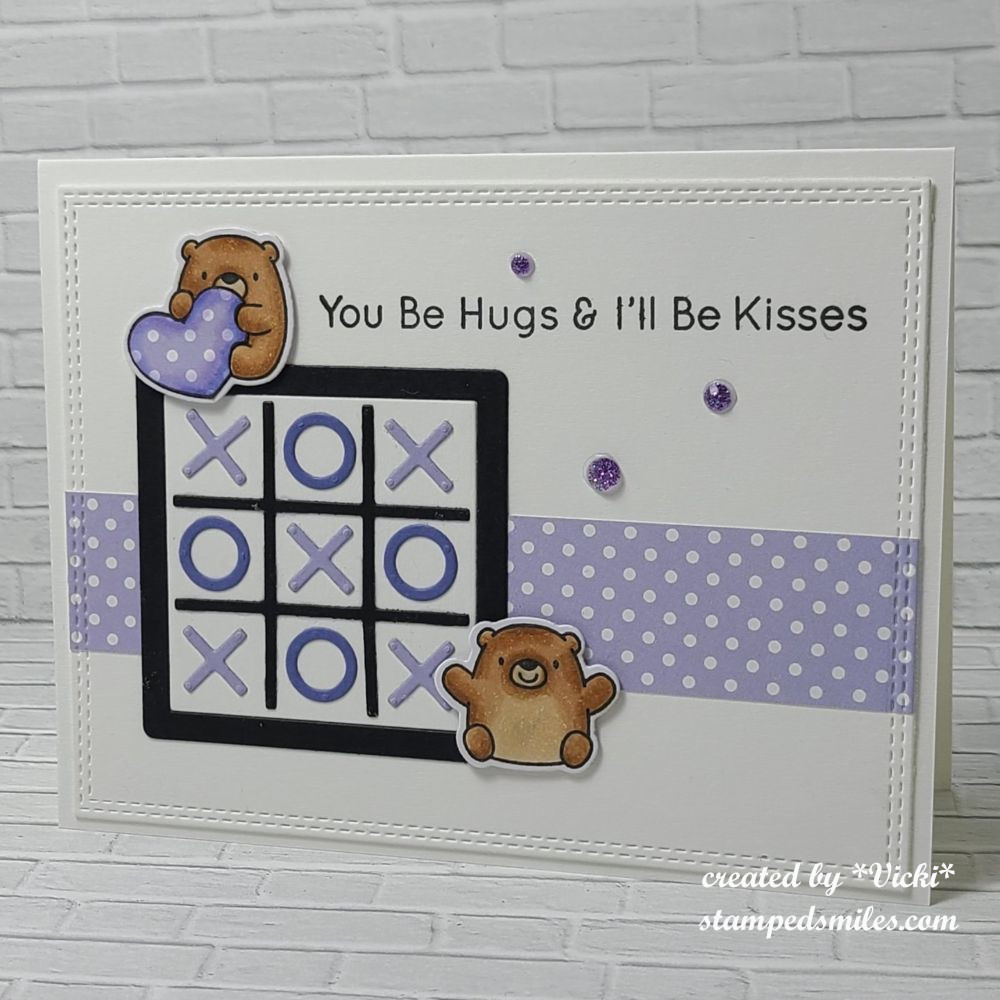
I’ve had this Tic Tac Toe set for years and never even broke it out to use! It was from the My Favorite Things “X’s and O’s card kit (obviously no longer available). I also used those adorable My Favorite Things Bitty Bears (retired) to help with the hugs and kisses part. I’m so happy to be using something from my stash and especially something that I haven’t used at all!
The card was pretty simple as the die cuts for the tic tac toe square were cut in different colors, found some polka dotted papers to match and also used those same papers to paper piece the heart on the top bear. I stamped the sentiment from the kit, popped up the colored and die cut bears with foam tape and added a few purple gems.
Before attaching all of the elements, I applied the polka-dot striped paper to a white front card base that was cut with a double-stitched rectangle die also from MFT, and then attached to an A2 top folding white card base.
- Thanks for stopping in today and I hope you’ll join in the X’s and O’s with us over on the challenge blog! Have a great weekend and I’ll see you soon!
Challenges:
- Crafty Animals – #92 Anything Goes with animal(s)
- Critter Crazy – #96 Anything Goes with Featured Critter(s)
- The Divas That Cut…Paper! – Critters plus a die cut
- Pammie’s Inky Pinkies – PIP2509 Anything Goes
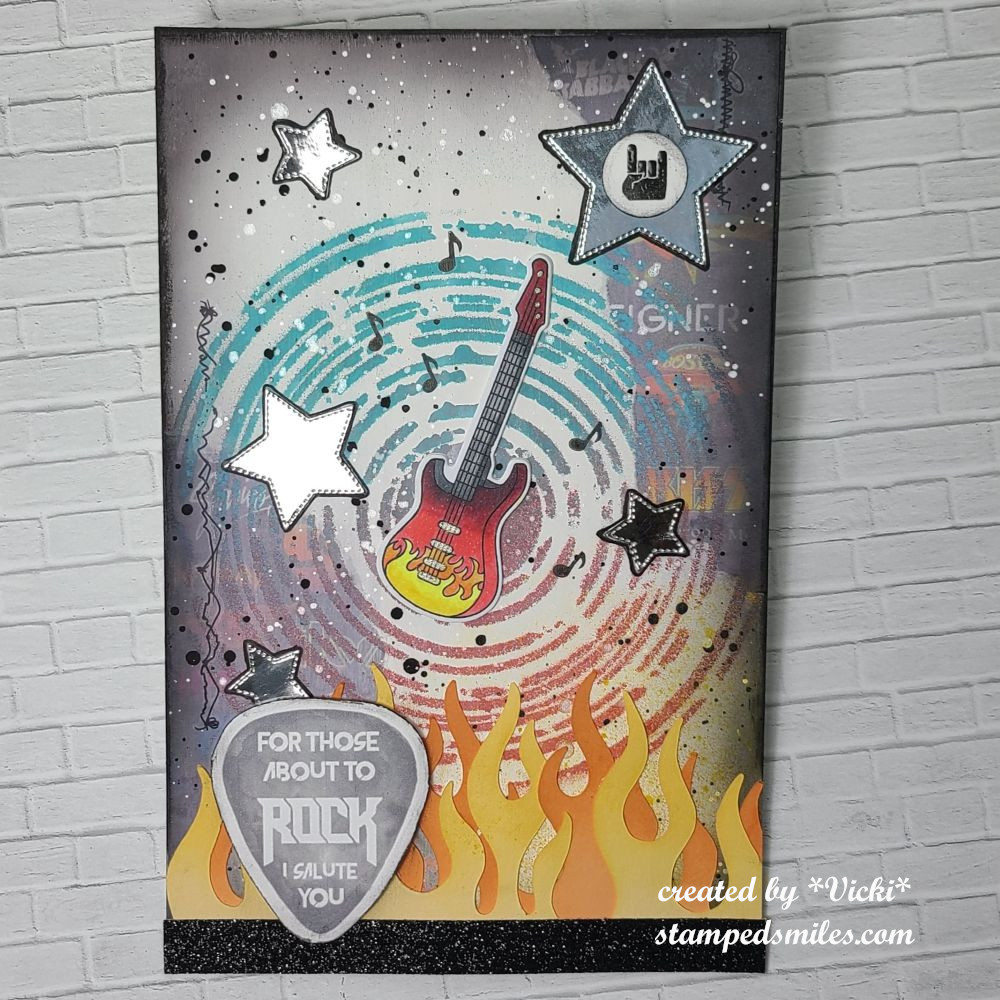
- The Neglected Stuff – Anything Goes with neglected item (my neglected item is that MFT X’s and O’s card kit that was never used circa 2017!) About time, huh?!
- Crafts Galore Encore – #133 Anything Goes