Hello friends and happy weekend! As we finish off another really hot day…probably for most of the U.S. right now, I do hope you’re staying cool and enjoying the rest of the month of July. We’ve been in a heat advisory in our area for the last few days, but hopefully it will cool down soon. In the meantime, I will be crafting inside!
It’s time for the monthly Art Journal Page collaboration with my crafty friend, Carol (from Crafty-Stamper)! We get creative trying to use up our never-ending stash piles along with a prompt for each month. I know she will have some wonderful inspiration to share, so please check out her blog too! Here’s my AJ page with the “SMASH OUR STASH” July prompt of “STRIPS/STRIPES”:
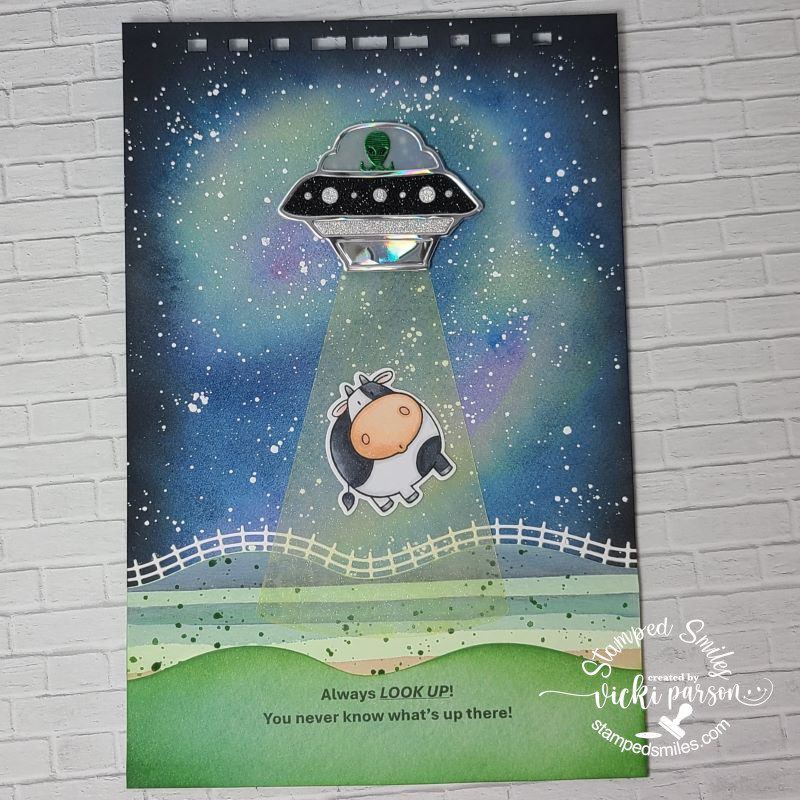
I don’t know why this makes me giggle, but it does! I thought the best way to create the “STRIPS/STRIPES” prompt would be to pull out some more of those never-ending stash of pattern papers! So I pulled some out for the strips at the bottom that I cut out with a hillside border die and one of the pieces happened to have stripes on it which worked out for both! I thought it would look great for the field that the cow WAS on.😆
For the background: I started with my usual piece of 6″x 9″ pre-punched at the top from Canson Watercolor paper and made a galaxy background with watercolors. I had fun making a mess with it! I let it air dry underneath some heavy books to keep it flat as it dried. Once dry, I splattered some Copic opaque white with a fan brush over it.
This is where I added the strips of cut papers at the bottom. Before I cut the green layer at the bottom, I ran it through my printer to create the quote on my computer. I sponged the edges of it with green ink. I also sponged some black ink around the edges of the galaxy background too. The striped paper was painted with a light green ink and then splattered with a darker green color as I was trying to mute it a bit. The “fence” behind it was cut out with white cardstock and placed behind the striped strip piece.
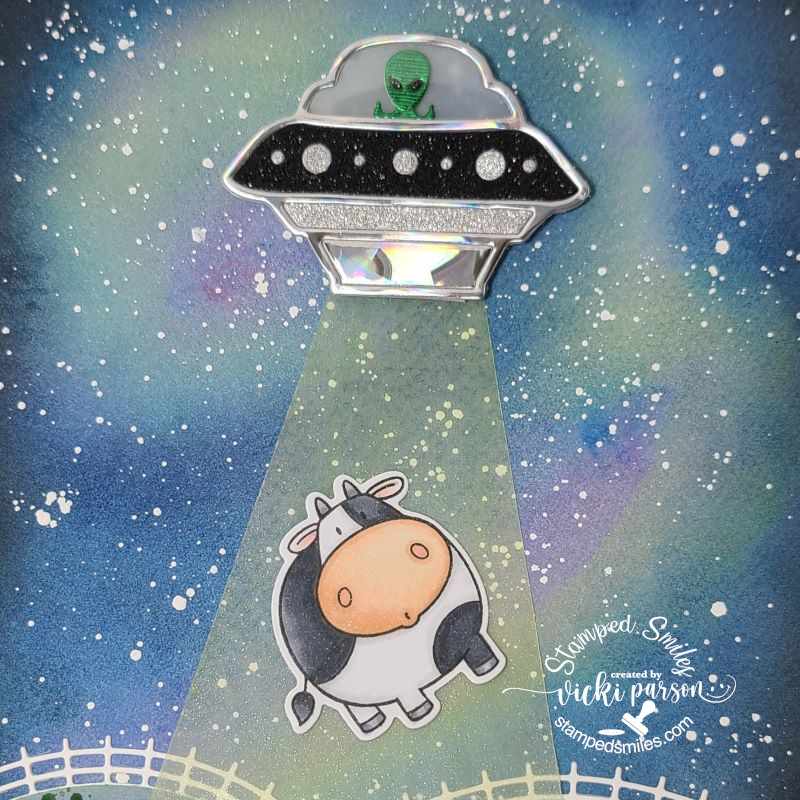
For the flying saucer and alien, I used an UFO die set from Whimsy Stamps and cut it out with several different specialty papers like holographic, silver glitter, green metallic, black glitter, vellum and acetate (for the front window of the saucer). I popped it up with foam tape over a die cut piece of vellum that I’ve colored with a yellow marker and sprayed with shimmer spray…hard to pick up in a photo, but you can barely see it. I attached it over the background by using my Xyron sticker machine, so you can still see through it.
I glued the “confused cow” from the MFT The Whole Herd stamp set within the “beam” vellum. The hillside borders that I cut the bottom strips with came from MFT as well.
I hope you’ve enjoyed my AJ page today and been inspired in some way! Thanks so much for dropping in and don’t forget to look up!!😆
Challenges:
- Art Journal Journey – Come Fly with Me!
- Crafting From the Heart – Anything Goes except cards
- Creative Artiste – Anything Mixed Media
- Ally’s Angels – Anything Goes
- Crafting Happiness – Any Type of Craft
- Penny’s Paper-Crafty – Anything Goes Using Paper
- Through the Purple Haze – Anything Goes