Bright Birthday and More Whimsy Retreat Projects!💡

Hello friends!  Hope that you’re having a great week so far!  Hubby and I are trying to figure out how this “retirement thing” goes together! LOL!  I think we’ll be having so much fun and we’re just really excited about the future and what we’ll be doing.

Speaking of which, this past Sunday he also celebrated a birthday and of course I had to make him a card that was suited for an electrician.  I had to add a bit of humor about his age on the inside, but this is what I came up with:

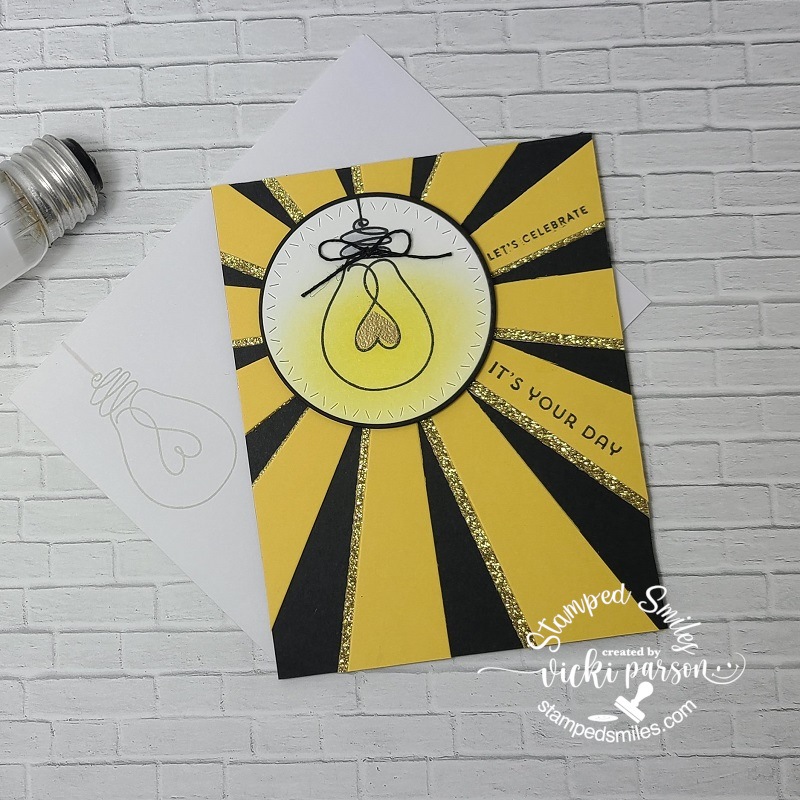
I’ve had this Stampin’ Up! Sunburst die and stamp set and haven’t used it that much since I bought it. (quite a while ago! Not quite sure how old.. LOL)  I thought it would make a great light beam for my VERY old Simon Says Stamp ‘Watts Up’ stamp set that was from a past card kit. (circa 2014/2015)…yep, all old!

I die cut the sunburst from some yellow and gold glitterstock that I glued together slightly off-set and then attached it over a side folding A2 sized black card base.  I stamped the sentiments over a couple of the yellow strips with black ink taking care to make room for the circle panel.

I then stamped the lightbulb over a white piece of cardstock and colored the base with Copics and used a marker draw a line above it for the string.  I took a solid heart from the stamp set and heat embossed it with some Gold Metallic Gilded EP and then sponged some yellow ink over the bulb for some glow.  I die cut it out with a circle die and then layered over another die cut circle black piece and popped it up over the sunburst layers with foam tape.

I tied a bow with some black twine and glued it to the light bulb base.  I also stamped the bulb in a lighter gray ink over the envelope and added a string to that as well with a gray marker. (The inside of the card said:  “Old is the new black.” 😆)

———————————————————————————————————–

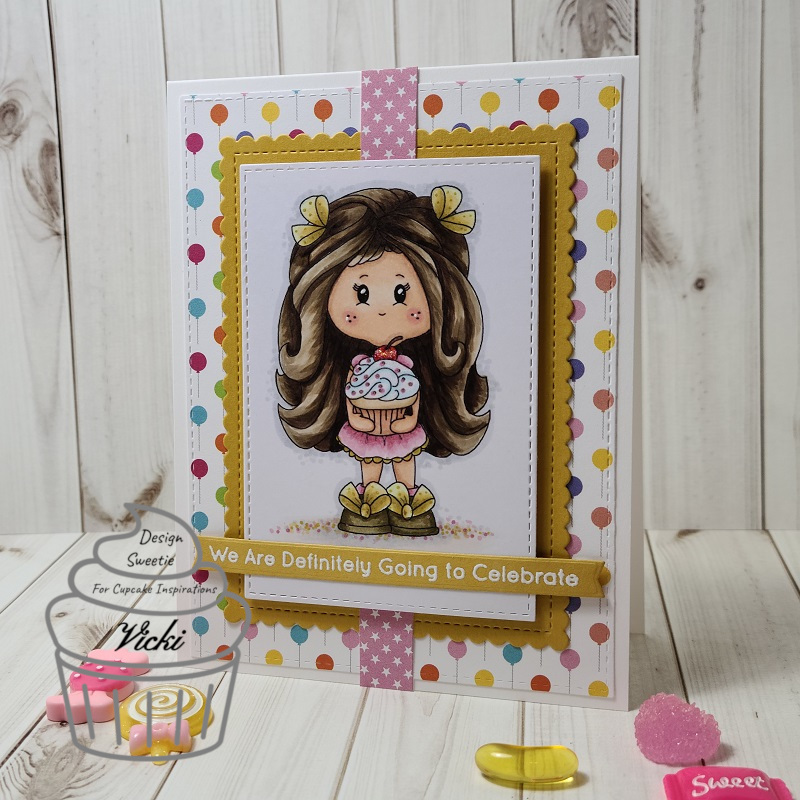
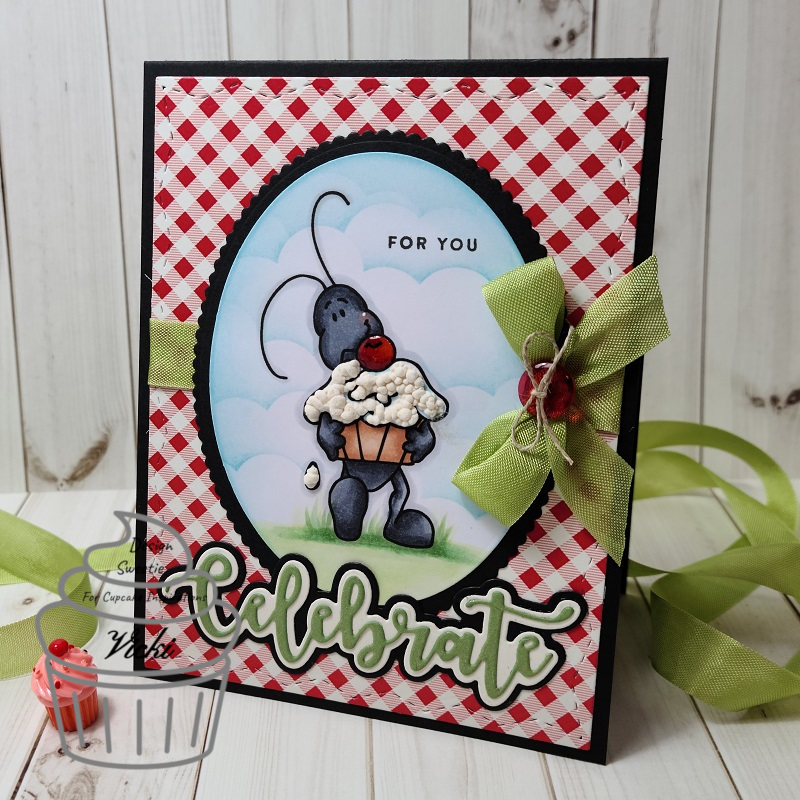
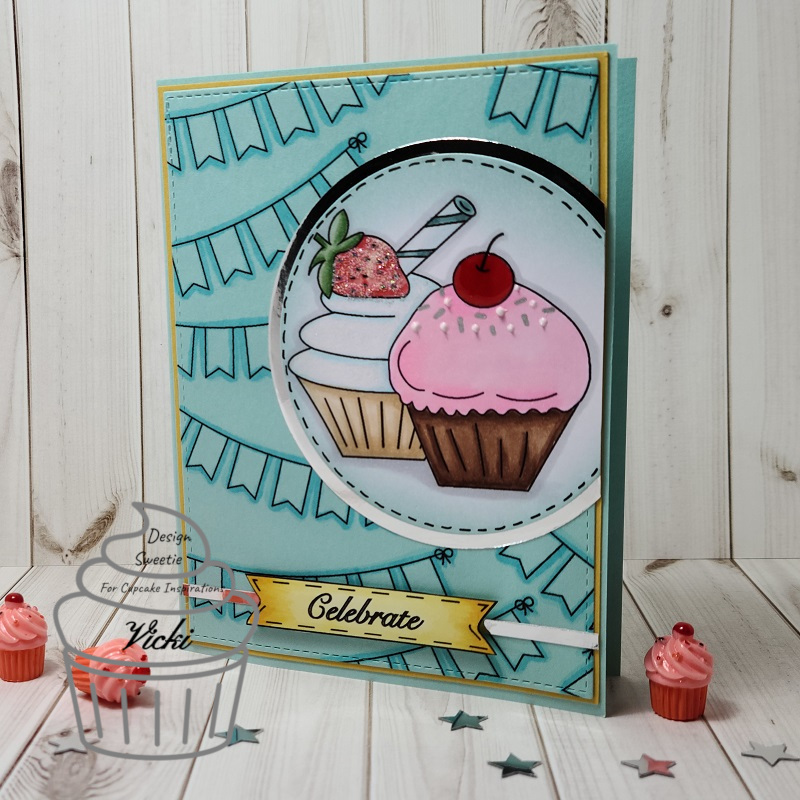
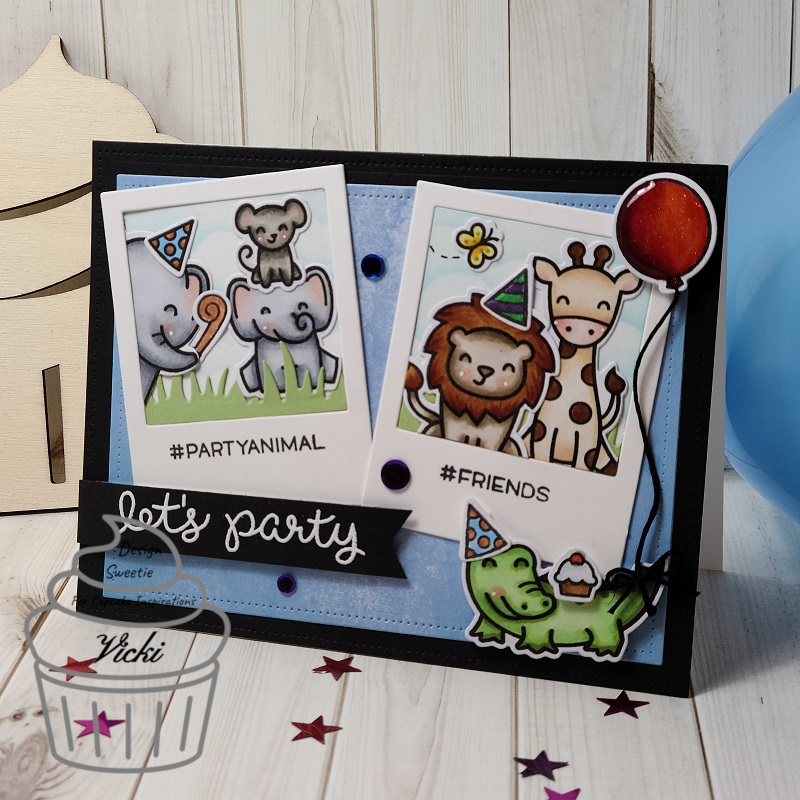
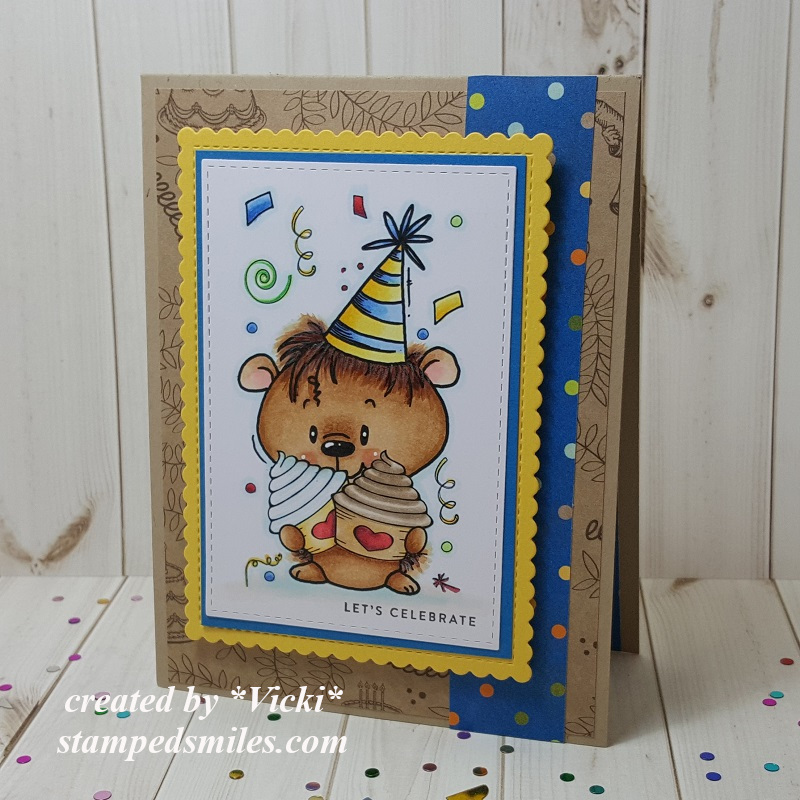
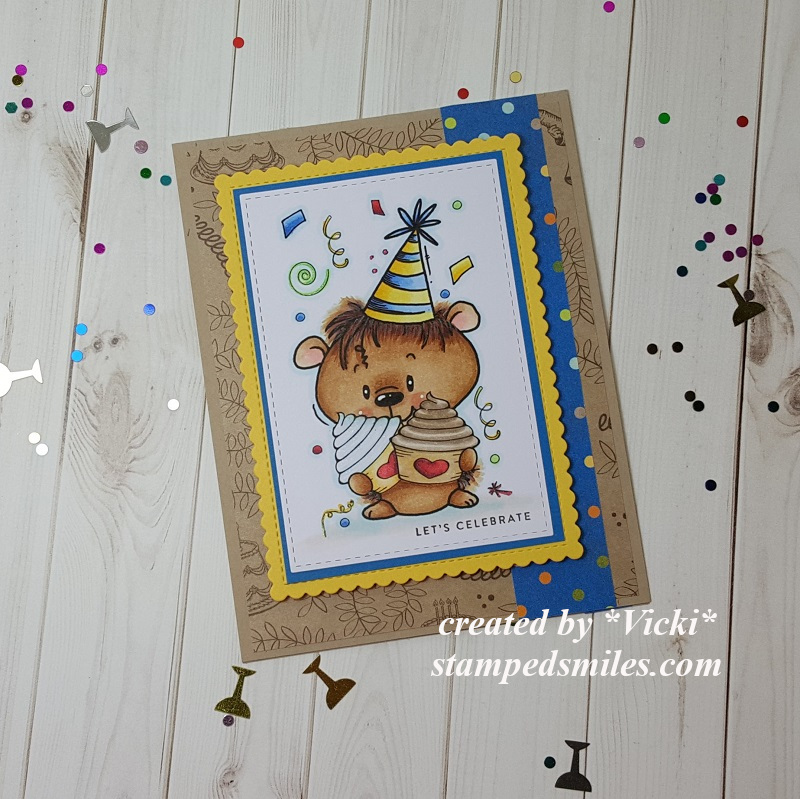
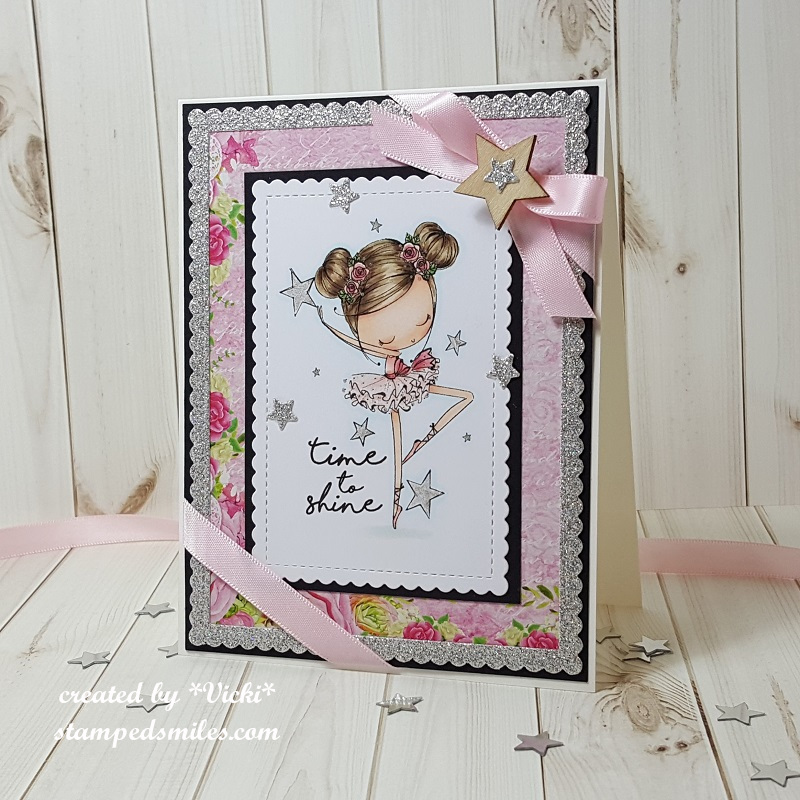
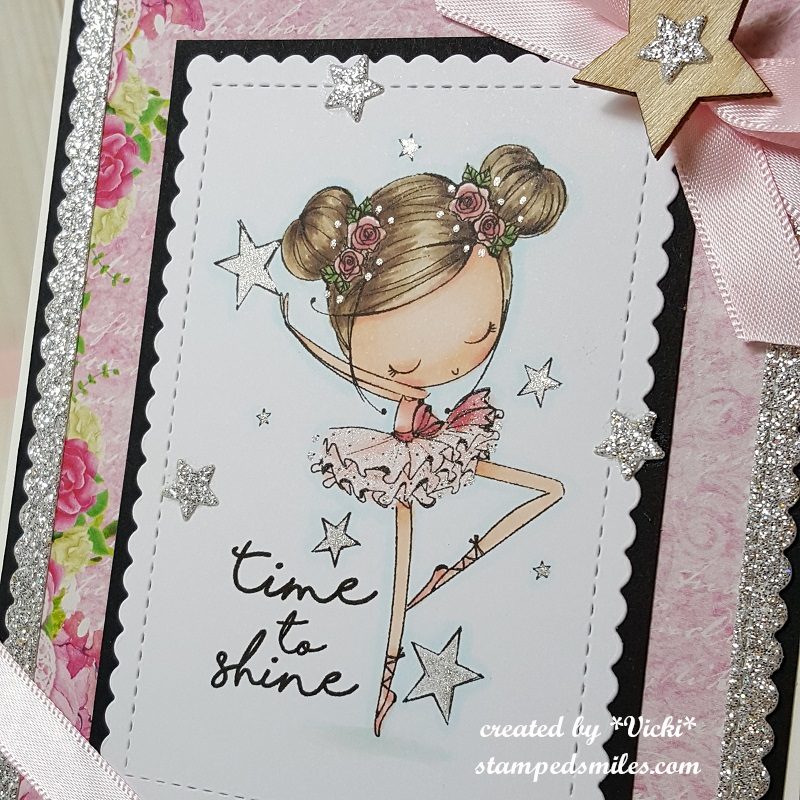
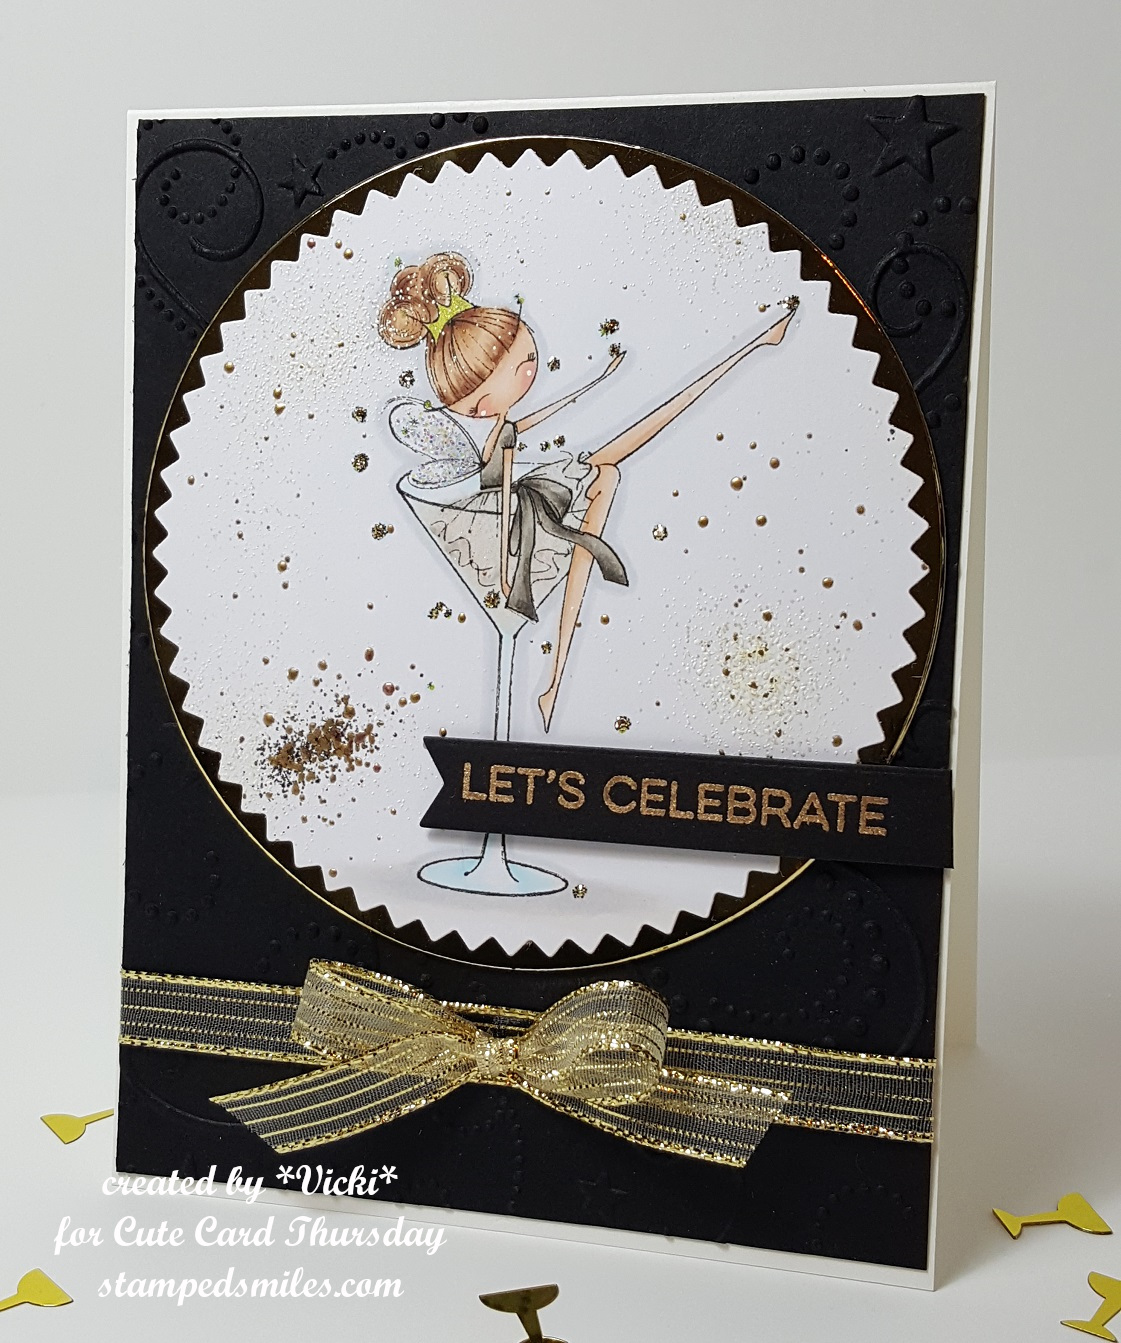
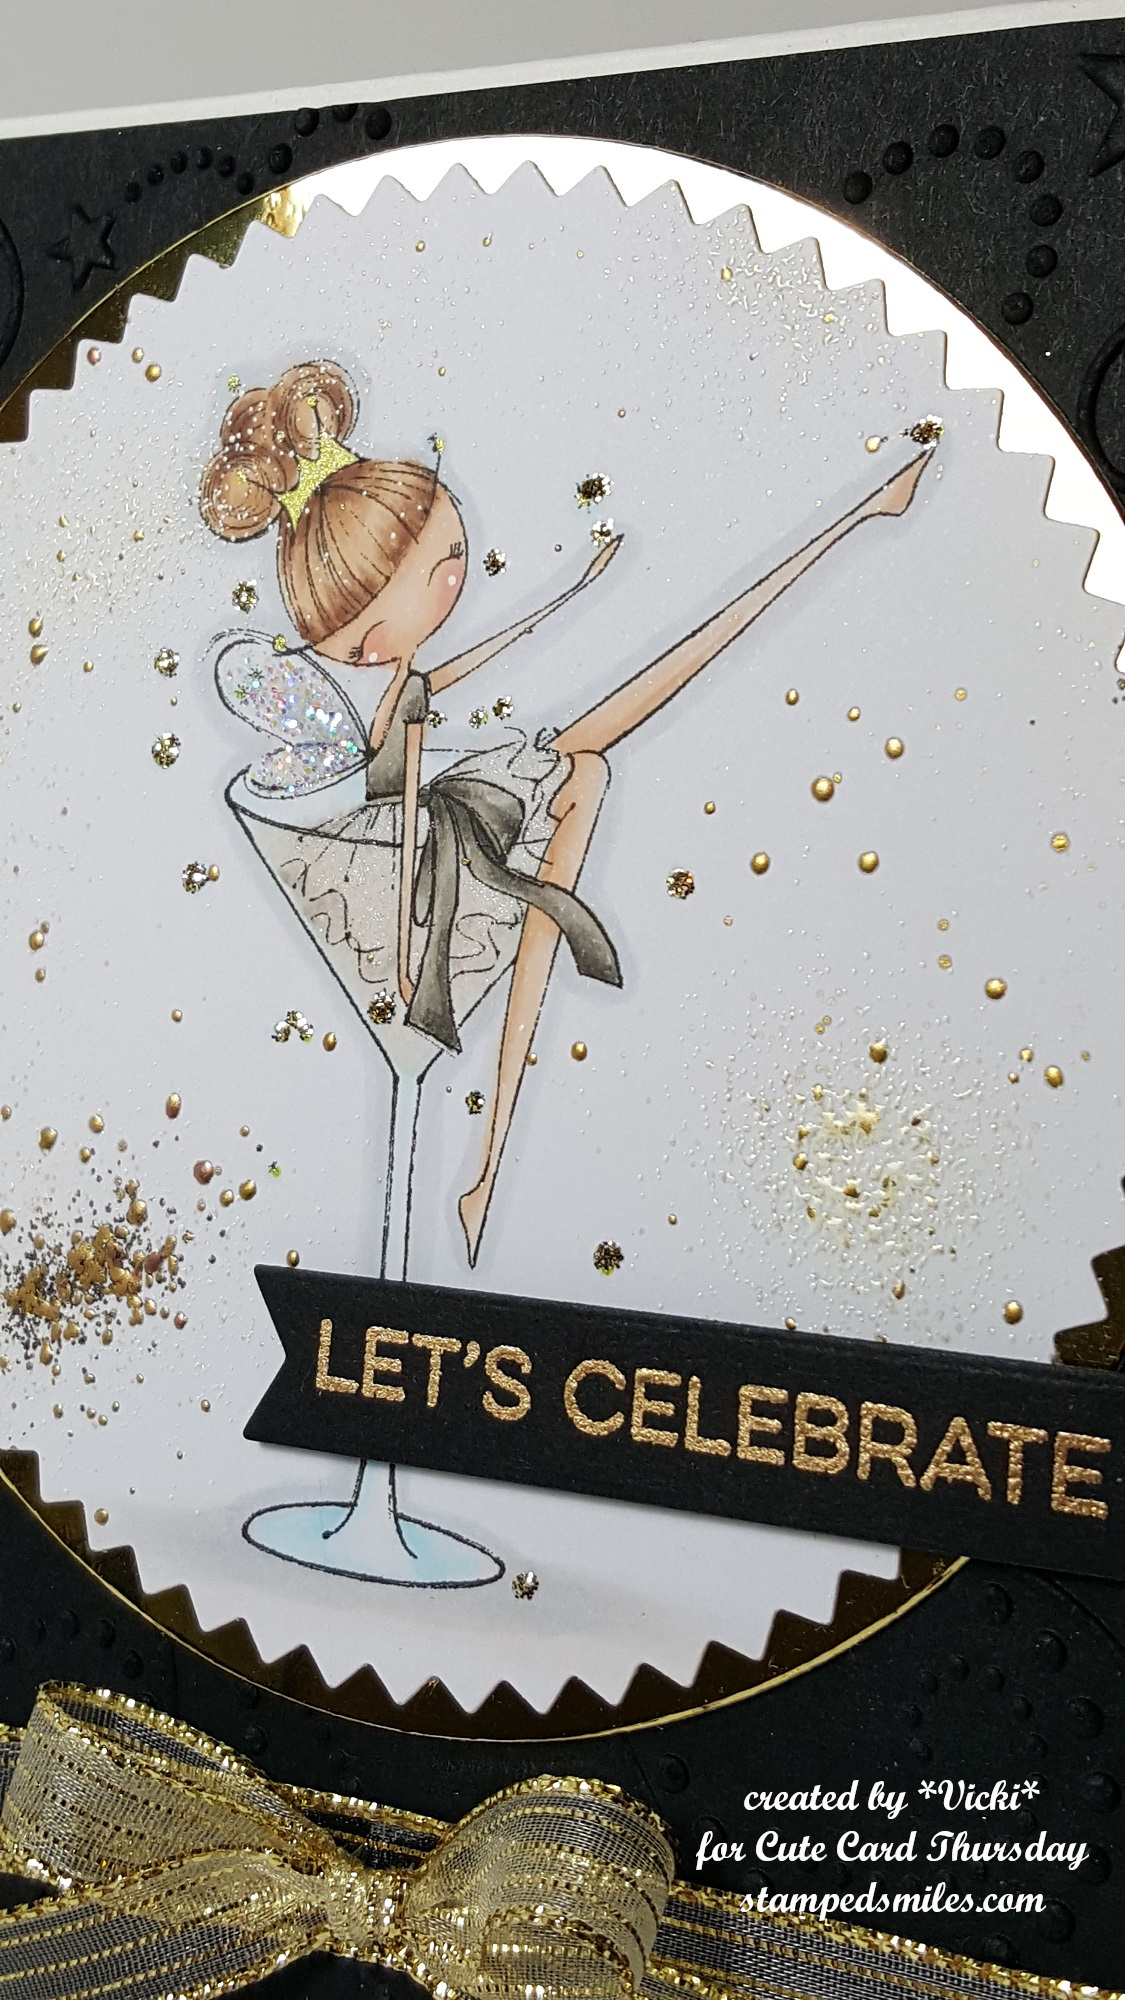
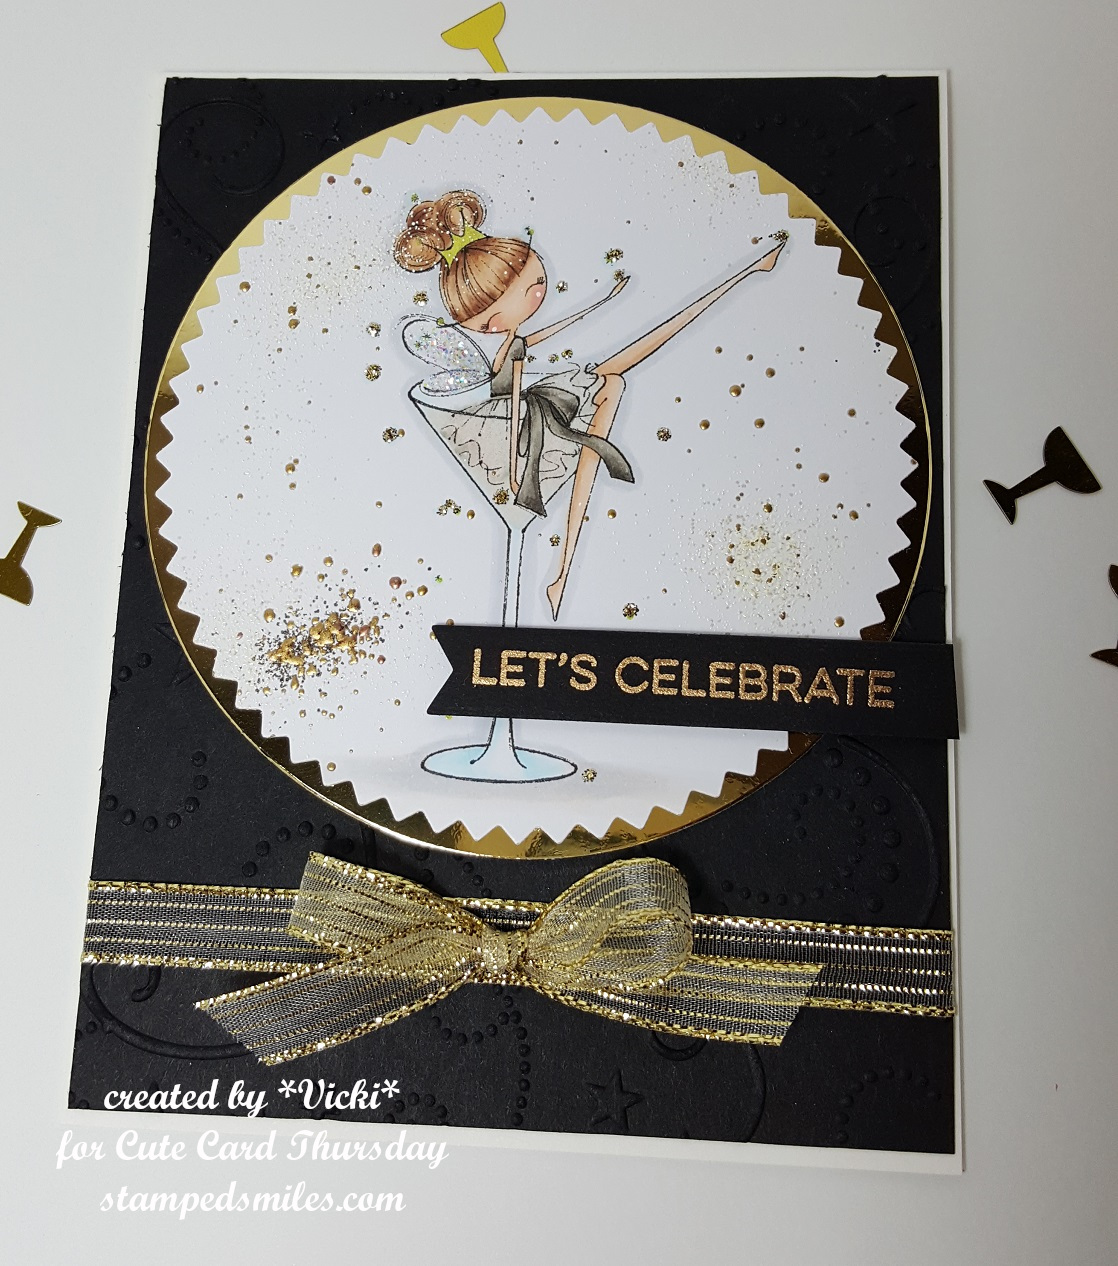
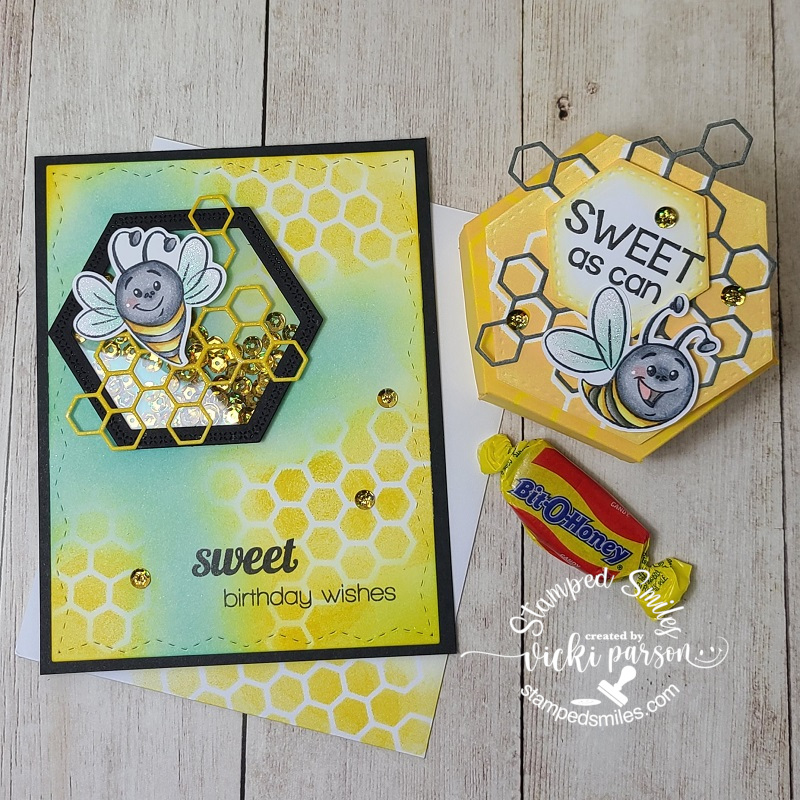
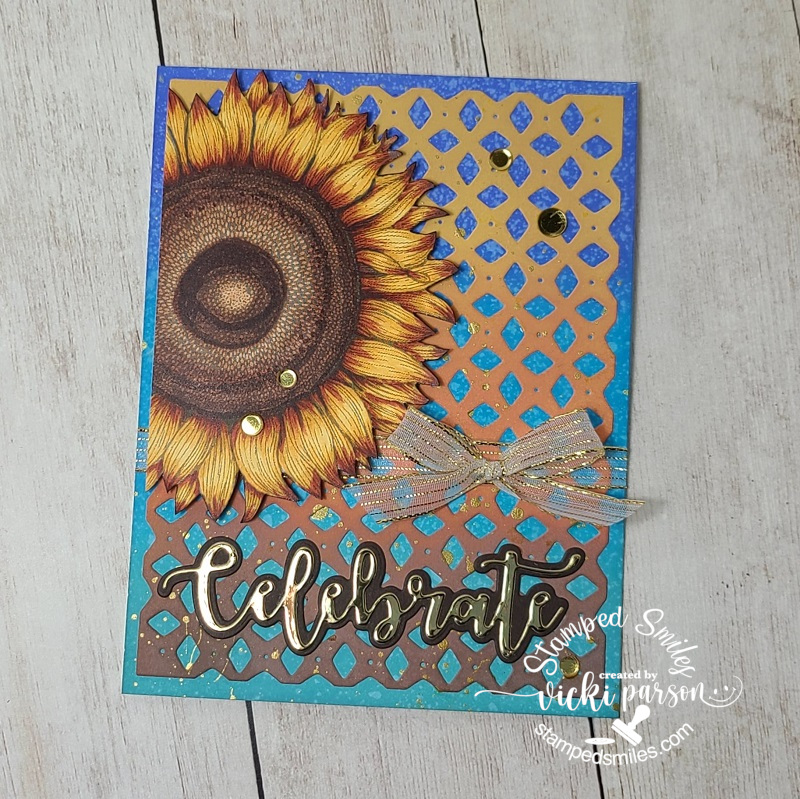
And I also wanted to share that I’m still plugging away on the several kits that I received from the Whimsy Stamps Virtual Retreat last month!  These are really amazing projects and I’m having lots of fun putting them together still! (Christmas will be coming next..so stay tuned for those!):

This is a fun interactive card with a pull tab at the top where this cut little dragon slides upwards towards the sky! This kit 9 came with an A2 sized envelope, but I had to make my own envelope slightly larger to accommodate for the pull tab sticking above the card. I’ve added doodle lines around the edges and shadow stamped a sentiment at the bottom for my own added details.
This set was from kit 14. The hexagon shaped box was super fun and even came with the candy! There was also an extra stamped and cut out bee, so I used it to make another card… shaker style! I used the left over honeycomb die cut piece as a stencil on the card as well. I used the envelope that was provided in the kit above and decorated it for this A2 sized card instead. (I know someone that loves these candies…so they might get a surprise at some point! 😉)
And lastly, this was from kit 15 and TOTALLY different than what was photographed in the booklet! First of all, I received a plant image with a die cut speech bubble sentiments and thought it might be cool for a Halloween card on another project, so I saved those to use later. I received an EXTRA stamped sunflower image from kit 22 that I had posted earlier and decided to use it for this card here. I colored it similar to that one and cut it out, but cut off a portion of it on this design. I also changed up the background ink blended colors and splattered some gold paint on this one. Love how it turned out. This will be for an Autumn anniversary card for someone coming soon.

Hope you’ve enjoyed all of my projects today!  Thanks so much for stopping by and I’ll be seeing you soon!

Challenges (For the Birthday Lightbulb card ONLY):

  1.  Retro Rubber – Anything Goes + stamps older than one year
  2. Cardz 4 Guys – Birthday for adult male
  3. Creative Moments – Anything Goes
  4. Crafty Calendar – Anything Goes
  5. Pammie’s Inky Pinkies – Anything Goes
  6. Shopping Our Stash – Tic Tac Toe (I used middle across: String/twine, 5 year old stamp, bright colors)
  7. Watercooler Wednesday – All About Occasions (birthday)

{Cupcake Inspirations} Day 10

Hello friends!  I’m back again with more celebration fun as we continue with our celebrating over at {Cupcake Inspirations} for another feature of sponsors for our 500th “birthday celebration” challenge!!  YAY!

CIC500

Today, we are highlighting Digital Delights by Louby Lou – Please check out the challenge blog for more details about this sponsor.

Digital Delights Logo

The DT was provided with images from this sponsor to use for our creations:

Vicki-CIC500-Day10-DigiDelightsLoubbyLou

Isn’t she a cutie?!  I have used Cupcake Josie for my image here that was colored with Copics and cut out with a stitched rectangle die.  I used some fun birthday papers I’ve found in my stash to layer my design with along with a sentiment that was white heat embossed and die cut with a banner die that I’ve attached over the design.

I’ve added some glossy accents over the cherry on her cupcake as well as some dotting with a metallic gel pen for the sprinkles as well as for her bows.

Please be sure to add your birthay/celebration creations in the gallery soon before the challenge ends in a few days!  We look forward to seeing them all!

Thank you for popping over here today friends!  See you tomorrow!

Challenges:

  1.  Creative Moments – #197Anything Goes optional pretty papers
  2. Pammie’s Inky Pinkies – PIP2034 Anything Goes

{Cupcake Inspirations} Birthday Celebration Day 6

Hey there friends!  We are on day 6 of celebrating over at {Cupcake Inspirations} with another feature of sponsors for our 500th “birthday celebration” challenge!!  FUN FUN!

CIC500

Today, we are highlighting Bugaboo Stamps & Lawn Fawn – Please check out the challenge blog for more details about these sponsors.

Bugaboo logo

logo

So on our first day, I had used some fabulous products from our sponsor Lawn Fawn and you can check that post out HERE.  But for today’s post, I wanted to highlight our other sponsor Bugaboo Stamps

Vicki-CIC500-Day6-Bugaboo

Now how stinkin’ CUTE is this little guy with his ginormous cupcake coming at you?!

I printed out this Picnic Ant-Cupcake2 from Bugaboo Stamps and colored him up with Copic markers.  I sponged some clouds behind him and colored some grass with my markers too.  I used my oval dies to cut the image out with along with the scallop oval layer behind it.

Found some fun papers from my stash along with the rectangle die, sentiment die, ribbon, twine and button to complete the card.

I “dressed up” the cupcake with some liquid applique that was heated up to make it “puffy” and then added some glossy accents over the cherry on top.

Really had fun with this cutie and I hope he brought you a little smile today friends!  Thanks for joining me!  See you again tomorrow!

Challenges:

  1.  Catch the Bug Challenge – End of Summer (what could be better than celebrating a picnic?!) 
  2. Little Red Wagon – Use a Stencil (cloud background)
  3. Creative Knockouts – #364 Something to Say
  4. Aud Sentiments – #258 Anything Goes + Sentiment
  5. Colour Crazy Craft – Anything Goes + Coloring

{Cupcake Inspirations} Birthday Celebration Day 4

Ready for more celebrating!?  We are on day 4 of celebrating over at {Cupcake Inspirations} with another feature of sponsors for our 500th “birthday celebration” challenge!!  Yipee!🥳

CIC500

Today, we are highlighting Varada Sharma – check out the challenge blog for more details about this sponsor.

1

Our DT has been generously provided with an entire new release collection from this sponsor!  There were so many fun things to play with, so I did some combining:

Vicki-CIC500-Day4-VardaSharma

How fun and yummy is this?!  There’s just something about cupcakes that are so fun to decorate with frosting, sugar crystals, sprinkles, fruit, etc etc and so why not do that with crafting too?!

I started with the background and decided to take the Hanging Banners Background image and print it out over some teal cardstock and then I used a Copic marker to add some shadowing around the images.  I cut it out with a stitched rectangle die and layered it over a piece of yellow cardstock to match the sentiment banner…which actually looks green in the photo, but it’s yellow IRL! LOL!  Then I mounted it over another A2 sized side folding teal cardstock base.

I sized and placed together the two different cupcakes from the Cupcakes, Cake Slices and Toppers set, printed it out and then colored them in with Copics.  I’ve cut them out with a circle die, layered it over another circle layer cut from some silver mirror cardstock.  I sponged some teal ink around the edges of the cupcake circle, added some stitch lines with a marker and then cut off the excess from the edge.

I used some glitter, glimmer and shine to add details to the cupcakes! (The photo is not showing all of the fun details at all!) Bummer…

I added a thin strip of that silver mirror cardstock across the bottom of the card front and then took the sentiment that I put together from the Celebration set, printed it out over white cardstock and then used my yellow ink to sponge over it.  I fussy cut it out and then popped it up with foam tape over the silver strip.

This is going to make a fabulous card for someone’s birthday.  If you need to add to your birthday card stash, come play along with us and you might win!

Challenges:

  1.  A Bit More Time to Craft – Anything Goes
  2. Lil’ Patch of Crafty Friends– #140 Anything Goes
  3. Crafting Happiness – #62 Anything Goes

{Cupcake Inspirations} Birthday Celebration Day 2

Hello friends!  The celebration continues over at {Cupcake Inspirations} with our feature of sponsors for our 500th “birthday celebration” challenge!!  Woot!!

CIC500

Today, we are highlighting STAMPlorations & Rachelle Anne Miller Creative Studios – check out the challenge blog for more details about these sponsors.

STAMPlorations logo

Rachelle Anne Miller Logo

The DT was provided with an image from STAMPlorations to use:

Vicki-CIC500-Day2-Stamplorations

What could be more fun and happy for a celebration than rainbow colors?!

I was provided with this lovely Framed Tea Cups stamp to use for my card which I’ve colored up with Copic markers using the traditional ROYGBV rainbow colors for the cups.

I also decided to mask off the image and using the ARTplorations Weaving Stencil, I inked over with some Pumice Stone Distress Ink and then cut out the panel with the CUTplorations Crazy Double Running Stitch Rectangle die that was barely trimmed along the edges so that I could layer it over a black A2 sized top folding card base.  I also took one of the images from the Scribbly Splattery Grunge stamp set and randomly stamped it a few times with black ink before attaching the panel to the card base.

Lastly, I used the CUTplorations Celebrate Word die to cut out the sentiment with silver foil cardstock and attached it to the bottom of the card and then I added some silver sequins to the design.

A huge thank you to these sponsors for celebrating with {Cupcake Inspirations} 500th challenge!  Hope you’re planning on playing along with us!

Thank you for stopping in today friends!  See you tomorrow!

Challenges:

  1.  STAMPlorations Never-Ending Challenge – Anything Goes + STAMPlorations product
  2. Crafty Friends – #142 Anything Goes
  3. Creativ Fusion Arts & Crafts – #20 Anything Goes
  4. Cute Card Thursday – Bright Colors
  5. Seize the Birthday– Rainbow Colors or Anything Birthday2020-08-13-RainbowColors


{Cupcake Inspirations} celebrates it’s 500th Challenge! WOW!🥳

Hello friends!!  Happy Monday!  I have something very special to share with you today!

The {Cupcake Inspirations} Challenge Blog has hit a wonderful milestone and is celebrating their 500th challenge! How cool is that?!

CIC500

I’m so thrilled to be apart of the celebration with them and share in the excitement!  I hope that you will be celebrating right along with us and join the challenge too!  We also have an AMAZING list of sponsors to share in the celebration with us!  Please be sure to check out the challenge blog for the complete list…AND…we will be sharing inspiration EVERY SINGLE DAY throughout the 2 week challenge using products from our sponsors, so you won’t want to miss any of the posts so you can see the inspiration!

  • I WILL BE POSTING INSPIRATION FROM MOST OF THE SPONSORS RIGHT HERE ON MY BLOG EACH DAY AS WELL!  SO STAY TUNED IN!

The theme for this challenge is “Birthday Celebration!  We can always use birthday cards!  So we look forward to seeing your creations!!🥳🧁

Today, I thought it would be fun to start out with products from our sponsor

logo

Vicki-CIC500-Day1-LawnFawn

Remember those fun birthday parties as a child and all of those fun photos you took with your friends?  Everyone is having a great time together!  I miss those days for sure!

I have used the Wild for You stamp set along with the coordinating dies for the animals friends and colored them up with Copic markers.  I have also taken the Party Animal stamp set and coordinating dies for the sentiment over the black banner that was white heat embossed as well as the balloon that is tied around the gator’s tail with black twine.  I popped up the balloon and covered it with glossy accents.  The cupcake on the gator’s back came from the “Party Panda” stamp set and dies that I received as a gift for my birthday month.  (P.S. You may notice a cupcake in almost every one of my creations for these two weeks…see if you can spot them!)

I’ve used the Selfie Frames die set to cut out the poloroid frames, plus I die cut some grass in them with the Grassy Border die.  I pulled out a piece of paper from the Watercolor Wishes paper pad and cut it out using the Small Dotted Rectangle die.

I finished my card with some bright blue and purple sequins.  (Although it almost looks black on the photo! LOL!)    I’ve added details with metallic gel pens and glitter too.

Really fun card to make with some really adorable products…love Lawn Fawn!

Thanks for stopping in today friends!  Be sure to check and see what I’m making for tomorrow’s post with another sponsor!

Challenges:

  1.  Not Just Cards – August Anything Goes
  2. Retro Rubber – rrcb141 Anything Goes (have had all at least 1 year or more!)6a01b8d066dc39970c026be4072c7b200d-320wi
  3. Arty Divas– #28 Anything Goes
  4. Watercooler Wednesday – WWC284 OccasionsWWC284 - Dawn's Challenge All About Occasions
  5. Colour Crazy– Anything Goes + coloring


Let’s Celebrate at 2 Crafty Critter Crazies!

HAPPY NEW YEAR FRIENDS!!!

*I wanted to take a moment to first wish all of my friends and blog readers here an extremely Happy New Year and best wishes for the most amazing 2020 you can have!  I have REALLY appreciated each and every one of you for your friendship, support and comments throughout this last year…it really means so much to me!  I hope to continue to inspire and spread smiles with you in the comng year as well!  HUGS*

Today is obviously the first which means it’s time to start a brand new challenge over at 2 Crafty Critter Crazies!  So remember that you have the entire month to play along and It’s ALWAYS an “Anything Goes + a critter” on your crafty project!  Easy peasy!

Here’s the creation I made for this month:

Vicki-2CCC34-BugabooBday

He’s such a cutie and I think he would be a fun little guy to celebrate with especially since it looks like he’s handing out cupcakes! LOL!!

The sponsor for our challenge this month is Bugaboo Stamps and the team were given some images to play with, so I have used this adorble Birthday Hedgie 02 digital stamp on my card today!

After coloring him up with Copic markers, I used a stitched rectangle die to cut him out with and then layered him onto a blue layer of cardstock along with another yellow layer that was cut from a stitched scallop rectangle die.  I used some craft foam to pop him up over the card front design.

For the card base, I took a top folding A2 sized kraft card base and found some fun birthday papers in similar colors slightly cut down to go over top.  I also found a matching blue dotted strip of paper to place from top to bottom of the card base design.  the sentiment was stamped in black ink at the bottom of the image panel.  This is a new set I got from Simon Says Stamp called Tiny Words.

Vicki-2CCC34-BugabooBday-close

Here’s a closer look at the coloring I’ve done on this cute little guy!  His “hair” actually got a bit more “fuzzy” than what I was going for, but I didn’t want to keep going over him or he might look like he partied a bit too much! LOL!

Of course it’s very hard to see unless you see it person, but I’ve added some shimmer with my glitter brush pen over the cupcakes and little hearts.  I also used some colored gel pens to go over some of the confetti pieces around him.  I also used a white gel pen for his cheeks and I thought he needed some eyeballs and I made those too!

Vicki-2CCC34-BugabooBday-flat

I hope you’ve enjoyed my card today and that you’ll swing on over to the 2 Crafty Critter Crazies challenge blog to catch the inspiration from the rest of the team and play along with us this month too!  We can’t wait to see your critter creations!

P.S.  Just for fun, please share with me if you have any crafty or non-crafty “New Year’s resolutions/goals” for this year!  My goal is to COMPLETELY finish each card I make this year with sentiment/decorated inside, with the envelope and signed on back!  I hope it holds up!  I started with this card!! 🙂

Challenges:

  1.  Make My Monday – Female Birthday (Thought it could be used for anyone!)
  2. Simon Says Stamp Monday – “Party Time”
  3. Creative Knockouts – Celebrations
  4. QKR Stampede– #378 Anything goes

Time to Celebrate at Cute Card Thursday!

Hello friends!!  I’m very excited to share my card with you today for Cute Card Thursday!  We are celebrating our 11th birthday this week!!  WOO HOO!!  So of course the theme for this week is “CELEBRATE“!!  Hope you can pop on over and celebrate with us by sharing your creation!!

This week we are sponsored by All Dressed Up Stamps and I have used one of their adorable images for my card today:

Vicki-CCT573-ADU-Celebrate

I have used this very sweet image called Time to Shine and she is having so much fun dancing around with all of the stars floating about her!

For the card, I have taken some silver sparkle cardstock and cut cut the stitched scallop frame and then placed some pretty papers behind it.  I mounted these pieces onto a piece of black cardstock as well as the image that was cut out with another stitched scallop rectangle die, also mounted with a piece of black cardstock and then added to the center of the sparkle framed panel.

I also took some pretty, pink, silky ribbon and wrapped it around the corners of these layers and also tied a bow with it that I’ve attached to the upper right corner of the wrapped around ribbon.  These layers were then mounted onto a white, top folding A2 sized card base.  Lastly, I’ve added some stars that were die cut from the same sparkly cardstock and I’ve also added one to the center of the wooden star veneer that was glued in the center of the pink bow.

Vicki-CCT573-ADU-Celebrate-close

Here’s a closer look at the Copic coloring I’ve done on this image.  I have added some extra sparkly details to the image by taking a Spectrum Noir Glitter Brush Pen and went over just the bottom portion of her dress.  I then took a silver gel pen and colored in the stars around her and added some dots to her dress and hair with it as well.  I wanted to create lots of sparkle and shine to this one!  🙂

Vicki-CCT573-ADU-Celebrate-flat

So I hope you will stop by the Cute Card Thursday blog and check out the inspiration from the rest of the design team and hope that you will play along with us to help ‘celebrate’ our 11th birthday this week!!  Can’t wait to see your creations!

Thanks so much for dropping by!  I really appreciate your kind comments and I enjoy reading them so much!  Hope you have a fabulous day!

Challenges I’d like to enter this card in:

  1. All Dressed Up Challenge – Anything goes + ADU image
  2. All Dressed Up Facebook Challenge – Girly Girls
  3.  Crafty Friends – Ladies/Girls
  4. Simon Says Stamp Monday – Feminine/Girly
  5. Crafty Creations – Anything Goes

Embossing at Cute Card Thursday

Hello friends!  It’s time for another Cute Card Thursday challenge this week!  We would like to see some “embossing” on your creations this week!  You can make it heat embossed, dry embossed or I would say embossing paste would work too!  Or you could challenge yourself and try to combine more than one kind!  🙂

We are sponsored  this week by All Dressed Up Stamps, so be sure to enter the gallery for your chance to win a prize!!  Here’s what I’ve created for this week’s challenge:

Vicki-CCT560-ADU-embossing

This is such a cute and fun image!    I thought it would make a really fun “New Year’s” type of card, so I created with that in mind.  This image from All Dressed Up is called Season to Sparkle.  I colored her up with Copic markers and then used a gold el pen to color in her crown.  I’ve also taken the Spectrum Noir clear glitter brush pen and colored her dress with it.  The sparkle on her wings are liquid glue and loose glitter.

I’ve cut the image out with a Zig Zag circle die and then layered a piece of gold mirror cardstock cut with a circle behind it.  I attached the circle image panel over a dry embossed black card front panel that I’ve also wrapped some gold ribbon around and attached the bow to the front.

I also heat embossed the sentiment with some gold EP and cut out a banner strip to pop up over the circle image panel.  I cut the tail end to match the card front.  This card front panel was layered onto an A2 sized white top folding card base.

Vicki-CCT560-ADU-embossing-close

Here I wanted to show you a closer look at the image panel and the close up details of the frantage embossing powder over it.  (This is such a fun embossing powder to play with!  You have to heat it up from underneath.)  You can also see the gold embossed sentiment too.  I did take some gold tinsel Stickles and added a few drops around the image for more sparkle.

Vicki-CCT560-ADU-embossing-sec

I hope you’ve enjoyed my card today!  Please be sure to stop by the Cute Card Thursday challenge blog to see the inspiration from the rest of the design team and hope you can play along with us this week!!  Looking forward to see your embossed makes!!

Thanks so much for stopping by and I’ll see you soon!

Challenges I’d like to enter this card for:

  1.  All Dressed Up – Anything Goes + All Dressed Up image
  2. Creative Fingers – Anything Goes
  3. Pammie’s Inky Pinkes – Anything Goes (PIP1849)
  4. Crafting From the Heart – Anything Goes (232)
  5. Little Red Wagon – Black & White + one additional color (GOLD)