February AJ Page-Relaxation

Hello friends!  It seems like this month went by really fast!  Hope you’re having a great and productive month!  It’s now time for this month’s Art Journal page…really fun one today!

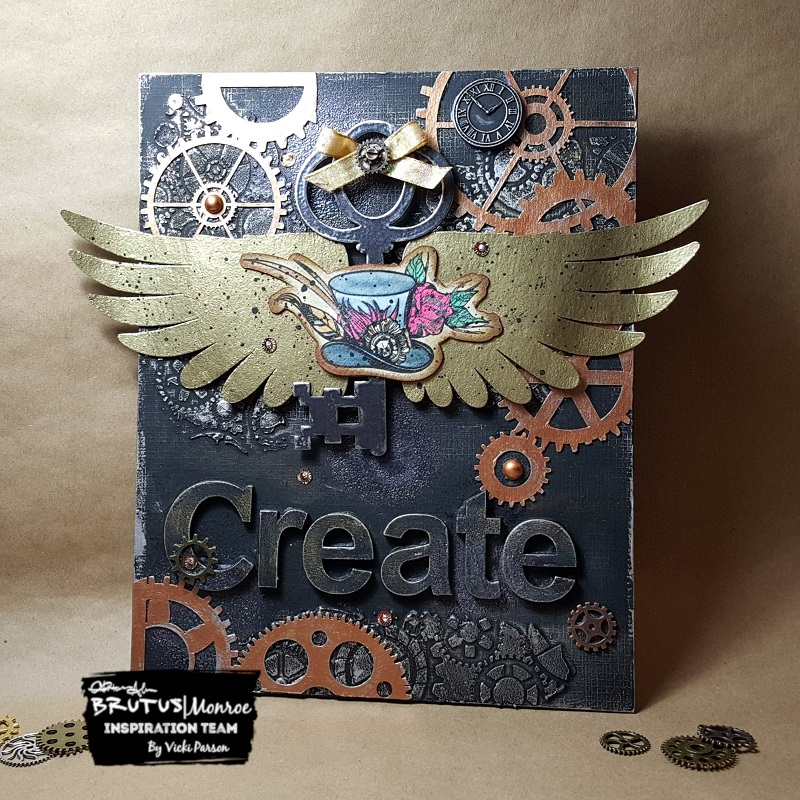
If you’re not familiar, I post an AJ page each month along with my crafty friend, Carol (from Crafty-Stamper), as we get creative trying to use up our never-ending stash piles!  We use a prompt each month and post them.  I know she will have some great inspiration, so please check out her blog for an AJ page too!🥰  Here’s my AJ page for this month with the “SMASH OUR STASH” February prompt of “Wooden Pieces/Chipboard” :

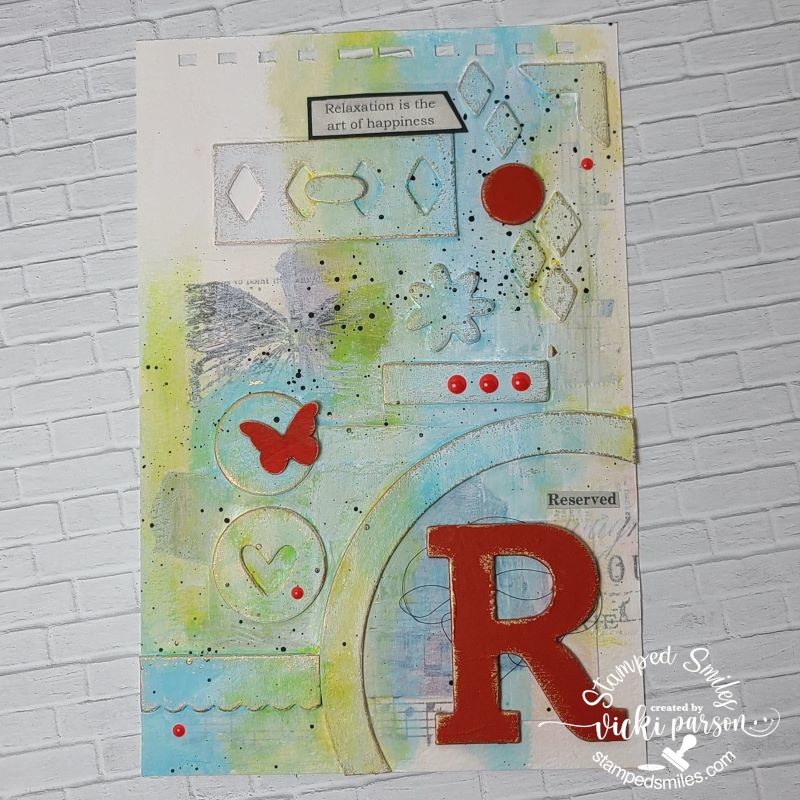
Do you have tons of chipboard pieces laying around?  I have several stacks of them that have been around for quite a while and I thought that I would just pull them out to start using some up here with this month’s prompt.  These are old Stampin’ Up! chipboard pieces that they used to sell and I was taught that you don’t throw any of them away…well I think they meant that you should use them, though!😆

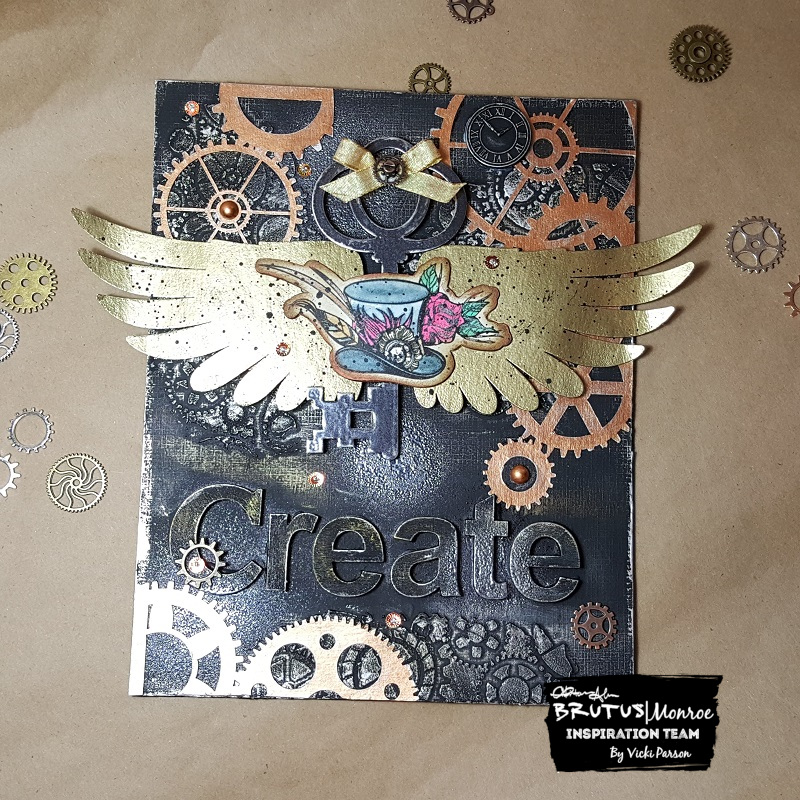
For the background:  I started with my usual 6″x9″ watercolor paper with the holes pre-punched at the top.  I used some torn pieces of scraps and vellum that I had laying around and randomly covered the blank page using collage medium. I took the chipboard pieces and glued them in random areas too.  I then covered it over with some white gesso paint that was slightly watered down so that some of the background elements still showed through.

The next step was to add some colors with some Finnebair Impasto paint in Mediterranean and Lemon Peel. When these two colors mix together, they make a beautiful green.  They are actually really bright colors, so I toned it down a bit with more white paint until I got the look I wanted.  I finished it with black paint splattering.

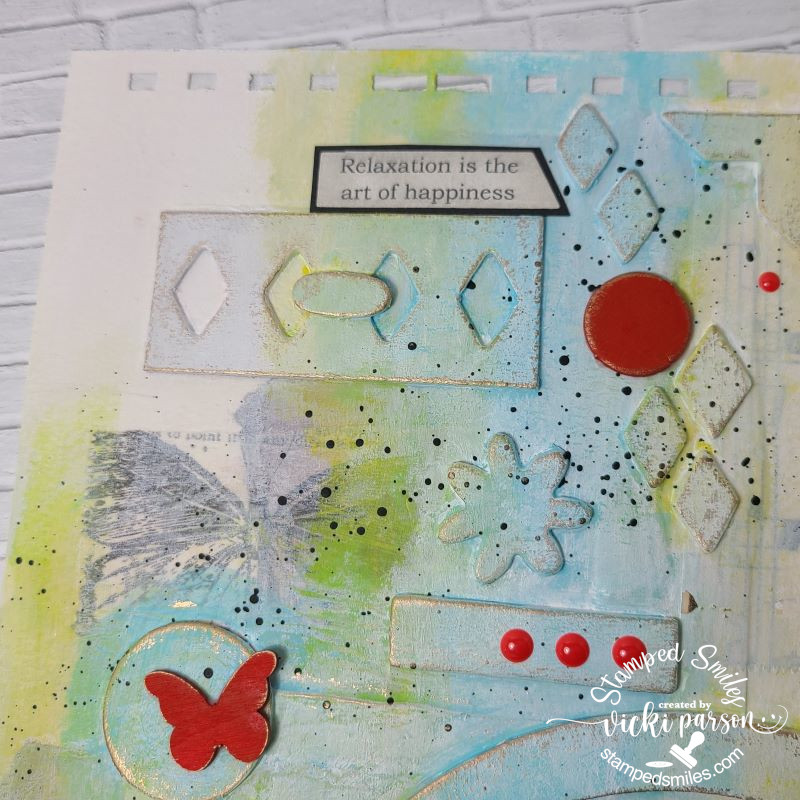
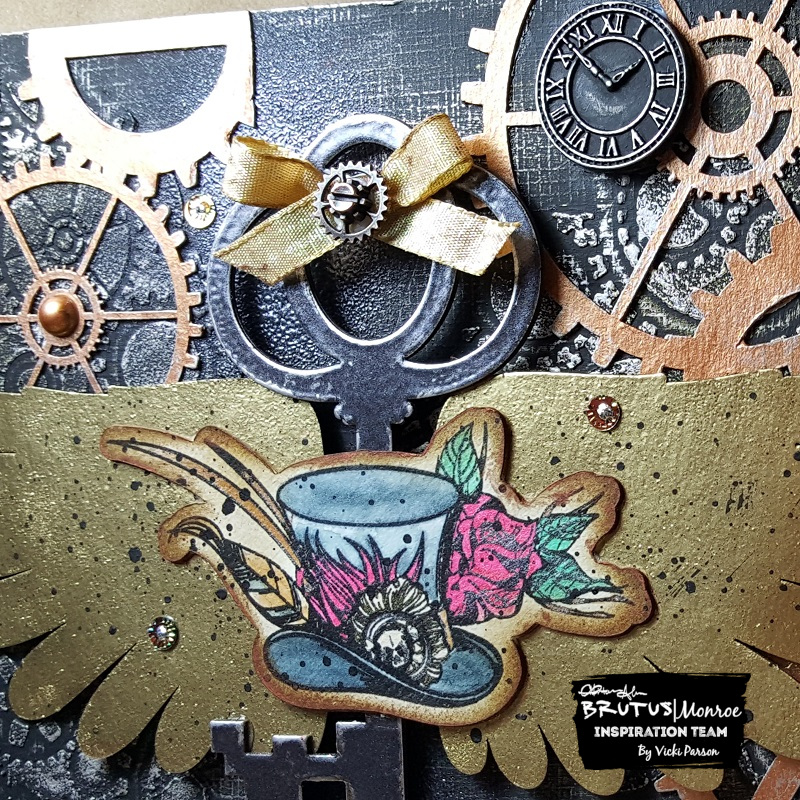
Here’s a closer view of the top of the page with the collage and chipboard texture.  After painting up the background, I also took a few pieces of chipboard along with a wooden butterfly and painted those elements in red.  I thought it would be fun to give the page a pop of bright red to contrast the muted background.  The red painted elements were added after the background was finished.

The sentiment at the top was computer generated and sponged over with some Pumice Stone Distress Oxide ink and layered over a piece of black cardstock and then attached to the page.

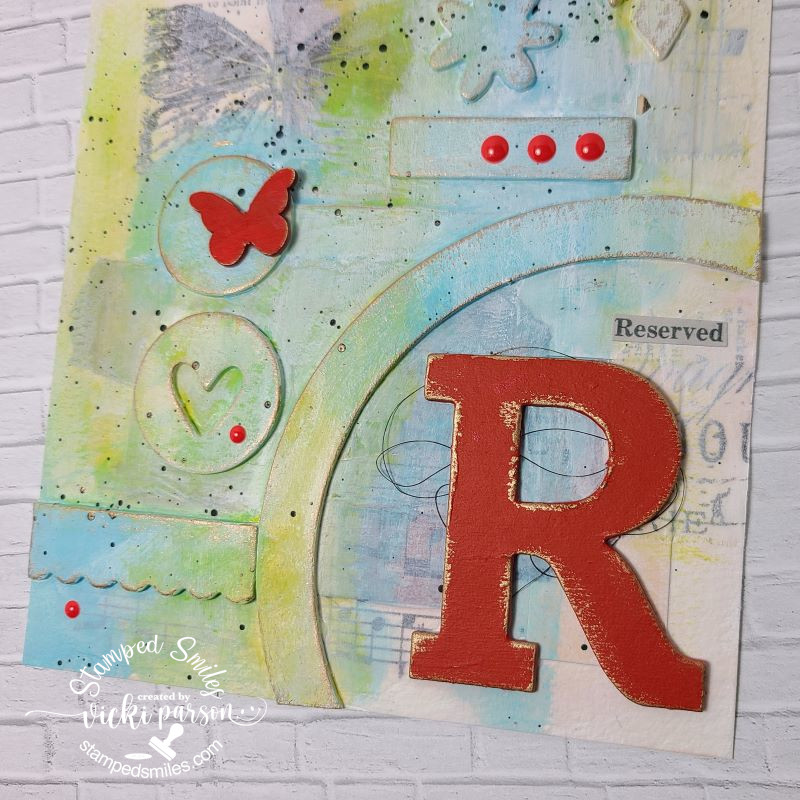
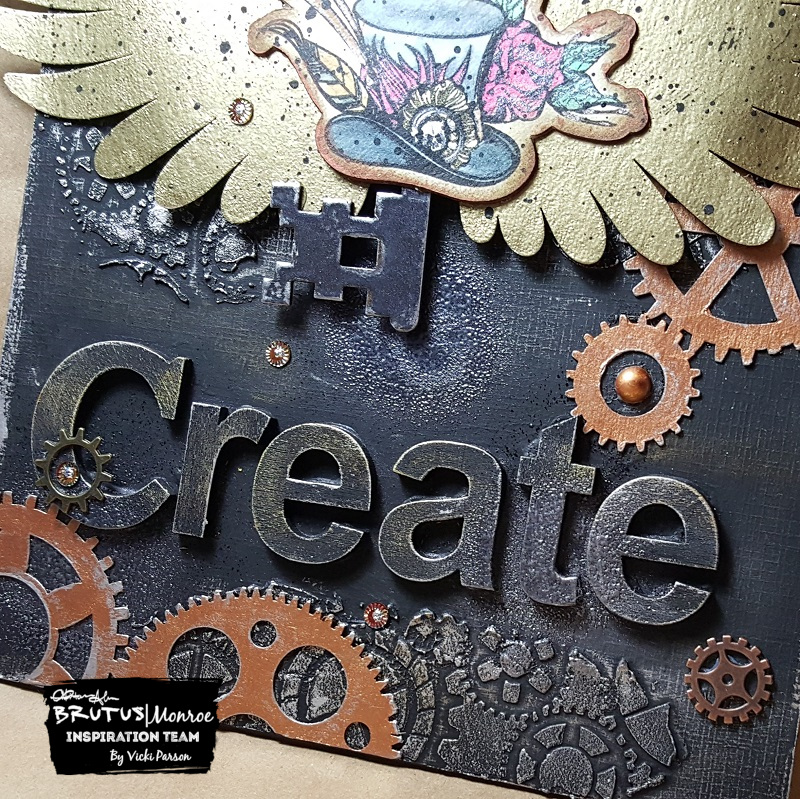
Then here’s a closer view of the bottom of the page.  The “Reserved” is from a Tim Holtz sticker book.  

Behind the red chipboard ‘R’, I added some black string.  You will also notice that I’ve used some Finnebair Aged Gold metallic wax to go around the edges of the raised up edges to give them a bit of dimension.  I finished it up with a few red enamel dots.

I had fun with this one and I hope you’ve enjoyed it as well!  Thanks for dropping in today!

Challenges:

  1. Art Journal Journey – Seeing Red 
  2. Country View – Sentiment/Inspiring Words
  3. Creative Artiste – Anything Goes Mixed Media
  4. Try it On Tuesday – Let’s Get Messy (painting)
  5. Arty Divas – Anything Goes

‘Create’ Steampunk Mixed Media Canvas

Hello friends!  Happy Saturday!

Oh I had so much FUN playing around with all of the really cool “Steampunk” products!  Today, I’m sharing this mixed media canvas project that I made:

Vicki-BM-SteampunkCanvas

This was so much fun to just get “messy” and enjoy a different creative process other than making a card!  If you’ve been around my blog for a while, then you’ve probably seen me share a different project from time to time.  Sometimes I just like to ‘change gears’!  Hahaha!

So I had this old 8″ x 10″ canvas laying around and thought it would be cool to take several chipboard pieces I had and make something.  I started off by taking some wooden letters from my stash and gluing those on.  I then took a stencil (gears) and randomly added embossing paste through it over the canvas.  Once dried, I then painted over everything with some black gesso.

I’ve used several metallic paints from my stash and using my “finger tool” I went over all of the textured areas of the canvas and along the edges.  I also used the paints to paint over the Chipboard Gear Background which was randomly cut out with my scissors and glued randomly over the canvas.  At first I was thinking it was weird to mix the different color metallic together, but then thought that steampunk can sort of be like that anyway.

Vicki-BM-SteampunkCanvas3

What’s hard to capture in a photo is that Gilded Sparkle embossing powder over the wings!  It’s stunning IRL!  I’ve heat embossed the Chipboard Wings with it and then I heat embossed the Chipboard Key with the EP.  I went around the edges of it with some silver metallic paint so that it showed up better against the black background.

For the image, I stamped the hat with black Ink onto an already cut out white Cardstock from the Steampunk Cut file.  I colored it up with several different Aqua Pigments and sponged around the edges of it with some brown ink.  I also took some Copper metallic paint and went around the edges too.  I took the heat embossed wings along with that hat image and splattered them with some black paint as well.

The wings were attached onto the canvas with some black foam tape and then I curled the ends of them that are hanging off the edges.  I attached the heat embossed key in the center of the wings and then added the colored image over top.

Vicki-BM-SteampunkCanvas1

For a little bit more texture on the canvas, I decided to take the EP to randomly heat emboss areas that were sprayed with water.  The water was just so that the powder had something to stick to and then once heat set, I added more until I was happy with it.  I like the look of the embossing where the spray marks are.

Vicki-BM-SteampunkCanvs4

Lastly, to finish it off, I’ve used the metal gears, ribbon (tied in bow over top of the key), gold pearls (painted in copper metallic paint), and sequins – as well as another gear (attached in the center of the ribbon bow) and a clock button (painted with black and metallic paints) from my stash that was all glued on.  I also added some silver glitter to the center of each sequins.

Hope you’ve enjoyed my “Steampunk Mixed Media Canvas” today and were inspired in some way.

Thanks for dropping by!  I’ll see you soon!

Challenges:

  1.  Crafty Gals Corner – Emboss It
  2. Creative Moments – Anything Goes
  3. A Inky Mess – Anything Goes Mixed Media
  4. More Mixed Media – Anything Goes (optional bright colors)
  5. A Bit More Time to Craft – Anything Goes