Hello friends! I hope that you’re having a great start to your week! We’re almost there as Christmas approaches us quickly! I’ve been enjoying the Season and having fun keeping busy. Currently baking cookies and decided to take a break from that to sit and make a post about all of things that I’ve been doing besides posting!😆
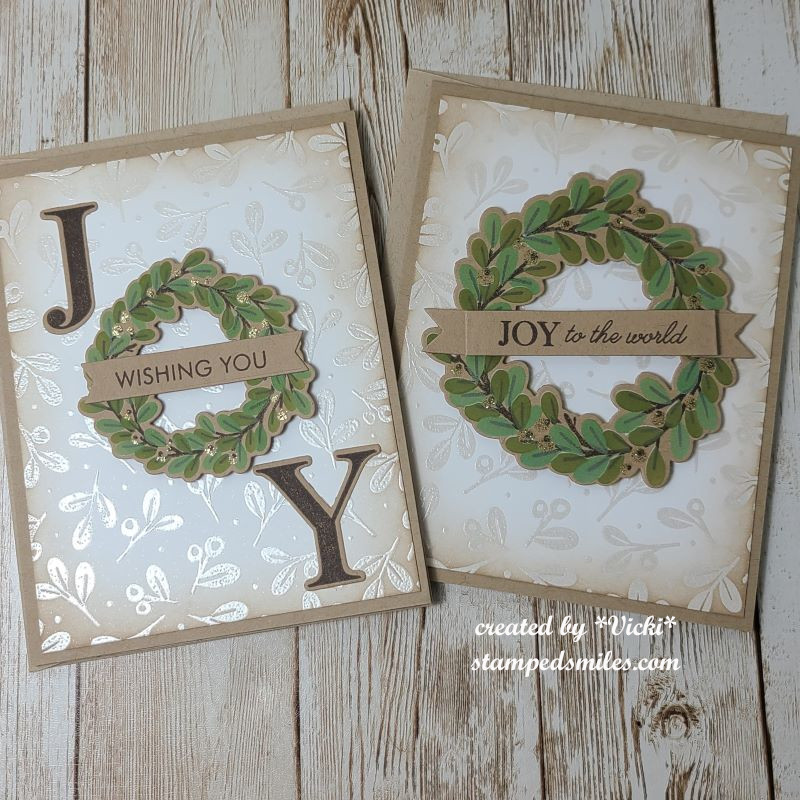
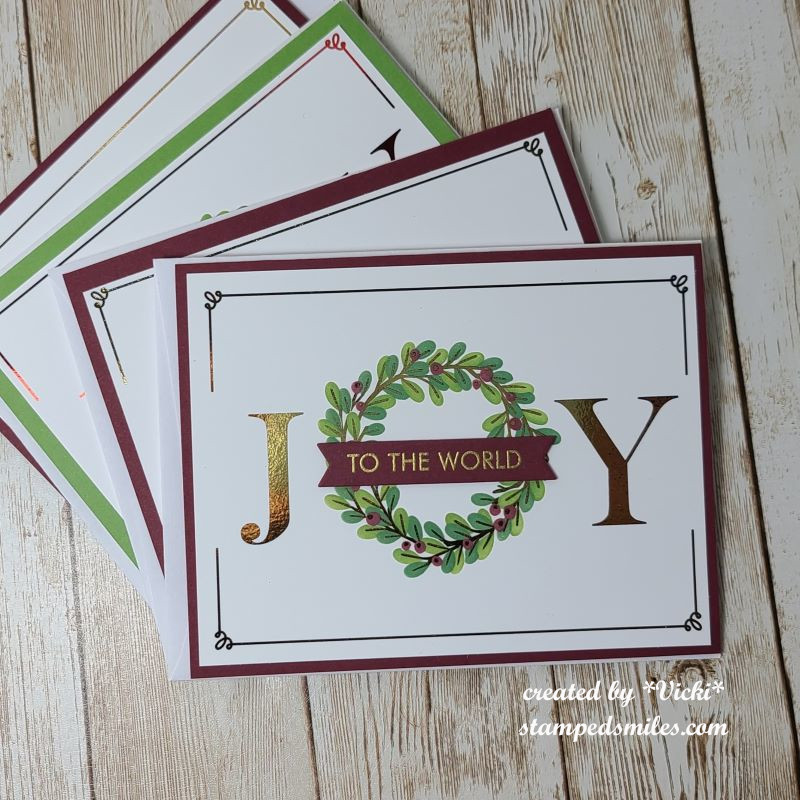
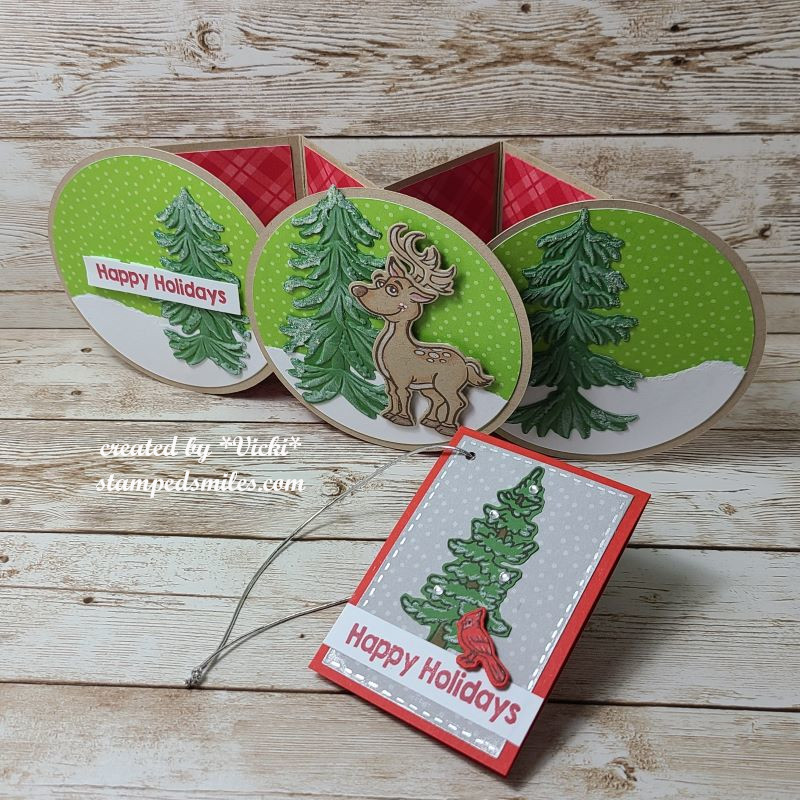
This is just one of the several similar cards that I created for my Christmas cards this year. It came from a Christmas in July card kit from Taylored Expressions. It mainly used the Wreathed in Joy Stamp & Stencil Combo set. There are dies you can cut them out with as well as foilable panels which is shown on this one.
I do not like to make several of the “same thing”, so I’ve changed them up to different colors, layouts, etc. So you can see the different versions I’ve done below. (If you are visiting my web page, just click on each photo to see it enlarged.)
*Apologies for the messy stack for photo taking…it was a lot to do all at once!
Most of these are blue and silver which is my favorite color combination for Christmas colors, so I did about 6 of these.
I think these look the most vintage with the soft tones. Only 2 of these.These are more traditional looking with the red and greens, plus some were foiled and some heat embossed. There are 4 of these.These are all pretty similar with the larger wreath used. I changed up the green colors a couple of times. There are 6 of this kind.
I thought these would be enough for all of the Christmas cards to send out, but I realized going back through my list that I wasn’t going to quite have enough.
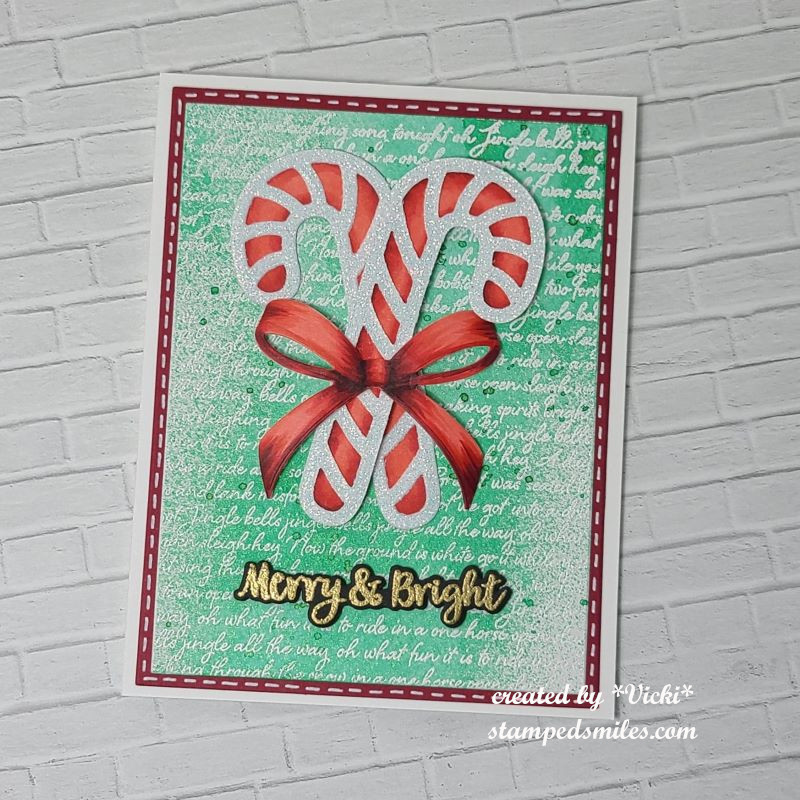
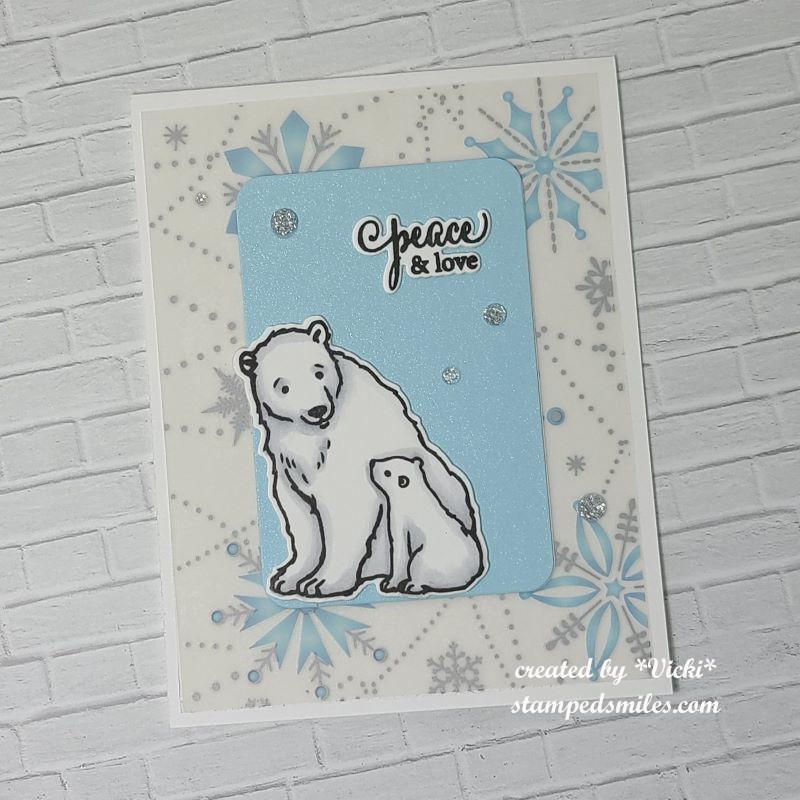
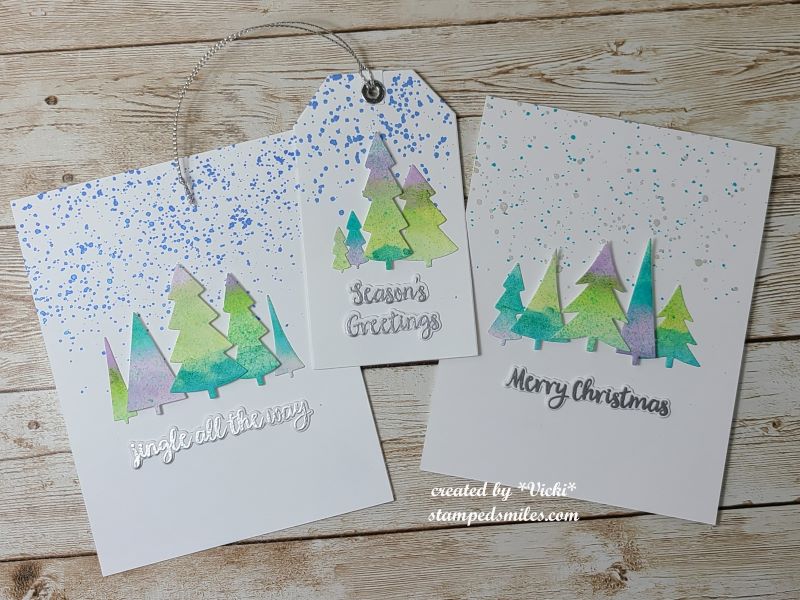
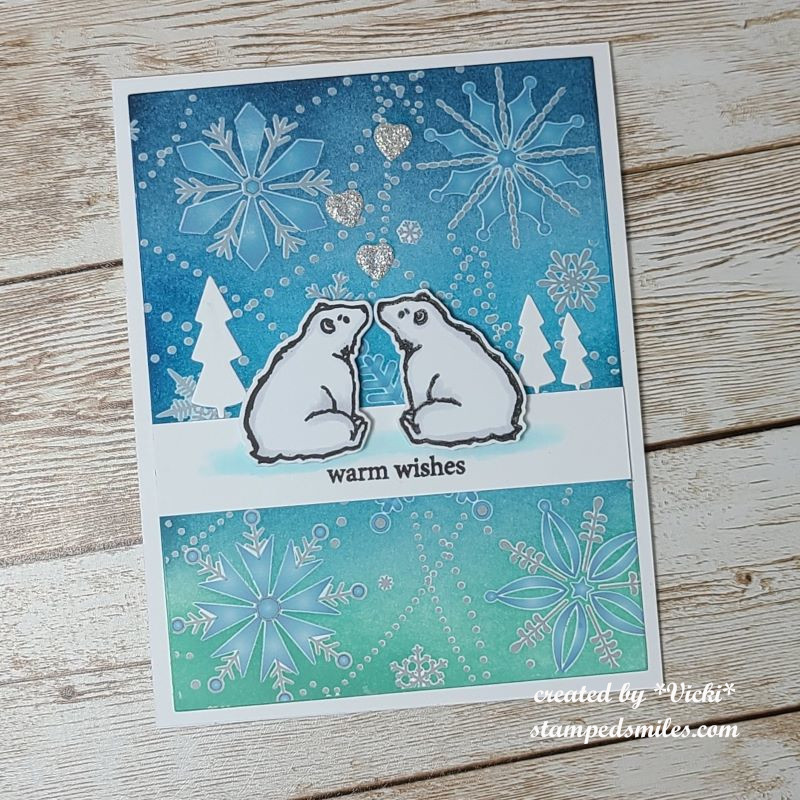
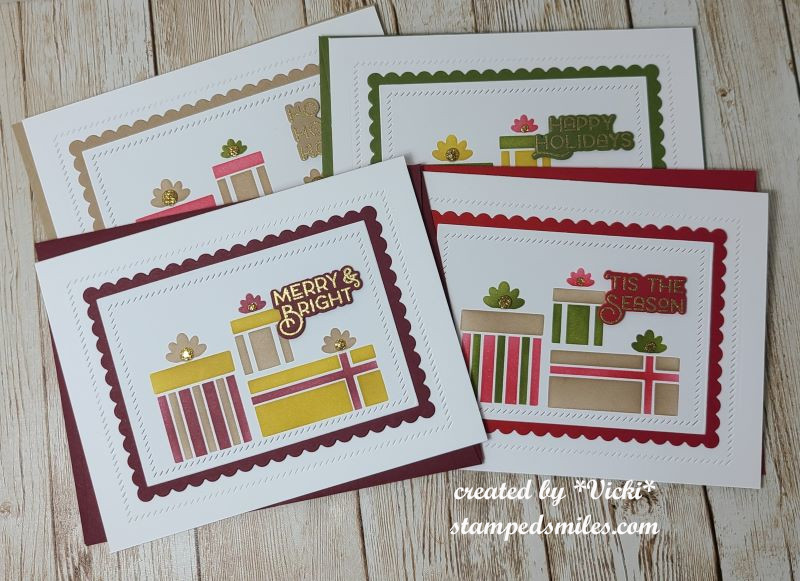
So I’m glad that at the beginning of this month I took a Hero Arts Stamp-a-Longand made several different types of Christmas cards. Here are the results of these below: (Again, if you’re looking on my web page, just click on the photos to enlarge them.)
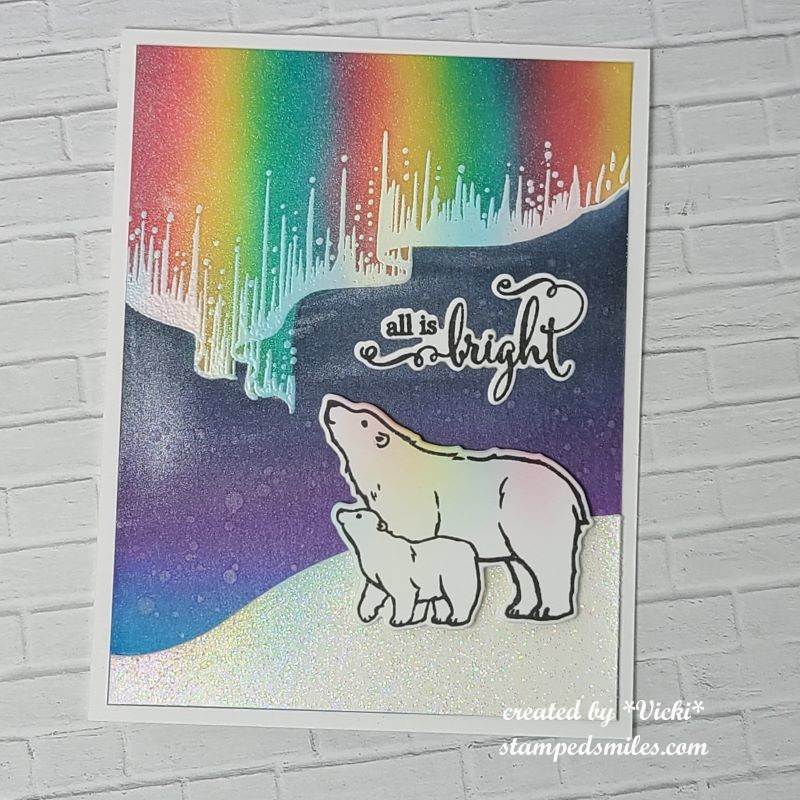
background using sprays and coloring die cutssimple CAS cardnorthern light mixed media techniqueemboss resist background and dimension die cuttinggift tag card with a pocket inside for holding a gift cardreverse die cutting on gatefold cardlayering tree stamp and gatefold cardusing die cut plate for stencilingWatercolor CAS projectsusing a die cut plate for embossing and masking
mirror stamping technique and rub-on background
So some of these were also taken and used for sending out more Christmas cards. I’m glad that I did the projects for this class or I probably would not have had enough cards.
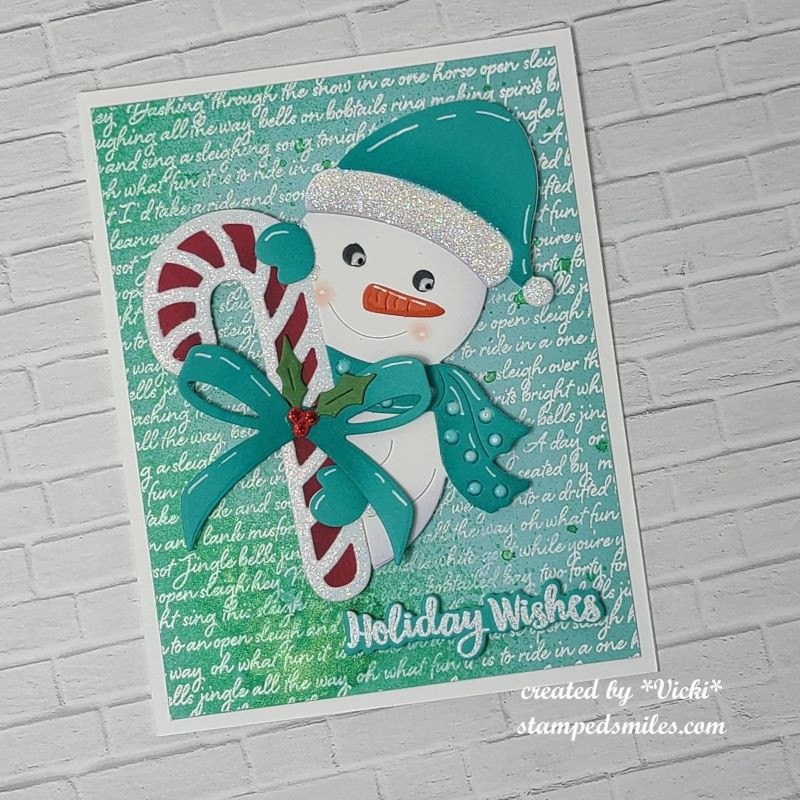
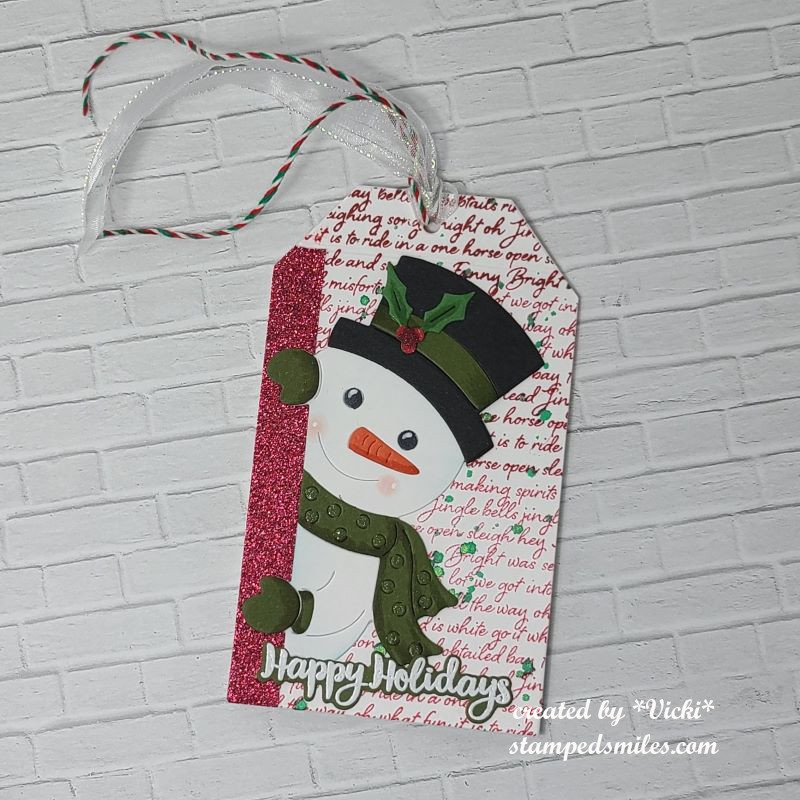
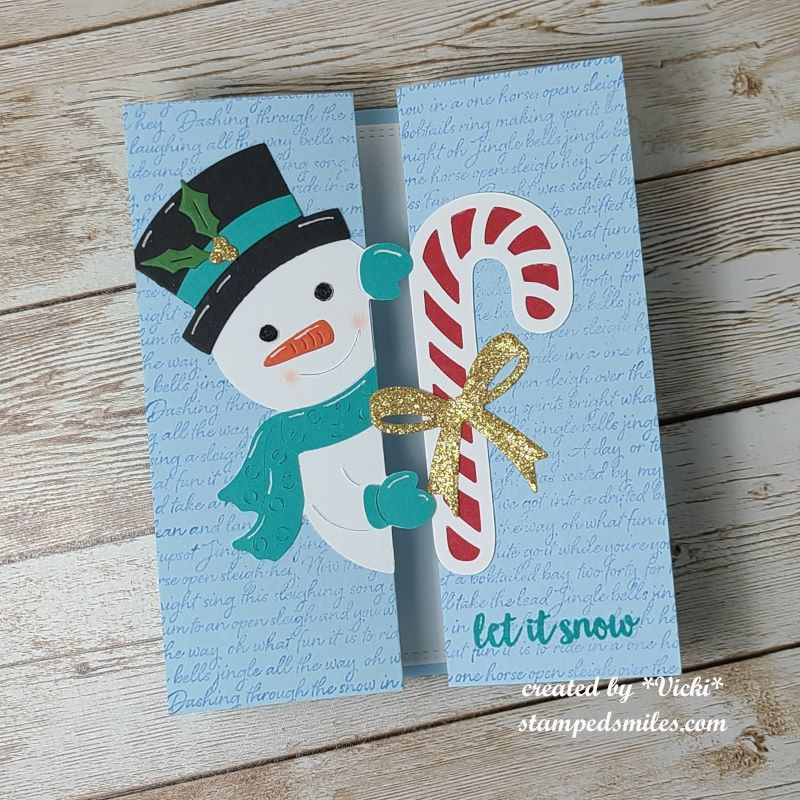
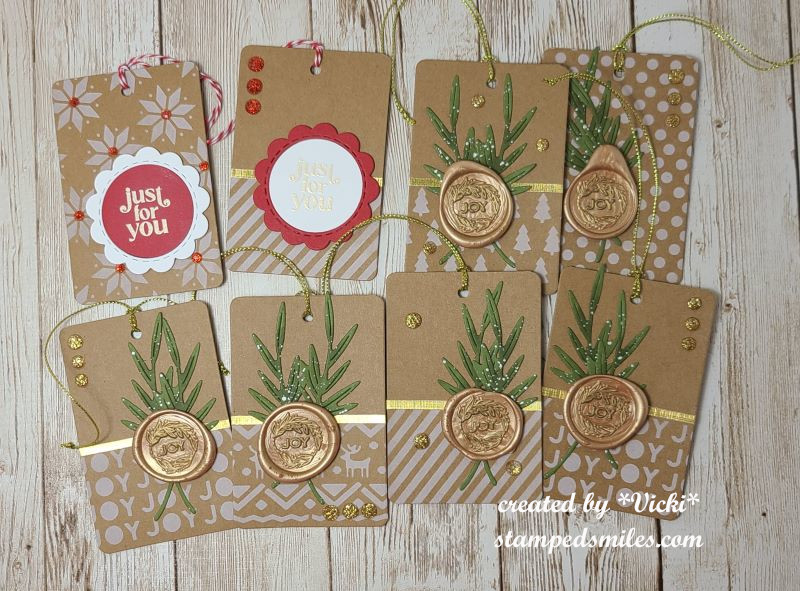
BUT WAIT! That’s not all! I’ve also made a few other Christmas items that I’ve also sent out. I’m also sharing some gifts and gift tags that I’ve made from a Taylored Expressions Advent Calendar that I got this year. I made some more cards and tags. (I tried out wax melting which is something I’ve never done…it was fun) Others are from classes I took or participated in Craft Roulette for.
If you’re on my web page, just click on the photos below to enlarge each one.
a craft roulette challengeanother craft roulette challengeInky Stamper OOAK classcraft roulette challengestencil from my advent calendarmelted wax, tags, pine sprig die and stamp set from advent calendar
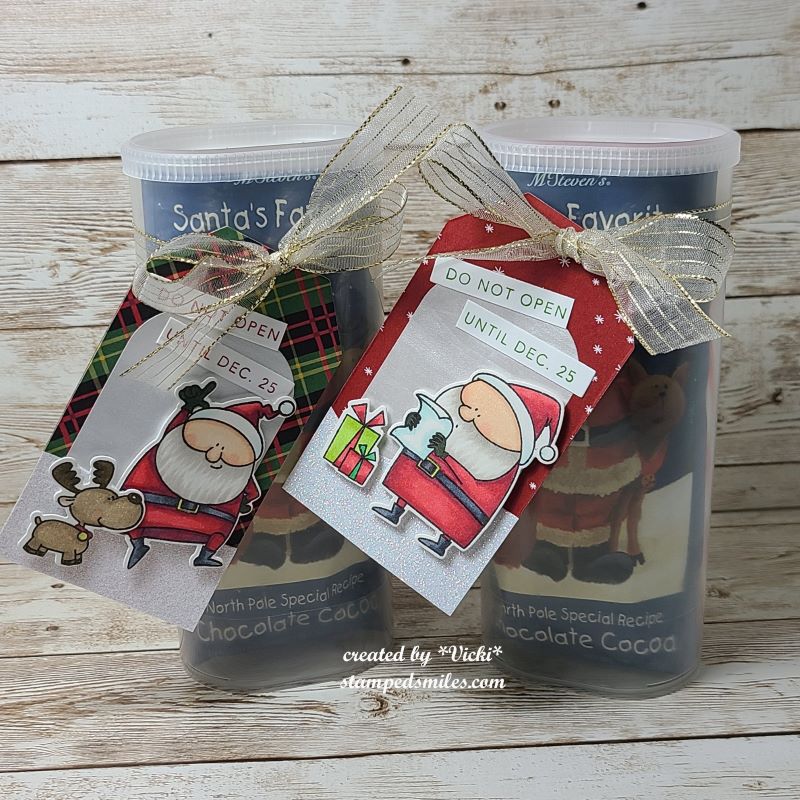
I usually make these every year along with a poem on the back for the hot cocoa ingredients. This one is called “Santa’s Soup”. I might add a few other fun items in there as well! The people that get one of these knows to look inside right away!
Wow, so that was a lot! I know that my blog has been pretty sparse with posts lately and I am finally getting around to posting the things that I’ve been working on, so I hope you’ll get that and you’re able to take some time for yourself this season and enjoy the peaceful quiet moments!
I will be sure to take a moment and catch up with everyone before Christmas arrives. In the meantime, it’s back to cookie making! Thanks so much for stopping in today!❤️
Hello friends! I’m so excited to share the “Handmade for the Holidays” release at Taylored Expressions today! You can go check out all the things right now in the store! I’m extra excited that I get to be a part of this special release with them as a guest designer too! (This was for my win during the TE 13th birthday celebration challenges I had entered from last month! 🎉 Yay!) There will also be a huge post about it on the Taylored Expressions Blog too! I really hope that you enjoy the projects I’ve made to share with you and if you stop by the store, please let Taylor know that I sent you!
For my first set of projects, I’ve made a fun Christmas décor item that you can gift for the Holidays, use as a center piece for your table setting, etc. I’ve taken the Taylored Expressions (new) Accordion Tree die and used it to make a trio of trees with the “poinsettia style” attached to the accompanying TE Tree Stumps (sold separately) to go with this die and another two trees without the stumps. For the trio of trees, I’ve used the Merry Blooms Stamps, Stencil & Clear Combo set to create a background over a Toffee cardstock base inking and blending with Sweet Basil, Cherry Pop and Mulled Wine inks. I’ve also used the same products to make the tag as well. I’ve gold heat embossed the centers for the poinsettias in the background. I’ve also taken the TE (new) Itty Bitty Sentiments Holiday stamp set and used the tiny images from the set to create backgrounds for the other two trees. I’ve splattered the tree backgrounds as well as the tag background with acrylic white and gold paints. These die cut trees were glued back-to-back with the score line in the center as a guide which makes them 3D looking. I’ll explain each item below:
This was such a fun 3D project to create! I wanted all the trees together in one piece, so I thought it would be fun to grab one of these wood slices I’ve been hoarding forever and glue the trees to this base. There is an accordion star that comes with the accordion tree die, but I thought it would be fun to take the TE Perfect Poinsettia die and cut out several of the smallest bloom to make that the “star topper” for the poinsettia tree. I’ve used the coordinating stamps to stamp the “veins” and gold heat embossed the centers for them. I folded them in half and glued it to the top of the tree. I also attached some TE Gold Drip Drops for the “ornaments” over the tree (TE Drip Drops make perfect “ornaments” for these trees!) and added some gold twine bows front and back. I’ve ink blended the edges of the poinsettia tree with Toffee ink and gold paint sponged on the poinsettia topper.
This is what the other side (back) of this piece looks like…so it’s visible from all angles. Here you can better see the other two trees and how the backgrounds were made. I’ve also added some thick white paint to the edges of them to make it look more like “snowed over” trees especially since they were splattered with white paint. For the wood slice that the trees are attached to, I’ve used some Ranger Mica Flakes for a bit of sparkle attaching it with Multi-Medium Matte glue.
For the tag, I’ve die cut the background explained above with the TE Stacklets 2 die and wrapped some gold twine around it with the TE (new) Itty Bitty Sentiments & Tags Holiday set for the little tree with the gold heat embossed sentiment over it. I’ve also gold heat embossed the large sentiment from the Joyful Season stamp set & dies that I’ve popped with my favorite product TE Sticky Strips. I’ve cut out another layering piece behind the tag with Sweet Basil cardstock, punched a hole and added more gold twine.
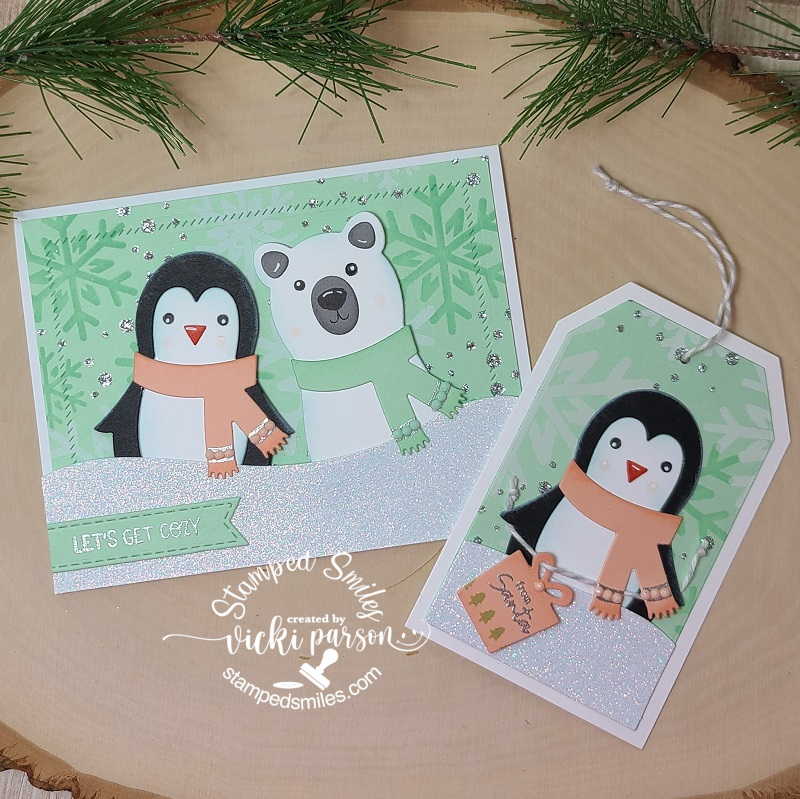
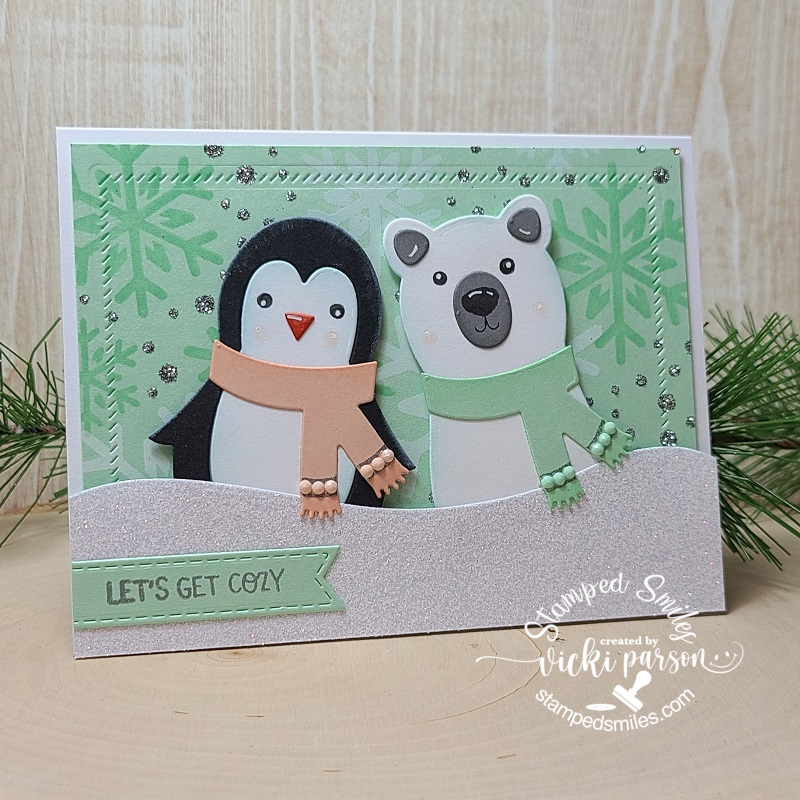
And how stinkin’ CUTE are these guys?! This is my second set of projects for this release using the NEW TE Snow Squad Dies & Clear Stamp Combo set. As you can see, the cute die cut critters are made to perfectly fit the Tag Stacklet dies! I’ve the Tag Stacklet 2 die set for my sweet penguin! The critters are so easy to cut out and decorate them as you like! I like that the clear stamp set comes with it to stamp in the eyes as those tiny dots can be so hard to deal with and loose! You get a penguin, a polar bear and a snowman with this die set!
Again, I thought it would be fun to create a background for my card and tag set, so this time, I’ve taken the TE Let It Snow Layering Stencil set for a snowy background. I’ve started with a Mint Julep cardstock base, blended the same color ink for the first layer, Sugar Cube ink for the second layer and for the third layer, I’ve used some TE Glitter Grab and immediately covered it with some TE Silver Glitter. Love how it turned out with the subtle color!
Starting with my card details, I’ve decided to give the snow squad critters soft colors with their scarves. The clear stamp set with the dies also come with a two-line image for adding details to the scarf, so I silver heat embossed those and then added some matching TE Tiny Diamonds Pastel in between those lines. They matched up perfectly! I inked around the edges of each die cut piece for the critters and stamped the face images including the cheeks which I off-stamped first to keep them light. I used a white gel pen for highlight details.
I thought it would be fun to have these Snow Squad critters pop out from a snow drift, so I took some TE Sugar Cube Glitter Cardstock and cut out a “snow drift” with a piece of the their scarves over it and popped them up over the snowy background I’ve created using a TE Diagonal Stitch Rectangle Stacklets for the stitching details behind them which was layered over an A2 sized Sugar Cube top folding card base. For the sentiment, I silver heat embossed it from the TE Winter Wishes clear stamp set over a Mint Julep cardstock that was cut out using the TE Stitched Banner Stacklets die.
And of course, I had to use the penguin again for my coordinating tag! I’ve used part of the same background I’ve made for the card and cut it out using the TE Tag Stacklets 2 die set with another Sugar Cube cut out for the layering base.
I did the same thing for this tag that I did for the card above with the snow drift, but I also added a tiny tag that he’s holding with some Doodlebug Gray Twine. The tag was created with the same TE (new) Itty Bitty Sentiments & Tag Holiday sets. I’ve stamped the row of tiny trees from the set with the Mint Julep ink and then silver heat embossed the sentiment above it. I’ve also used more of the TE Tiny Diamonds Pastel for the center of the bow on the present along with the penguin’s scarf. I’ve punched a hole at the top and added more of the same twine at the top.
So how about you?! Are you ready for the up-coming Holiday Season? I sure hope that I was able to bring you some inspiration with your handmade projects for the Holidays! Again, you can check out all of the brand new Taylored Expressions products in the store as it’s now been released! Be sure to check out all of the wonderful inspiration on her blog too!
Thanks so much for stopping in today! I appreciate all of your kind support friends! Have a great day!
Hello friends! This year I’ve been really inspired with all of the cool tags I’ve been seeing lately during this festive season and I wanted to join in on the fun too! So you’re going to be seeing lots of tags from me scattered within my postings for the next several days!
The inspiration that I’ve been seeing comes from Tracey’s 25 Tags of Christmas Event and this is her 9th year of doing it! Every day there has been some really cool and inspiring tags, so I had to join before the time runs out! I did make a tag earlier…but a few more are to follow starting now:
I’ve been wanting to pull out a few of my stash that I and haven’t had a chance to take the time to play with! So I decided making tags would be a quick and fun way to play around a bit! These were really fun to make!
The “Joy Coffee” tag was something that I had actually started during the “Coffee Lovers Blog Hop” this last time and never got around to posting it! I was trying to combine the two events together as the inspiration for that tag came on Day 1 from Jen Schow’s tag for Altenew inspirational tags post. I like how she cut out the wording on her globe and I thought I’d do the same idea with the word “joy” over my coffee cup.
I’ve used the Cozy Coffee stamp set and colored in the coffee and fussy cut it out. I stamped the sentiment from the same stamp set, but only cut out the word “joy” from it and popped it up over the cup. I also took the hearts from the stamp set and stamped them over the kraft background with kraft colored ink.
I’ve taken the Holiday Essentials stamp set and heat set the snowflakes in the background of the tag with white EP. Also for the background, I took some metallic gold watercolor and splattered some over it as Jen did on her tag and I liked that subtle look to it.
I’ve taken some gold thread and made a nest under the cut out coffee cup that was popped up with some foam tape over the tag. (The tag itself was an old die cut from my stash BTW!) Added seam binding and twine at the top.
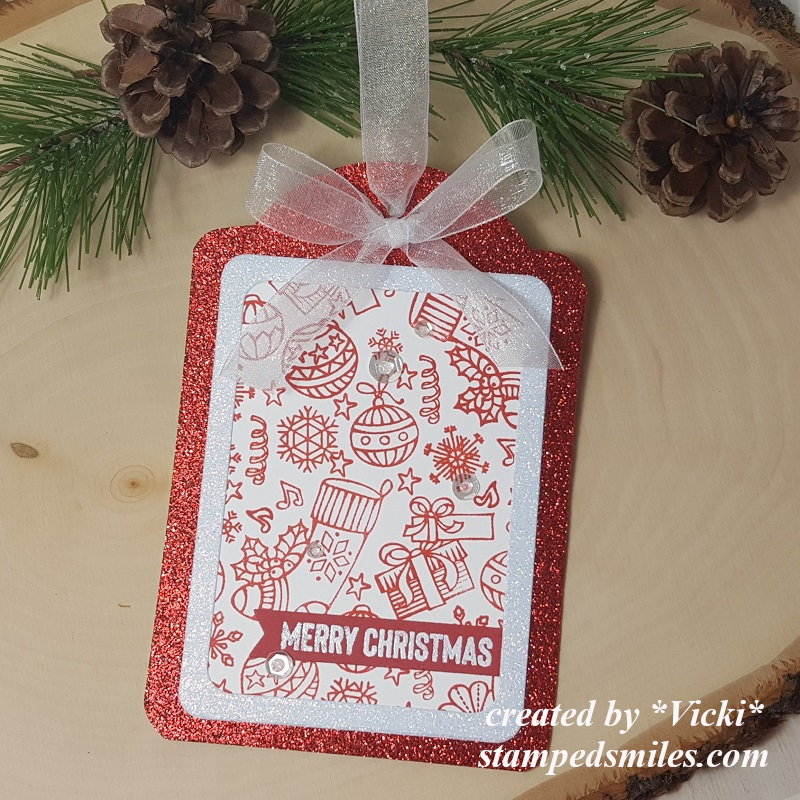
For this tag, I was really inspired with Kim’s tag on Day 4 of the Uniko post. LOVED the monochromatic red with all the sparkle!
I really love the glitter paper and I didn’t have a large enough tag die that I wanted to use, so I took a tag from my stash and traced around the backside of the Red Glitter paper and cut out my shape. I had some rounded rectangle dies (Hero Arts) which I made a frame with the white glitter paper.
Within that frame I took the Holiday Essentials stamp set again and used several of the images to stamp over a piece of white cardstock with red ink. (It was fun to create a stamped background panel for this!) I heat embossed one of the sentiments from the stamp set over a red piece of cardstock with the White Sparkle EP…it sparkles really pretty IRL! I die cut the sentiment out with a banner die and tucked it behind the white frame I made with the stamped images.
I finished the tag with some sparkling clear sequins with some White Blizzard Nuvo Glitter Drops in the center of each one and then I added some white organdy ribbon with a bow at the top.
Hope you’ve been inspired in some way as I’ve been inspired to create these! Thanks for stopping in and I will have a new post to share again with you tomorrow so stay tuned!
Try it On Tuesday – Inspired by a Song or Christmas Carol (I was inspired by “Joy to the World” on the first tag and “We Wish You a Merry Christmas” on the second with music notes!)