Hello friends! I hope that you’ve had a great start to your December month! I promise I haven’t been hiding, but it’s a busy time of the year and I’ve been doing all of the Holiday things, so my time has been limited. I’m glad to have just now finished up some Christmas cards!😉
Speaking of Christmas cards, I have something fun to share with you today!

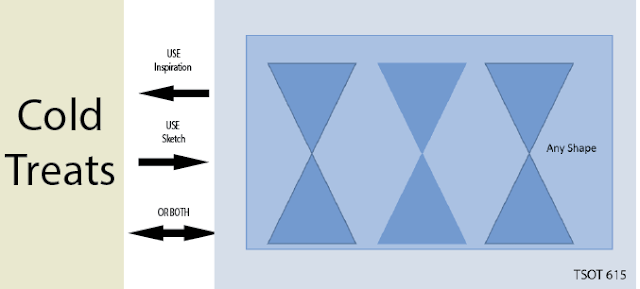
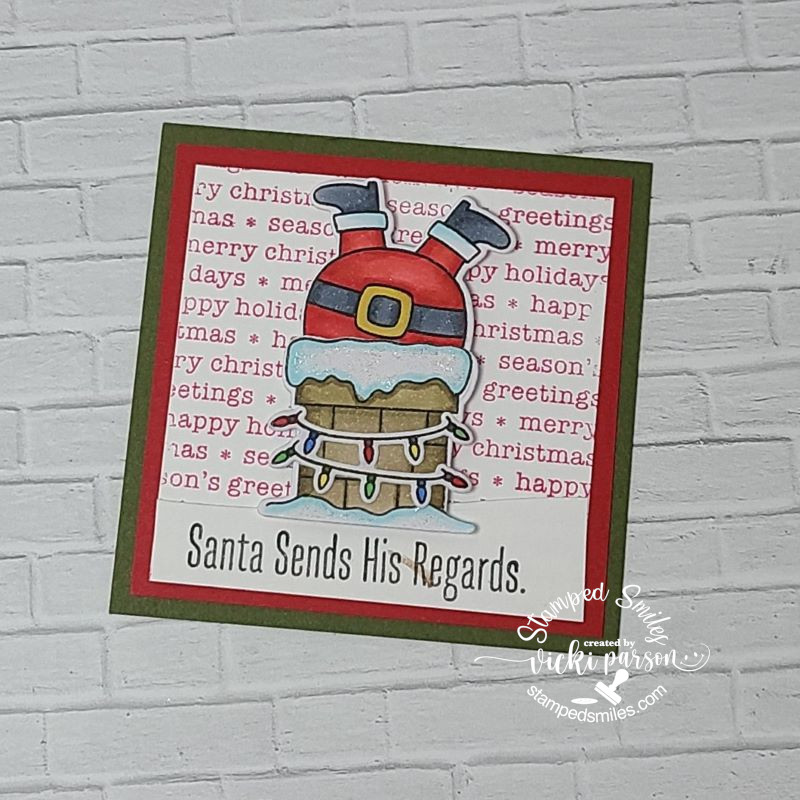
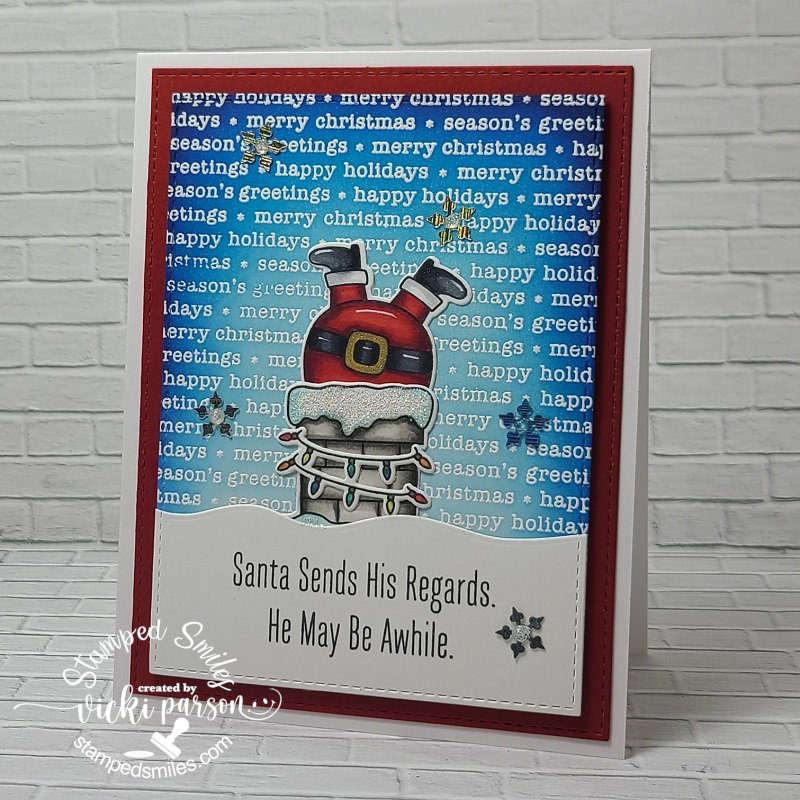
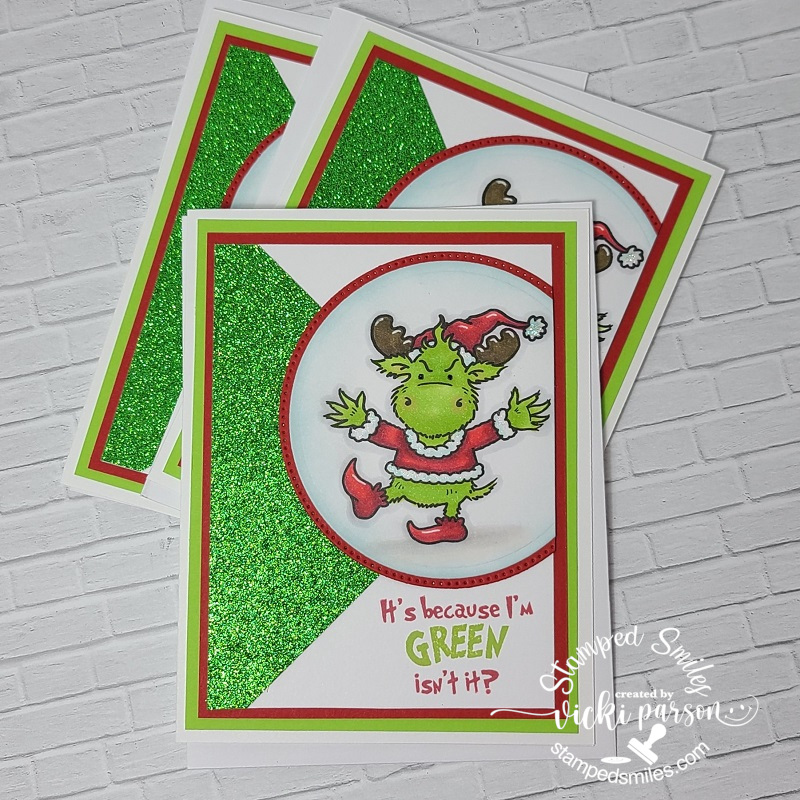
Last month I had won a top 5 in a challenge and was asked to be a guest designer for this Try it on Tuesday challenge! I really enjoy playing along in the challenges to keep motivated, so I was thrilled! For THIS challenge, the theme is “Santa Claus is Coming to Town” which inspired me to pull out this fun Santa stamp for a chuckle:
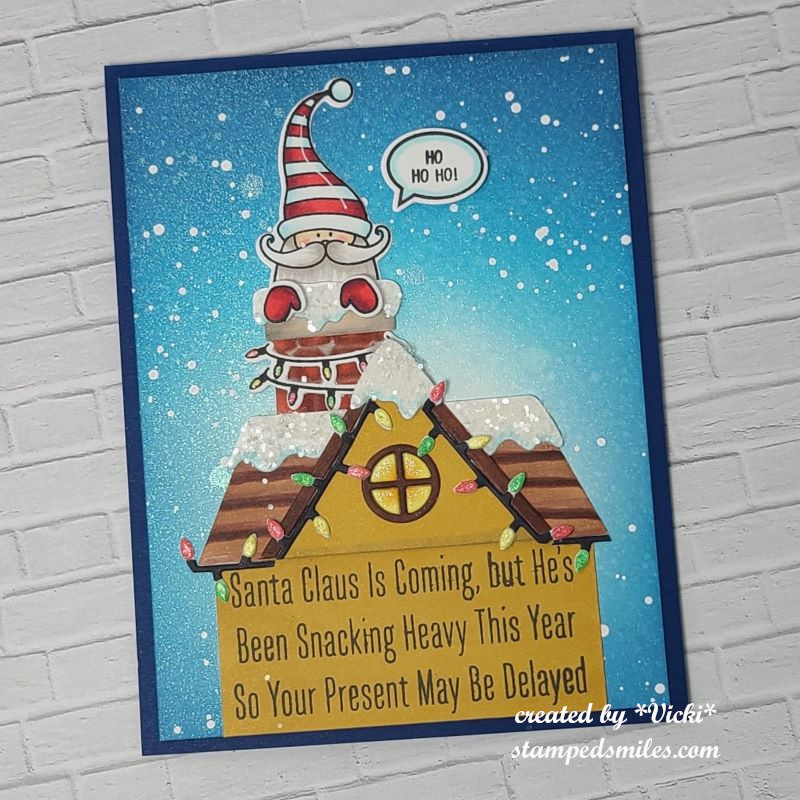
So, this is Santa’s excuse for being late! Like me, he’s NOT hiding…just delayed!😆
The stamps and die cuts came from an older My Favorite Things card kit I had called “Stuffed Santa“. I had fun putting this one together and was the beginning of the cards made to send out this year. (It was my plan to be early, but you know how THAT goes!)
For the background: I ink blended in a couple of blue oxide colors with the center panel fading to the lightest color. I sprayed the panel with some shimmer spray for that cold frosty shimmer sky. I then splattered some white opaque Copic mixed with water for the snowfall.
The Santa, hands, sentiment bubble, and lights around the chimney were all stamped and colored with Copic markers. I die cut them out along with the chimney, snow and rooftop pieces. I die cut the pieces with white and used my Copic markers to color in the chimney, roof, window and lights around the roof line. For the sentiment panel on the house at the bottom, I cut it to size and used my Copic markers to color the same as the roof peek. I added the sentiment to it, and made this the “base” for the house.
To finish it off, I added some chunky glitter to the die cut snow on the chimney and roof. I also used a glitter pen to add some sparkle to the inside window panels and the Christmas lights. I also used some foam squares to pop up the sentiment bubble and Santa’s mittens.
Hope you’ve enjoyed my card today and that you’ll play along with this fun challenge over at Try it on Tuesday as well! Thanks so much for dropping by!
Challenges:
- Pammie’s Inky Pinkies – 2349 Anything Goes
- Ally’s Angels – Anything Goes
- Crafty Catz – #662 Anything Goes
- Daring Cardmakers – One Word Prompt: LIGHT (Christmas lights and window light)

- Gem of a Challenge – Anything Goes
- Inkspirational – Designer’s Choice: Add Glitter

- Krafty Chicks – Stamp Act