**DON’T FORGET TO ENTER THE GIVEAWAY I’M OFFERING IN THIS POST – OR SCROLL BELOW THIS POST TO SEE!**
Hello crafty friends! I hope that you all had a happy Christmas time with your loved ones and friends! 2025 is quickly approaching us and I know there will be lots of changes coming to look forward to! Although I’m not feeling 100%, so I think I’m going to rest for the remainder of what’s left of the year🤒.
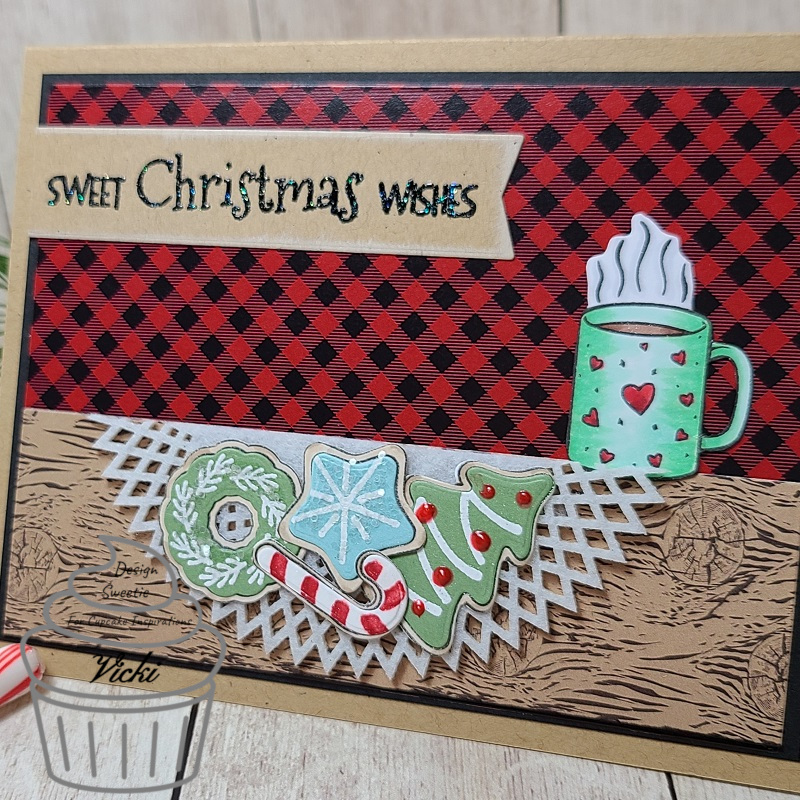
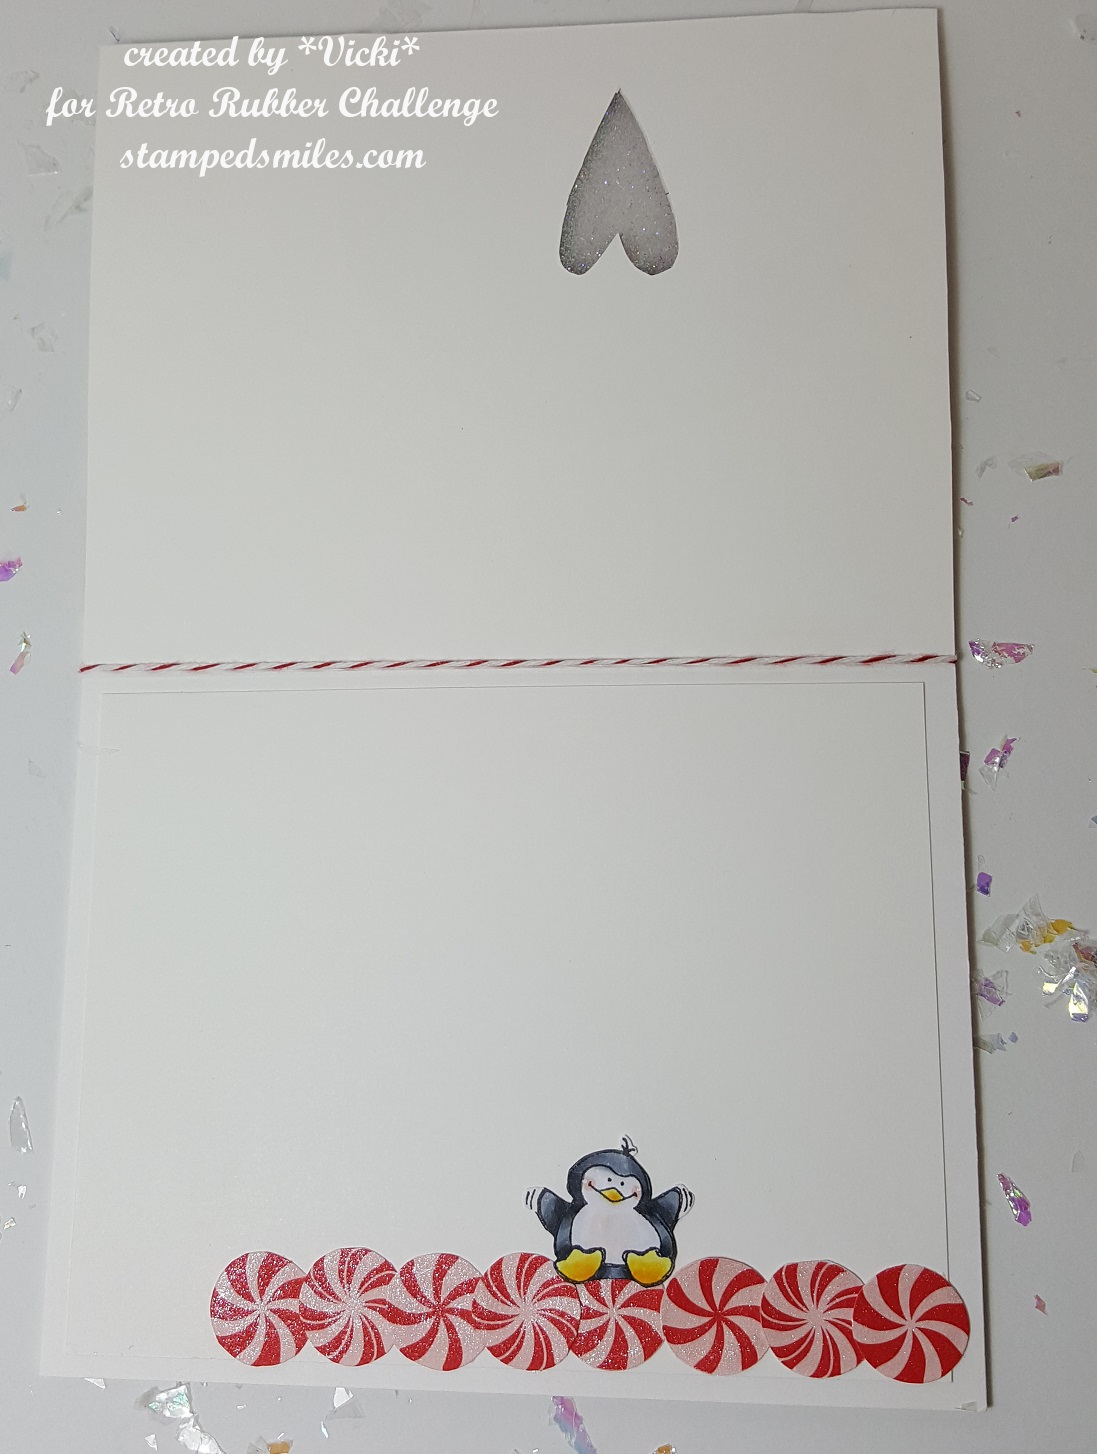
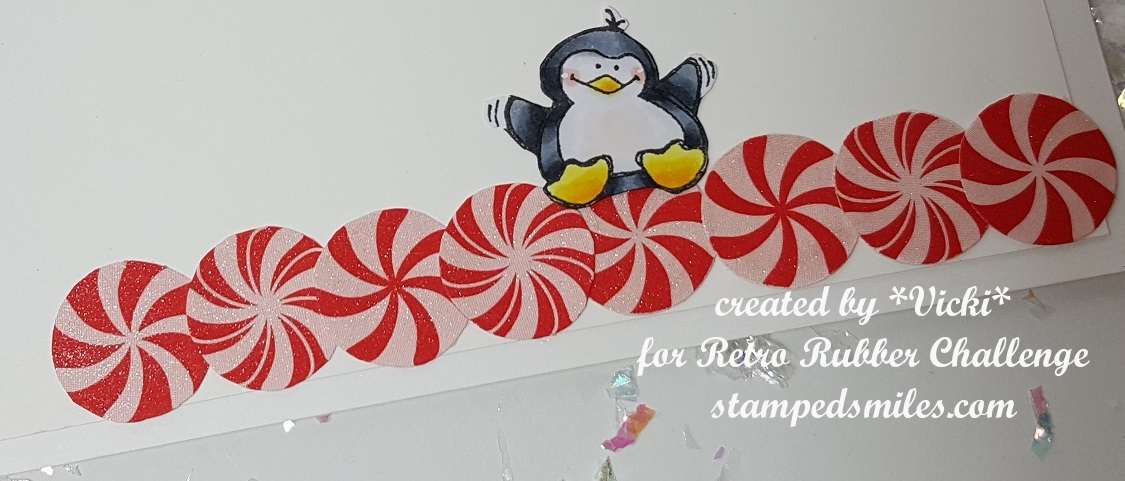
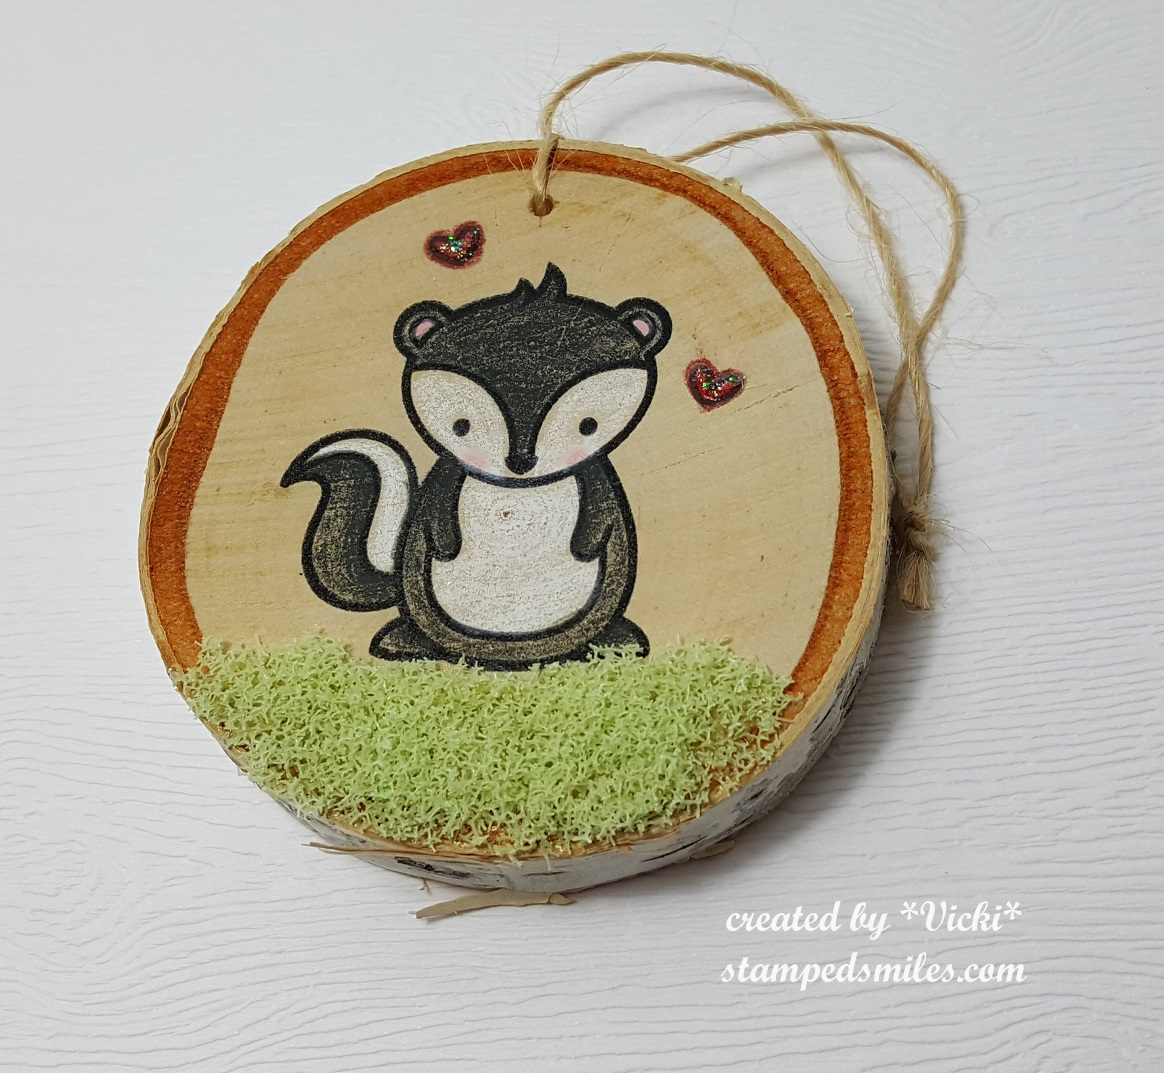
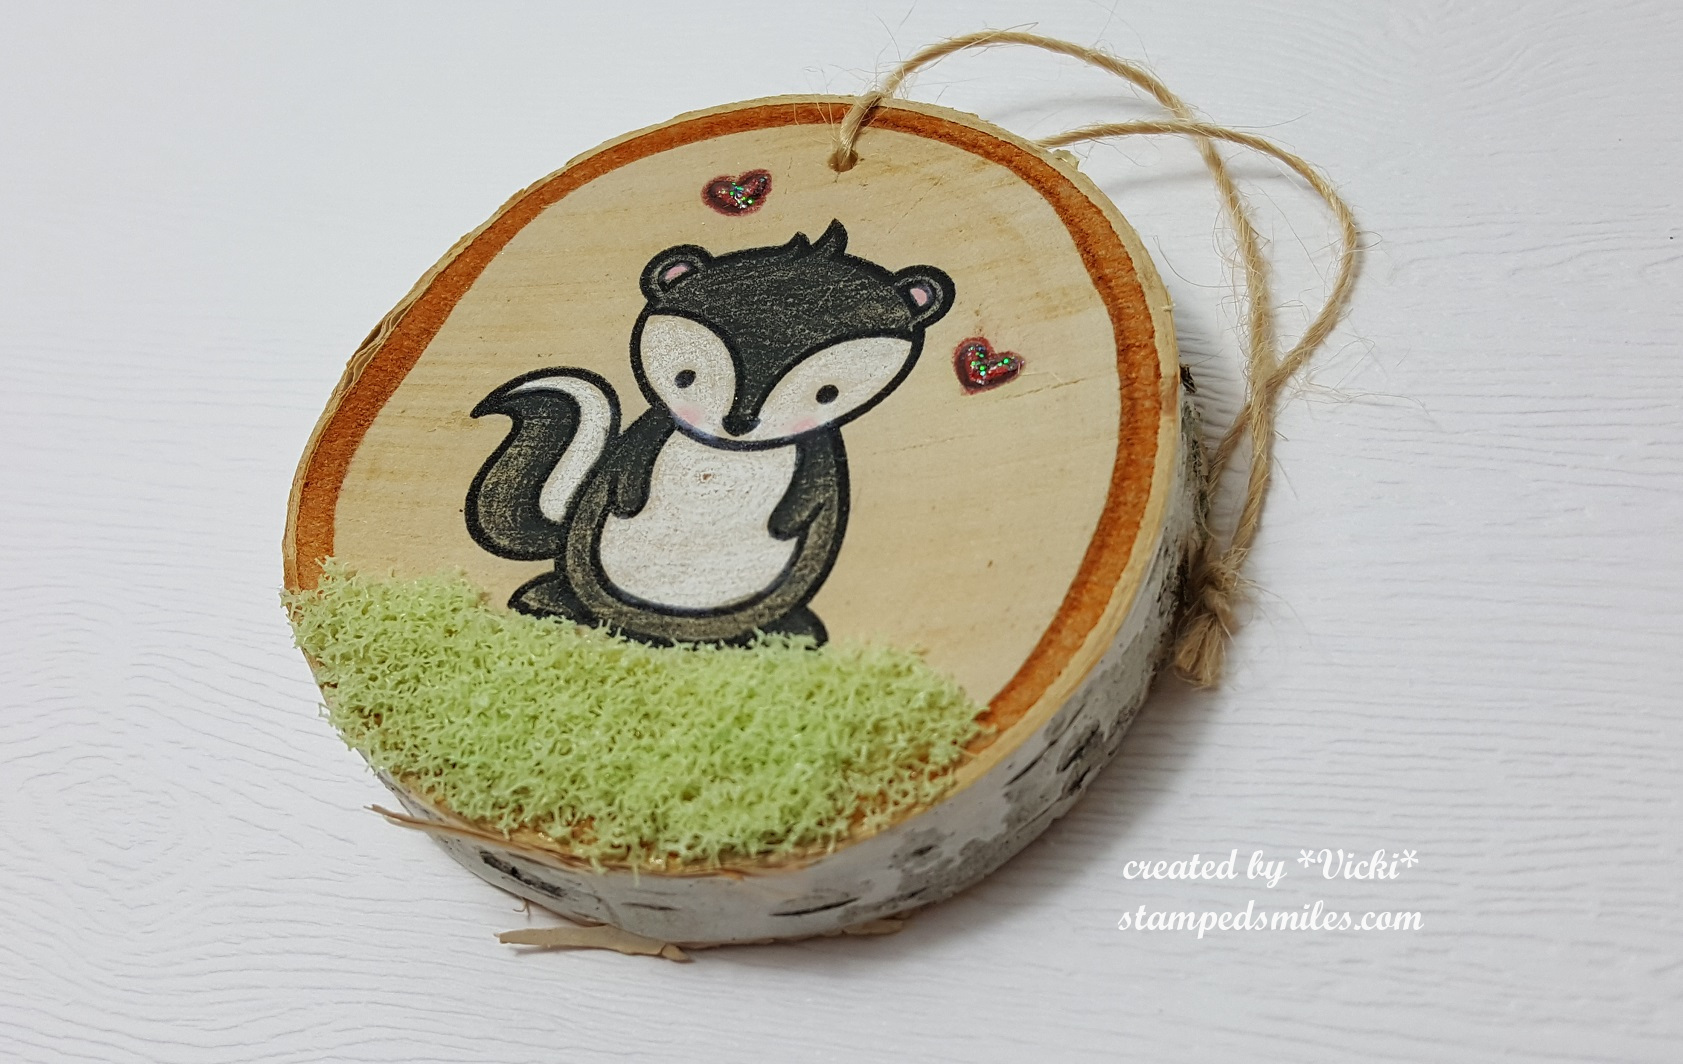
Today is the monthly Art Journal Page collaboration with my crafty friend, Carol (from Crafty-Stamper)! We get creative trying to use up our never-ending stash piles along with a prompt for each month. I know she always has great inspiration to share, so please check out her blog too! Here’s my AJ page with the “SMASH OUR STASH” December prompt of “FOUND OBJECT(S)” (something you found or discovered): (I’ve also combined 2 other past prompts with this one that I’ve missed out on earlier in the year!)
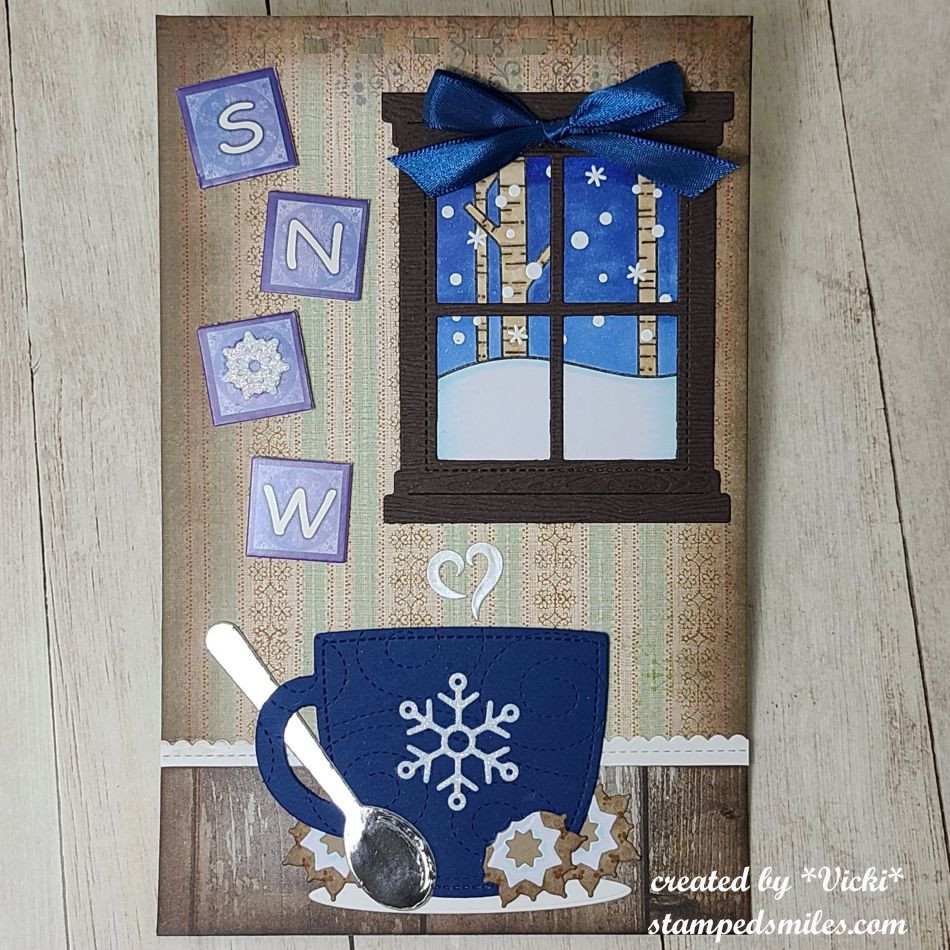
SNOW SNOW SNOW! I know people that hate it and people that love it! Whatever YOUR favorite place to be with it…or not…mine is being inside the warmth and watching it from the window! I don’t mind shoveling if I need to help my husband, but I enjoy watching it peacefully from the window.
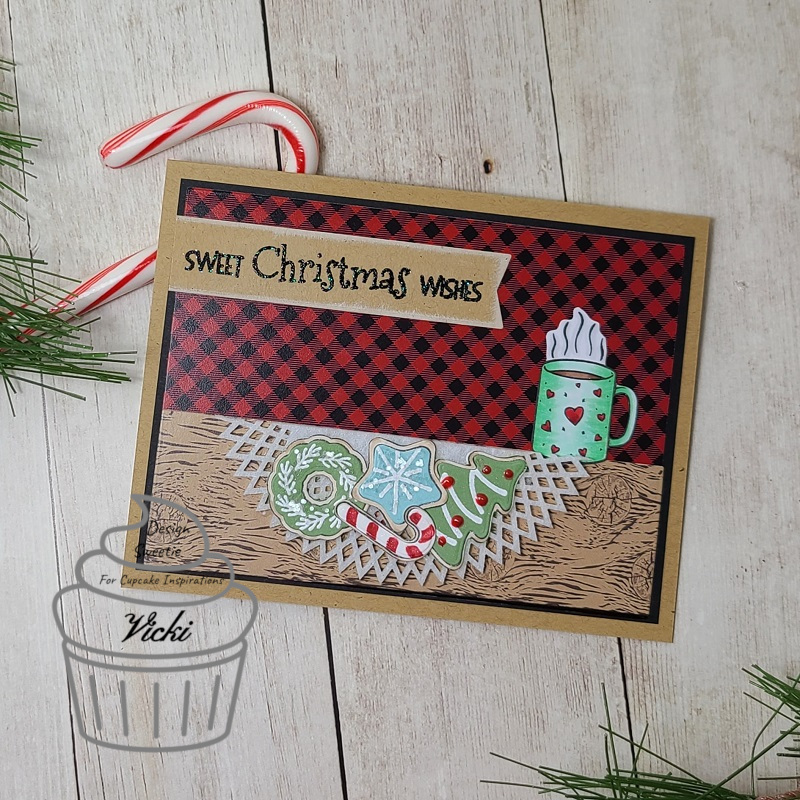
The prompt for THIS month (December) is “Found object(s)” and I found some VERY pretty blue ribbon on a present this year and decided to keep it…and I have plenty left for another project! I used it above the die cut window. (This page is my normal 5.5″ x 8.5″ with pre-punched holes at the top…I would have a book finished, but I wasn’t feeling well enough to get one done, so I’ll have to do it later.)
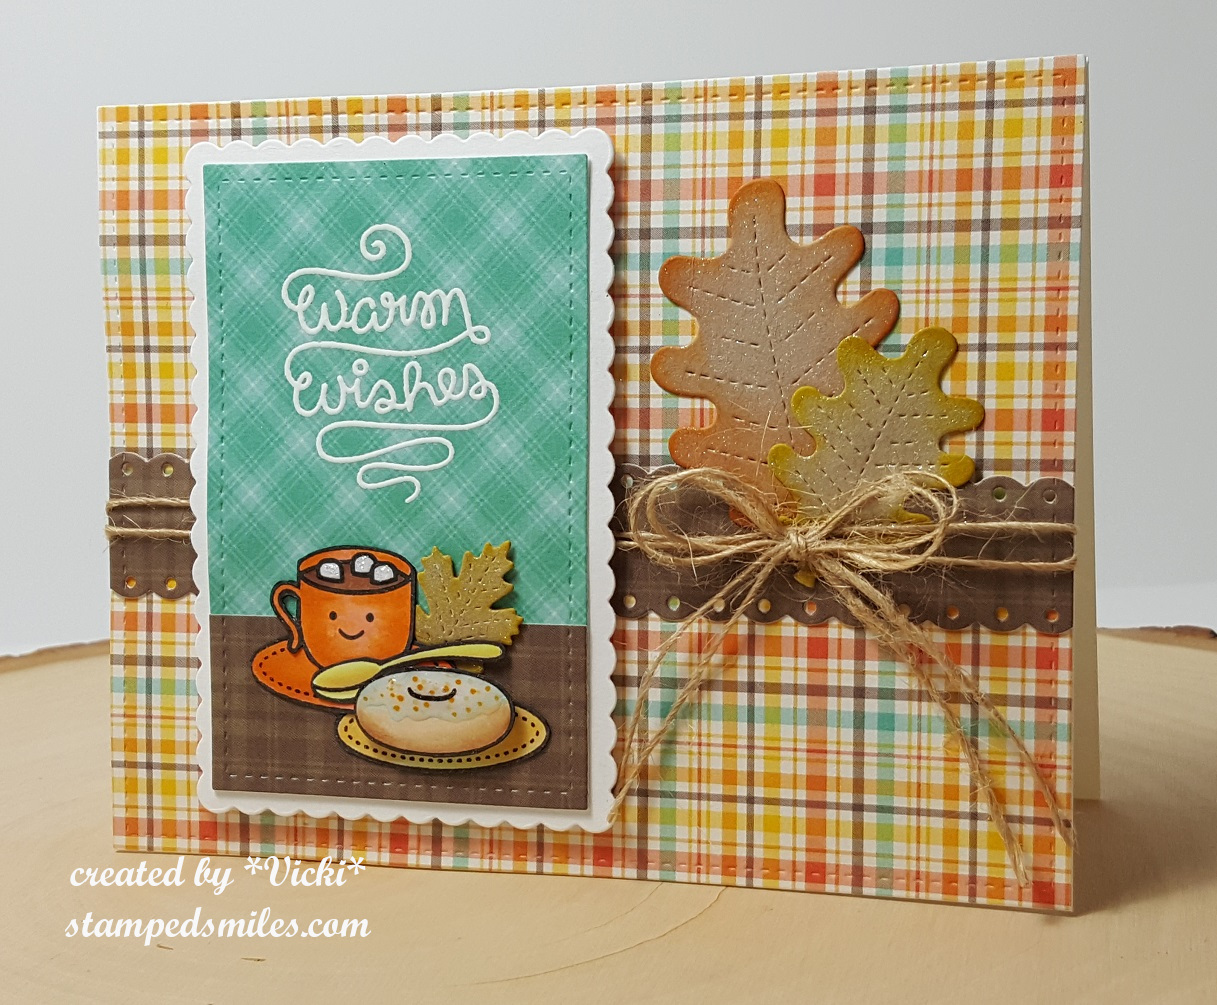
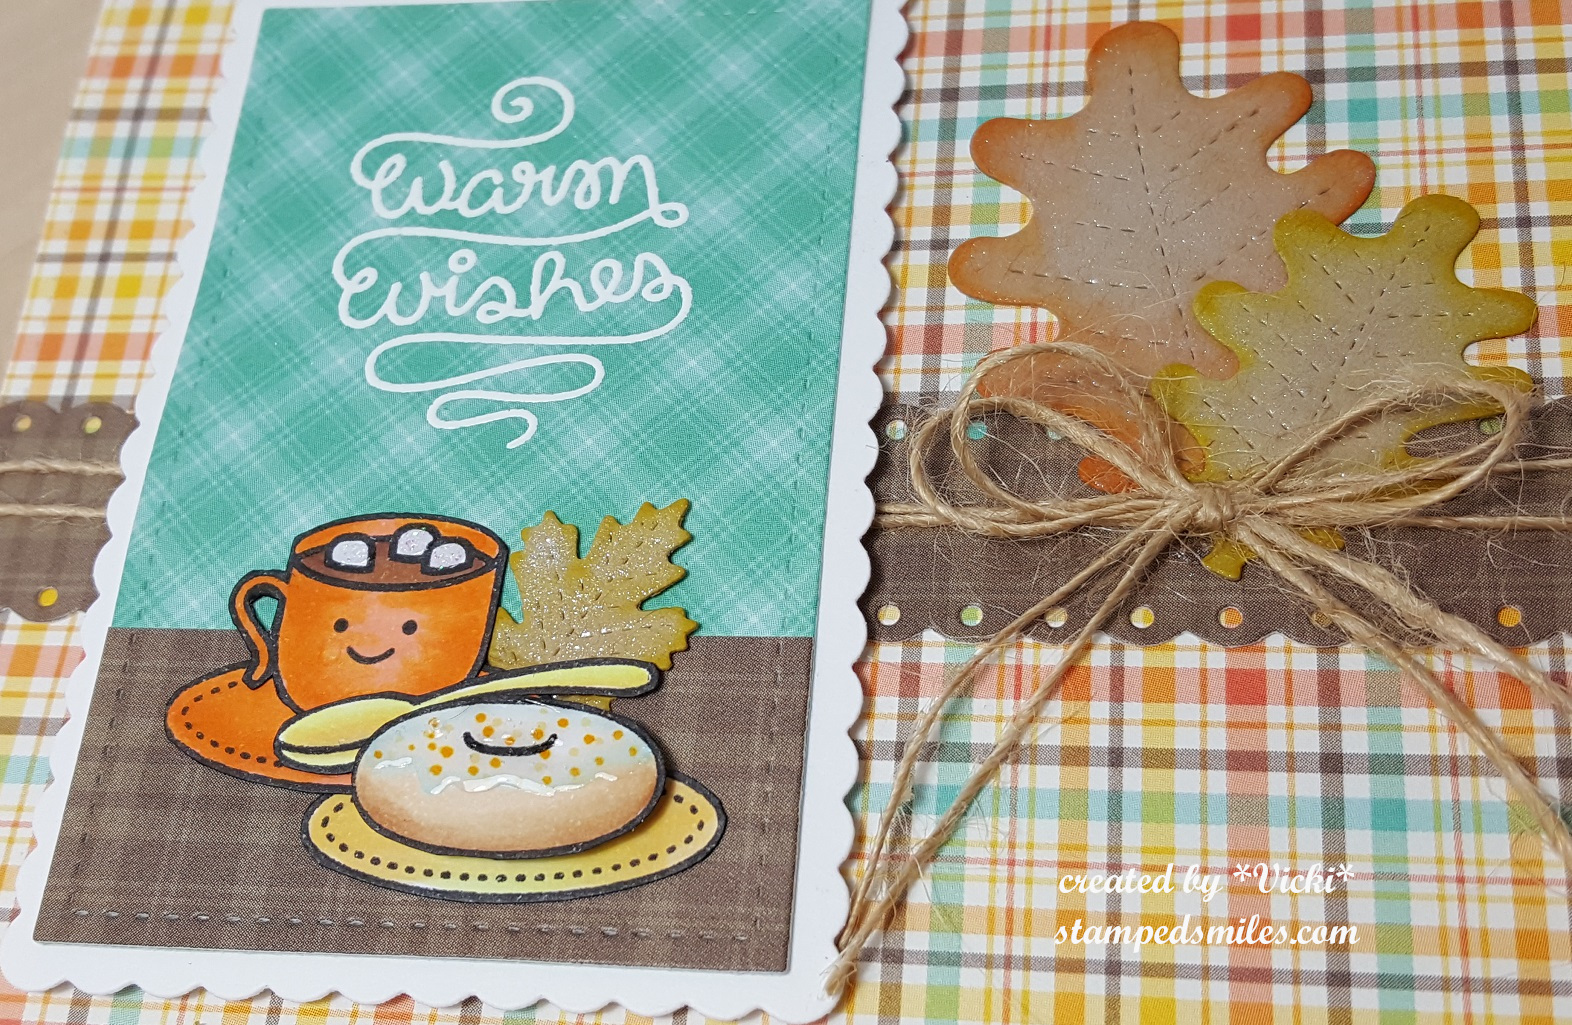
And for the other prompts I’ve missed this year: August I was away and didn’t get to complete that one and the prompt for that month was “Vintage/Old“. The background wallpaper area looks vintage to me and it came from a VERY old pack of paper that I’ve had along with the letters on the side of the window. I also missed November and the prompt for that month was “Food“. I love me a good cup of cocoa in the winter and I thought I would make myself some Linzer cookies to add with it in the shape of snowflakes with frosting on them! I even took a bite out of the one in front of the cup!
Since I’m not feeling well, I’m going to stop typing and get some sleep now. Please let me know if you have any questions about the page as I’d be happy to answer!
Thanks so much for taking the time to stop in! I really appreciate it and will try to reciprocate when I feel better. Happy New Year friends and I’ll see you in 2025!
Challenges:
- Art Journal Journey – SNOW