One Layer Challenge and More Riley Fun!

Hello friends!  Hope you’re having a great week so far!  I have a few cards to share with you today that I’ve made over the weekend having some fun.

Vicki-InkyStamper-FebCAS

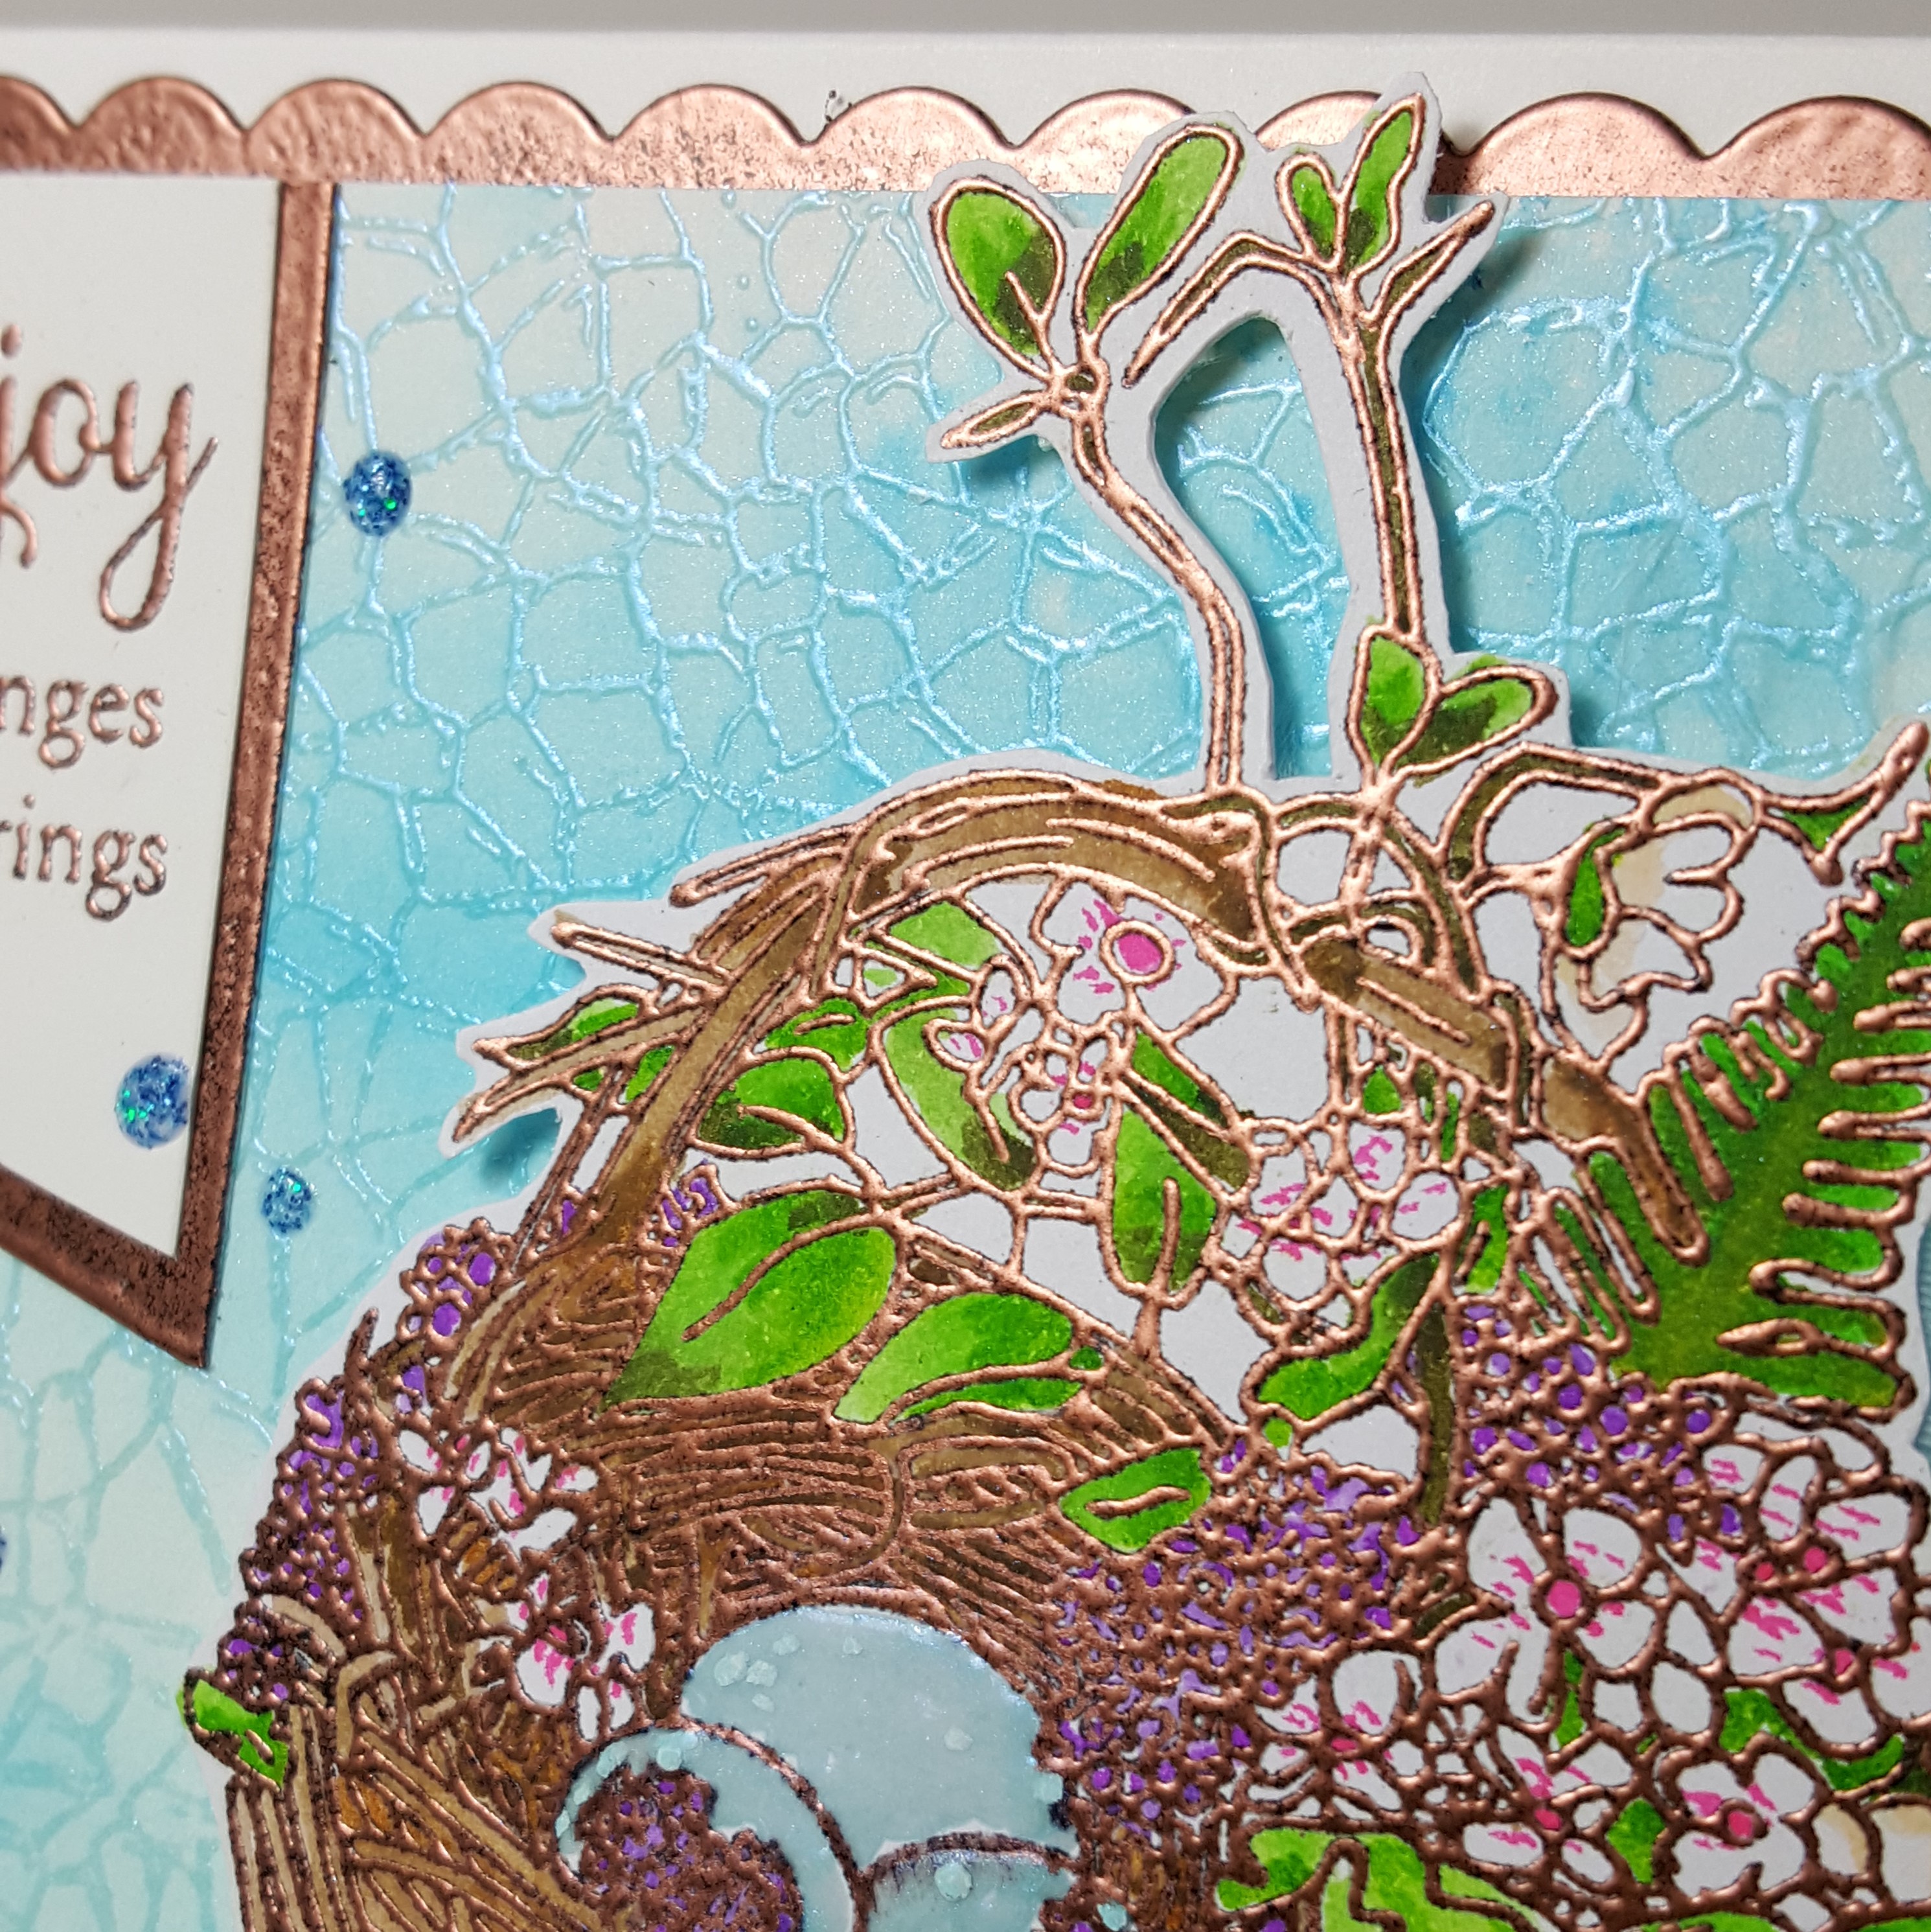
I love the cute little grin this goat has! This goat along with all of the images used are from the same stamp set by Inky Stamper. This month, the Inky Stamper FB group challenged us to create a ONE-LAYER only card…not even ribbon/twine, etc could be used! I haven’t made one of these CAS or one-layer cards for quite some time, but I enjoyed the play with it.

So I’ve used masking paper to create this by stamping the goat over masking paper, stamping the goat over the front of the card and then placing the cut out masked goat to cover him up.  I then die cut a circle over another piece of masking paper and placed the left over piece on top of my card where I masked my goat image.  All that was left was the circle opening and this is where I ink blended the opening with distress inks.  I also stamped the small line of grass with green ink.

I took off the circle mask along with the goat mask.  I colored up the goat with Copic markers and then I stamped the triangle image from the same stamp set along with the sentiment.  I then added 3 black gems and colored the inside triangles with a glitter brush pen.  I also used my corner chomper to round the two bottom corners.

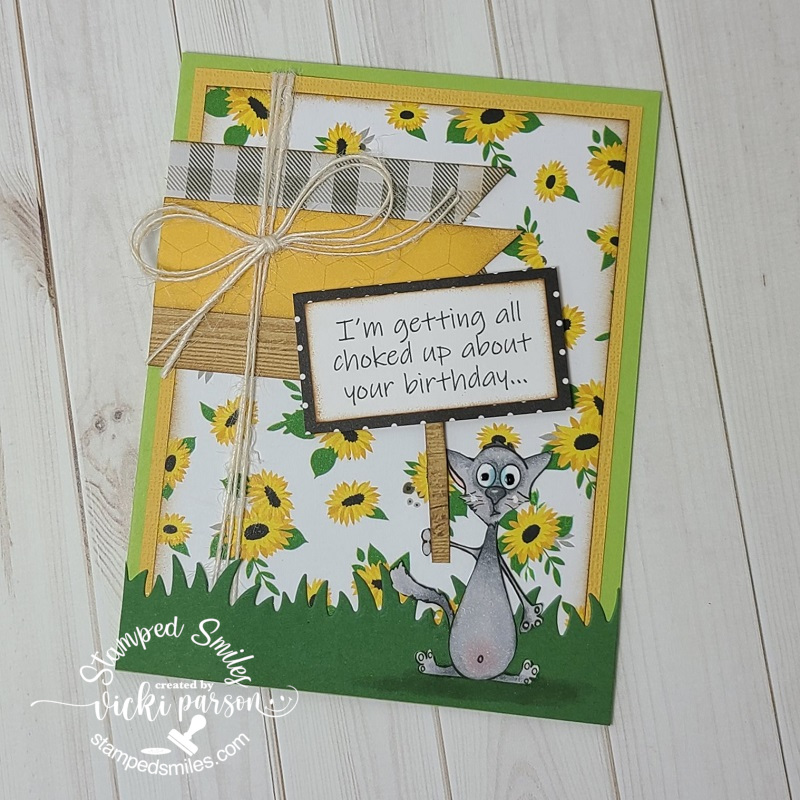
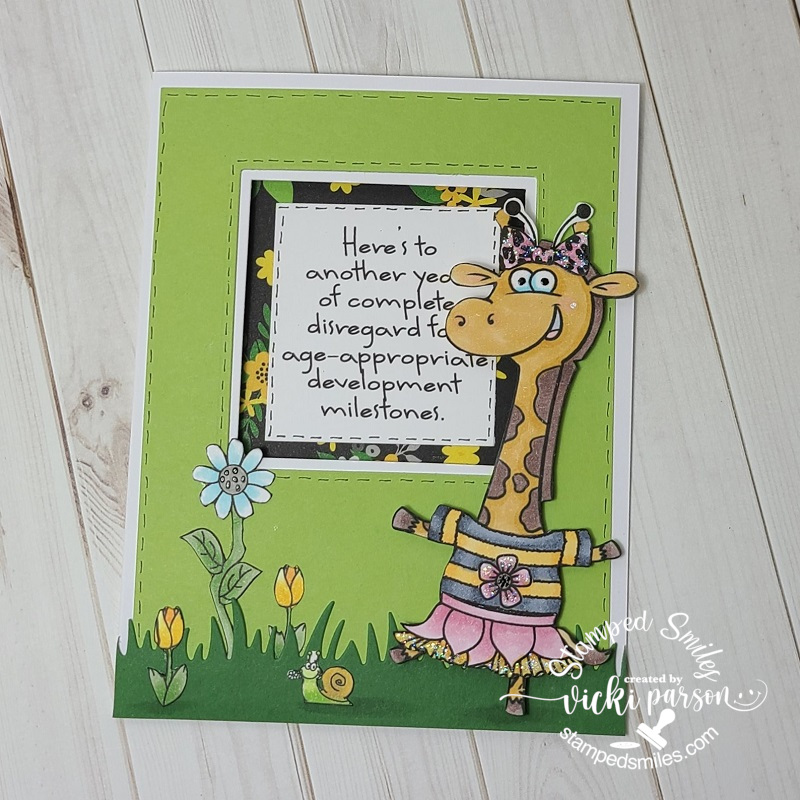
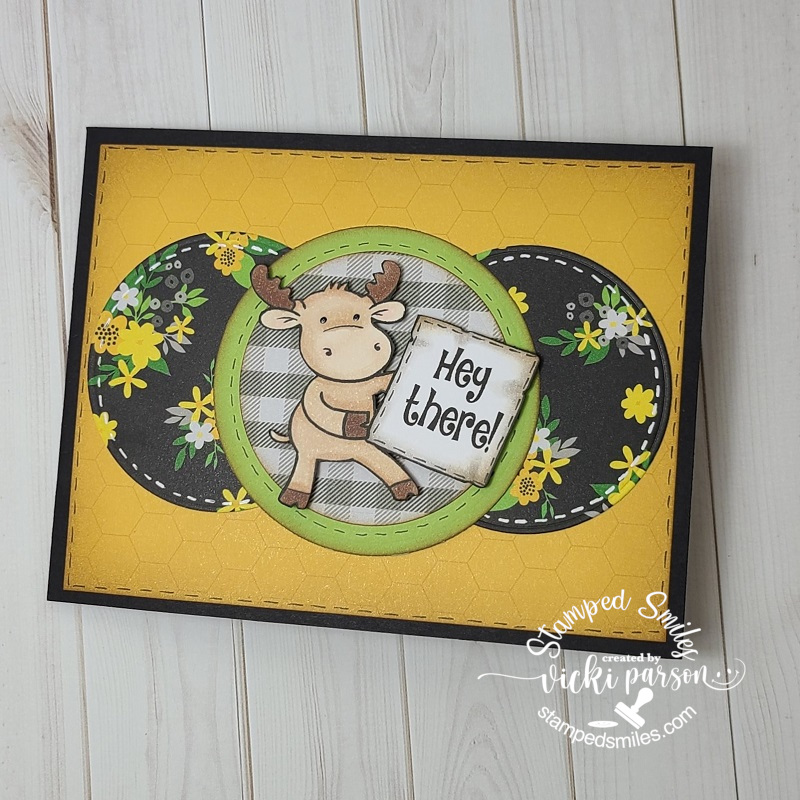
This last weekend there was another OOAK event and there was another fun card kit from Riley and Co.  I didn’t attend the entire event, but joined in to see what the new release was about while I was making my cards from the kit.  I’m pretty sure that there are no more of these kits left as they sold out of the first batch and had to make more.

The critters are so fun to color and I really loved these papers from the kit as they have me anxiously awaiting Spring to get here!  I’m bundled up, drinking hot liquids and trying to stay warm, but nothing beats a warm Spring day!😁

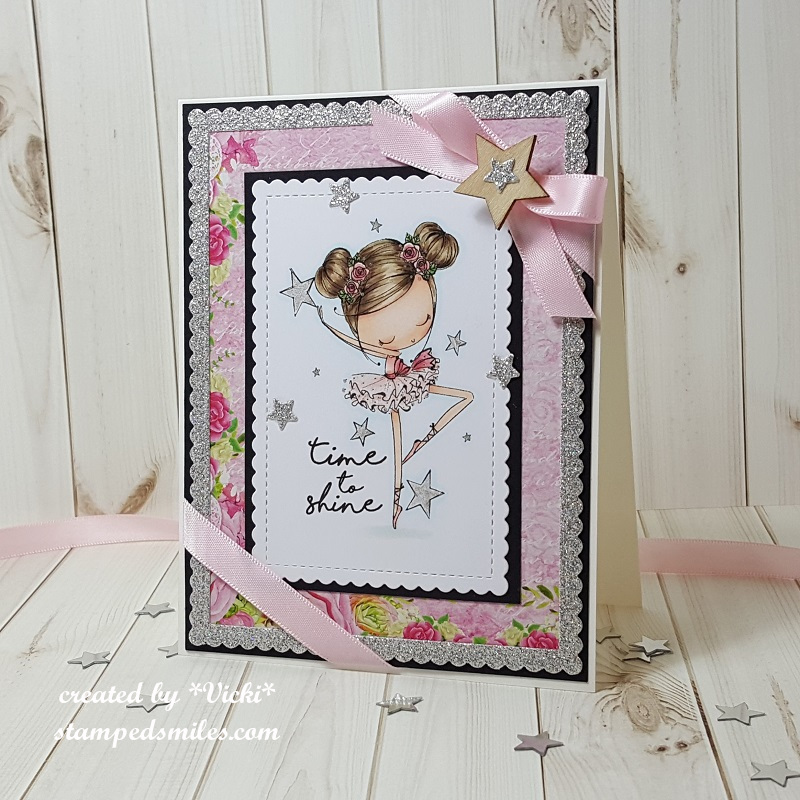
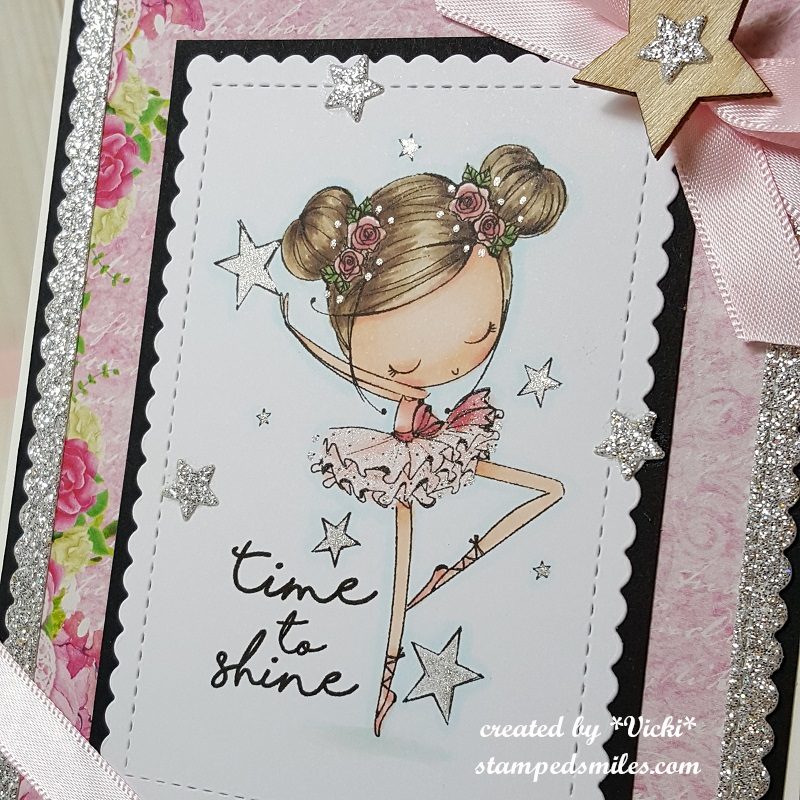
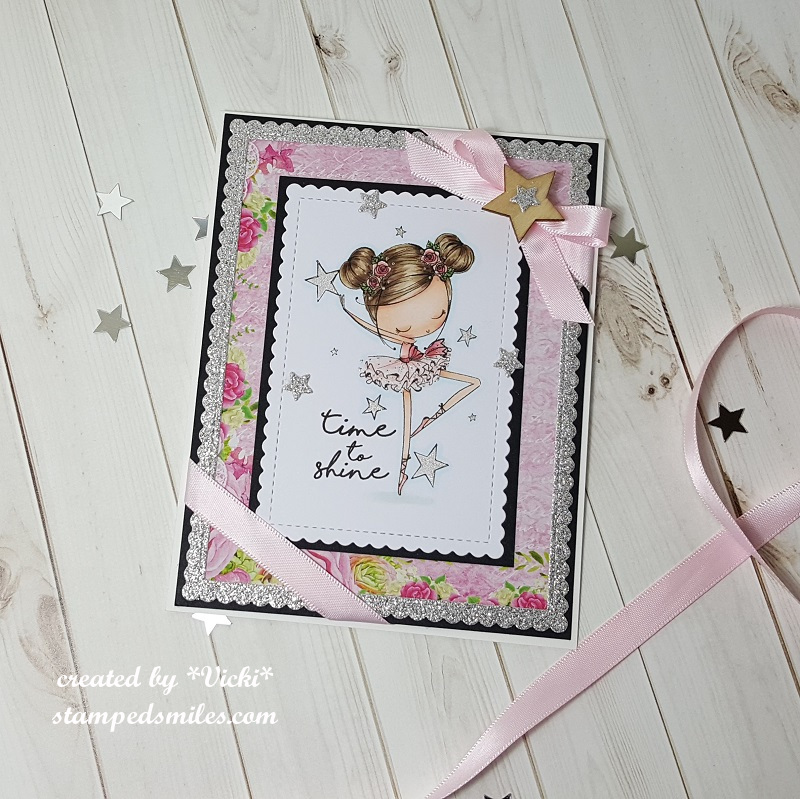
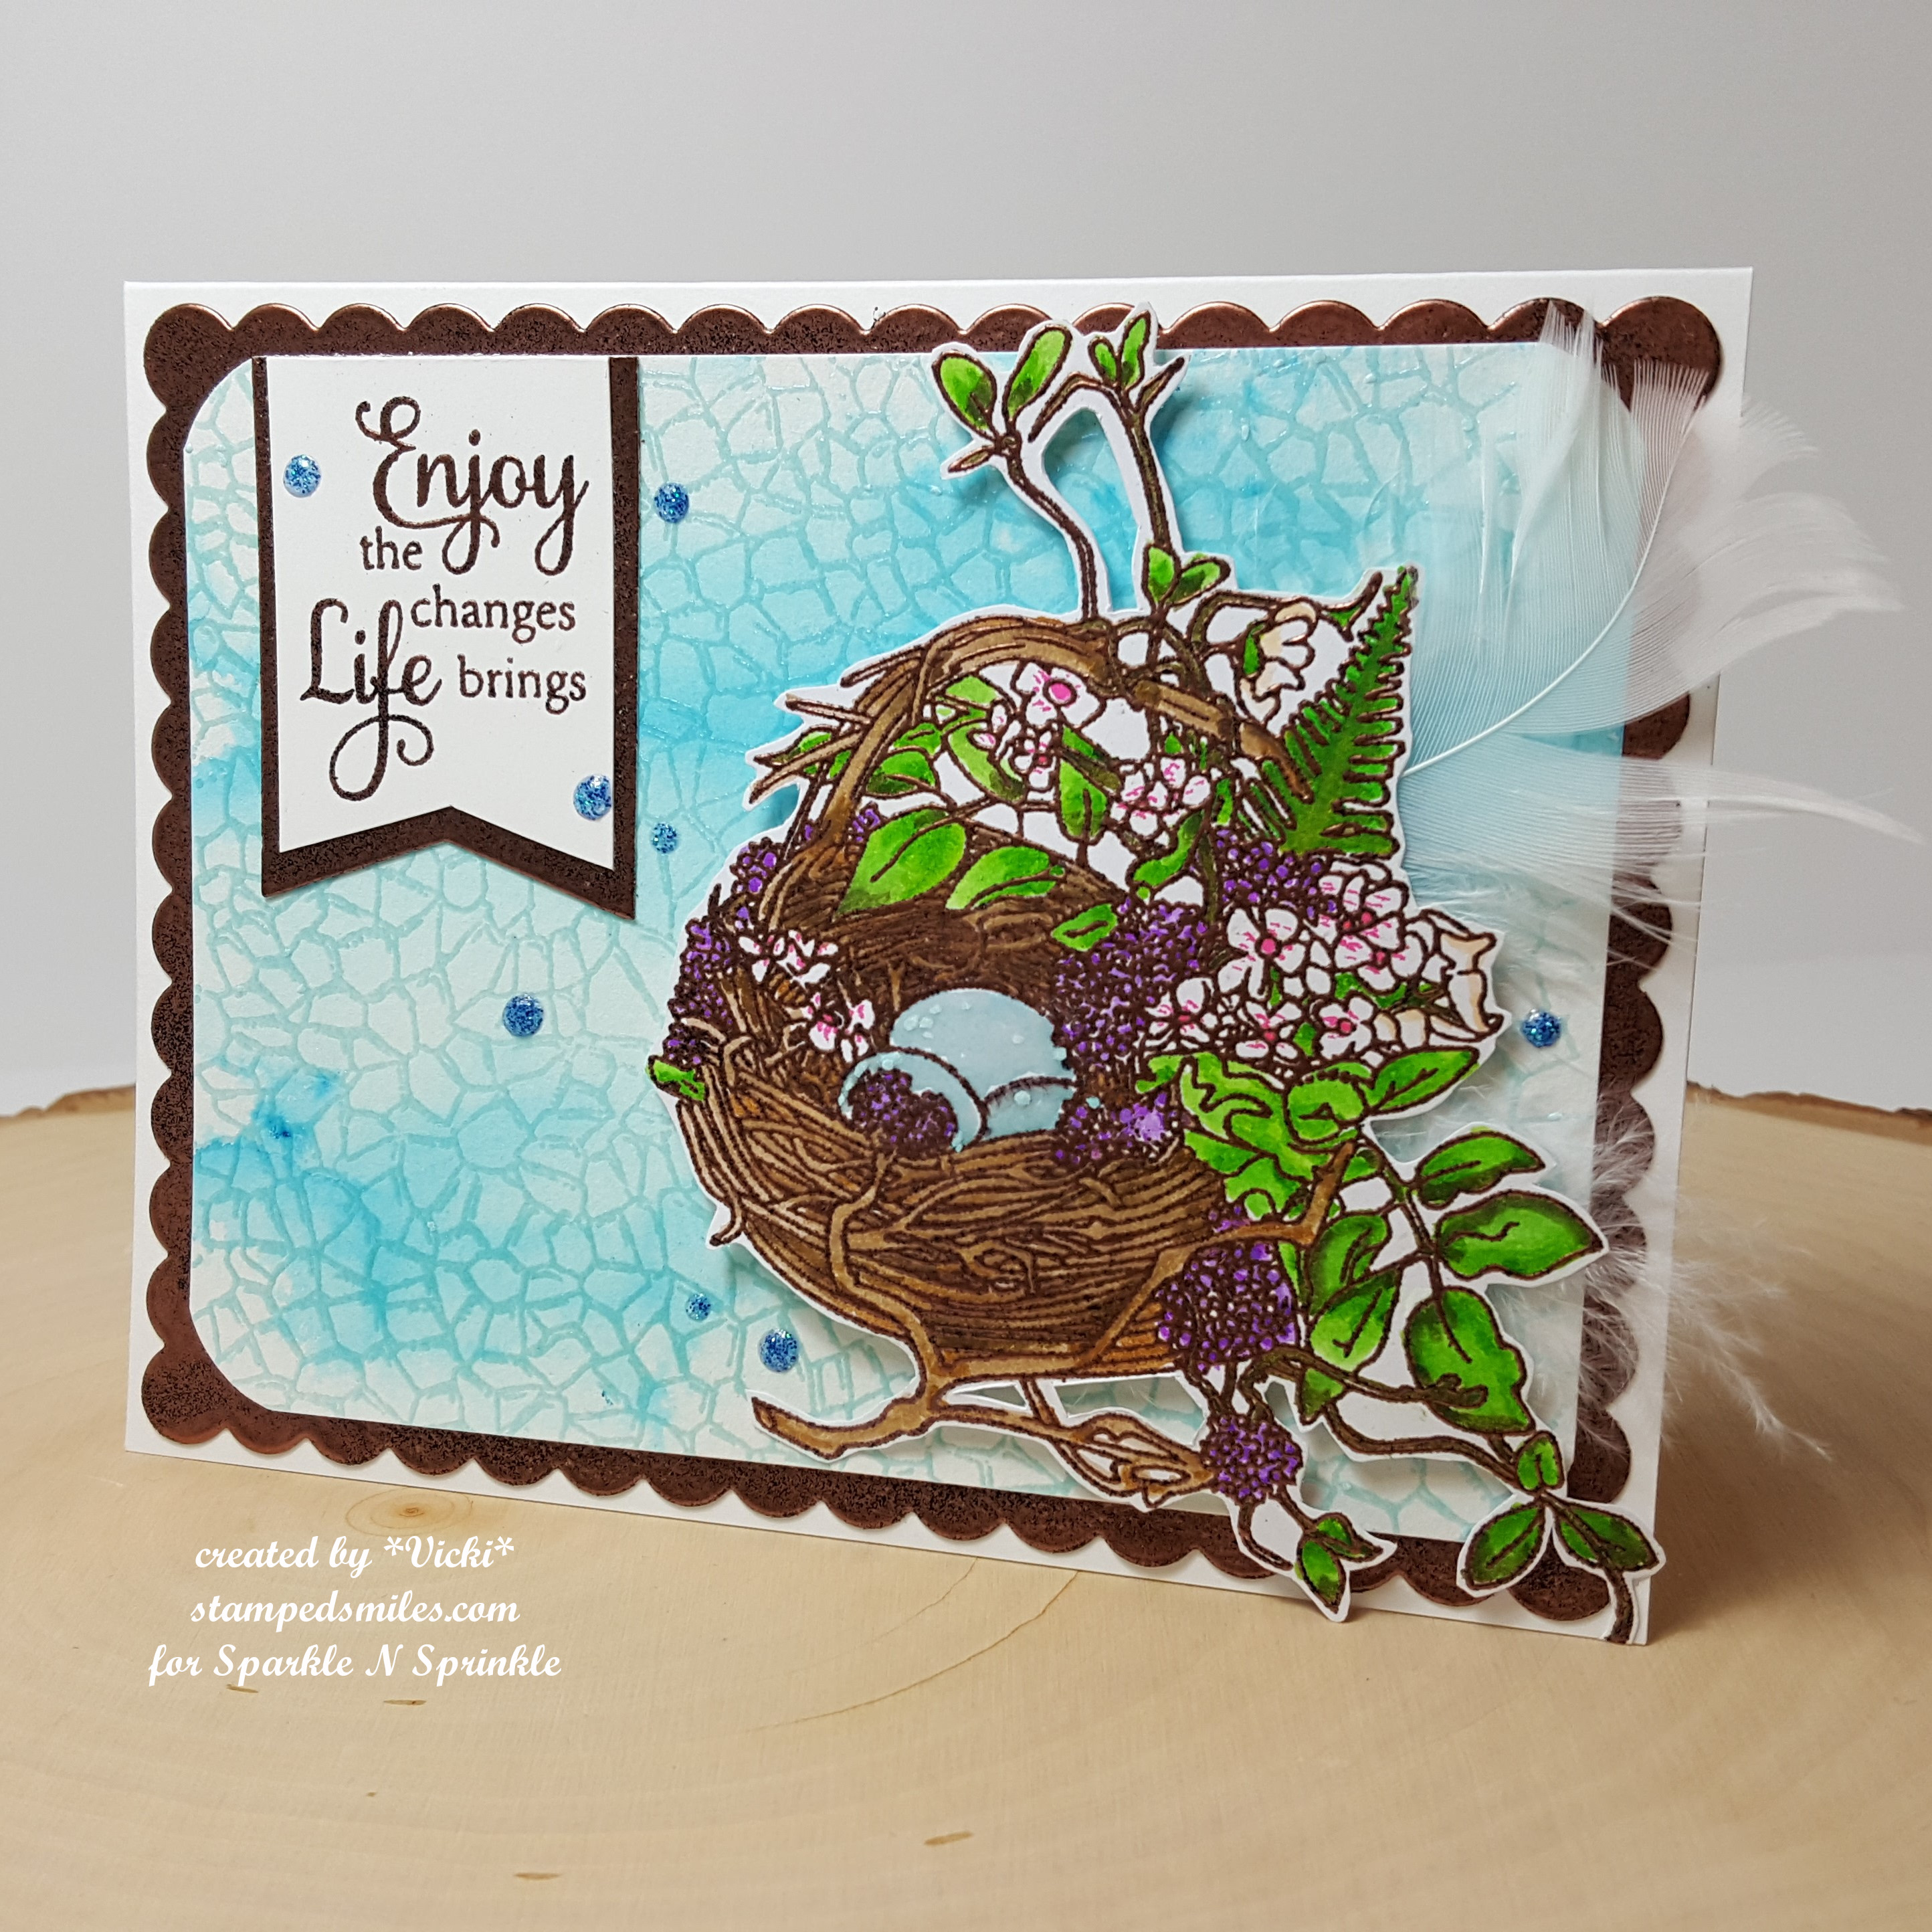
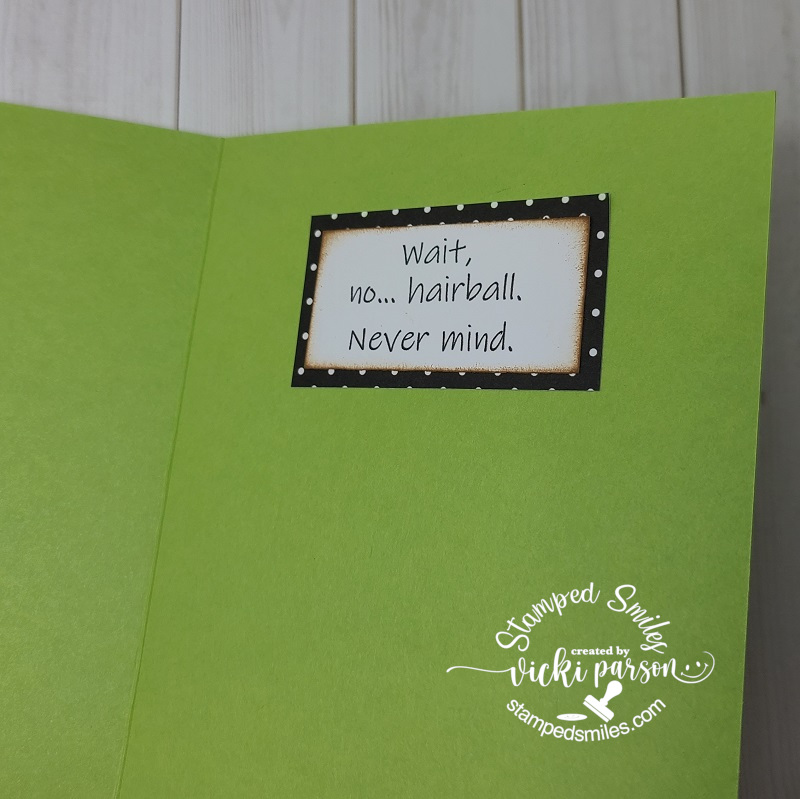
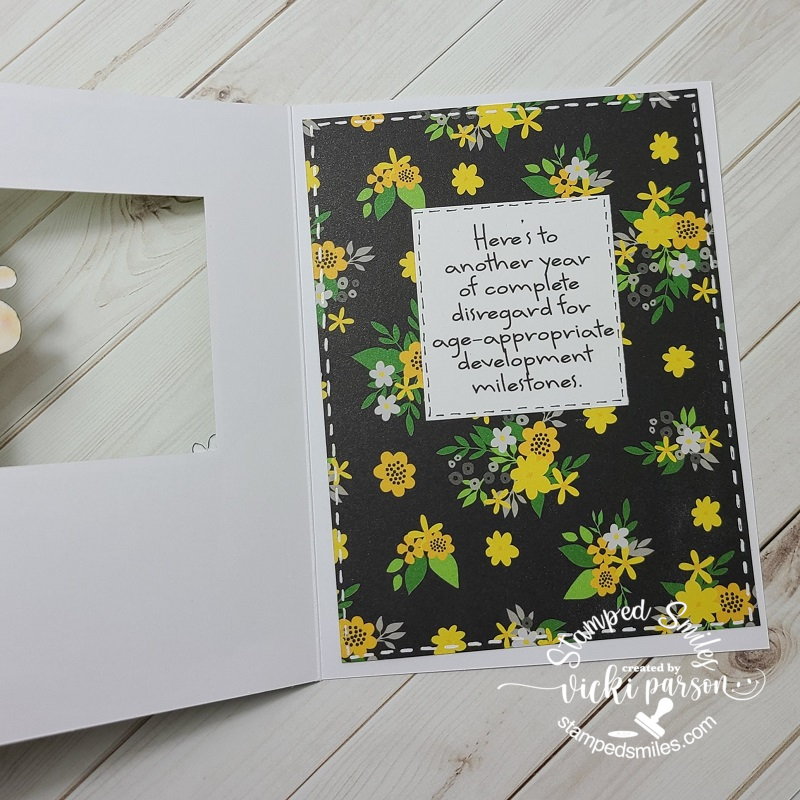
To get a better look at each one of these cards up close along with what’s going on for the insides, check out the gallery below.  If you’re directly on my blog website, you can click on each photo below to enlarge it:

Just wanted to share my recent makes as I’m still trying to work at finishing up some Valentine cards along with getting going on the wedding invites.  Sure enjoy seeing the wonderful inspiration from everyone and hope that you’re all staying safe and warm friends!  Thanks for stopping in and I’ll see you soon!

Challenges (Top Goat card ONLY):

  1. Challenge Up Your Life – Triangles
  2. Happy Little Stampers CAS – “Inky”
  3. CAS on Friday – Male
  4. Krafty Chicks – Stamp Act
  5. Just Add Ink – Minimalist 

Time to Celebrate at Cute Card Thursday!

Hello friends!!  I’m very excited to share my card with you today for Cute Card Thursday!  We are celebrating our 11th birthday this week!!  WOO HOO!!  So of course the theme for this week is “CELEBRATE“!!  Hope you can pop on over and celebrate with us by sharing your creation!!

This week we are sponsored by All Dressed Up Stamps and I have used one of their adorable images for my card today:

Vicki-CCT573-ADU-Celebrate

I have used this very sweet image called Time to Shine and she is having so much fun dancing around with all of the stars floating about her!

For the card, I have taken some silver sparkle cardstock and cut cut the stitched scallop frame and then placed some pretty papers behind it.  I mounted these pieces onto a piece of black cardstock as well as the image that was cut out with another stitched scallop rectangle die, also mounted with a piece of black cardstock and then added to the center of the sparkle framed panel.

I also took some pretty, pink, silky ribbon and wrapped it around the corners of these layers and also tied a bow with it that I’ve attached to the upper right corner of the wrapped around ribbon.  These layers were then mounted onto a white, top folding A2 sized card base.  Lastly, I’ve added some stars that were die cut from the same sparkly cardstock and I’ve also added one to the center of the wooden star veneer that was glued in the center of the pink bow.

Vicki-CCT573-ADU-Celebrate-close

Here’s a closer look at the Copic coloring I’ve done on this image.  I have added some extra sparkly details to the image by taking a Spectrum Noir Glitter Brush Pen and went over just the bottom portion of her dress.  I then took a silver gel pen and colored in the stars around her and added some dots to her dress and hair with it as well.  I wanted to create lots of sparkle and shine to this one!  🙂

Vicki-CCT573-ADU-Celebrate-flat

So I hope you will stop by the Cute Card Thursday blog and check out the inspiration from the rest of the design team and hope that you will play along with us to help ‘celebrate’ our 11th birthday this week!!  Can’t wait to see your creations!

Thanks so much for dropping by!  I really appreciate your kind comments and I enjoy reading them so much!  Hope you have a fabulous day!

Challenges I’d like to enter this card in:

  1. All Dressed Up Challenge – Anything goes + ADU image
  2. All Dressed Up Facebook Challenge – Girly Girls
  3.  Crafty Friends – Ladies/Girls
  4. Simon Says Stamp Monday – Feminine/Girly
  5. Crafty Creations – Anything Goes

Enjoy the Changes Life Brings

Hello friends!  Back with you today to share a card I’ve made using the January release stamp set from Sparkle N Sprinkle called Early Spring Nest!

vicki-earlyspringnest-cardep-project2

I had so much fun playing with this pretty Spring image and playing with some new embossing powders on this one!

To get the background, I’ve taken a piece of watercolor paper and sprinkled it with some Nuvo Blue Blitz Shimmer Powder and spritzed it with water to also move it around the paper until I got the look I was wanting for it.  I set it aside to work on the rest of my card until it was COMPLETELY dry.  After it dried, I took my Static Free Bag to rub over the area and prep for heat embossing.  I stamped the Crackle Background stamp (Really love the versatility of this image!) with VersaMark and heat set the image with the SNS Robin’s Egg embossing powder.  (Sounded like the perfect product to use for my card!)  I also used my corner chomper to round the corners on this panel.

For the scallop layer behind this panel as well as the layer behind the sentiment, I took my VersaMark ink pad and smeared on a layer around the edges and heat embossed them with the SNS Coffee embossing powder.  I also used this for the sentiment as well as the nest image, so this also works for a nice detailed embossing powder!   I made the fishtail banner layer before I did the embossing with my Tim Holtz 5″ scissors.  I took some craft foam and attached the front base panel to the embossed scalloped layer which was mounted onto a white A2 sized top folding card base.

vicki-earlyspringnest2

Here’s a closer look at the stamped Crackle background with the Robin’s Egg heat embossing over the watercolor background.  I just love the shimmer it has in it!  You can also see the Coffee heat embossed layers.  I love the pretty Copper sheen it has as well as the dark brown flecks in it!  You can also see how well it embossed the fine detailed stamped images too.

There are so many different things going on with the embossing powder on this design that you really need to capture all the different angles throughout the design to see it!

vicki-earlyspringnest1

For the coloring of the image, I just used some Clean Color Real Brush markers for it.  I like to heat emboss the images when I do this sort of coloring as it helps to keep the watercoloring inside the lines and acts as sort of a “well” so that the colors stay where you want them.

For the eggs inside the nest, I took a VersaMarker pen and colored them in with it.  Then I took the same Robin’s Egg embossing powder and heat set the eggs with it.  It really creates a fun and unique look with the blue tint and speckle flakes in it, plus it gives it a nice embossed shine for an “egg like” appearance!

After coloring in the image, I used my scissors to fussy cut it out and then added a couple of feathers from my stash and attached this image over the card front panel with some foam tape.  I finished off my design by adding a few random drops with some Nuvo Dazzling Blue Glitter Drops.

I hope that you’ve enjoyed my card today and thank you so much for stopping in!

Don’t forget to use my code below at checkout when shopping:

SnS discount code badge

Here’s quick list of Sparkle N Sprinkle products used today:

Stamps:

Embossing Powders:

Ink:

Coloring Mediums:

Embellishments:

Tools:


Challenges I’d like to enter:

  1.  Fab ‘N’ Funky – New Beginnings  MISS IT!!!
  2. Not Just Cards – Jan Anything Goes
  3. Crafty Friends – New Beginnings
  4. Stamps & Fun = Creativity – #338 Anything Goes
  5. Pammies Inky Pinkies – PIP1902 Anything Goes