Hello friends! It’s the very last day of November and also the last day as a Guest Designer for Inky Stamper too. Really enjoyed creating with their fun products and hope that you’ve gotten some inspiration as well! If you are ever looking for their store in the future, I will have the badge with link on the sidebar of my blog so you can find it or look for all of my posts under the “Inky Stamper” category also found on the side of this blog.
Today I’m sharing a fun way to make a full front/infinity shaker card using their products:
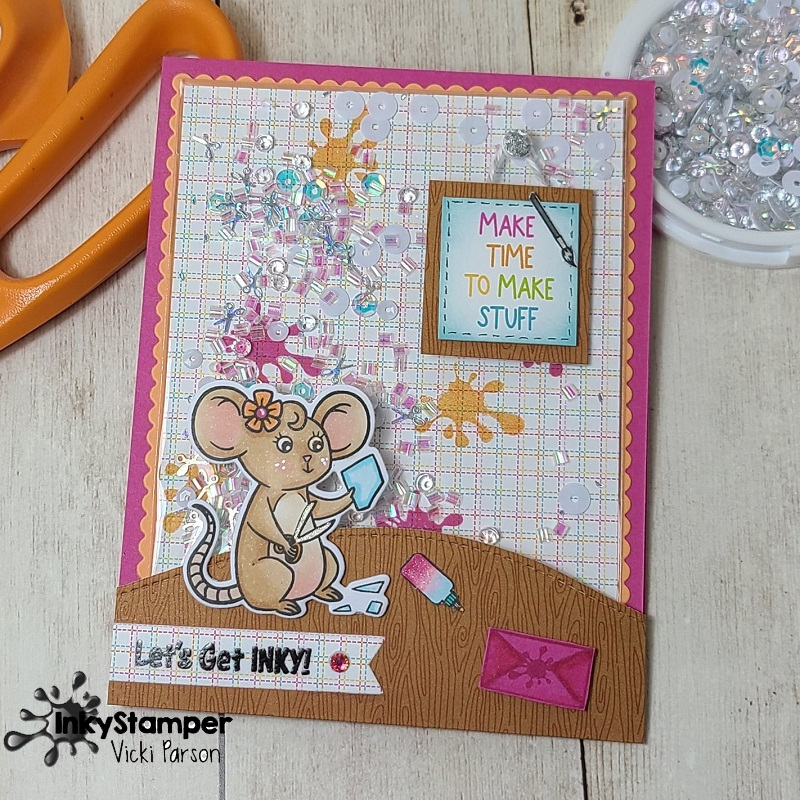
Rosie is having some fun cutting up paper! ✂ She is from the Inky Stamper Craft Room set that I’ve colored up along with the little bottle and cut out. This was so fun to put together and reminds me of the fun that I enjoyed during the Inky Escape event! (I will share the projects I made in a future post) The heat embossed sentiment as well as the envelope and ink splatters in the background, came from the Inky Stamper Inky Greetings stamp set.
At a previous Inky event I went to, I learned how to put together a full front shaker in a very easy way and wanted to use this same idea for my card here. So, I started with the Inky Stamper Shaker Sealable Pouches and added a piece of 3.75″ x 5″ Doodlebug “Cute & Crafty” paper (released temporarily from Inky Stamper in the past) that I stamped the ink splatters with orange and pink inks over. Before sealing up the pouch, I added some Iridescent Clear Shaker Garnish and some Picket Fence Crafty Friends sequence mix. I used some Red Line Tape to attach the shaker pouch to the scallop orange piece that was layered over an A2 top folding bright pink card base. I like this because there is no wondering if the foam tape will hold all of the bits where they’re supposed to be…so very easy!
I’ve also used the same Doodlebug “Cute & Crafty” papers to heat emboss my sentiment at the bottom and I’ve also used a pink gem from the Picket Fence Reflections. For the “floor” of the craft room, I’ve used the Doodlebug Buffalo Check/Woodgrain paper pad and die cut a piece for the bottom that was popped up with foam squares over the shaker pouch panel.
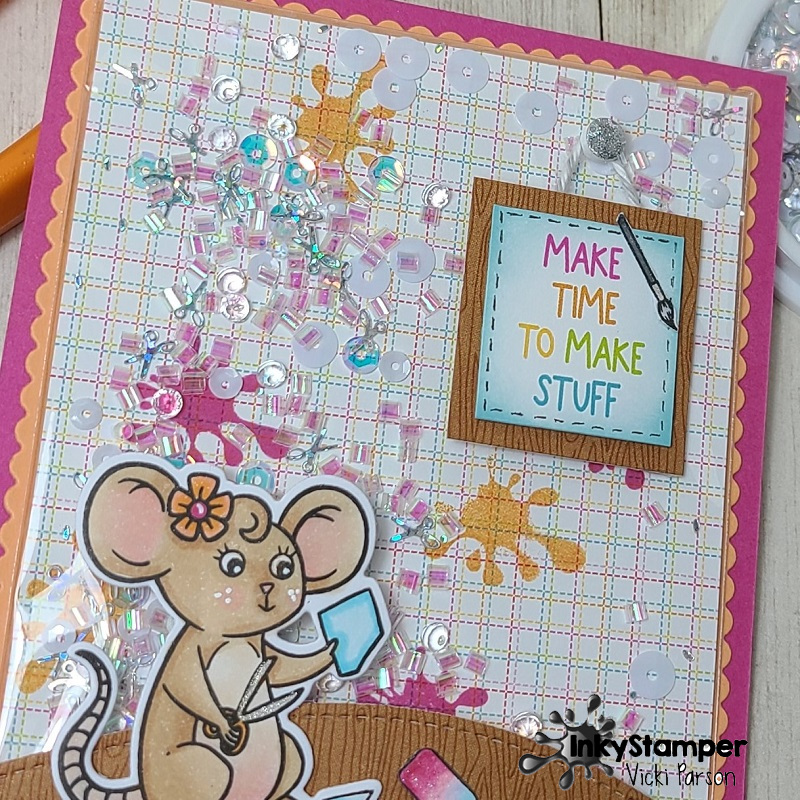
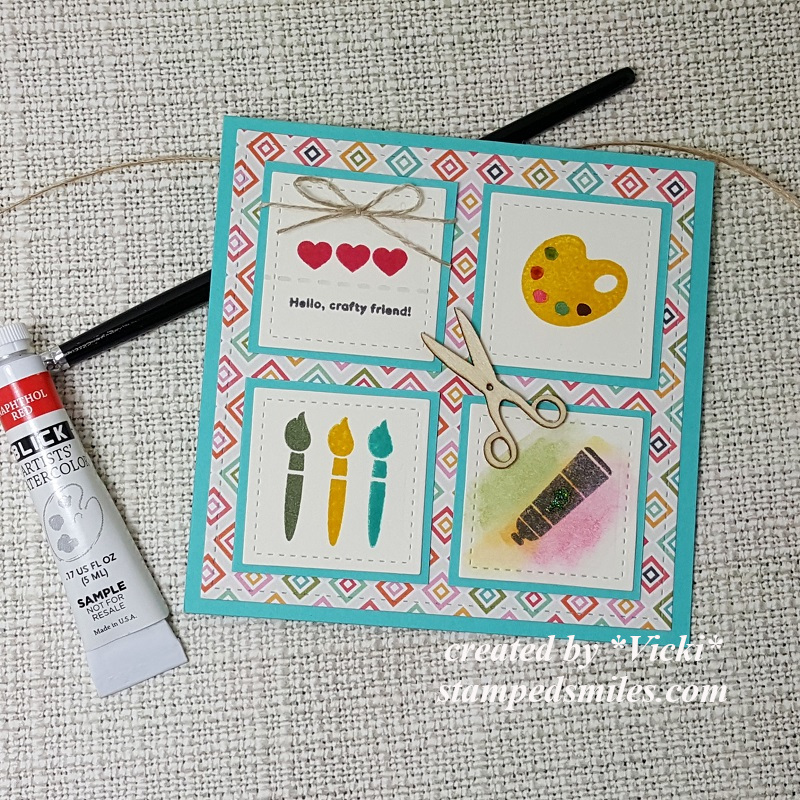
I wanted to share a closer look at the shaker details with the pouch and the shaker goodies inside. The sequins mix is so fun with those tiny scissors in there, can you see them?!
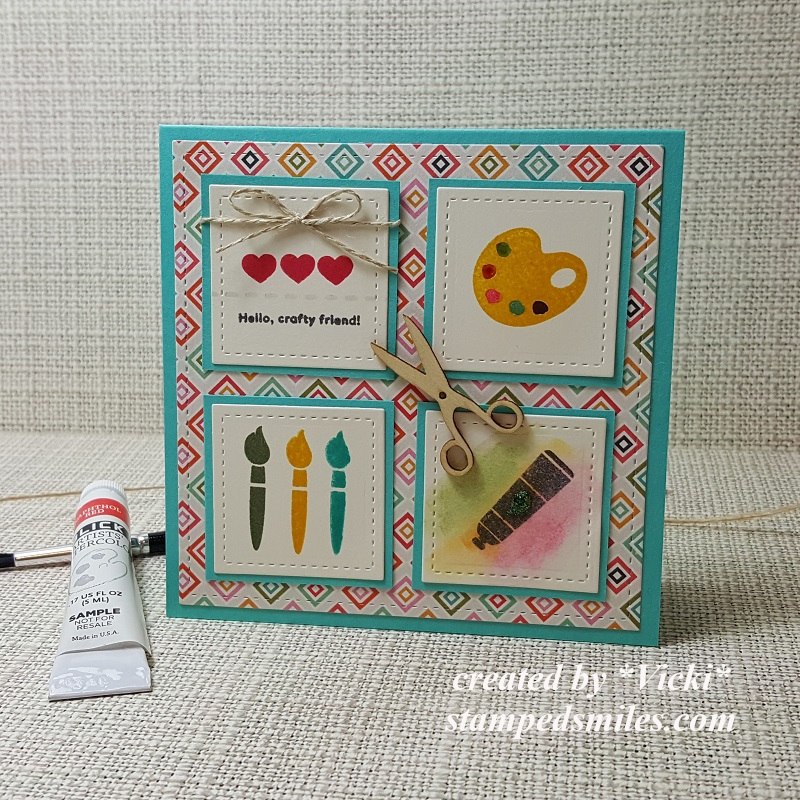
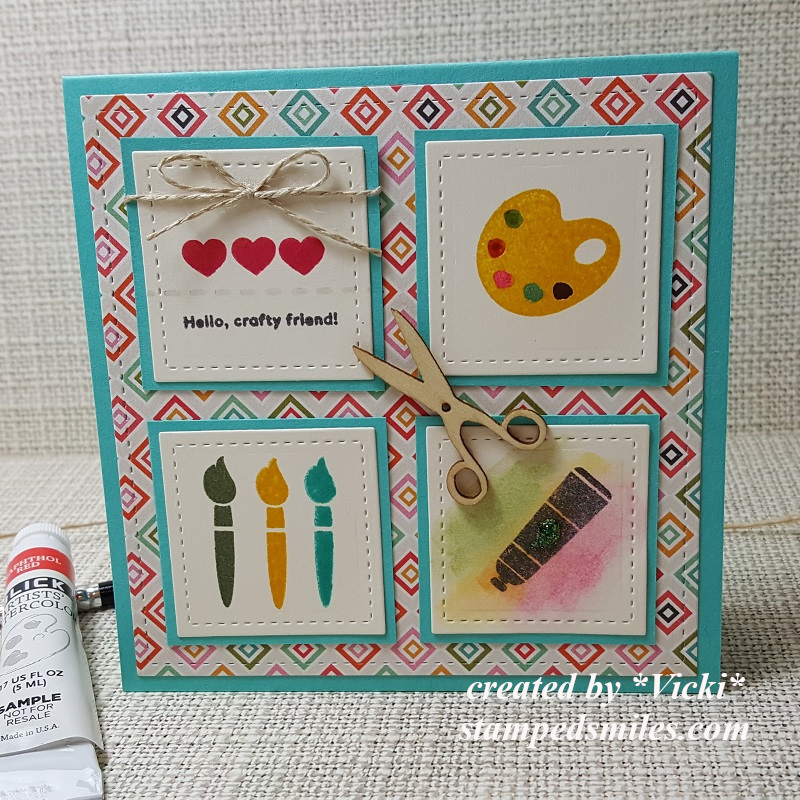
For the picture frame, I’ve taken one of the squares from the Doodlebug “Cute & Crafty” paper pad for the main focal of it and added some dashes along the edge. I also sponged around it with light blue ink and cut out the little brush from the “Craft Room” stamp set after coloring it up and then glued it to the panel. I also cut out more of the woodgrain paper for a frame look and then added a tiny piece of the Doodlebug Gray Twine behind it. I pulled at the top and added a round foam dot to it so that it was held in place over the shaker pouch. I then used the Metallic Transfer Foil Sheets to press over top of the foam dot so that it looked more like something hanging up the picture.
So, I hope you’ve enjoyed my full front shaker card today and have been inspired to make time to make stuff too! If you have any questions about anything here, let me know! Thanks for stopping in today!
Challenges:
- Creative Inspirations – Sparkle, sparkle, sparkle
- Shopping Our Stash – Bling it Up and/or lighting
- Penny’s Paper-crafty – Anything Goes using paper
- Colour Crazy Craft – Anything Goes with coloring
- Daring Cardmakers – Shine
- Tic Tac Toe – used bottom row across (patterned paper, stamped image & sparkle/shiny)