Hello friends! I hope that you’re having a wonderful week so far! The weekend is here, but it sure has been a beautiful couple of days this week with sunny and warm days so hubby and I were able to go out to walk around a bit before the snow starts hitting us!
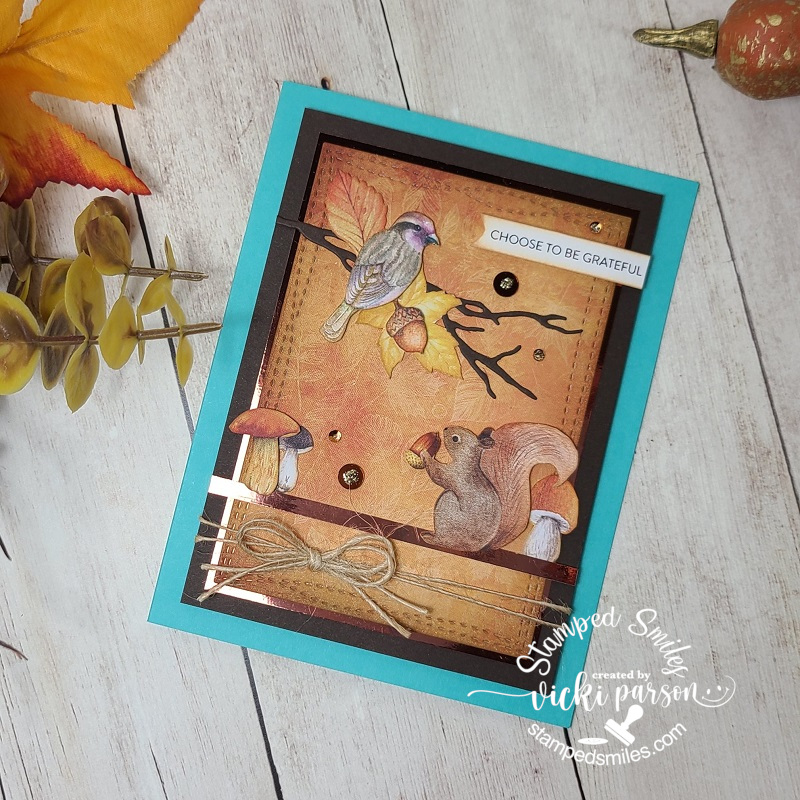
Something that is great to go out in nature to see are the critters with the birds and the silly squirrels…we have them EVERYWHERE! They’re busy gathering and burying their food for wintertime around here. My thoughts turned to the Simon Says Stamp “Big Thanks Autumn” November card kit (sold out, but not papers) as I love all things Fall/Autumn and this card kit with those beautiful papers spoke to me and I wanted to create with it to make my project for this month’s Crafty Chef’s Group recipe from our lovely friend Meg’s recipe:

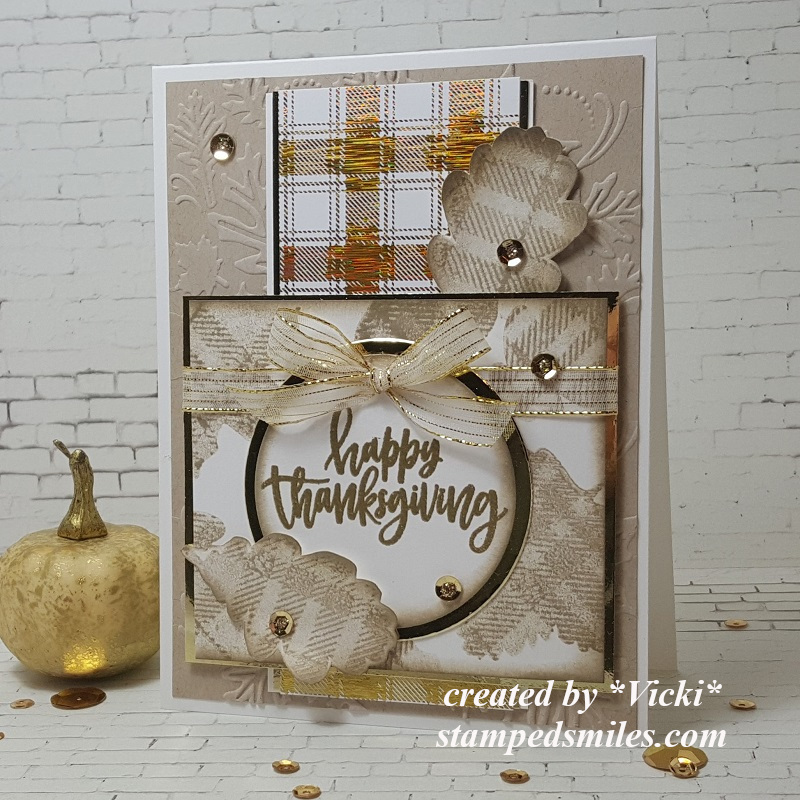
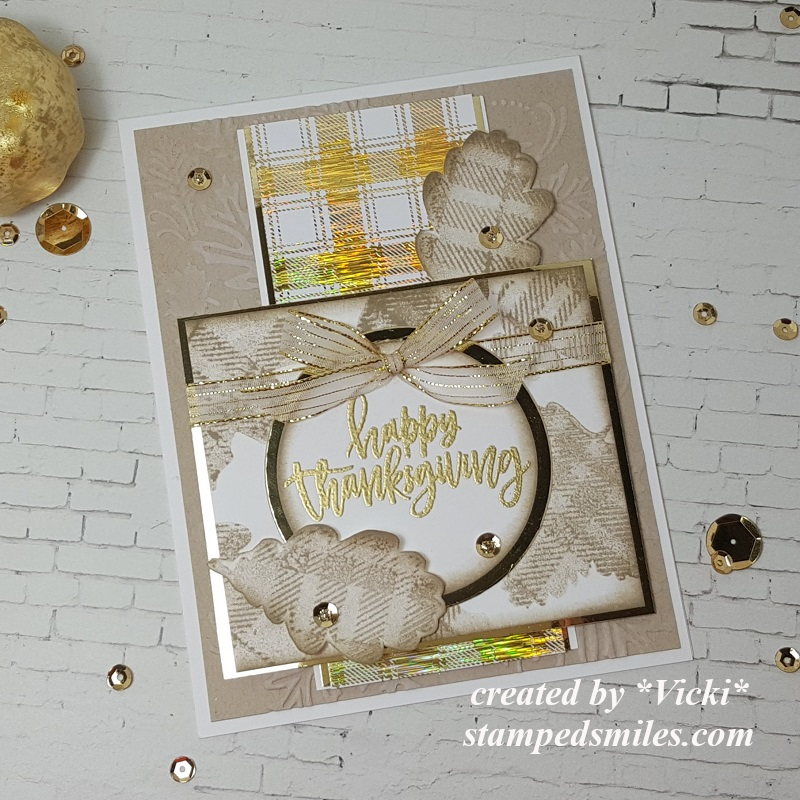
There were some blue colored A2 card bases already cut and scored inside the kit, so I used one for my side folding card base here and then layered a dark brown cardstock piece from the kit as well as a piece of copper mirrored cardstock which was then layered over a piece of the decorative papers (I mentioned above) in the kit, which is also where the critter, mushrooms and leaves images came from on this card.
The leafy background paper was cut from a MFT Wonky Stitched Rectangle Die and then I took a strip of the copper mirrored cardstock across the bottom third of the layered pieces and also added some twine wrapped around the bottom of the layers before popping them up with craft foam over the card base. I die cut a branch from a die in my stash and then fussy cut the images out from the papers included in the kit which were glued or popped up with foam squares over the panel. I sponged some Tea Stain Distress Ink around the edges of these pieces before attaching.
Lastly, I’ve taken one of the sentiments from the sentiment strips sheet included in the kit and ran it through my laminator with a piece of copper Deco Foil. (I think that is a cool way to add a little extra something to those sentiments.) I made a banner out of it, sponged it with some of the ink I used for the images and popped it up over the leafy background piece with foam tape.
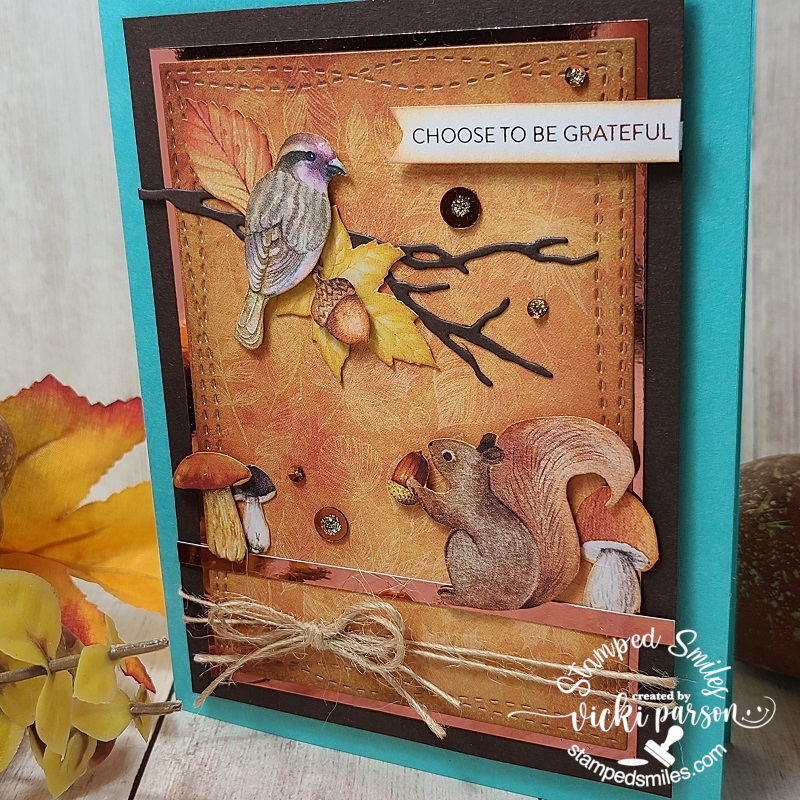
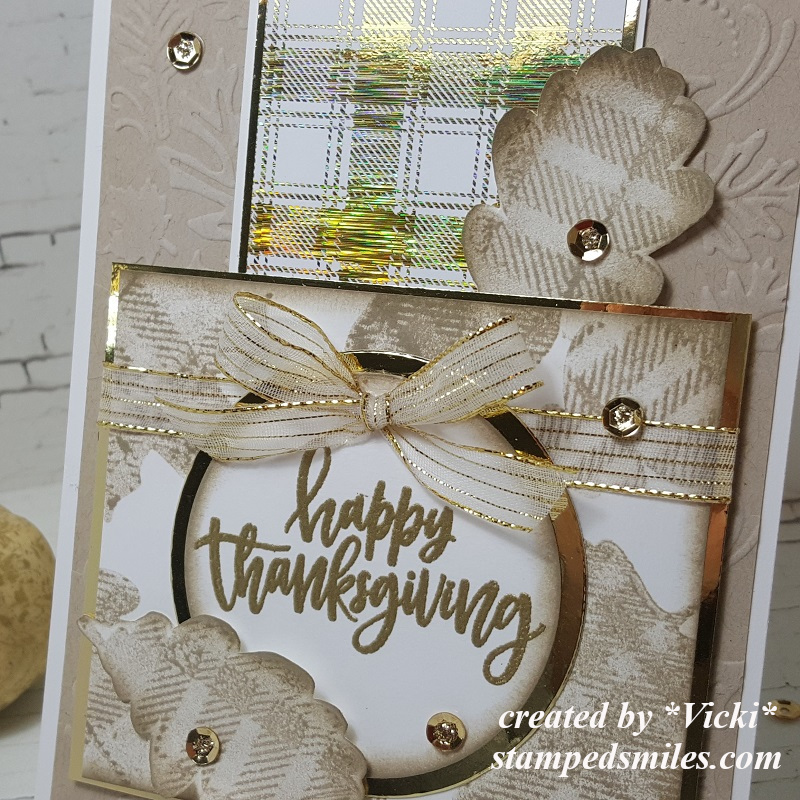
Here’s a closer look at the critters I’ve cut out and how I’ve arranged and popped some of them up to create my scene. There was also a very pretty SSS Autumn Sequins Mix included in the kit, and I took some of those and added it to the layout and then filled the centers with some gold Stickles glue.
For the Crafty Chef’s recipe that was given, here’s what I MUST use:
- Mirror cardstock
- 3 layers or more
- ribbon (I hope my twine counts!)
- image of garden visitors (birds, hedgehogs, etc)
CAN do items:
- Sparkle/Glitter (I used sequins and Stickles)
- pearls/gems (I did not use) *passed onto next chef.
- dry embossing (I did not use)
There is a new recipe given for each month and no pressure to follow along or even when you want to follow along and play…which is great and I’m happy to be able to use up some of the goodies from my stash (NEW AND OLD) and just have fun with it.
I hope you’ve enjoyed my creation today as well and I will be seeing you all again soon! Thanks so much for stopping in today friend, as I’m very grateful for you!
Challenges:
- 2 Crafty Critter Crazies – Anything Goes + animal(s)
- Crafty Animals – Anything Goes + animal(s)
- Creatalicious – #199 Anything Goes optional Autumn/Thanksgiving
- The Paper Girls – #212 Thankful/Grateful
- The Divas That Cut Paper – Thanks or Thanksgiving
- A Bit More Time to Craft – #128 Anything Goes
- Lil Patch of Crafty Friends – #146 Anything Goes
- QKR Stampede – #408 Anything Goes