Hello friends! Sending a happy Mother’s Day to all of the celebrating moms this weekend! It’s a beautiful day out today and tomorrow will be too, so I’m going out to plant some flowers that I’ve been wanting to do! I hope that you’re having a nice weekend in whatever you’re doing.
I just wanted to share a card that I had made just for Mother’s Day:
I love how this turned out with all of those blooms bursting out from the antique pail! I’m in the middle of going back over some classes that I’m doing, and this was one of them that I’ve switched up to fit this occasion. The original card had carrots as a base and I didn’t have the flower dies they used, so I made my own version with what I had.
The antique pail, flowers, leaves, bow and foiled sentiment dies all came from Taylored Expressions. The scallop rectangle frame came from My Favorite Things and some of the design papers I’ve used came from Scrapbook.com.
The background papers and large flower came from the same pattern papers as a couple of other flowers and dark green leaves. I used some light pink ink to sponge some of the other flowers and center of bow. The center of the scallop frame has some light green blending, so that it wasn’t so stark white behind the flowers. I also sponged around the antique pail.
I arranged the flowers inside the pail and turned it over to attach with glue over the center of the scallop panel. I popped up the front flower and added some colored gem dots to the center of the flowers and bow. I attached some mirror cardstock to the back of the scallop frame panel to match the foiled sentiment. The sentiment was attached over the pail at the bottom.
It took a little bit of time to cut and arrange all of it, but it was fun to fiddle with.
Thanks for taking some time to stop by and I hope you’ve enjoyed this pail of flowers for Mother’s Day! Have a fabulous weekend whatever you do! 🌼🏵️
Hey friends! I know it’s well into October and so you may be wondering where in the world have my Halloween posts been? Today was gloomy and foggy out…and it’s getting evening, so it was a good time to post! If you know me, then you know I love all things Halloween, but I’ve actually been in the background lurking with my Halloween projects! Bwhaa!! I just haven’t had time to sit and make a post for them yet. The reason for that is, of course, I’m taking too many classes and doing events that I’m like a “mad scientist” in the background with all of the crafting things, but haven’t been sharing them! So, I’ve decided to set aside some time to create a post with all things Halloween! (Don’t worry, there will be more special ones coming too!)
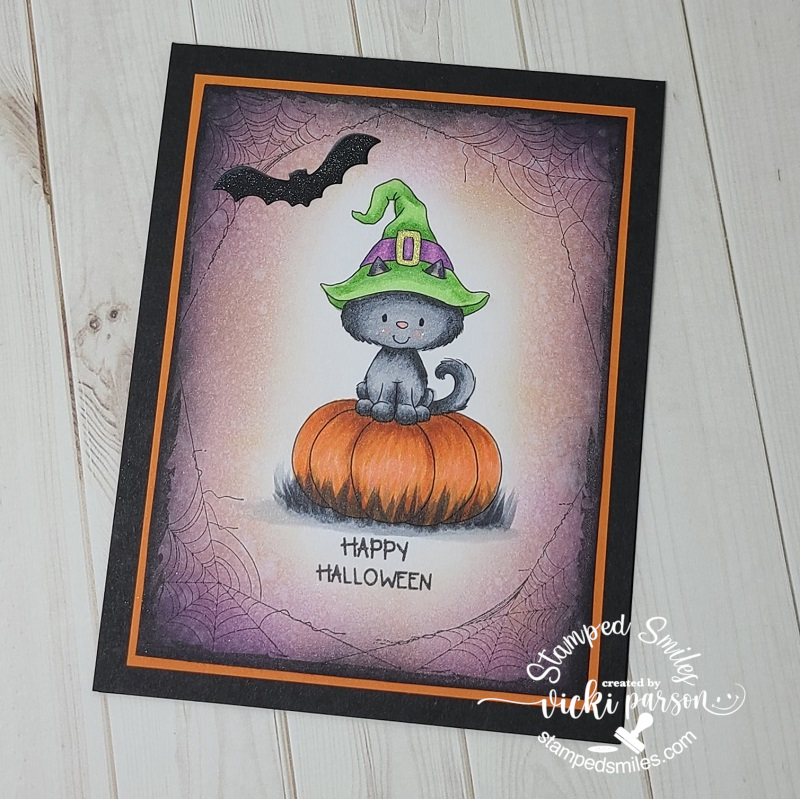
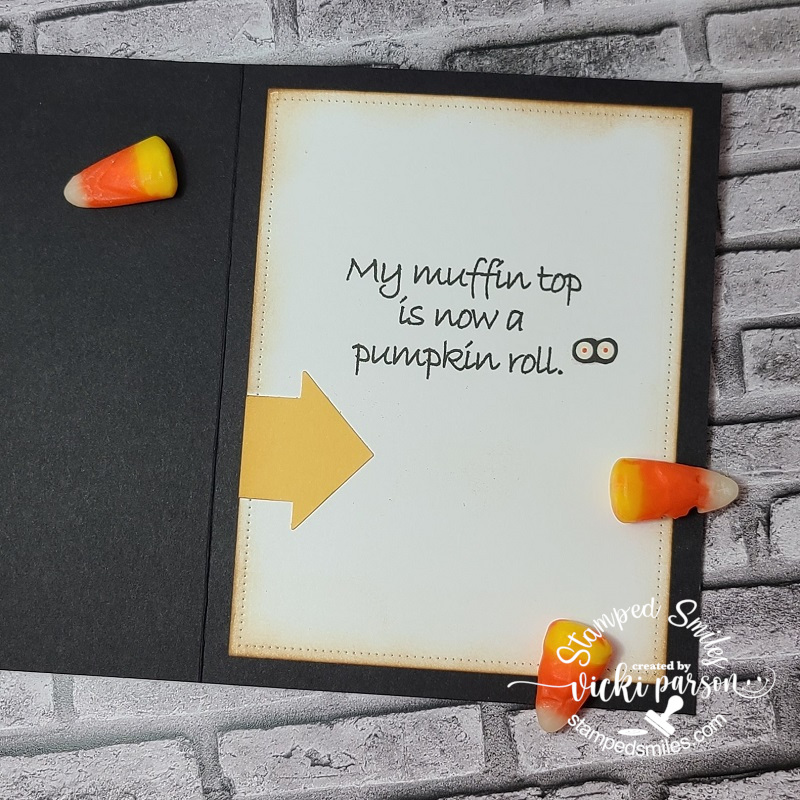
Now isn’t this one a cutie?! I’ve received this free digital image especially from the Whimsy Stamps World Card Making Day Event on Facebook that they usually hold every year and have some fun games and challenges. This image was created by Crissy Armstrong of course and she even did a cute little tutorial with it, so I had to color it up!
I’ve used Copics for the coloring and even made a shadowy creepy black/gray grass along the bottom of the pumpkin. The hat buckle was colored with a gold gel pen. The sentiment came from an older Whimsy Stamps candy corn set I had in my stash. For the background, I’ve used my favorite Whimsy Stamps Spider Web Frame background stamp to go around kitty. I then used a couple of different Distress inks to sponge around the edges and then spritzed water over it & blotted it up with a paper towel to make it even “creepier” looking. I layered it over an orange layer from my stash and then placed this over an A2 sized top folding card base. I also die cut a bat from an old freebie from Whimsy Stamps years back to glue at the top of the scene and covered it with a glitter brush pen. Super fun!
Now I want to enter this into the annual Whimsy Stamps 31 Nights of Halloween that they do every year! Check out the event with lots of Halloween inspiration & fun if you’re interested! I always love to play along, and I think Whimsy Stamps has some of THE best products for crafting Halloween!
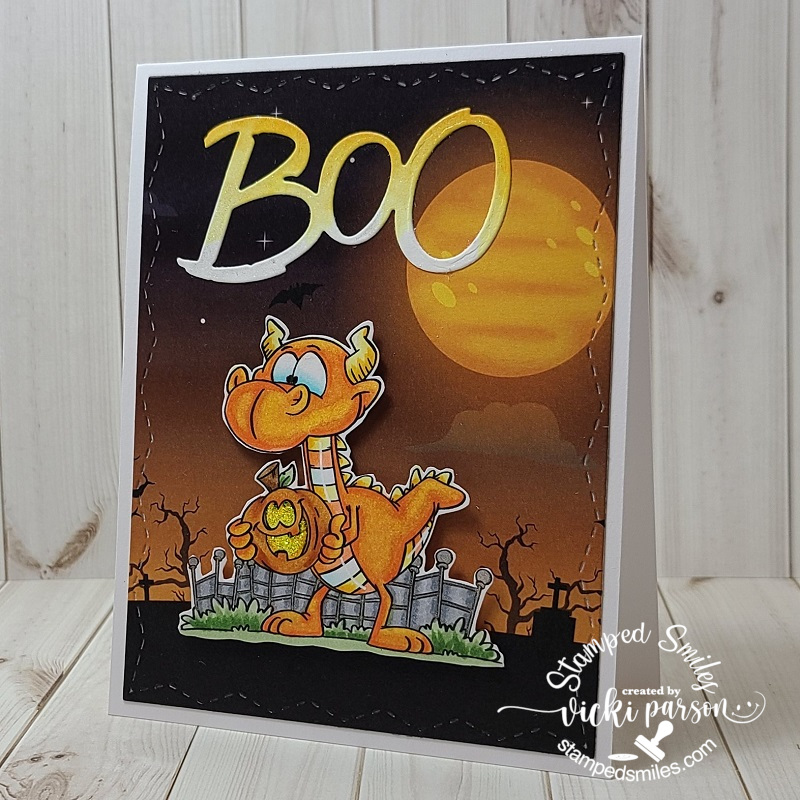
And this is another card I made for the Whimsy Stamps WCMD Event challenge using a fun Autumn/Halloween mood board. (The event is over, but it was super fun!) The first thing about the mood board I noticed was all of the orange and fun jack-o-lanterns that popped out at me. Plus, this was another cute freebie digital image given to us during the event.
So I colored up this dragon using mainly orange tone Copics with a “candy corn” effect. I also used it for the die cut sentiment at the top that was cut out from the Whimsy Stamps Boo die set. Hard to tell in the photo, but I covered it with the glitter brush pen too. I popped up the “dragon guy” over a piece of the Whimsy Stamps 6×6 Haunted Paper Pack cut with the Whimsy Stamps Zig Zag Stitched Rectangle Dies. It was all layered over a white A2 top folding card base. I also added some yellow Stickles to the pumpkin’s face.
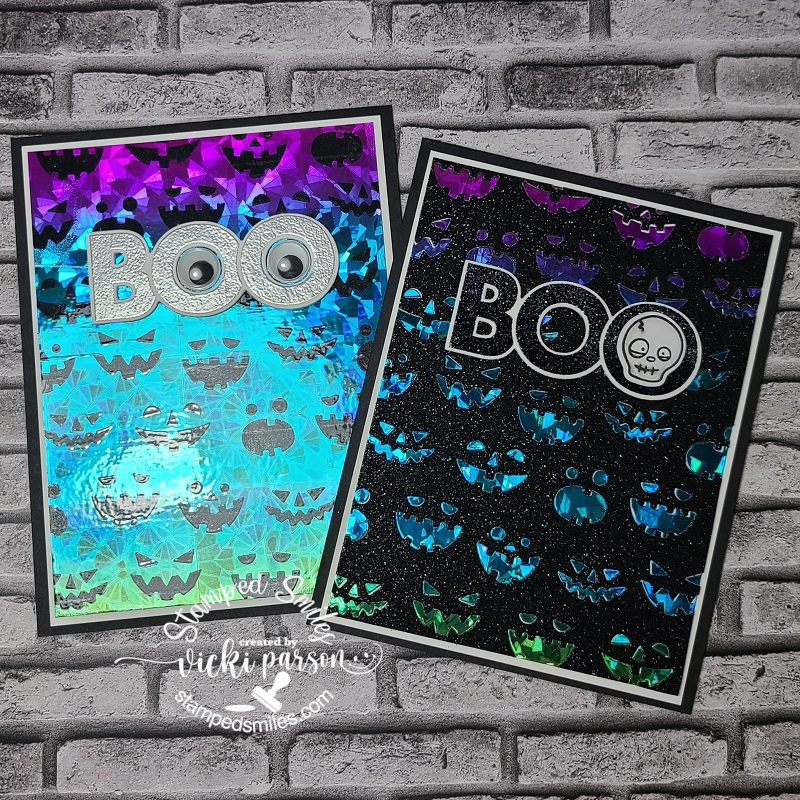
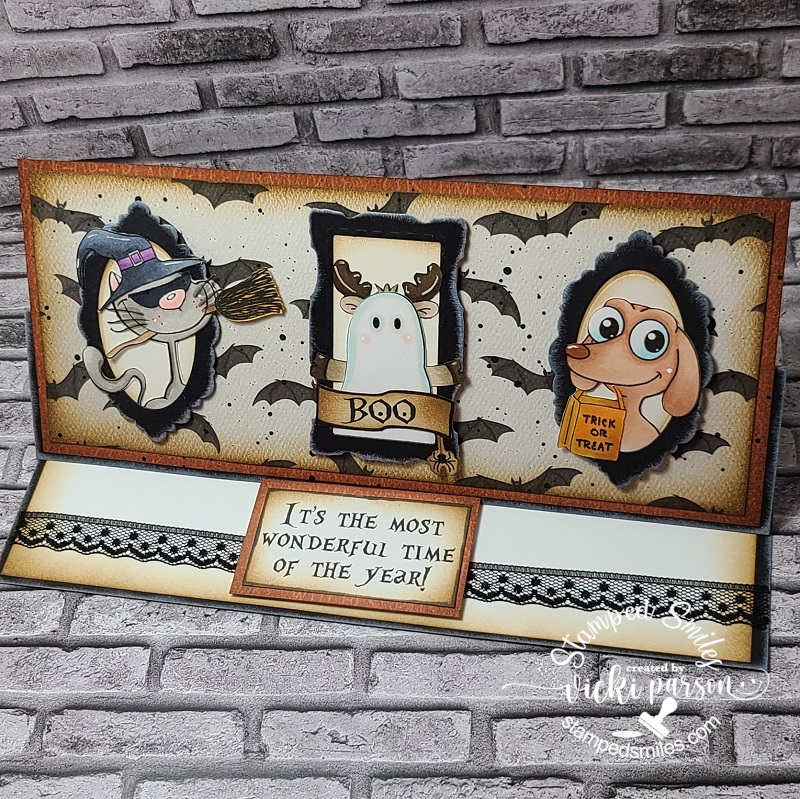
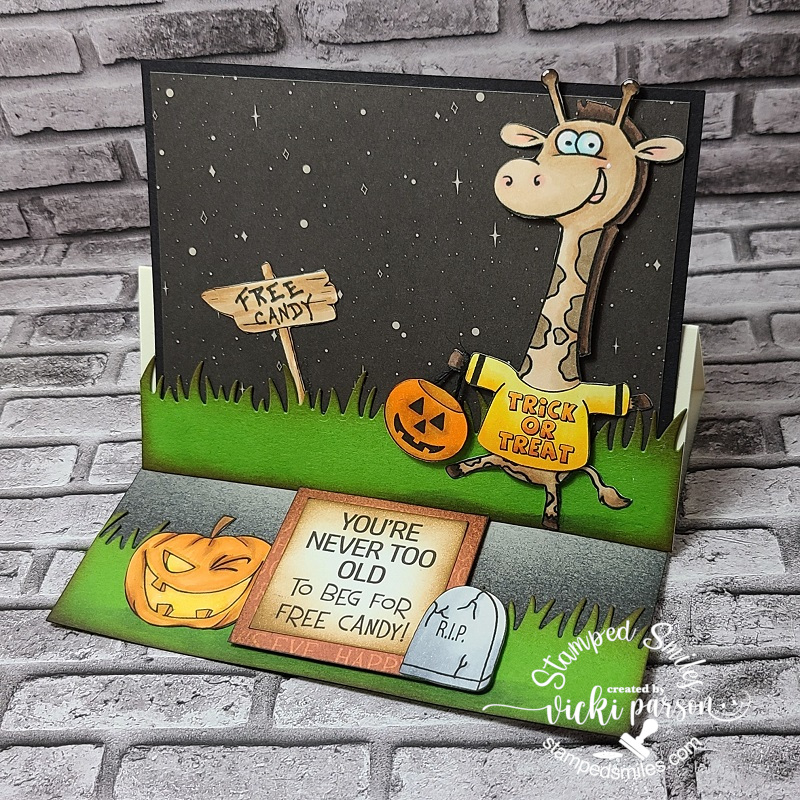
And since I’ve been doing so many classes, I thought I’d just create another gallery full of Halloween projects that I’ve done. I have actually been working on some books and journals as well as mixed media projects and not sure if I’ll get them finished up before Halloween as I’ve been busy, but it’s always fun to get creative and messy especially for all things creepy and spooky! 💀 Hope you enjoy! – (If you’re viewing this on my website, just click on the photos to enlarge them to see)
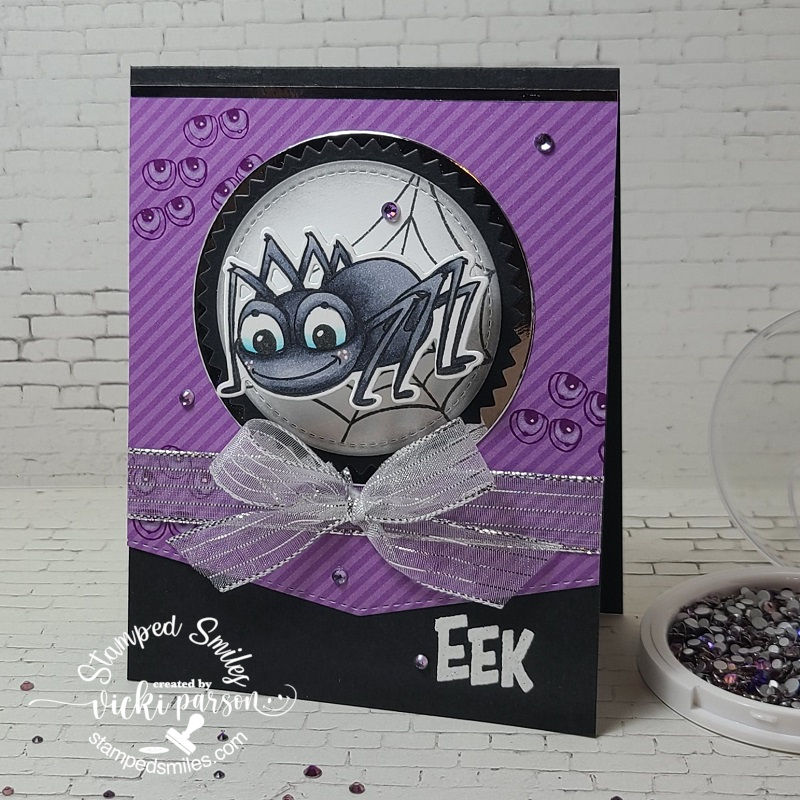
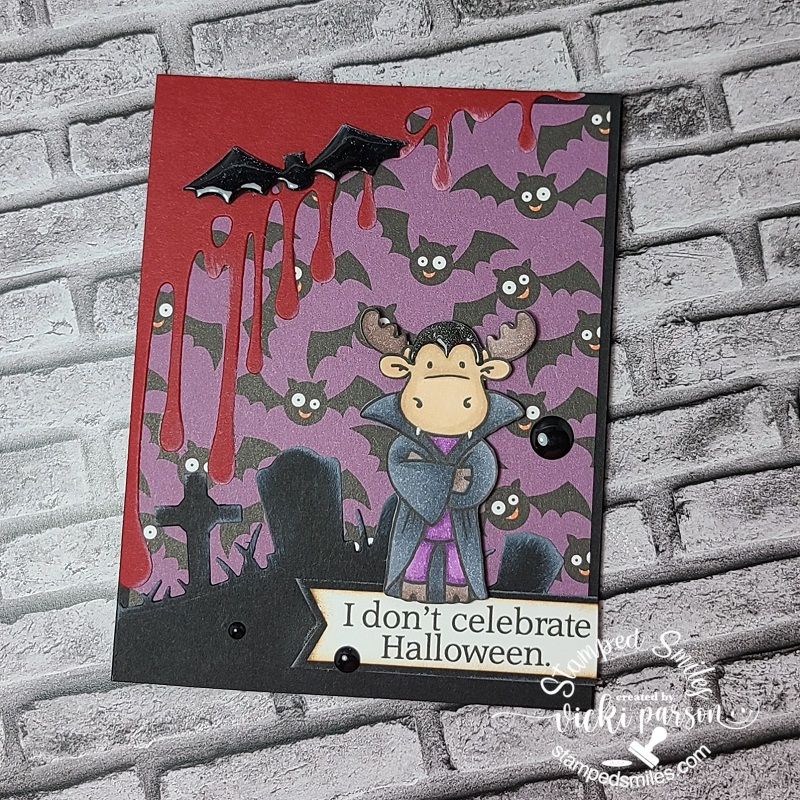
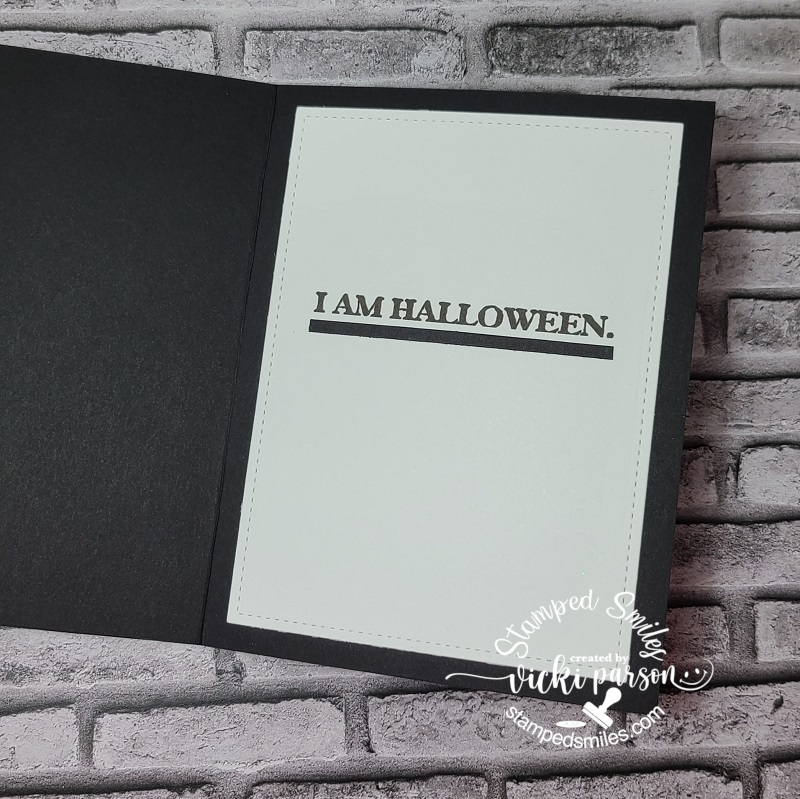
This was a fun one I made using a sketch for the Inky Stamper’s World Card Making Day Event! I had to pull out the Spider set and stamp up the eyeballs for the background! The spider was die cut out over the circle with an added wobbler on him! So fun!A class that Taylor taught using a special Halloween bundle showing how to foil. This is the second portion of Taylor’s class using the same Jack-o-Lantern Cutting Plate.Here’s another set of Halloween cards taught by Taylor for a virtual event I attended in Aug. (I think I over did it on the splatter! LOL)This was a Lawn Fawn class with this set of projects during the Aug virtual event. The back project is a gable box.This was a DecoFoil class class from the Aug virtual event…LOTS of foil! The green background is felt.This was a watercolor mini slimline class taught during the Aug virtual event. I’ve used glow-in-the-dark glitter for the inside faces except the center one was just yellow glitter.From a Riley & Co Halloween class. This is an easel slimline card.Another Riley & Co easel type card. LOLTEE HEE! A Riley & Co Dracula topped with glossy accent hair. Also added it to the bat too. See next photo for the inside……inside of Dracula card. LOLRiley & Co is so funny! The cat is on a wobbler!This card reminded me of Jimmy Fallon’s Friday Thank you notes! (If you’ve ever caught one of those shows!) See what I mean in the next photo for the inside of this card……ha ha! inside of Thank you Halloween Candy…
Whew! Was that a lot of Halloween or what?! Many of these things just give me a big chuckle and I just think they’re so fun especially now that I’ve looked back on them. Although many of these projects were created earlier this Summer, I thought it would be a good time to share them with you. #MakeHalloween365 I still have more Halloween up my sleeve soon, so stayed tuned!
Thanks so much for stopping by this evening and I hope you’ve enjoyed my Halloween projects here! HAPPY CRAFTING
Hello friends! Hope you had a wonderful weekend! Stopping in today to share more inspiration for the current {Cupcake Inspirations} challenge:
“Nautical” is the theme for our challenge and you still have another 5 days to play along with us! It really is such a fun theme to play with especially during the Summer!
I don’t get a chance to be near any oceans as I live in the middle of the U.S., but I’ve always wanted to travel near the East Coast near Maine as I imagine how interesting it would be to see it all!
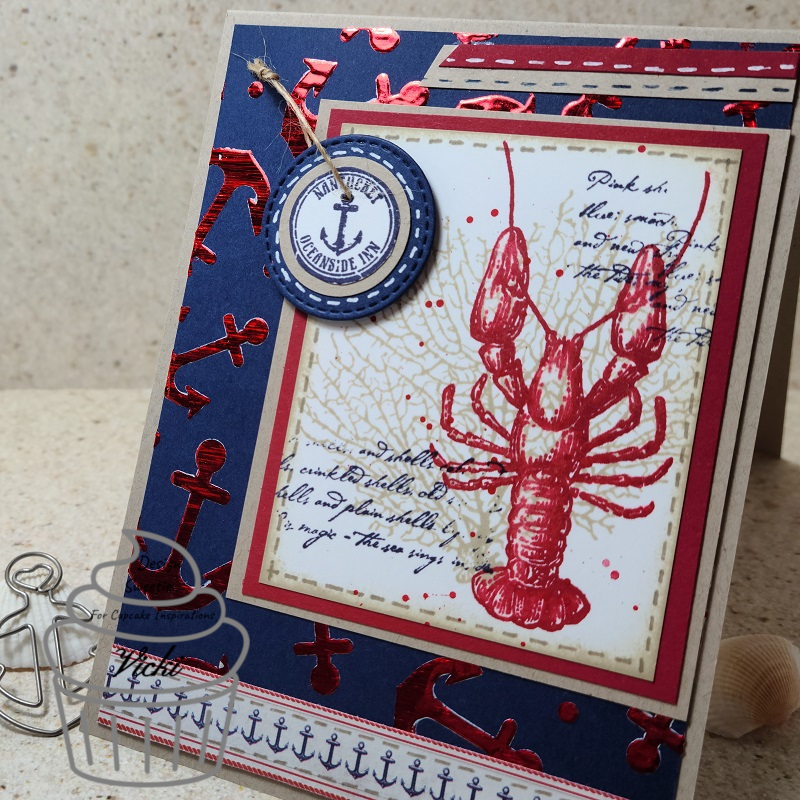
I don’t own very many nautical style crafty products, but I remembered this older Stampin’ Up! stamp set called “By the Tide” and it reminds me of those sailor type Inns or Pubs and you can see the wording of that with the circle anchor accent. I went with colors that related to the feel of “nautical” for me.
I also recently purchased this anchor stencil from Brutus Monroe and thought it would make a cool background with red foiling over the navy-blue color. So, I took some DecoFoil Transfer Gel Blanco so that it would be white over the dark background and the Red Static DecoFoil Sheet would show up over it. I put it through my laminator.
I just stamped the images from the SU! set in various colors, cut out layers of cardstock and added some stitch marks by hand along with a strip of anchor paper I found in my stash. I punched a hole in the circle anchor accent and tied a piece of twine through it and popped it up with foam tape.
Here’s a different angle of the card so that you can see the red shine of the DecoFoil background in the card.
I also took some of the Brutus Monroe Ruby Fluid Acrylic and watered it down to splatter over top of the crab image panel. I didn’t want to add too much in fear that it would look like blood or something. LOL!
Hope you’ve enjoyed my “nautical” style card today and that you’ll hop on over to the {Cupcake Inspirations} Challenge Blog and see what the rest of the design team has for inspiration and play along with us!
Thanks so much for stopping in today my friends! I appreciate you taking the time and I’ll be seeing you again soon!
Hello friends! Happy Saturday!! I hope you have a fun weekend planned!
I’d like to share with you a couple of creations that I’ve made using some new Deco foil products:
For this card, I used both the Red and Gold Static transfer sheets and foiled it with the Ornamental Toner Sheet. I first foiled it in red (but that sheet wasn’t used for this.) I took the negative of that red piece and placed it over a full Deco Foil Toner Sheet and then the black areas where the ornaments are, I took the gold transfer sheet and foiled the ornaments in that. So it’s sort of a double foiling!
I added this foiled panel over a piece of white cardstock that I wrapped some gold ribbon around and then I heat set the sentiment from the Yuletide Greetings stamp set with Gilded embossing powder. The sentiment was stamped with Embossing Ink from a Yuletide Greetings Cut File. I also had fun making a Halloween card:
For this card, I pretty much did the same as the card above in where I took the “negative” from the foiled Webbed Toner Sheet using the Gold Transfer Sheet which made the webbing black. I left it like that for the background of my card.
For the “ground” I took a piece of black cardstock and ripped some strips for the “dirt” and sponged the edges of it with a gold ink. I took the images from the Trick or Treat stamp set and colored them up, fussy cut them out and arranged a scene at the bottom. I took a Copic liner to write in my own grave markers. 🙂
I took the silhouette bat from the stamp set and heat embossed it over the foiled background with Raven Sparkle embossing powder. I also used this for the sentiment banner that I made from some Speckled Egg card stock. I also took some of the same cardstock and layered it behind the card front and then mounted this over an A2 sized top folding card base.
Hope you’ve enjoyed my fun foiled cards today! Thanks for stopping in today and I’ll see you again soon!!
Challenges:
Always Fun – Create a Scene #127 (bottom Halloween card)