Hello friends! Tomorrow is Halloween and so I thought I’d share some cards that I’ve made that were sent out to people.
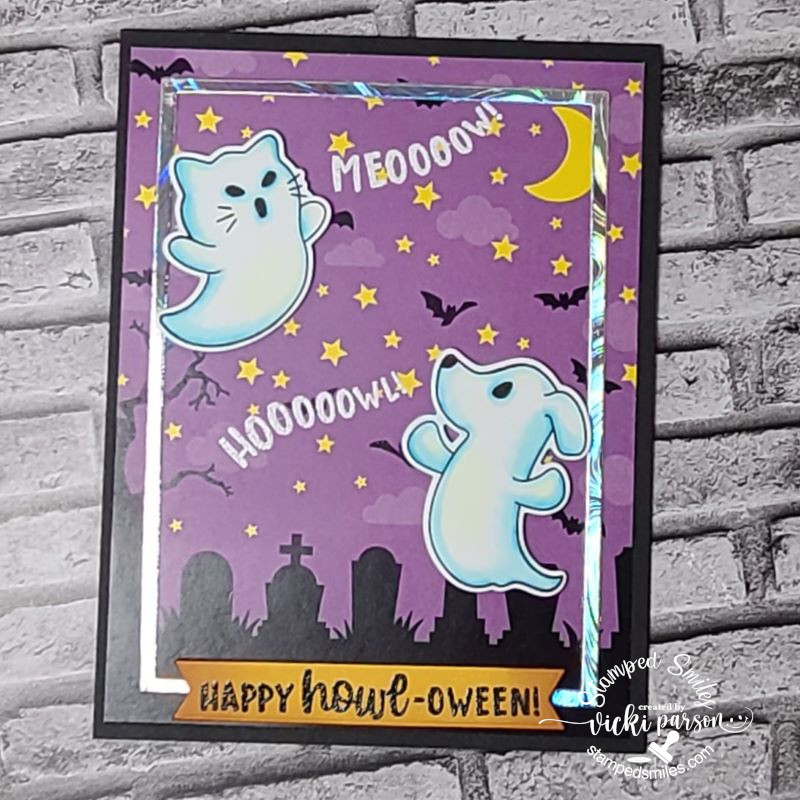
The dog and cat ghosts are too cute from Newton’s Nook! I love their “howling”! Not much to color and I’ve used the dies to cut them out and pop over the background with the paper pad from NN as well. I heat embossed the sentiment over a die cut banner and then added a frame around the edges with some holographic paper.
I made this for someone who loves Halloween almost as much as I do and also has both a dog and cat. The cat’s name is Spooky! LOL

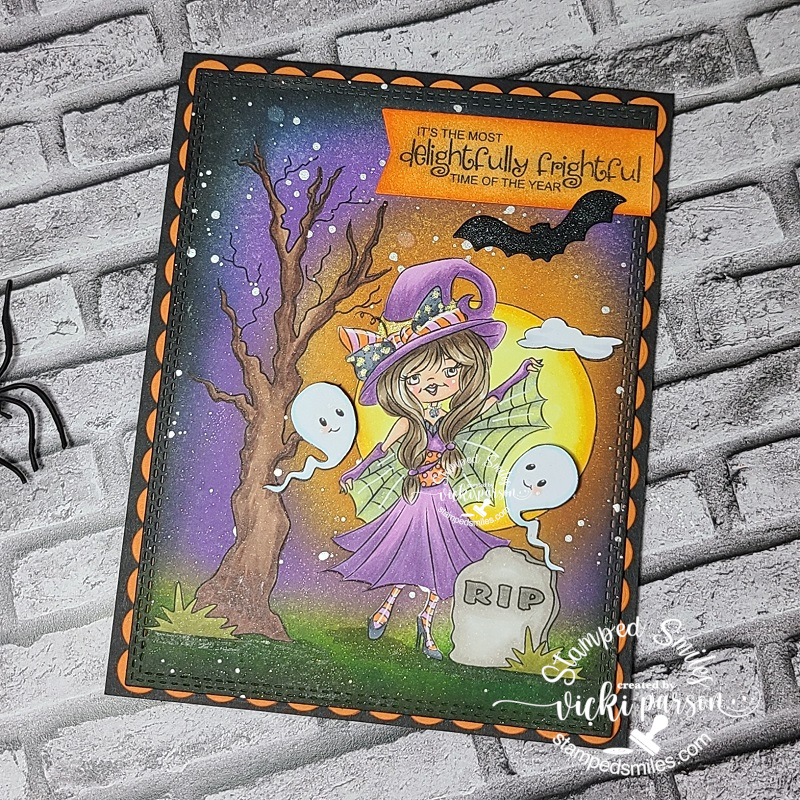
And here’s another card I’ve made using some Taylored Expressions products. I first ink blended the background in a couple of blue tones with dark blue around the edges and then splattered some silver watercolor for the stars. I used a layered moon stencil to the moon effect and then die cut the witch in glitter black cardstock. The sentiment was white heat embossed and cut out with a banner die. I’ve also used another frame of the holographic cardstock.
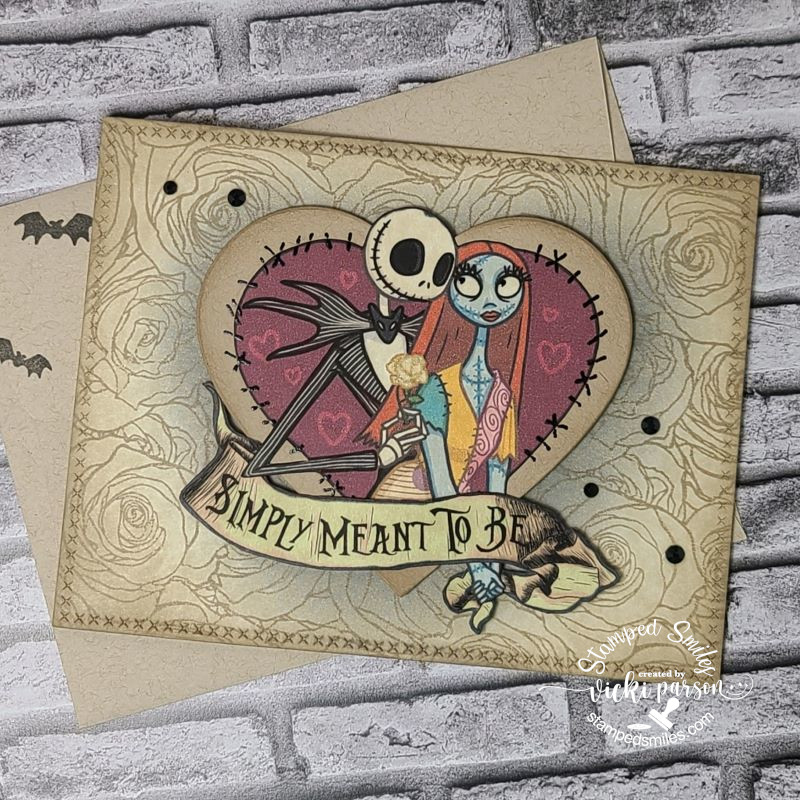
And last but not least, I’ve made this card and not necessarily for Halloween, but this was made for my husband’s anniversary card. We’ve been married 24 years and we both feel the same about Halloween/spooky things! LOL I found these fun digital images from Etsy to print out and then I fussy cut part of one to add to another. I stamped the background with a background stamp I had covered with roses and blended some inks around the heart. I also added some black gems around it and covered the rose “Jack” is holding with a glitter pen.
Hope you’ve enjoyed my post today! Thanks for dropping in and I hope you all have a wonderfully fun and spooky Halloween!👻
Challenges:
- Little Red Wagon – Trick or Treat
- Papercraft – Happy Halloween
- Creative Crafting Uncles – Halloween
- Penny’s Paper-Crafty – Anything Goes using paper
- Simon Says Stamp Wednesday – Anything Goes
- Krafty Chicks – All Occasions (bottom card anniversary)
- Sweet Stampin’ – All Hallow’s Eve