Today kicks off a weekend of fun to celebrate Whimsy Stamps 10th birthday! Yay!!! If you’ve been following along with me for a while, then you know that I have been a design team member at a few different times throughout the 10 years and I’m honored to be a part of the team again to help celebrate their 10th birthday!
I also wanted to share my birthday card inspiration:
So what could be more fun than this little Doggie Ice Cream digital stamp to help celebrate with! I have printed him out twice (I’ll explain below) and colored him up in the following Copic markers:
- Doggie body: E27, E25, E23, E21, R20 (cheeks) and white gel pen
- Doggie bib: BG78, BG75, BG72
- Ice Cream bowl: C8, C5, C3 (Used C3 for ground shadow under image)
- Ice Cream/bottom scoop: R85, R83, R81
- Ice Cream/top scoop: E53, E51
- Cherry on top: R39, R37, R35
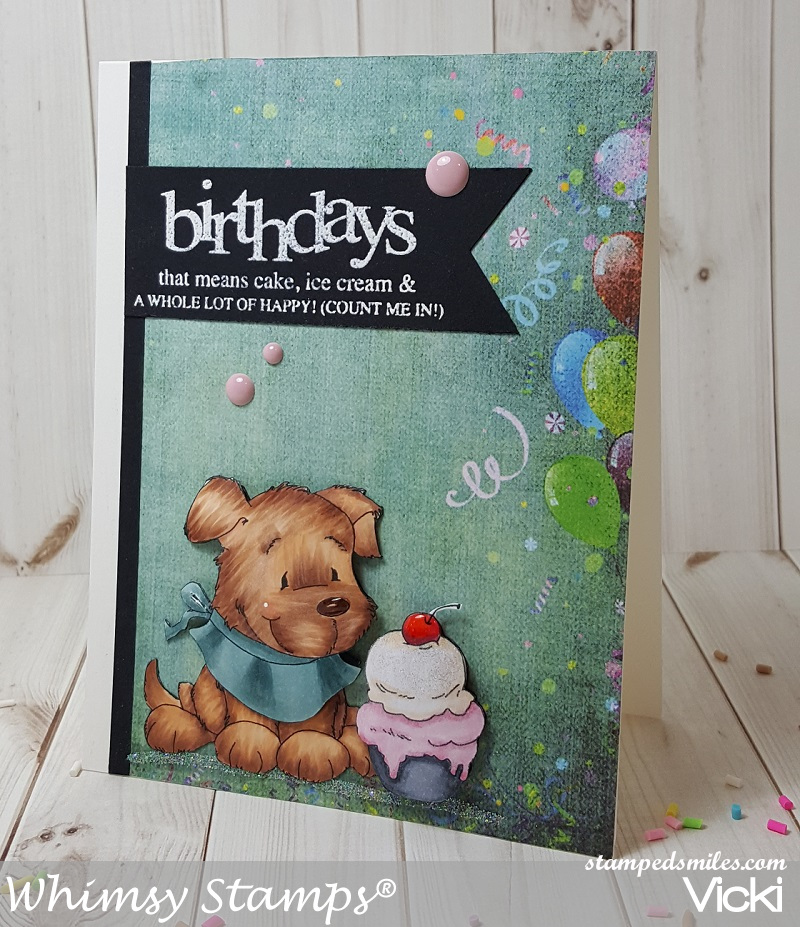
I have taken some older Whimsy Stamps paper packs (this one no longer available called “It’s a Party”) to use for the background of my card design…he has to have a party scene after all, right?!
I then took a thin strip of black card stock to go along the edge of the paper to give it a nice finishing touch. I also took another piece of black cardstock and white heat embossed the fun sentiment from the Whimsy Stamps Bold Statements clear stamp set and then cut a banner and attached it alongside the black strip. Lastly, I’ve added some fun matching Whimsy Stamps “It’s a Party” enamel dots to finish off the design.
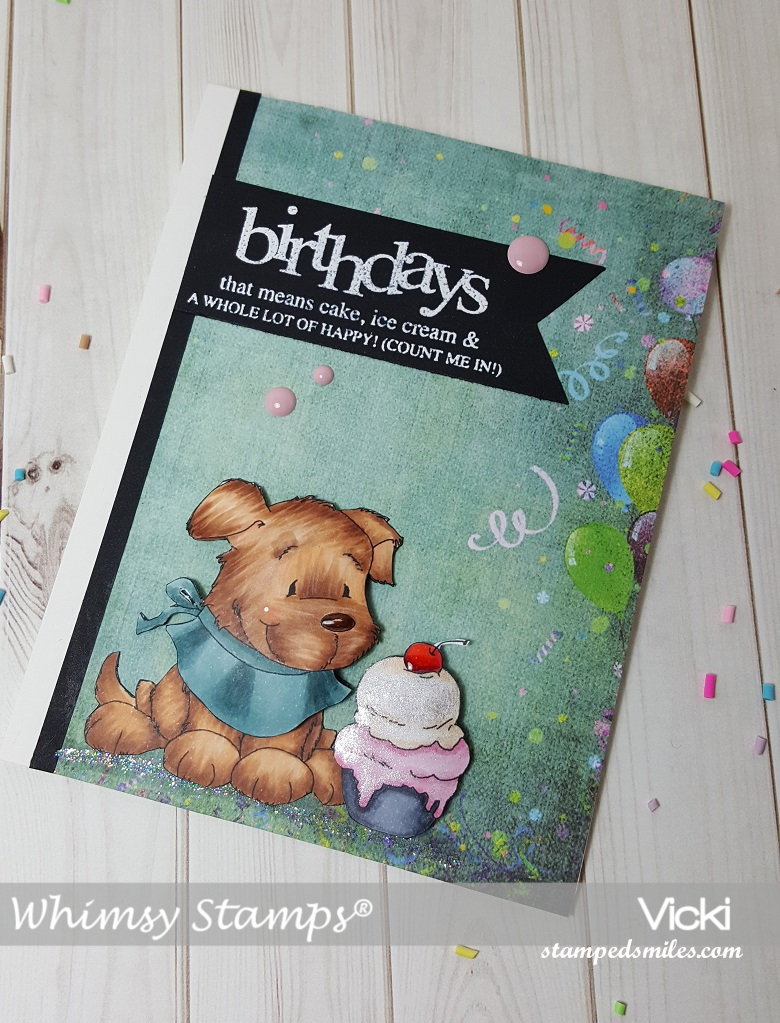
A closer look at my image, you can see that I’ve added some glossy accents to the cherry on top of the ice cream as well as the pup’s nose. I’ve used a Spectrum Noir glitter brush pen to over the ice cream scoops and then I took a liquid glue pen and sprinkled some more glitter under the pup image before attaching him to the paper.
The reason I printed out this pup twice is because I wanted to add some dimension to it. I colored and fussy cut out the entire image and attached him over the glitter ground. I took the second image and only colored his head/bib and the ice cream images. I fussy cut those out, then turned them over to rub a tool over which make it curl around the edges a bit. I used some foam tape to attach them directly over the image and it gives a nice dimension to it.

Here’s a peek of what that dimension looks like underneath. Because the edges curl, you don’t see much sticking out, but it gives a nice dimension to your image.
Hope you’ve enjoyed my card today and I hope you take part in the celebration with us at Whimsy Stamps in any way you can! I also wanted to thank each of you for the kind support you’ve given me with my Whimsy Stamps creations, it means so much!
Enjoy your celebration weekend and I’ll see you soon!
Challenges I’d like to enter this card for:
- Addicted to Stamps & More – Make Your Mark
- Crafty Creations – Anything Goes
- Tuesday Throwdown – Anything Goes
- Watercooler Wednesday (WWC200) – Occasions
- CRAFT – Anything Goes
