Hello friends! I hope you’re having a great week so far and that you’re able to keep cool as I know it seems to be pretty warm for many of us in the U.S. It’s a great time to do some crafting, so I thought I’d share a few cards that I made that I needed. (Scroll down in this post to see the ‘rainbow’ card.)

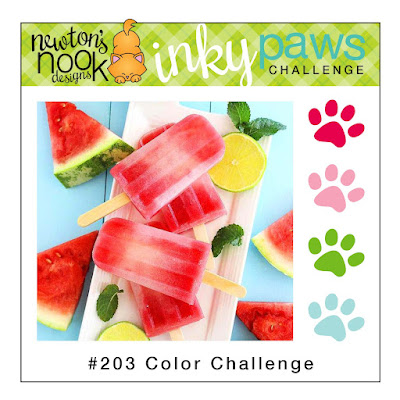
I think a margarita sounds pretty refreshing in this heat! Newton here seems to be enjoying it anyway! All of the stamps I’ve used are from Newton’s Nook and I’ve made this card for a special person’s birthday. This person I’m making this card for had gotten me hooked on mango margaritas and I wanted to represent that in the card. (Note the salt rim on the glass.) The color is more a strawberry color, but I wanted to go with the colors for the Inky Paws Challenge. (See below in the challenge list.)
I stamped the “happy birthday” sentiment (retired set from Newton’s Nook) repeatedly in the background on the pink panel and then I splattered it with white Copic and water with a brush. The panel was cut from the Newton’s Nook Framework die set and layered with colors that match with the challenge. The blue card base was repeated stamped with the taco and I stamped, colored and cut one out to place behind Newton with the margarita. I took a strip of Doodlebug green polka-dot paper and white heat embossed the sentiment. I cut a tiny strip off and turned it over to glue at the top of the strip. I used foam tape to add the margarita kitty, finished it off with white twine and sequins with a spot of Stickles in the centers.
Challenges for margarita card:
- Inky Paws – #203 color challenge
- Country View – 4 legged friend
- The Diva’s That Cut Paper – Birthday theme
- NBUS – #52 July (Never Before Used Schtuff!) New Newton’s Nook products!
- Crazy for Cats – Anything ‘CAT’ goes optional: festive
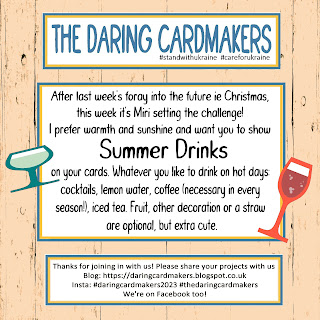
- Daring Cardmakers – summer drinks
- Simon Says Stamp – Anything Goes
Here’s another card I wanted to make for Beccy’s Place challenge using the free image that was provided this month and I thought it would make a great card for encouragement to send for a special cause I’m donating for:

I’ve used the non-colored version of this image and before printing it out, I’ve added a sentiment at the bottom from the Seasonal Window digital set from Beccy’s Place. (There are quite a few uplifting quotes in that one.) I colored the image with Copics and added a bit of shimmer on the sun with a glitter pen.
I think I’ve made this popped up frame around the image more complicated than what it needed to be, but I cut out the scallop frame twice for thickness, and also printed out a piece of the rainbow looking papers that was also a part of this month’s Beccy’s Place Challenge free image. I cut it out with the scalloped frame and attached it to my double thick frame layers. The image was placed over a black cardstock and the popped-out rainbow frame was placed over the image keeping a portion of the black frame showing. These layers were mounted over a 4 1/2″ square white card base.
Hope that you’ve enjoyed my cards today! Thank you for stopping in and I’ll be seeing you Saturday for another Art Journal Page!
Challenges for ‘rainbow’ card:
- Beccy’s Place Challenge – July Anything Goes using Beccy’s Place image optional: animal(s)
- Crafts Galore Encore – Anything Goes
- The Corrosive – Anything Goes
- The Crafty Addicts – Anything Goes
- Pammie’s Inky Pinkies – Anything Goes
- Love to Scrap – Anything Goes
- Love to Craft – Anything Goes