Hello friends! (Long post with lots of photos!!)
I wanted to share the Valentine card I made for my hubby on Valentine’s Day yesterday, but I couldn’t share it on my blog until after he got it because he can be known to be a “stalker” on my blog to see what I’m up to!! LOL!
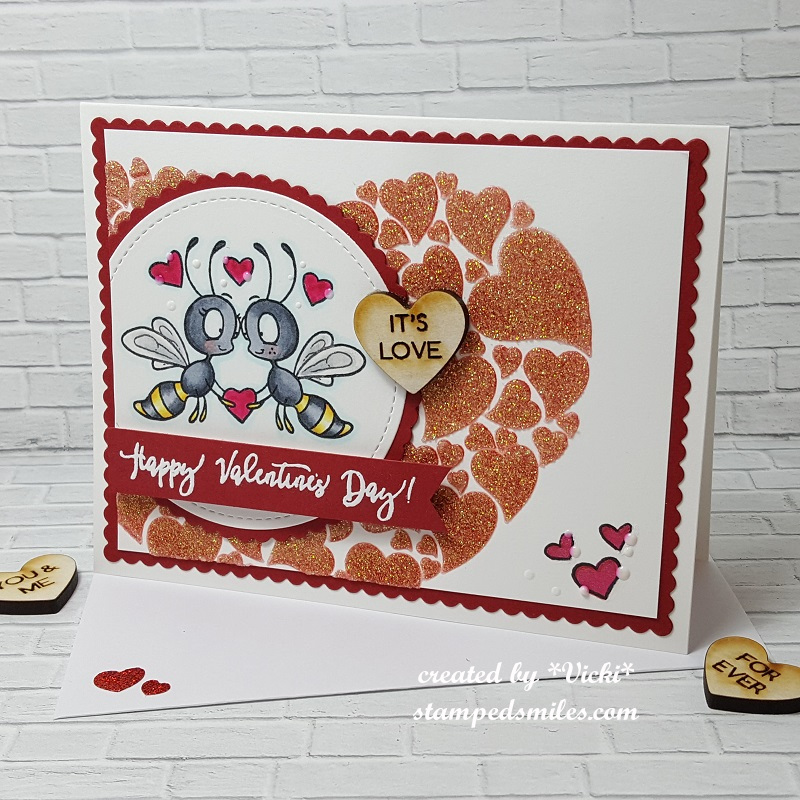
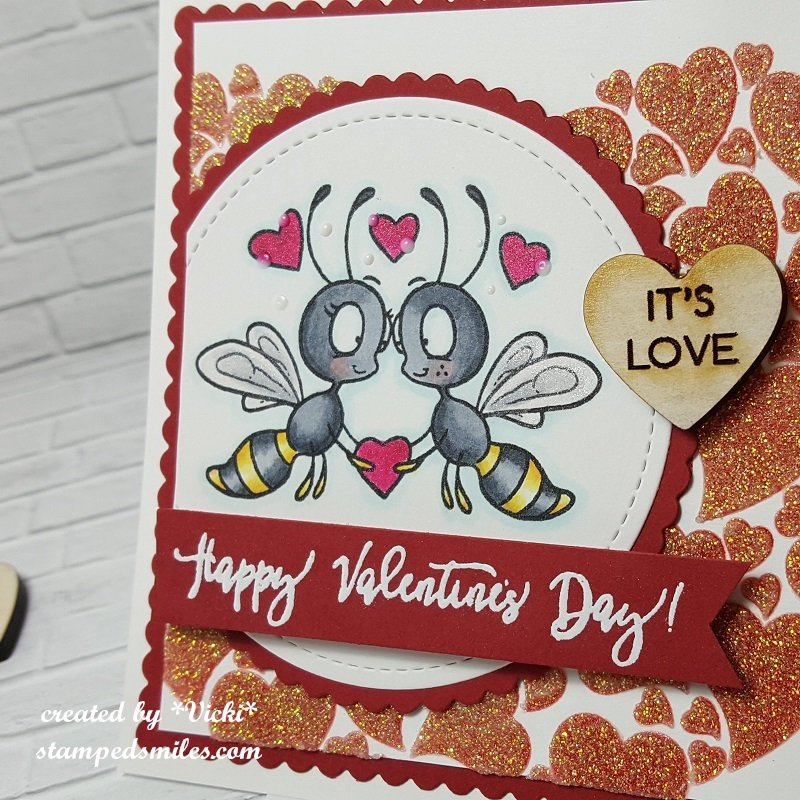
I’ve colored up these “wasps” with Copics and for the wings and hearts there is a bit of shimmer on them as you can see in the photo. For that I have used the Aqua Pigments Valentine Collection plus the Aqua Pigment Pearl for the wings. I heat embossed the sentiment from the stamp set with EP and I cut the banner myself with scissors and mounted it over the card with the Foam Tape. The little wooden Convo heart accent was added too. Lastly, I took some Nuvo White Crystal Drops and added a few dots here and there around the hearts.
I’ve cut the “wasps” out with a stitched circle die and mounted it over some cardstock from the kit that was cut with a scallop circle die.
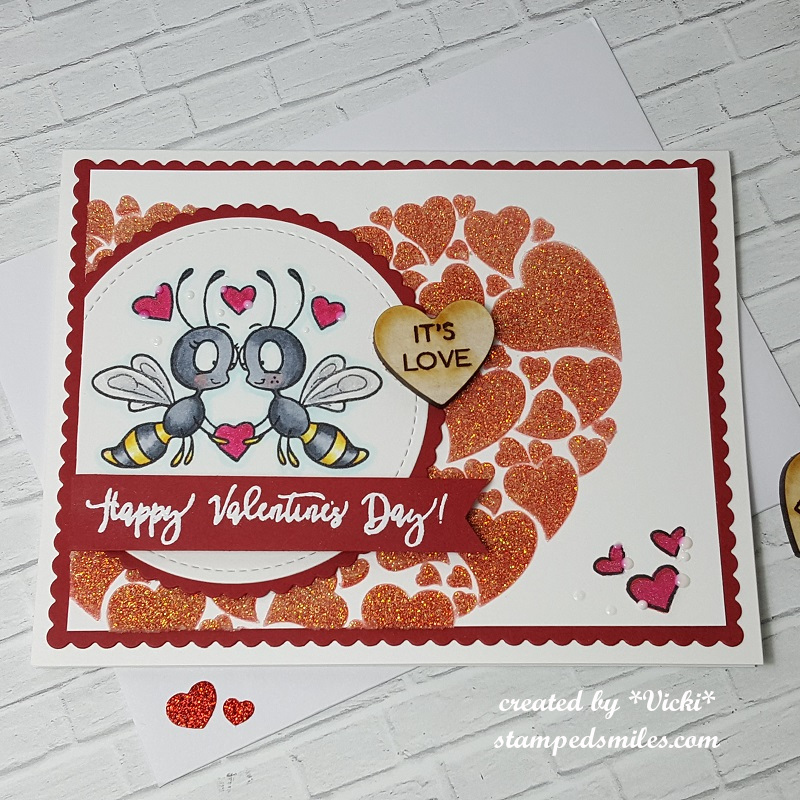
So, for the background of my card, as I had mentioned above, I used the stencil in the background which is a huge heart with several hearts inside of it. I took some Ink and sponged it over my white card front background. I was able to take some Nuvo Moonstone Glitter Paste and go over it to add sparkly dimension to it! LOVE how it turned out! I stamped a couple more hearts in the bottom corner and colored them the same as the hearts with the “wasps” using the same Aqua Pigments collection. I also added more dots with the Nuvo White Crystal Drops. I layered this onto a piece of red cardstock and cut it out with a scallop rectangle die and then mounted this entire design onto an A2 sized top folding white card base. The envelope underneath was used to house the card in and I embellished it with some heart glitter stickers that was included in the box as well.
Challenges I’d like to enter this above card for:
- Crazy 4 Challenges (C4C470) – Valentine’s Day Card
- Crafty Cardmakers – Love, Love, Love
- Always Fun – Love/Valentines
- Tuesday Throwdown – Falling Hearts
- Try it On Tuesday – Romance
- Crafting By Designs – Love is in the Air
- Crafty Gals Corner – Love is in the Air (Add a Heart)
- Creative Knockouts – Love is in the Air
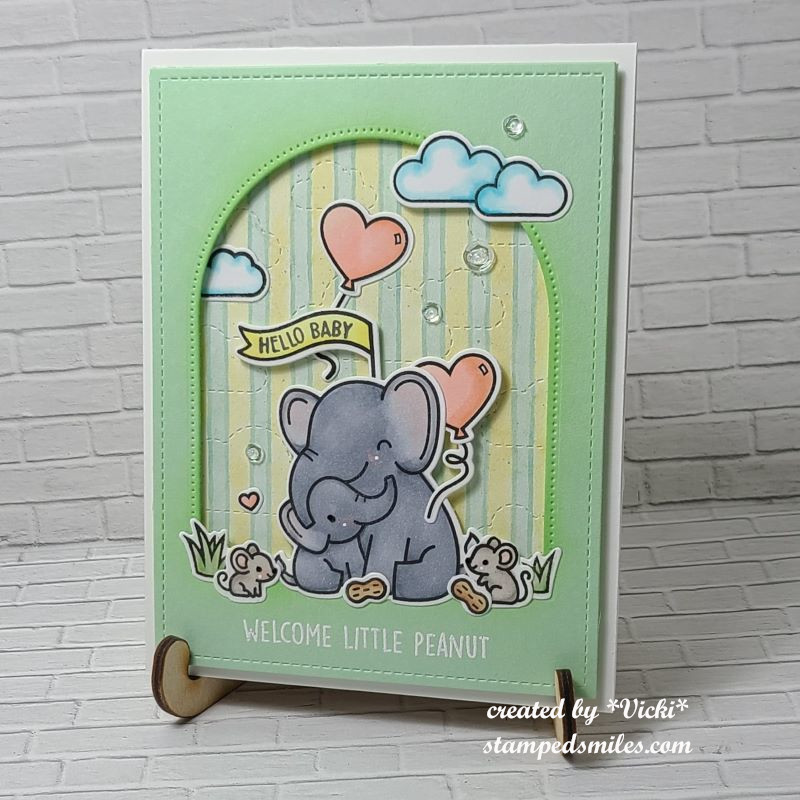
Now if you remember this post I had a few weeks ago where I had started (late of course) making up my calendar pages for 2019 to put in my stamp room, I needed to make up a couple more of them as the time keeps on ticking….

LOL! These cute Calendar Grumplings from Taylored Expressions so crack me up! 🙂
Oh, I can’t believe we are getting ready to look into the month of March soon! I think after having so much cold, ice and snow, I’m about ready to see some pretty flowers in my back yard! Yay!
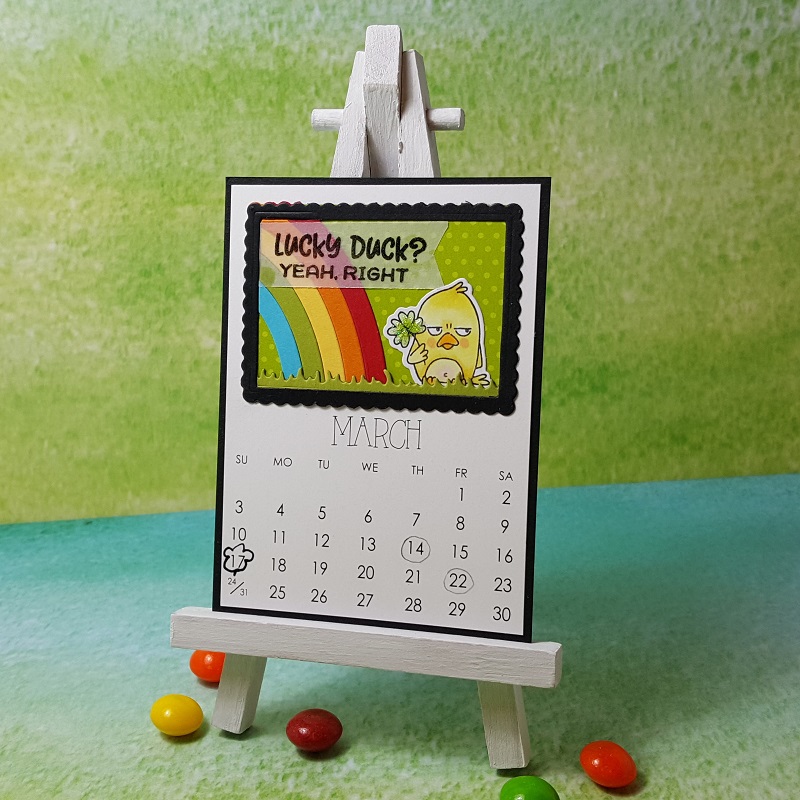
So, here’s my March calendar and like the entire calendar card set, I’ve used the Taylor Expressions pre-made 3×4 Calendar set for 2019. I’ve cut down this panel very slightly so that I could mat a black piece of cardstock behind it.
For the image area, I’ve used a rainbow die from Lawn Fawn and cut it out in several different colors to create rainbow strips which I’ve added to the backside of the black scallop frame from the TE Build A Scene – Calendar 2 die set. I’ve also cut out a strip of grass from the Build A Scene – Calendar die set. The sentiment (from the same stamp set) was stamped with black pigment ink and clear heat embossed over a strip of vellum which I cut into a banner with scissors and then attached it to the corner of the black frame.

Here’s a closer view of the image panel. I colored the image with Copic markers and then cut it out with the coordinating TE Calendar Grumplings die set. I’ve also added some Nuvo White Blizzard Glitter Drops over the clover.

And here’s my April Calendar card using the same stamp set, coordinating dies and 2019 pre-printed calendar cards. I slightly cut the edges to mat the blue cardstock behind it as well. I’ve used this same color of cardstock to cut the frame from the TE Build A Scene – Calendar Dies. I stamped the sentiment onto a strip of white cardstock and made a banner with my scissors and attached it behind the frame on the top left side. (I’ve also used this same die set to cut a couple of clouds and sponged some gray ink at the bottom of each one.
For the bottom of the frame, I took a piece of vellum and cut out that piece from the Build A Scene – Calendar 2 dies. I took a glitter brush pen to add some sparkle to this piece of vellum, so it makes it look like a “rain puddle” he’s standing in.
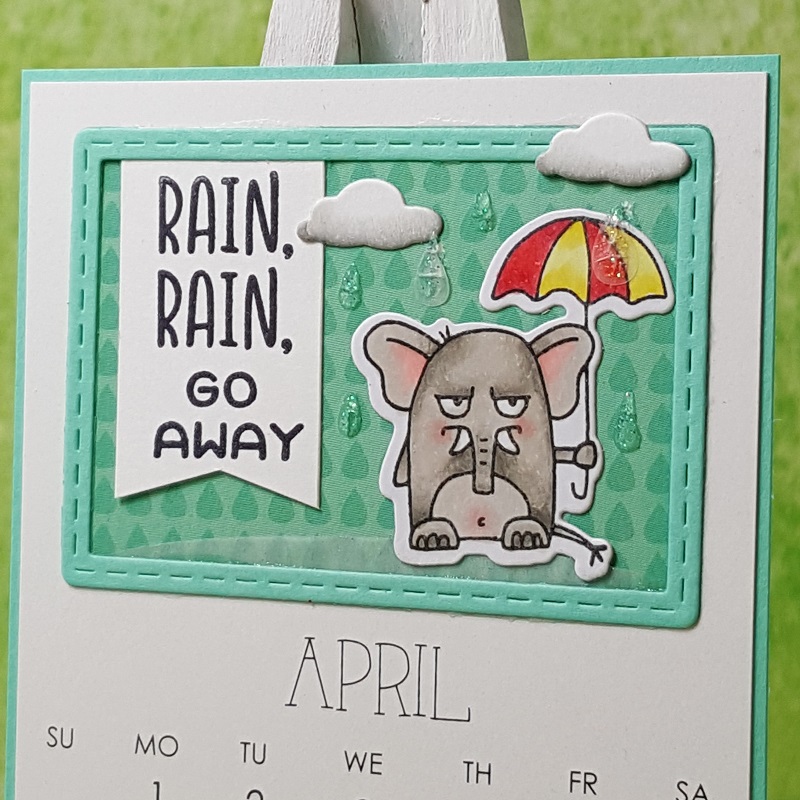
For this elephant image, I also colored him up with Copic markers and cut him out with the coordinating dies. I attached him along with the clouds over the panel where I wanted them to be. I cut out some “rain drops” with vellum but ended up not being able to see them very well, so I took the Nuvo White Blizzard Glitter Drops and went over them and then created more “rain drops” with it….I ended up liking that effect better, but I had already attached the vellum and just decided to leave it and go over them. LOL!
There you go, that just tells you that I’m either getting old and my sight is failing me or I just have been continuously crafting until I’m blinding myself!! ha!
I hope you’ve enjoyed my crafty makes today and I will be back again tomorrow to share a special post with you for a VERY special cause and I hope you can join me to share in this event!! So please be sure to come back tomorrow!
Have a great Friday evening and thanks for dropping by!