Hello friends and happy Friday! Are you looking forward to a nice weekend? I have some crafty time in store for me, but honestly, I need to be cleaning my craft room!
Today starts a new challenge over at the Alphabet Challenge blog! Please be sure to check out the challenge blog to see how to play as we go through the alphabet letters every-other week (fortnight) for each new challenge.
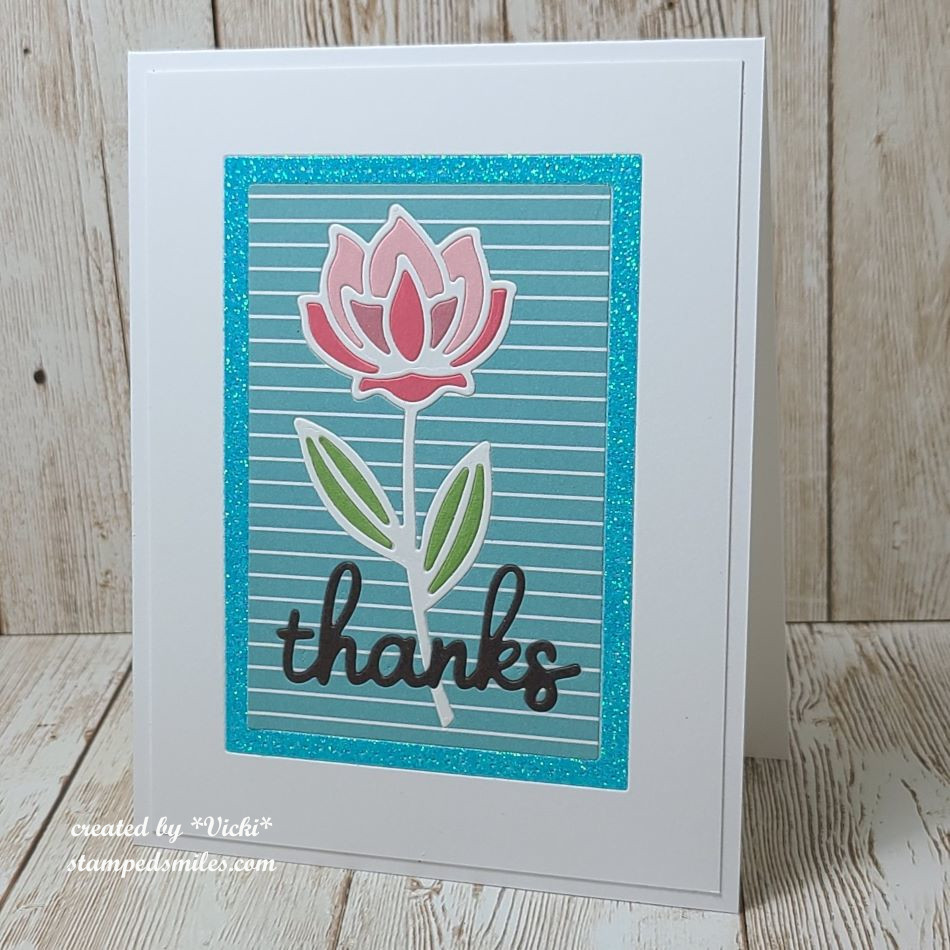
For this challenge, we are at the letter “V” for Vintage and here’s what I’ve come up with:

I love the look of vintage style cards, but I don’t make them very often, so this was a great challenge to get me motivated in making one!
I fell in love with the Simon Hurley “In the Garden” stamp set (discontinued) last year , but never got a chance to play with it until now. I thought the images were perfect for a “vintage vibe”. I got that along with these gorgeous papers from Scrapbook.com called “Vintage“, of course! The imagery went well with the stamps in the set.
I started with cutting all of the different patterns from the paper pad into a card design. I sponged around the edges with Hickory Smoke oxide ink. I die cut the “graph paper” panel with Taylored Expressions A2 Postage Stamp Stacklets die. On that panel, I stamped the wording from the SH stamp set with Hickory Smoke oxide as well as a few hearts in Tattered Rose oxide ink. I also took a music score rub-on that I got from Scrapbook.com to add in the corner and then sponged around the edges with Hickory Smoke oxide. I layered this panel onto a piece of grey cardstock. The second layer was also layered onto another piece of grey cardstock and then layered over another piece of the Vintage pattern paper over an A2 top folding white card base.
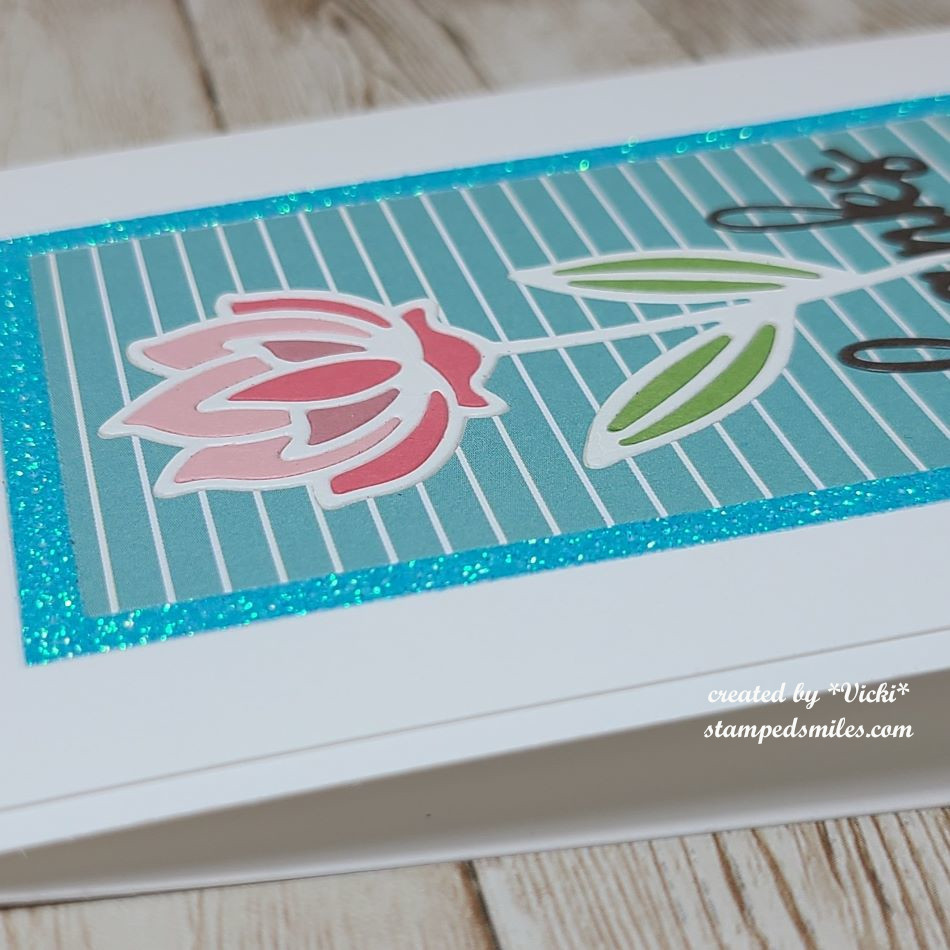
For the stamped images, I stamped them in black pigment ink and then clear heat embossed them. I used Shabby Shutters, Tattered Rose and Victorian Velvet oxide inks to watercolor by smooshing the ink pads onto a surface and using a water brush for coloring. I fussy cut out the images and popped them up over the panel with foam tape.
Before attaching this panel onto the next panel, I added some grey seam binding ribbon tied in a bow on the side and then popped it up with foam tape. I also die cut the lettering from the Tim Holtz Script Words set in black and attached onto the graph panel.
- I hope you’ve enjoyed my card for you today and that you’ll stop over to the blog to play along in the challenge with us! Wishing you a happy and productive weekend!
Challenges:
- Sweet Stampin’ – LOVE! (must use stamp)
- Allsorts – #816 Romance and/or Music
- Stamping Sensations – Valentines, Weddings, Romance or Anything Goes + must have stamping
- Aud Sentiments – #322 Love/Anniversary/Wedding and/or Shimmer + sentiment
- Triple B – Birds/Butterflies/Blooms (must use at least one)
- Try it On Tuesday – Romance