Hello friends and Happy New Year! We made it! Now it’s time to welcome 2026!
There are SO many things that happened this past year that I couldn’t even imagine, but they are all locked into memory now! It’s time to see what 2026 has in store for us next!
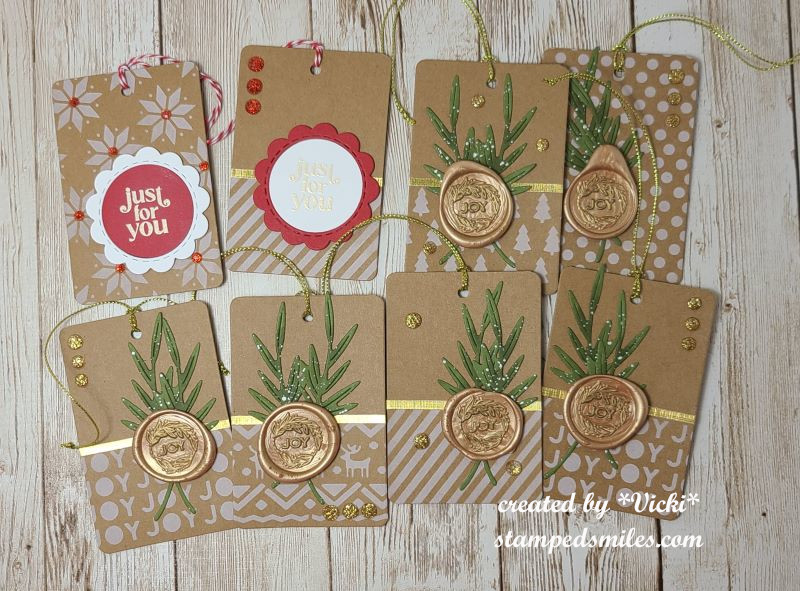
After sending out my Christmas cards, I always seem to forget to send one to someone, so I made a batch of New Year’s cards just in case and I ended up sending all of those out as well! I will have to make more if another one comes late! LOL
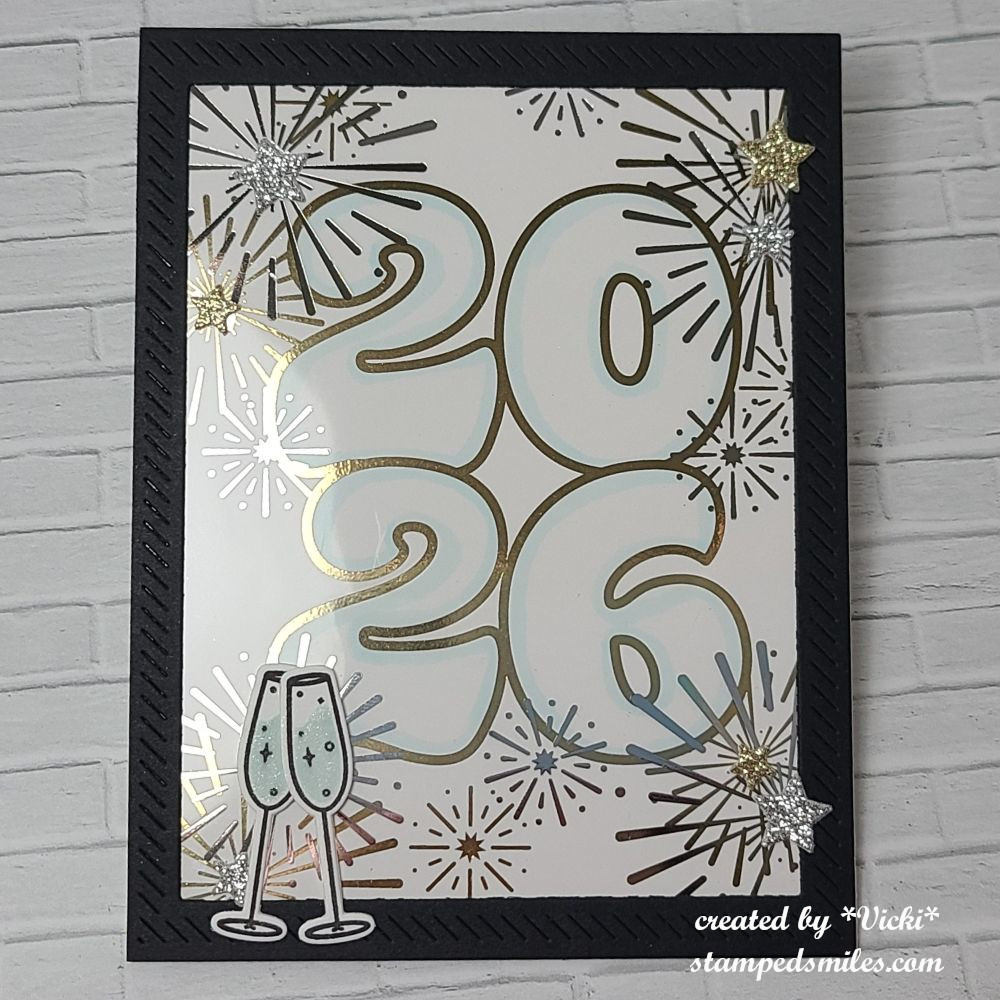
These were fun to put together using the Taylored Expressions New Year Bundle. I mainly used the Foil It – Shine On New Year and the Foil It – Acetate Framed Fireworks sheets. I foiled the numbers panel in gold and then the fireworks panel is clear acetate to layer over top of it that I foiled in silver. Fairly easy to do once you get them all foiled up and then just assemble together. I then cut out a Frame in Frame 3 in black cardstock to attach the acetate panel to and then layered it over the white foiled panel. I attached these onto a side folding A2 white card base.
To add a bit more sparkle with the shine, I die cut some different sized stars from the TE Little Bits-Stars dies in both silver and gold glitter cardstock. I added them randomly over the design.
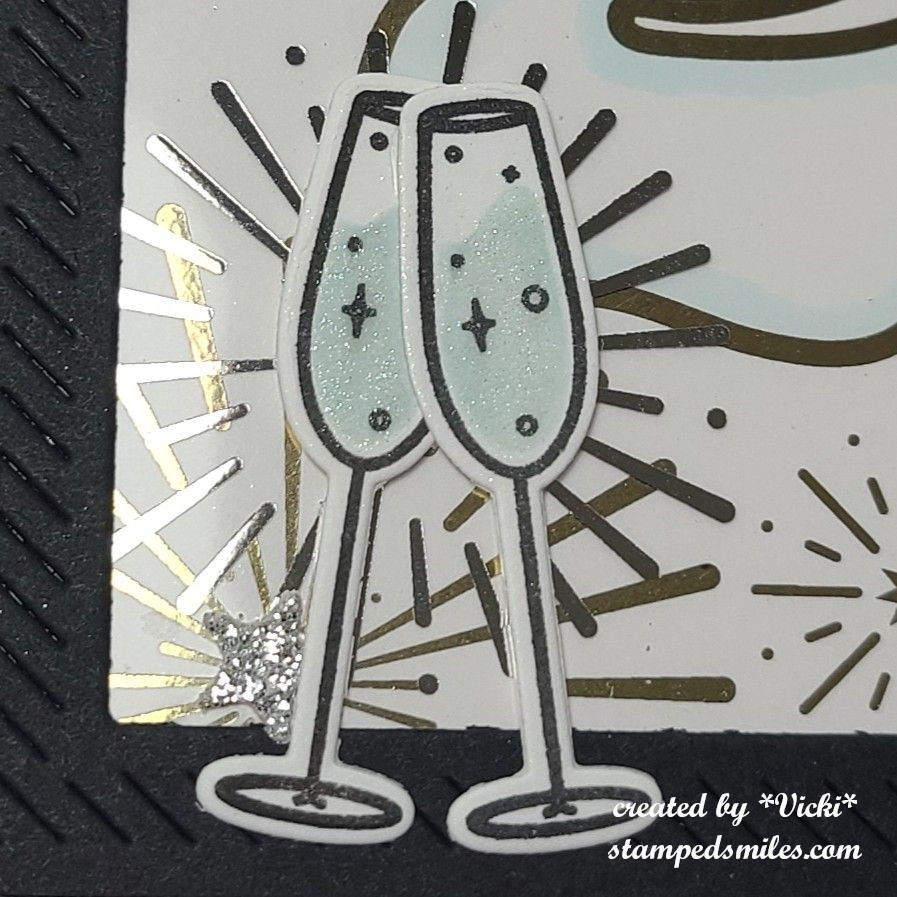
Zooming in and looking at the background, you can better see all of the foil with the acetate and how it layers together along with the sparkly stars.
For a little more decoration, I took the TE 5 O’Clock Somewhere Stamp & Stencil Combo to stamp, add color to the champagne drink and then cut it out with the coordinating die. I only needed that one drink from the stamp, so I stamped several (I made a set of 6 cards) with needing two glasses for each card. I put one glass in front of the other and made it look like they were clinking together. I attached them at the bottom of the left side of card and then covered the liquid inside the glasses with a glitter brush pen.
I didn’t take a photo of the inside of the cards, but if you get a chance, check out these funny insiders panels from TE called Snarky New Year. I thought these were so fun and I foiled all of these in gold as well. Love using those Insiders so that I can quickly just attach something on the inside and not worry about stamping everything.
- Thanks so much for dropping in today! Wishing you a happy and healthy New Year my friends!
Challenges:
- Little Red Wagon – #839 “Use the Force” (pressure with Minc machine and die cut machine)
- the Divas that cut…paper – Use NEW Crafty Item – All TE New Year products are brand new linked in post!
- Crafts Galore Encore – #143 Anything Goes
- Craft Rocket – #132 Something New (All new TE New Year products)
- Love to Craft – #90 Anything Goes