Some Inky Stamper Escaping!

Hello friends!  It has not only warmed up over my way, but we went from about 50 degrees to straight up 90 degrees within the last few weeks!  I think it’s supposed to slightly cool down in a few days, but I’m happy it’s warmer anyway.  Hope that you’re all doing well too.  Been wanting to share with you what I’ve been up to, but first I have this fun card I recently made:

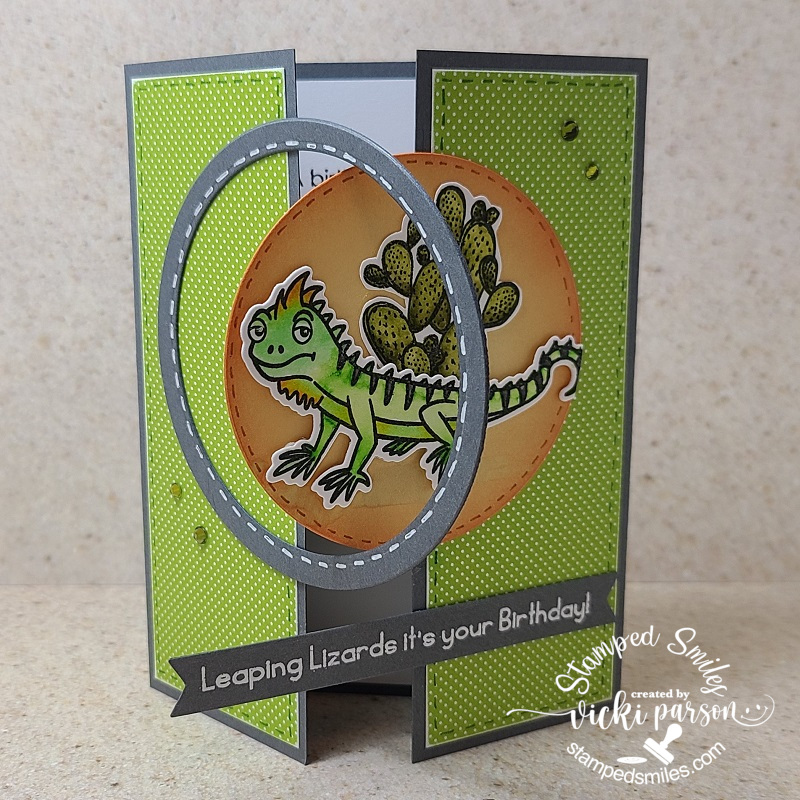
I thought this was so fun and easy to create!  If you’ve ever made a gate-fold card, try one of these interlocking ones!  I love the way it opens up from just a traditional card.  This is the first time I’ve tried one of these and I’ve made it for this month’s Inky Stamper Inkspirations FB Group‘s challenge…which is to make a gatefold card.

I’ve also used one of the brand-new stamp sets that came out from Inky Stamper called “Iguana“.  I’ve stamped the images out on Bristol Smooth watercolor and used my Zig Brush Markers to color them in.  The stamp set has a coordinating Iguana die, but I fussy cut the cactus out to place behind him.  I white heat embossed the sentiment from the stamp set and die cut it out with a banner die to place at the bottom of the card.

You will notice that I’ve only attached HALF of the panels on the front so it can be opened freely with the circle frame interlocking with the circle image panel.

To complete the decorating, I’ve used the Doodlebug Swiss Dot paper pad and added some Picket Fence Reflections Gems for a few accents on the front.  I also took a few markers to add some stitch lines.

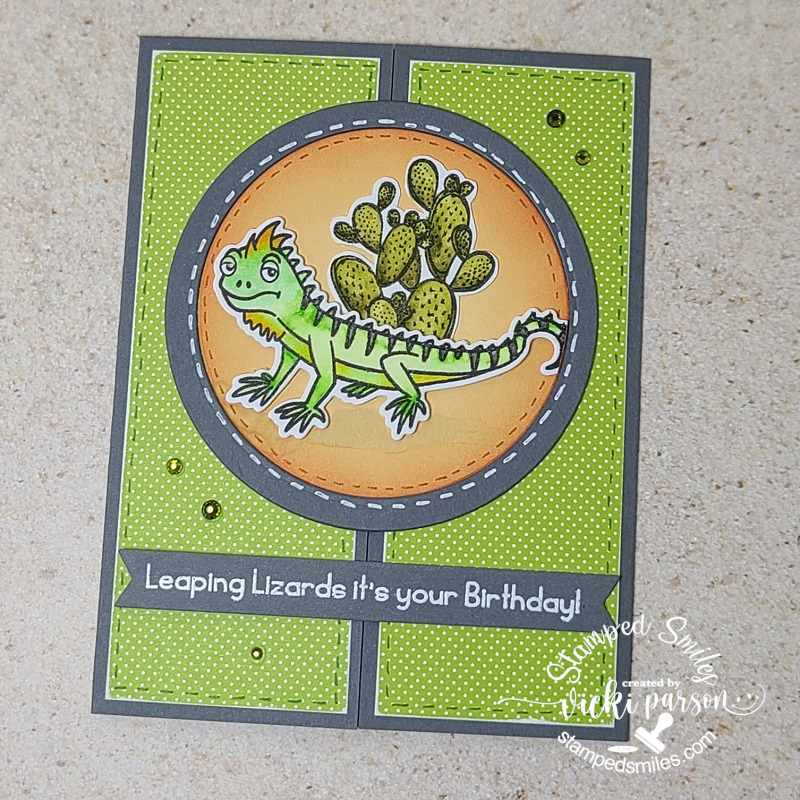
Here’s what the card looks like when it is completely shut.  You just have to be sure that the two circle panels can freely open without interference, which is why I had to cut a very small piece from the Iguana’s tail so it could close properly.  I honestly don’t think it takes anything away from the design.

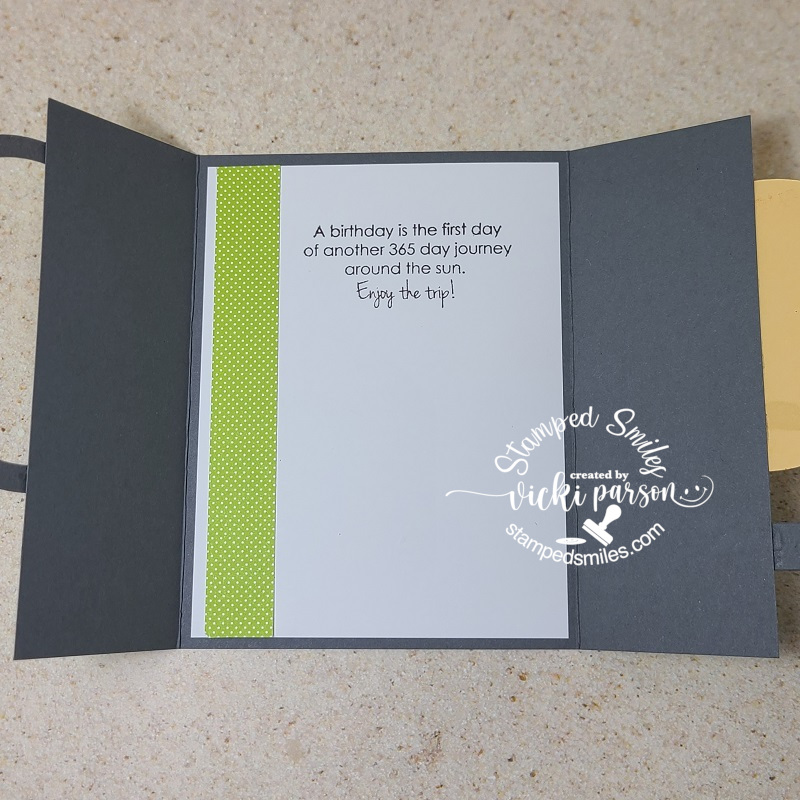
And then when the gatefold opens, you can see my inside sentiment.  I’ve taken a strip of the paper I’ve used on the front and added it to the inside to make it all cohesive.  (I think I’ll add some stitch lines to it now that I’m looking at it.)


And speaking of “Inky Stamper“, I had a really fun time not this past weekend but the prior weekend taking part in the “Inky Stamper Escape Event”!  I spent the weekend crafting, doing some fun make’n takes, shopping and meeting the special people behind the company!  So very exciting and so much fun…especially meeting new friends!

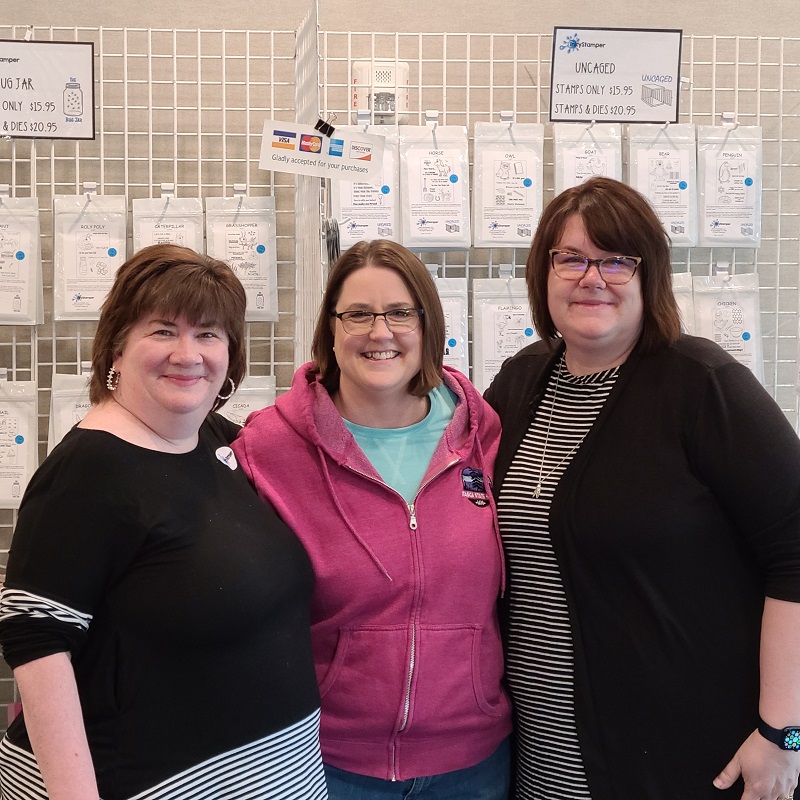
SO EXCITED to have met Chelsea and Kim!  Really enjoyed the time and trying out all of the new things!!

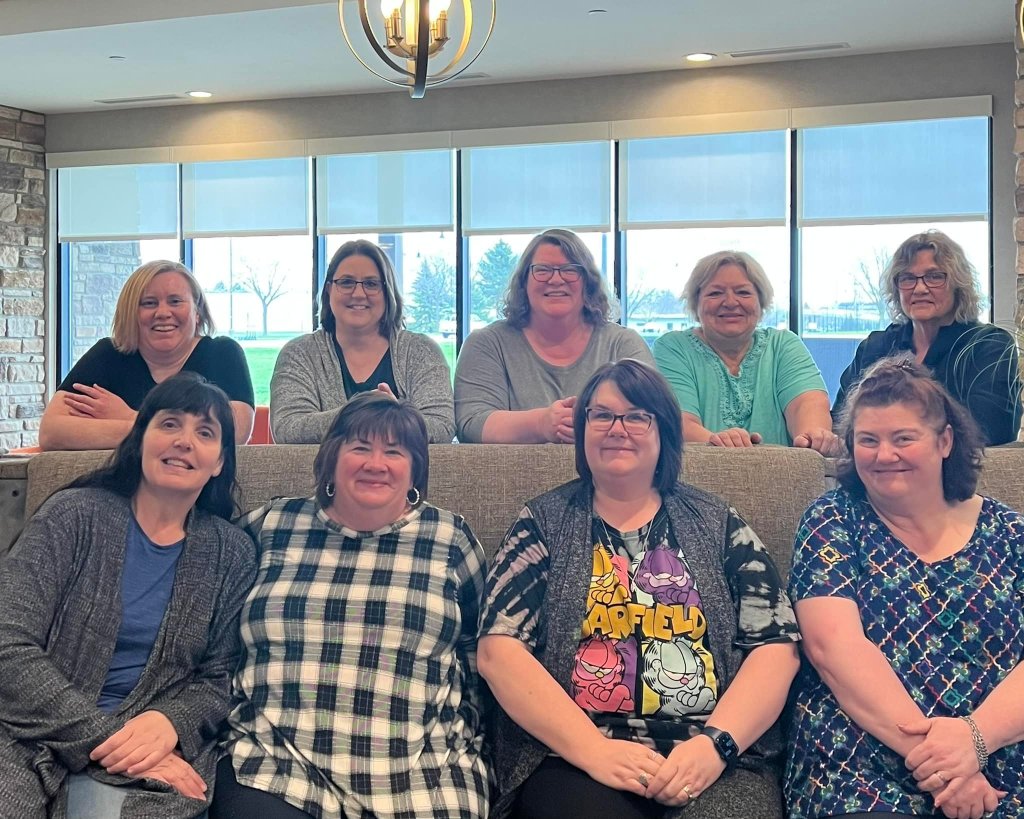
Here we are!  This is the crew that stayed for the weekend although there were several others that stopped in to partake in the make-n-take fun or do some shopping.  It was so fun to meet some new friends and get to know them too!

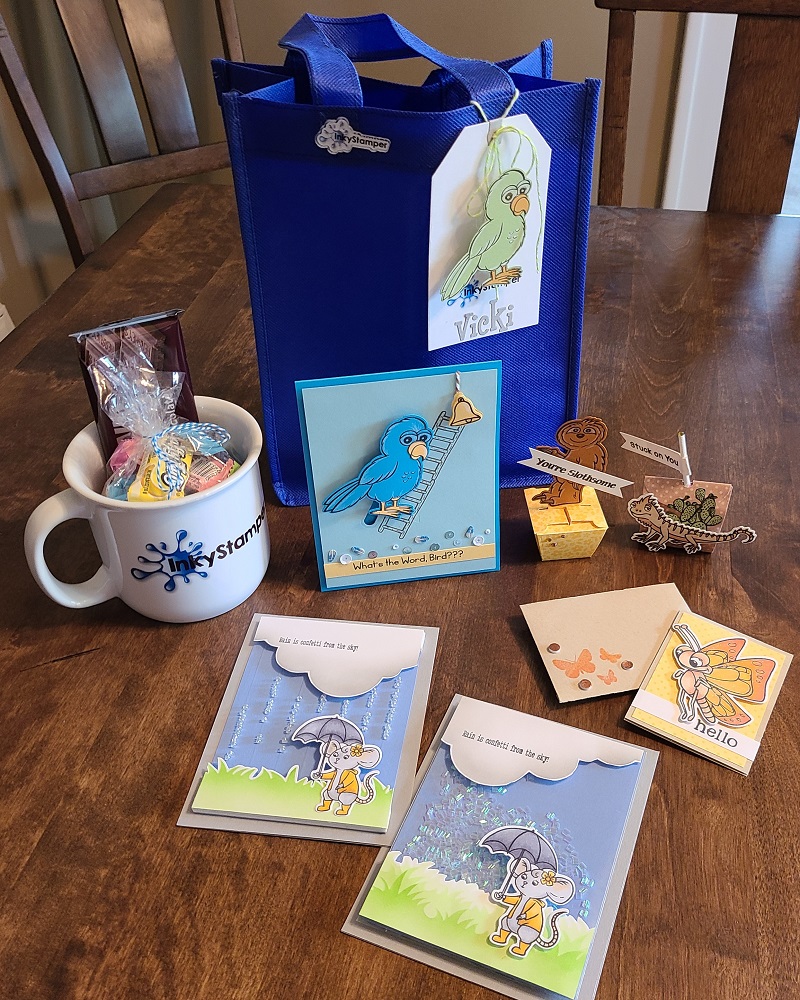
And of course here are the Make-n-takes we did with all of the new release items!  Lots of interactive fun with a waterfall card, shaker card, slider card, mini treats and even a mini card with a cool foiling technique.

The swag bag was too cute with a special tag that had my name on it, an Inky Stamper pin and lots of fun goodies inside (not shown).  Plus an Inky Stamper mug with some yummy goodies inside too!  Aside from being spoiled, it was fun to be able to stamp with friends while working on some of my own projects.  Really great time and special thanks to Chelsea and Kim for making it a memorable one.

Hope you’ve enjoyed my gatefold card and post today!  Thanks so much for stopping in as I enjoy hearing from you!

Challenges:

  1. Inky Stamper Inkspiration FB Group – gatefold card
  2. Crafty Friends – Animals and/or birds (including insects)
  3. Crafty Animals – Anything Goes + animal(s)
  4. Krafty Chicks – Stamp Act
  5. Pammie’s Inky Pinkies – Anything Goes
  6. QKR Stampede – Anything Goes
  7. Lil’ Patch of Crafty Friends – Anything Goes

Hello! Anyone still with me?

Hello there friends!  I know that I had posted that I’m stepping away , but this blog is still “active” for now and I have been crafting anyway…   so after stepping away from it, I still follow along with different companies and inspiration on FB. But because I have SO much product and I wanted to be able to actually USE the things that I have instead of letting it just “sit around”, I was taking photos and posting (in FB groups) anyway, so I thought why not just BLOG IT?!  Not just the crafty aspect of it all, but blogging itself is a bit of a release too.  It gives me a “record” of my crafty experience, what and why I might have done something…so I decided for my own personal reasons, to come back to this “old dinosaur” method to enhance my crafty journey.  It may not be exactly like it had been before, but that’s how crafty journeys evolve.

It’s been fun and busy with hubby being retired and home, but after getting use to it and traveling a bit, I was and still am taking a few classes here and there and just having fun.  Because of the pandemic, so many companies have turned to “online” classes, conventions, challenges, etc so I thought it was a great opportunity to try some of that out without the expense of traveling for it!  I’ve done several actually, but just mainly posted within the groups they were made for.  Then I started thinking once again about all of the “stuff” I have and still ARE accumulating…so my mission is to actually use the product I have. I will try NOT to keep purchasing in the future!  (Let’s see how THAT goes! LOL!)  The blogging might help keep me motivated in doing that too…I hope!

So if you are still following…Wow!  Thanks for being here!!  Not really sure how often I will be posting, but this will be mainly where I will be sharing anything “crafty” that I’m doing.  Maybe I can inspire someone to use their own crafty stash?  Hope you can join the fun with me here too! 🙂  

I’m starting with a couple of summer classes that I just recently completed with Taylored Expressions.  She did a class earlier this month with a set of 4 completed cards using similar style products for each class.  The first one was called the “Gifted” class:

The top left card was used with a watercolor wash for the background.  There’s a cover plate die that cuts out all those presents which I used on the card below that one to arrange over the sponged square area.  The cards on the right side were both ink blended with the bottom right card using a stencil.  I’ve also added some sparkle with a glitter brush pen and some glossy accents to the die cut “YAY!” lettering.  Envelopes with seals were also included with this class set which you can see on the far right of the photo.  I always need birthday cards, so these will work out great!

This next set is also from Taylored Expressions that I just finished up this weekend.  Really enjoyed this class with some things that I forget about doing with my cards:

This class was called the “Diamond Botanical” class with another set of 4 cards.  The top left card was fun with a more mixed media style using paint for the background and splatters.  The only thing that I changed up was the background stamp.  I didn’t have the stamp from Taylored Expressions that they used in the class, so I used a Stampin’ Up! Birch background stamp I found in my stash. (So yay that I’ve already started with using my existing stash with the new!)

The top right card is a shaker card and the bottom left card is a gate fold card with the sentiment panel helping to hold it in place.  Again, with this class we were given envelopes with the matching seals off to the right.  These were fun little classes to take and get some cards completed with!

Hope you enjoyed these sets too and were inspired!  Are you taking any virtual or in-person classes or events this Summer?  Has your crafting experience changed for you recently and what things have you changed about it?

I know I’ll be back again with more creations I’ve been working on. Thanks for dropping in and I hope you’re all doing really well!  Have a great day! 🙂