Hey there friends! Wow, so my last post was Thanksgiving and I pretty much missed the entire month of December it seems like, right?! It has been a very crazy month with lots of different things (including personal) going on so pardon me for going MIA!
I HAVE been working on some projects here and there and I would be happy to share those, but for right now, let’s focus on the Christmas projects that I’ve been working on getting ready for the up-coming Holiday next week!
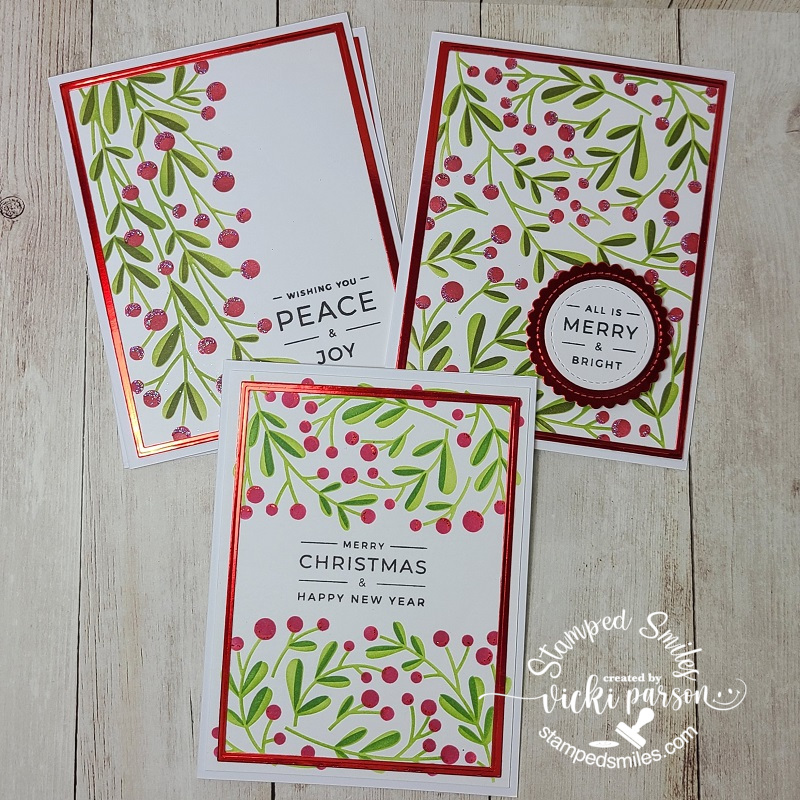
I have already sent out my Christmas cards, thank goodness, as I wasn’t even sure that was going to happen either! I was very impressed with the new Taylored Expressions Create-in-Quads Mistletoe Layering Stencil and how quickly I was able to knock out 4 card panels at a time, which was a huge time saver to get my Christmas cards finished up! There is actually a set of 4 designs here (like shown below), but I was in the middle of addressing the cards and forgot to photograph some before shoving into envelopes! LOL This set was using the white cardstock with the green and red colors which turned out very pretty. I also used the red glitter paste for the highlights on the berries.
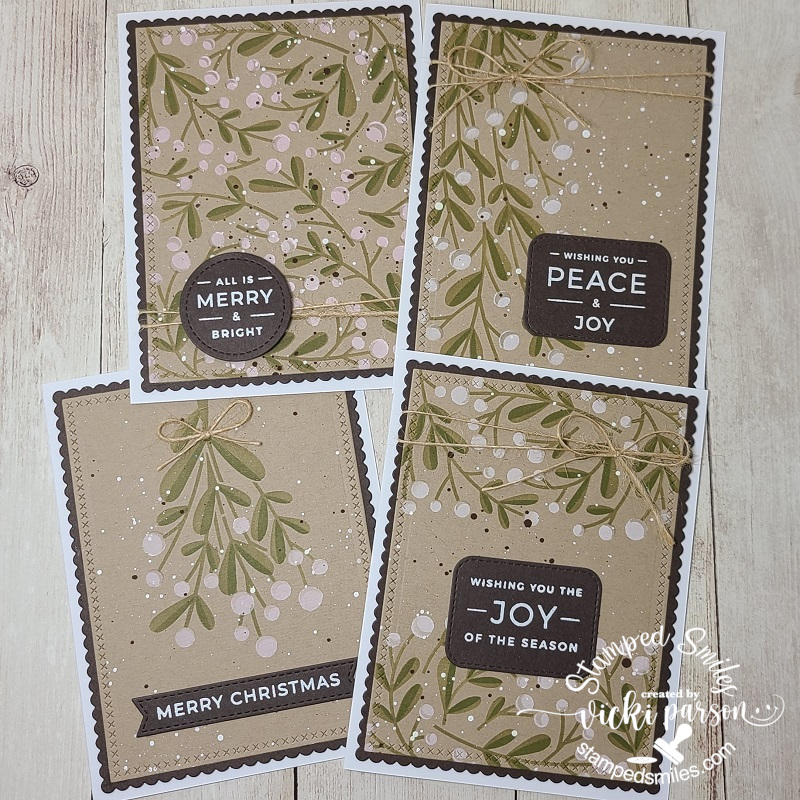
And here is the other set of four cards that I made using the Toffee colored cardstock with green and white inks for the stenciling. I’ve also splattered these with brown and white paint. The sentiments were white heat embossed over some TE Chocolate Truffle cardstock and cut out with some MFT dies. Before attaching to the pre-made white A2 card bases, I also wrapped some twine around some of the panels or added a bow with it. (I love the homespun look of the white mistletoe!)
These all turned out great because they were pretty much flat and fairly easy to mail off. I think I was short just a few which is where I’m glad that I still have a few extra cards that I had made throughout this year and I have previously given out some “extra special” Christmas cards earlier in the year as well. I think you may have already seen them from a previous post…I will have to take a look and see under my “Christmas” section!

If you’re looking for a last-minute Christmas gift/tag, these wood slice things are so quick easy and fun to create! I’ve had a huge box of these wood slices for a long time, so I pulled one out to make a project for the Inky Stamper December challenge on FB. I had hubby drill out a hole for me at the top before decorating so as I knew where to put everything.
I’ve used the Inky Stamper Christmas Bauble stamp set for the stamping on the wood and colored in with pencils and gamsol. I’ve added details with a glitter brush pen on the ornament and added some snowflakes with Nuvo White Crystal Drops. I had to mask the frog to stamp the Santa hat on him. I’ve used some silver twine for the hanging portion and then I glued a silver bow with some silver ribbon from my stash under the hole.
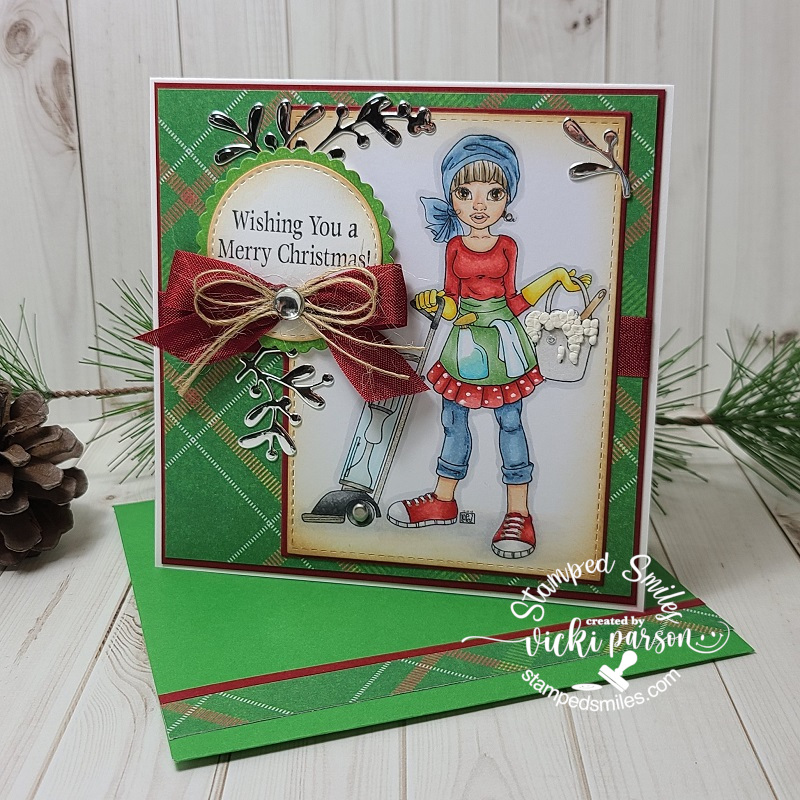
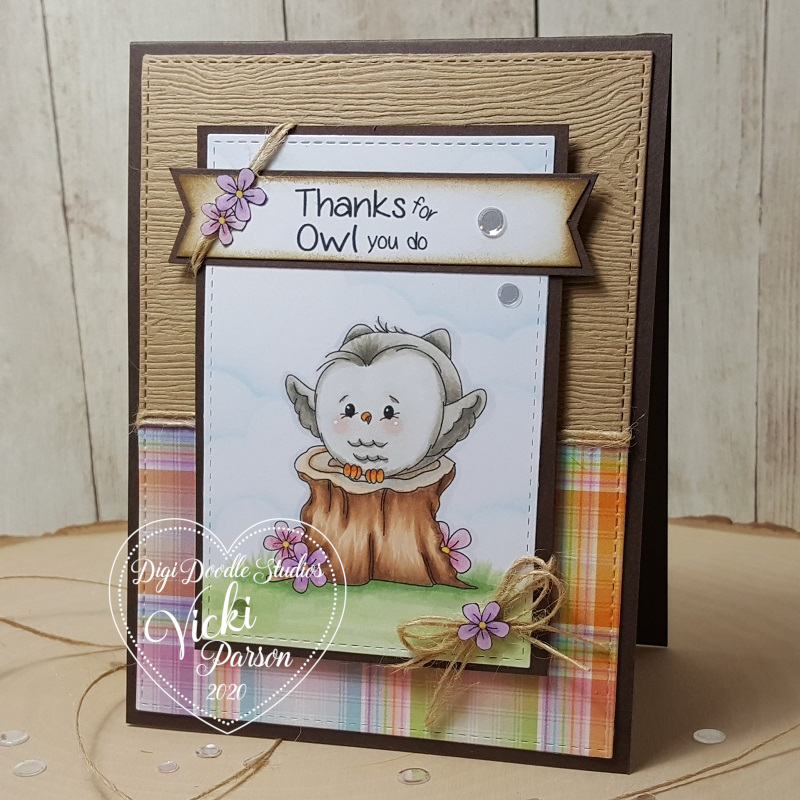
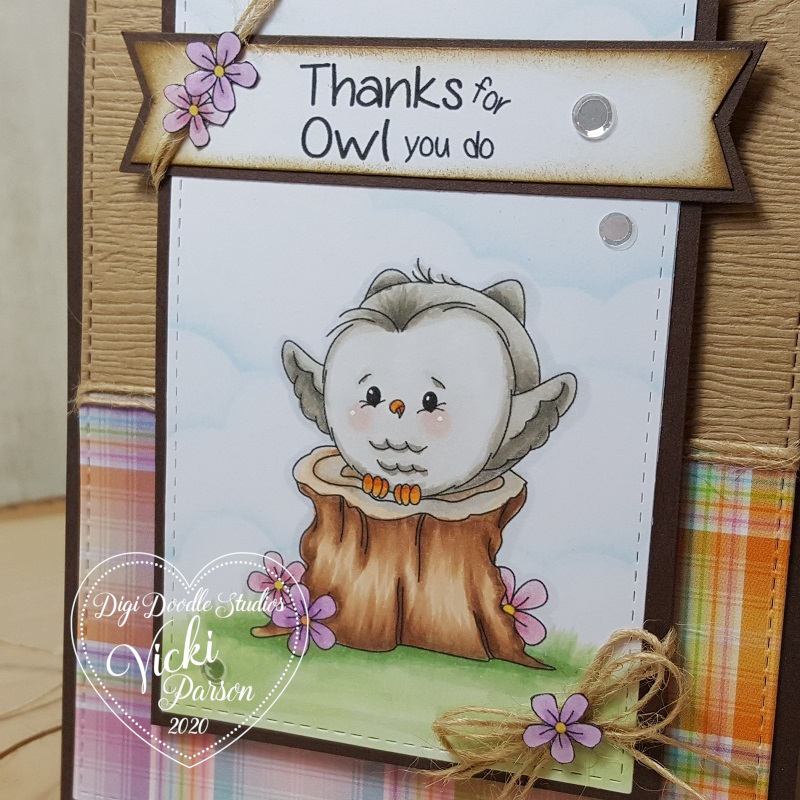
And lastly, I’ve also been working on some commissioned cards as well! Last year, I had a request from someone to create a special Christmas card for his cleaning lady. I had him pick out an image and asked about the colors…you may remember it as I had posted it last year.
a few months back, someone had asked me to re-create the same design for them with pretty much the exact design with the exception of the sentiment which I changed out for this person. This one went to another country and I was concerned about the shipping costs, but it was not a problem. The package had taken an unexpected journey because of the crazy mailing system going on at this time, but it arrived eventually and was in “perfect condition” as reported to me, so I was so thrilled with that and they seemed very pleased with it.
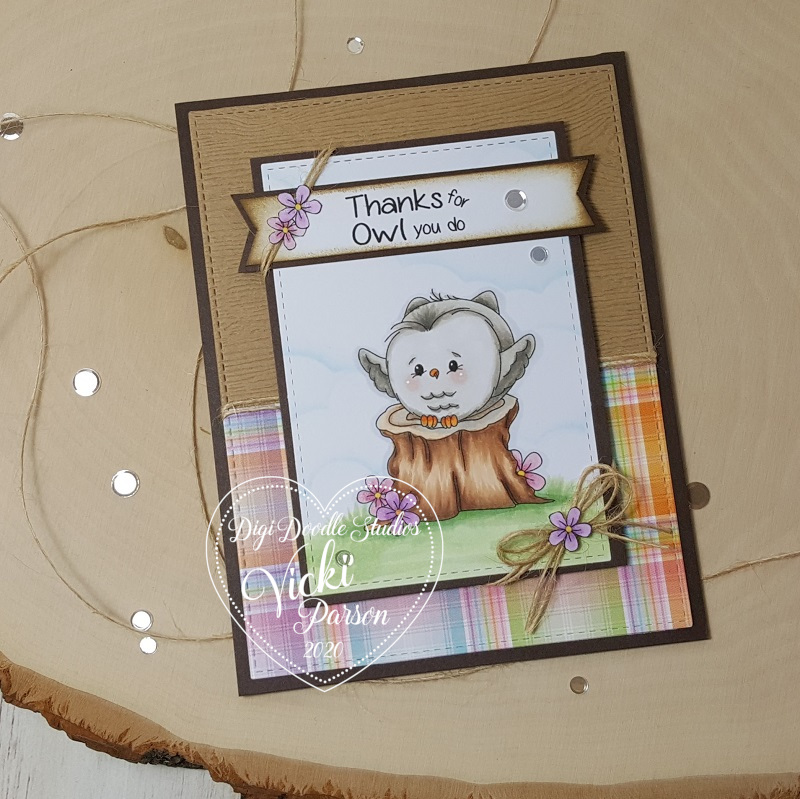
With the square size of the design (5″ x 5″), I’ve handmade the envelope for this one as well. I found the exact papers used in the designs for these cards, but I don’t think I have any more left after completing this one.

Here’s how I’ve decorated the inside of the card and left blank as requested for their own personal use.
So now, I just want to take this time to say THANKS SO MUCH for hanging in there and stopping in today! I don’t have too much time on my hands right now as I’m getting ready to make some Christmas treats and the Holidays will soon be over. I hope you are all doing well and I wish each and every one of you a very safe, happy and healthy Holiday Season!