Hello friends! Hope that you’ve enjoyed your weekend! Thanksgiving is coming up this week and the full Holiday Season has begun and one of the things that most people are thinking about (at least my family anyway!) are those wonderful “Holiday Sweets“! Yum!😋

This is also our new challenge for the next 2 weeks over at {Cupcake Inspirations}! So I hope that you are able to start (if you haven’t already) thinking about creating something crafty with those “Holiday Sweets” in mind and join along in the fun with us! Here’s what I’ve come up with for this challenge:
I remember times with my kids when we did the “milk and cookies” you leave for Santa along with your nice letter about some things you wish for him to bring you. We always wrote the letters to Santa and made sure that we put out the cookies…and usually hot cocoa on Christmas Eve. There were always candy canes on the tree to pluck off to stir your hot cocoa with as well!
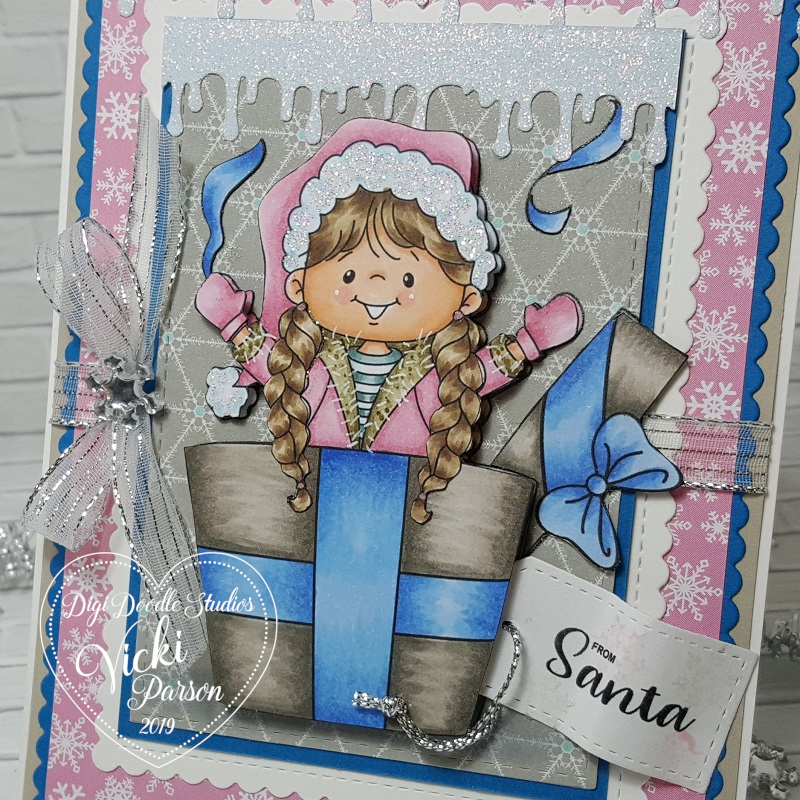
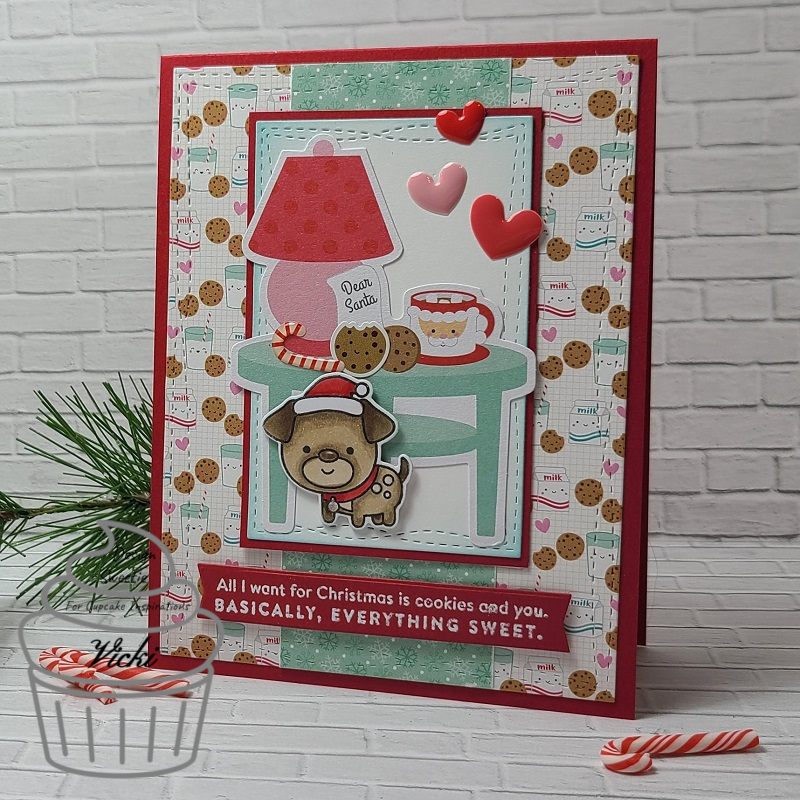
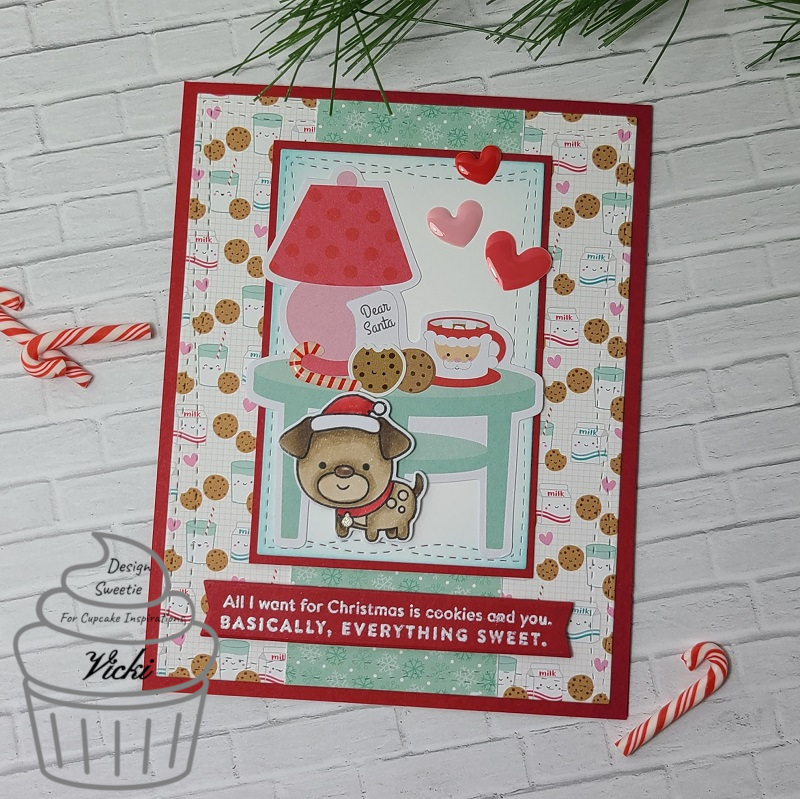
I remembered this fun little Simon Says Stamp Christmas card kit (Christmas Squad) that I hardly made a dent in to use at all, so it was really great to pull out these adorable Doodlebug items with a “milk and cookies” theme in the papers and images! I had unopened packages of cut out images which is the table with the lamp, Santa letter and mug on it. I took the doggie image from the stamp set, stamped, colored and used the coordinating dies to cut it out with and popped it over the table image panel with foam tape. This panel was cut with a Wonky Stitch Rectangle die as well as the background papers. I layered everything over an A2 sized top folding red card base. The image panel was also layered over some of this red cardstock as well after sponging around the edges with some light blue ink.
Lastly, I took a sentiment from the same stamp set and white heat embossed it over another piece of red cardstock that was cut out with a banner die and popped up underneath the image panel with foam tape. (I thought it was the perfect sentiment to add especially for this year to someone you miss!)

Here’s a closer view of the images that I’ve put together onto this panel. The pup was colored with my usual Copic markers and I’ve used a silver gel pen to color in his collar tag with.
I also had some Doodlebug stickers with the kit and added the bitten cookie with a smile face next to the other cookie on the table. I also added a candy cane enamel sticker to the table as well as the heart enamel stickers above the table.
The strip of papers in the center of the card came from the backside left over piece that was cut out from the milk and cookies panel in the background. The colors matched up nicely with the images.
I hope you’ve enjoyed my “Holiday Sweets” card today and it has brought you a smile, a special memory or inspiration. If you need more inspiration for this challenge, please be sure to check out the {Cupcake Inspirations} Challenge Blog to see the rest of the DT sweeties and what they came up with! Can’t wait to see what you come up with!
Thanks for stopping in and I’ll be seeing you soon!
**WISHING YOU ALL A VERY HAPPY, HEALTHY AND BLESSED THANKSGIVING**
Challenges:
- Simons Says Stamp Wednesday – Christmas
- CRAFT – Christmas
- Cardz 4 Galz – Cute Christmas
- Cute Card Thursday – Sentimental
- Crafty Catz – Anything Goes optional Christmas