Today I’m sharing the Triangle Corner Pop Up Card. I have actually received several messages and comments that people wanted to see a video tutorial on how to make one. So I thought I would come up with a version that I could share to show the many different variations that you can come up with and the fun you can have with it!
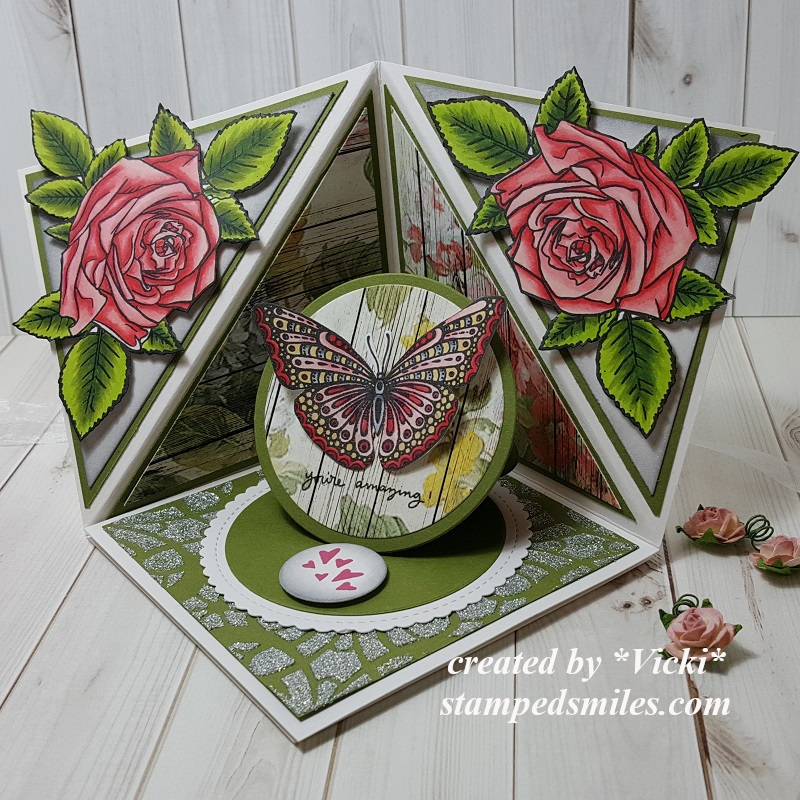
This style is a much more elegant approach which is much different than a past creation I put together. I love that you can change the look and have fun playing with different stamps and elements to fit inside the design!
For this one, I have taken the Rose and Butterfly stamp sets to stamp and Copic color. I fussy cut out the images on my design. I’ve used Jurassic 100# and White 100# cardstock. The decorative paper is from the Rustic Florals paper pad. I stenciled the bottom of the Jurassic panel with a stencil using some Unicorn Horn Glitter Glaze. Both of the rose images along with the small heart circle on the easel card were popped up with some foam tape.
For the circle easel design, I’ve cut out a scallop circle with the white cardstock in the size that I thought would fit within the design. Then cut the body of the card with other circle dies in the Jurassic cardstock and then the front with some more of that Rustic Florals paper that I’ve used in the background. The sentiment below the butterfly and the hearts on the small circle were stamped from same stamp set. All of the white panels (with the exception of the scallop circle) was ink foam blending with some grey distress ink. To keep the card “locked” in this position, I’ve used the Mini Disc Magnets.
If you are interested in learning how to create one of these cards for yourself, then please be sure to check out my video below. CLICK HERE to view on You Tube.
These cards can look really intimidating, but once you see the measurements of how to put one together, they’re really easy and fun to make!
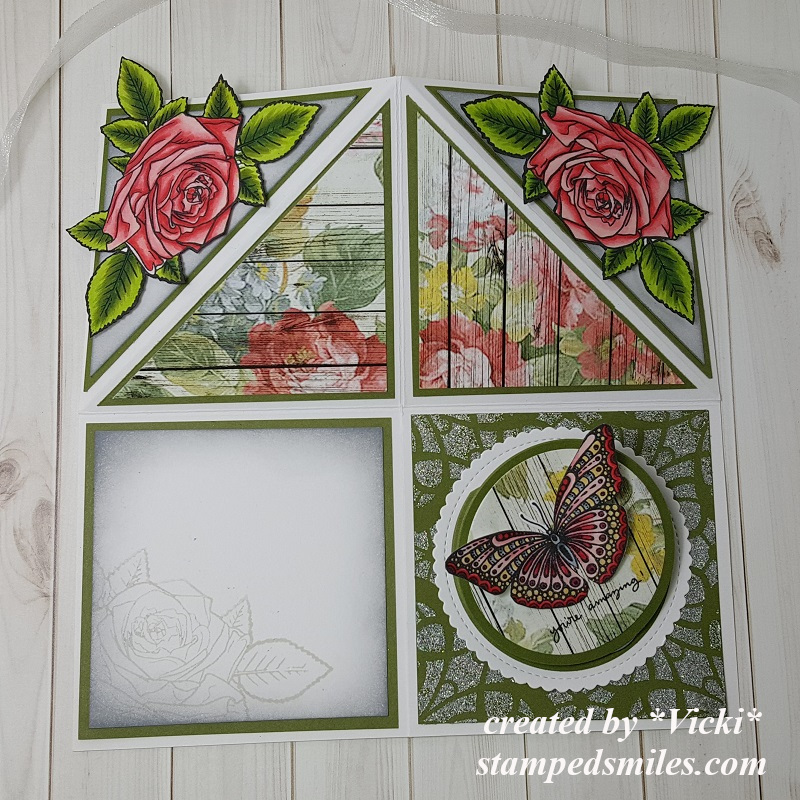
Here’s what the card looks like completely opened up. You can see on the left bottom panel that I’ve taken that rose from the stamp set again and stamped it in the corner with some grey ink after ink foam blending around the edges of it. This will be the area that I’m leaving for a personal message.
To fold it down to a 4″ square card that’s close you will start by folding down on the top and then fold it over from the right side to the left. This will completely close it up.

Here you can see that the card is completely closed to a 4″ square size minus the rose leaves sticking out which I don’t mind.
I took another panel of the Jurassic cardstock for the front of the card and sponged around the edges of it with the white Ink and then also stamped the rose again in the corner of it. Because I had several dimensional and extra layers on this card, I had to use a ribbon to tie it together to help it stay closed up. You might need an envelope that is slightly larger than an A2 envelope, but if you use less layers and dimension, it should fit in an A2 size envelope.
Hope you’ve enjoyed my interactive card and tutorial today! Thanks so much for dropping in with me!
Challenges I’d like to enter this card for:
- Cardz 4 Galz – #103 Wings
- Crafty Cardmakers – It’s a Bug’s Life
- Through the Craftroom Door – Anything Goes
- Try it On Tuesday – In my Garden there is….
