H is for HOME

Hello friends!  This will be a pre-scheduled post as I’m away for a bit, so this is going to be a very short and sweet post from me.

There is a new challenge today over at the Alphabet Challenge Blog!   Our next letter is ‘H‘ and the hostess has chosen “H” is for HOME  *Remember that this is a bi-weekly challenge, so you have two weeks to enter*  I hope you will find some time to play along!  Here’s what I’ve created:

I have pulled out an older card kit from Simon Says Stamp called “Home Sweet Home” and used some of the cloud papers that came in the kit along with the stamp set to make my little square on the left.

This is a mini slimline sized easel calendar.  It folds flat for mailing and then sets up with a base at the bottom.  (I figured a message could go on the back.)  I got the Square Calendar Tear-Offs as well as the Landscape Calendar Table Tent Base from Taylored Expressions.  The “slash marks” on the home sweet home square also came from the TE Square Tear Off Calendar Stacklets Die Set which is how I was able to cut out the square to fit onto the design too.

Obviously, I have August 2025, but I also have 2026 calendars that I will have to replace for the new year.  I really love making these calendars every year to give as gifts and I thought it would be nice for someone moving into a new home as well.

  • Thanks so much for dropping in today!  I hope you will take a look at what the design team has for inspiration and join in the challenge with us!
  • I’ll have another scheduled post for tomorrow to share my monthly Art Journal Page.

Class Fun & Square Samplers + Give Away

Happy April friends!  We have finished March already and onto Easter very quickly approaching!  I hope you’re enjoying all things Spring coming up your way!  We’ve had several storms and we’re in the tornado season as well, so I hope everyone is staying safe out there whatever the weather.  I do have some things that I had previously finished and wanted to share:

First, I wanted to share about the Virtual Stamp Joy Event by Taylored Expressions that I participated in a few weeks ago.  I always have so much fun and enjoy the motivation that it seems to generate!  I’m sharing them in the gallery below, so if you’re on my website post, then just click on each photo to enlarge it.

  • The first four photos were from a class using the same floral stamp set and the others are from the next day of make-n-take projects.  Please let me know if you have any questions about any of them!

The last set of four cards were a “mass production” using a background stamp in different colored cardstock panels and clear heat embossing over them.  The class sample had “hello” sentiment on each one, but I changed up the sentiments and have placed them in a card box to give them out with envelopes as a gift for someone.

Hope you’ve enjoyed the inspiration as much as I enjoyed putting them all together!


From the end of last year up until this last month, I didn’t have much time with the Holidays and everything going on, but as you may have seen in previous posts, I participate in a “square sampler swap” and when everyone sends out their squares, we then complete a home décor piece with all of the squares, so I thought I’d share mine finally completed:

  • CLICK PHOTOS BELOW TO ENLARGE

This was for the Christmas Sampler SWAP and you can see that I’ve used a black shadow box frame for my sampler and placed some red with red metallic dotted paper behind it.  The square on the right is the one that I made. (I’ve used My Favorite Things products for my square.)

This was for the Winter Sampler SWAP and I went with a white shadow box for this one.  I’ve placed some soft blue snowflake papers for behind my sampler as I thought it was soft enough to not look too busy.  The square on the right is the one that I made. (I’ve used Inky Stamper products for my square.)

And recently we finished up our Spring Animals Sampler SWAP that I used another white shadow box for the sampler.  I’ve added a piece of pink colored “Watercolor Wishes” paper from Lawn Fawn behind it.  It looks a little off in the photo, but it looks better IRL.  The square on the right is the one that I made.  (I used Taylored Expressions products for my square.)

Not sure if we’re doing any more or not, but I had so much fun making the squares to swap with friends!


Lastly, I have a fun little thing to give to whoever is interested in these Taylored Expressions dies + foil-it panels package. (It’s not sold in stores anywhere as it was a free gift with purchase) I have an extra and so I thought I’d give it away to someone!  Just leave me a comment below if you’re interested and I’ll pick someone from the comments.
Leave a comment below if you’re interested!

That’s all I have for today!  Thanks so much for stopping in!  I’ll be seeing you soon!

It’s the Handmade For Holidays Release at Taylored Expressions🎄

Hello friends!  I’m so excited to share the “Handmade for the Holidays” release at Taylored Expressions today!  You can go check out all the things right now in the store!  I’m extra excited that I get to be a part of this special release with them as a guest designer too!  (This was for my win during the TE 13th birthday celebration challenges I had entered from last month! 🎉 Yay!)  There will also be a huge post about it on the Taylored Expressions Blog too!  I really hope that you enjoy the projects I’ve made to share with you and if you stop by the store, please let Taylor know that I sent you! 

For my first set of projects, I’ve made a fun Christmas décor item that you can gift for the Holidays, use as a center piece for your table setting, etc.  I’ve taken the Taylored Expressions (new) Accordion Tree die and used it to make a trio of trees with the “poinsettia style” attached to the accompanying TE Tree Stumps (sold separately) to go with this die and another two trees without the stumps.  For the trio of trees, I’ve used the Merry Blooms Stamps, Stencil & Clear Combo set to create a background over a Toffee cardstock base inking and blending with Sweet Basil, Cherry Pop and Mulled Wine inks.  I’ve also used the same products to make the tag as well.  I’ve gold heat embossed the centers for the poinsettias in the background.  I’ve also taken the TE (new) Itty Bitty Sentiments Holiday stamp set and used the tiny images from the set to create backgrounds for the other two trees.  I’ve splattered the tree backgrounds as well as the tag background with acrylic white and gold paints. These die cut trees were glued back-to-back with the score line in the center as a guide which makes them 3D looking.  I’ll explain each item below:

This was such a fun 3D project to create!  I wanted all the trees together in one piece, so I thought it would be fun to grab one of these wood slices I’ve been hoarding forever and glue the trees to this base.  There is an accordion star that comes with the accordion tree die, but I thought it would be fun to take the TE Perfect Poinsettia die and cut out several of the smallest bloom to make that the “star topper” for the poinsettia tree.  I’ve used the coordinating stamps to stamp the “veins” and gold heat embossed the centers for them.  I folded them in half and glued it to the top of the tree.  I also attached some TE Gold Drip Drops for the “ornaments” over the tree (TE Drip Drops make perfect “ornaments” for these trees!) and added some gold twine bows front and back.  I’ve ink blended the edges of the poinsettia tree with Toffee ink and gold paint sponged on the poinsettia topper.

This is what the other side (back) of this piece looks like…so it’s visible from all angles.  Here you can better see the other two trees and how the backgrounds were made.  I’ve also added some thick white paint to the edges of them to make it look more like “snowed over” trees especially since they were splattered with white paint.  For the wood slice that the trees are attached to, I’ve used some Ranger Mica Flakes for a bit of sparkle attaching it with Multi-Medium Matte glue.

For the tag, I’ve die cut the background explained above with the TE Stacklets 2 die and wrapped some gold twine around it with the TE (new) Itty Bitty Sentiments & Tags Holiday set for the little tree with the gold heat embossed sentiment over it.  I’ve also gold heat embossed the large sentiment from the Joyful Season stamp set & dies that I’ve popped with my favorite product TE Sticky Strips.  I’ve cut out another layering piece behind the tag with Sweet Basil cardstock, punched a hole and added more gold twine.

And how stinkin’ CUTE are these guys?!  This is my second set of projects for this release using the NEW TE Snow Squad Dies & Clear Stamp Combo set.  As you can see, the cute die cut critters are made to perfectly fit the Tag Stacklet dies!  I’ve the Tag Stacklet 2 die set for my sweet penguin!  The critters are so easy to cut out and decorate them as you like!  I like that the clear stamp set comes with it to stamp in the eyes as those tiny dots can be so hard to deal with and loose!  You get a penguin, a polar bear and a snowman with this die set!

Again, I thought it would be fun to create a background for my card and tag set, so this time, I’ve taken the TE Let It Snow Layering Stencil set for a snowy background.  I’ve started with a Mint Julep cardstock base, blended the same color ink for the first layer, Sugar Cube ink for the second layer and for the third layer, I’ve used some TE Glitter Grab and immediately covered it with some TE Silver Glitter.  Love how it turned out with the subtle color! 

Starting with my card details, I’ve decided to give the snow squad critters soft colors with their scarves.  The clear stamp set with the dies also come with a two-line image for adding details to the scarf, so I silver heat embossed those and then added some matching TE Tiny Diamonds Pastel in between those lines.  They matched up perfectly!  I inked around the edges of each die cut piece for the critters and stamped the face images including the cheeks which I off-stamped first to keep them light.  I used a white gel pen for highlight details.

I thought it would be fun to have these Snow Squad critters pop out from a snow drift, so I took some TE Sugar Cube Glitter Cardstock and cut out a “snow drift” with a piece of the their scarves over it and popped them up over the snowy background I’ve created using a TE Diagonal Stitch Rectangle Stacklets for the stitching details behind them which was layered over an A2 sized Sugar Cube top folding card base.  For the sentiment, I silver heat embossed it from the TE Winter Wishes clear stamp set over a Mint Julep cardstock that was cut out using the TE Stitched Banner Stacklets die

And of course, I had to use the penguin again for my coordinating tag!  I’ve used part of the same background I’ve made for the card and cut it out using the TE Tag Stacklets 2 die set with another Sugar Cube cut out for the layering base.

I did the same thing for this tag that I did for the card above with the snow drift, but I also added a tiny tag that he’s holding with some Doodlebug Gray Twine.  The tag was created with the same TE (new) Itty Bitty Sentiments & Tag Holiday sets.  I’ve stamped the row of tiny trees from the set with the Mint Julep ink and then silver heat embossed the sentiment above it.  I’ve also used more of the TE Tiny Diamonds Pastel for the center of the bow on the present along with the penguin’s scarf.  I’ve punched a hole at the top and added more of the same twine at the top.

So how about you?!  Are you ready for the up-coming Holiday Season?  I sure hope that I was able to bring you some inspiration with your handmade projects for the Holidays!  Again, you can check out all of the brand new Taylored Expressions products in the store as it’s now been released!  Be sure to check out all of the wonderful inspiration on her blog too!

Thanks so much for stopping in today!  I appreciate all of your kind support friends!  Have a great day!

Challenges:

  1. Happy Little Stampers – OCT Anything Goes with Dies (all projects are using dies!)
  2. Simon Says Stamps Wednesday – NOT a card
  3. Penny’s Paper-Crafty – Anything Goes using paper
  4. Krafty Chicks – Christmas
  5. Creative Knockouts – Embossing (I used heat embossing)
  6. The Crafter’s Cafe – Use a Stencil (used on all projects)
  7. Creative Fingers – #217 Anything Goes
  8. Lil Patch of Crafty Friends – Anything Goes

Mixed Media Wall Hanging

Hello friends!  I’m back again to share a mixed media wall plaque that I’ve made:

vicki-vaseofflowers-wallhanging-project3

It’s been a while since I’ve made any mixed media projects, so it was nice to be able to “get messy” and use some media products that I don’t pull out often enough!

So I started out the image panel thinking I was going to make a card with it, but then it felt like it was too large, so I decided I was going to make a Vintage style wall plaque with it instead!  I had this plaque hanging around my room for about a year knowing that at some point I wanted to do something with it, so this felt like the opportunity I needed to get a project going.

vicki-vaseofflowers6

I’ve used a January release stamp set from Bugaboo called Vase of Flowers stamp set.  I colored it with Copic markers except for the pink flowers and butterflies.  I covered the flowers with the Pink Fizz glitter and the butterflies with the Canary flocking.  I cut out the image panel with the Tonic Loopy Lace Oval Die and added it to a piece of cardstock that was covered with the Super Adhesive Sheets.  I then covered the entire panel with the same Pink Fizz glitter and burnished into the background.

vicki-vaseofflowers7

Shown at a different angle, you can see all of the dimension and detail of the design.

I have also covered the flowers using some Brushable Glue and brushed it over top in certain areas over the flowers and then I sprinkled some Diamond Dust glitter over top of them.

I hope that you were inspired by my mixed media project today and I thank you so much for stopping in as I’m always happy to hear what you think!

Here’s the challenges I’d like to enter:

  1.  Not Just Cards – Anything Goes
  2. Crafty Gals Corner – Make it Sparkle
  3. Stamping Sensations – Fabulously Feminine (Stamped Vase of Flowers rubber stamp and colored it in.)
  4. Creative Moments – Anything Goes
  5. Crafty Calendar – Make it Flowery

Christmas Non-Card Creations and Final ICAD Week 9 Results!

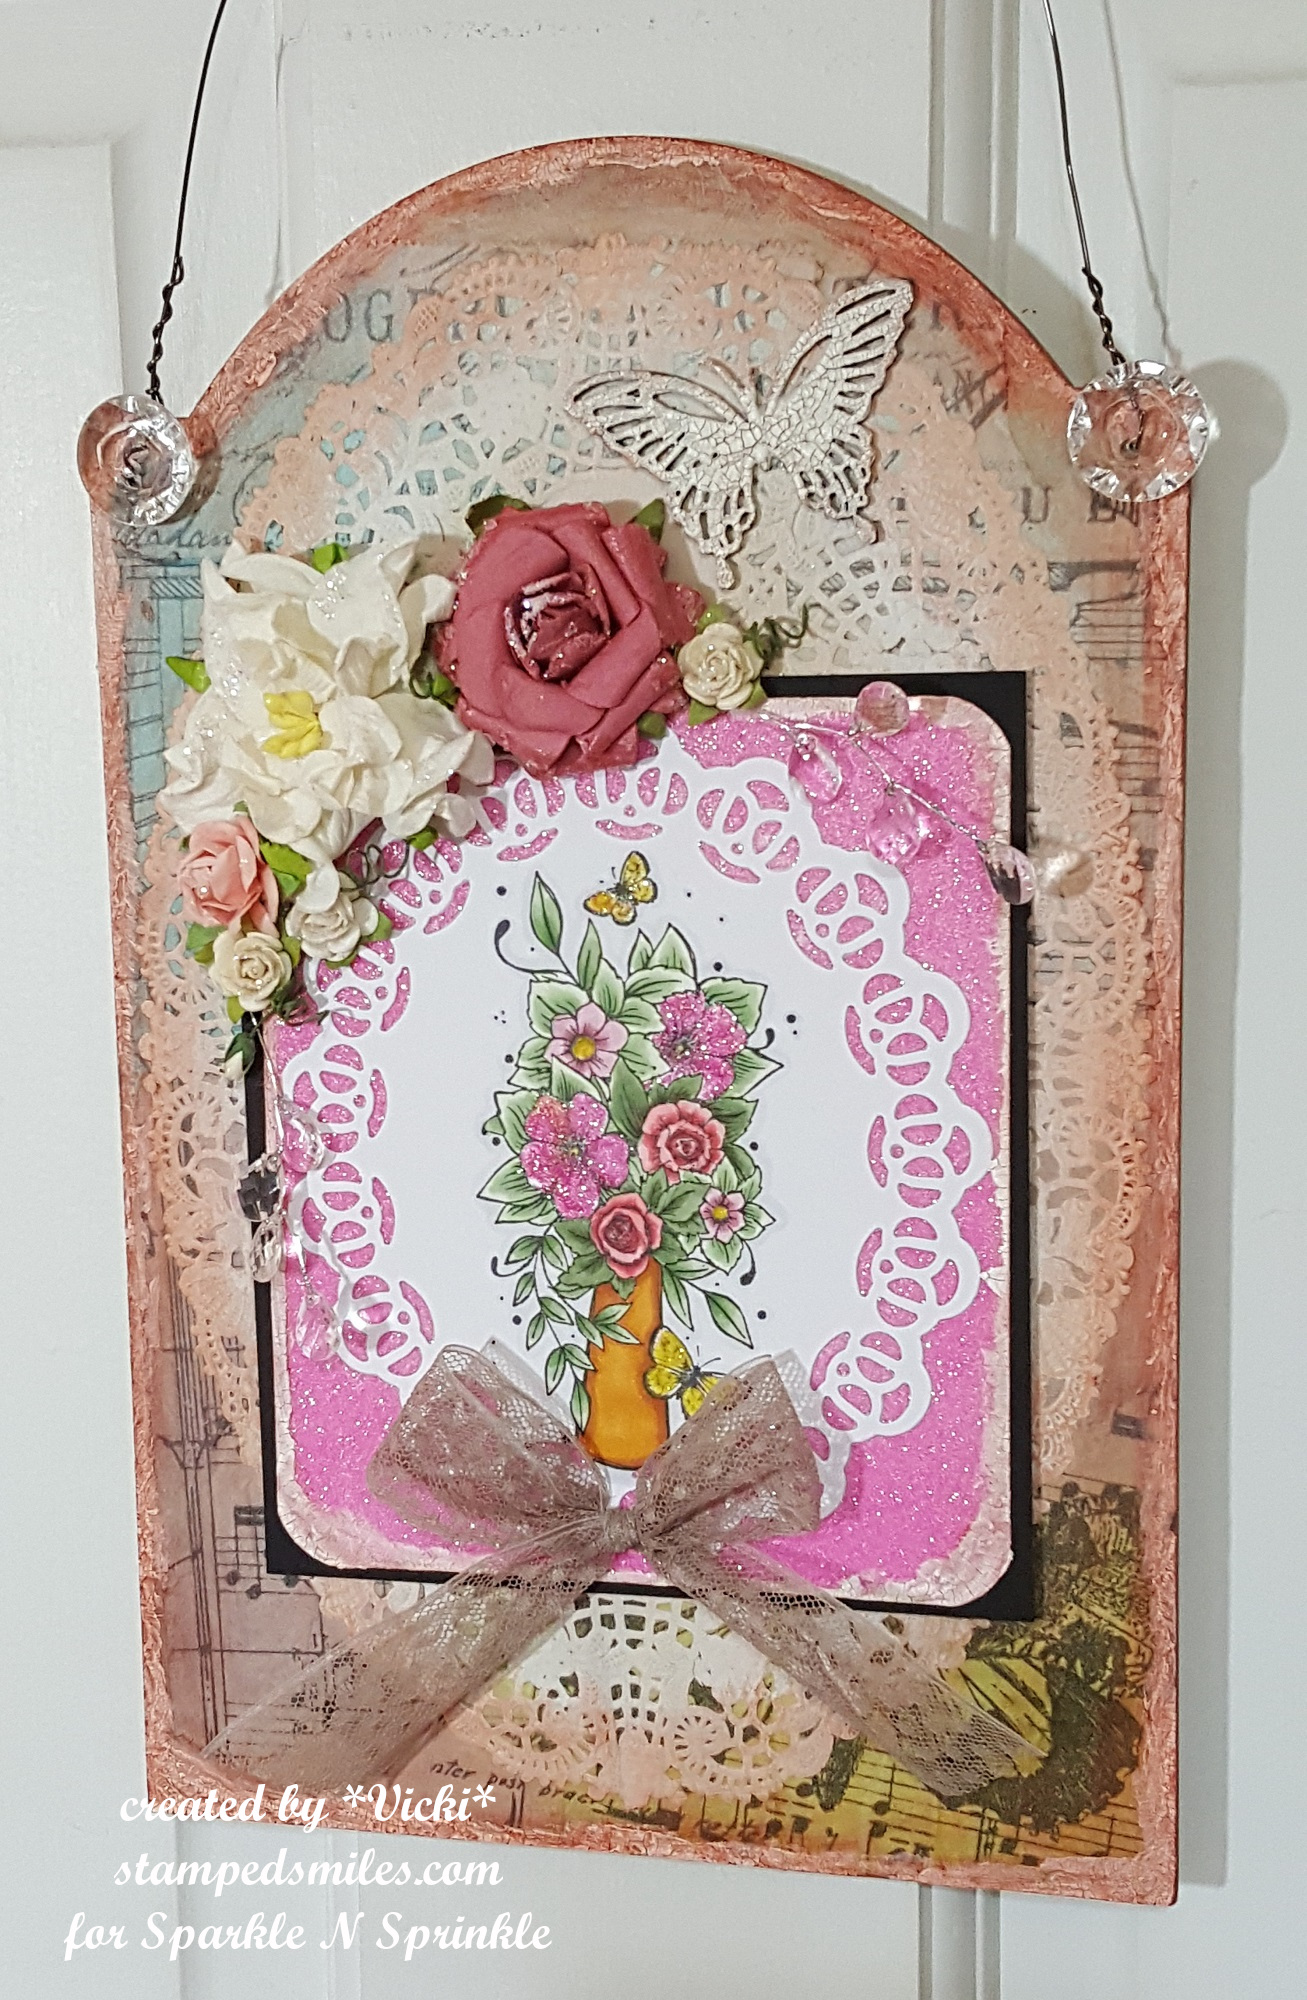
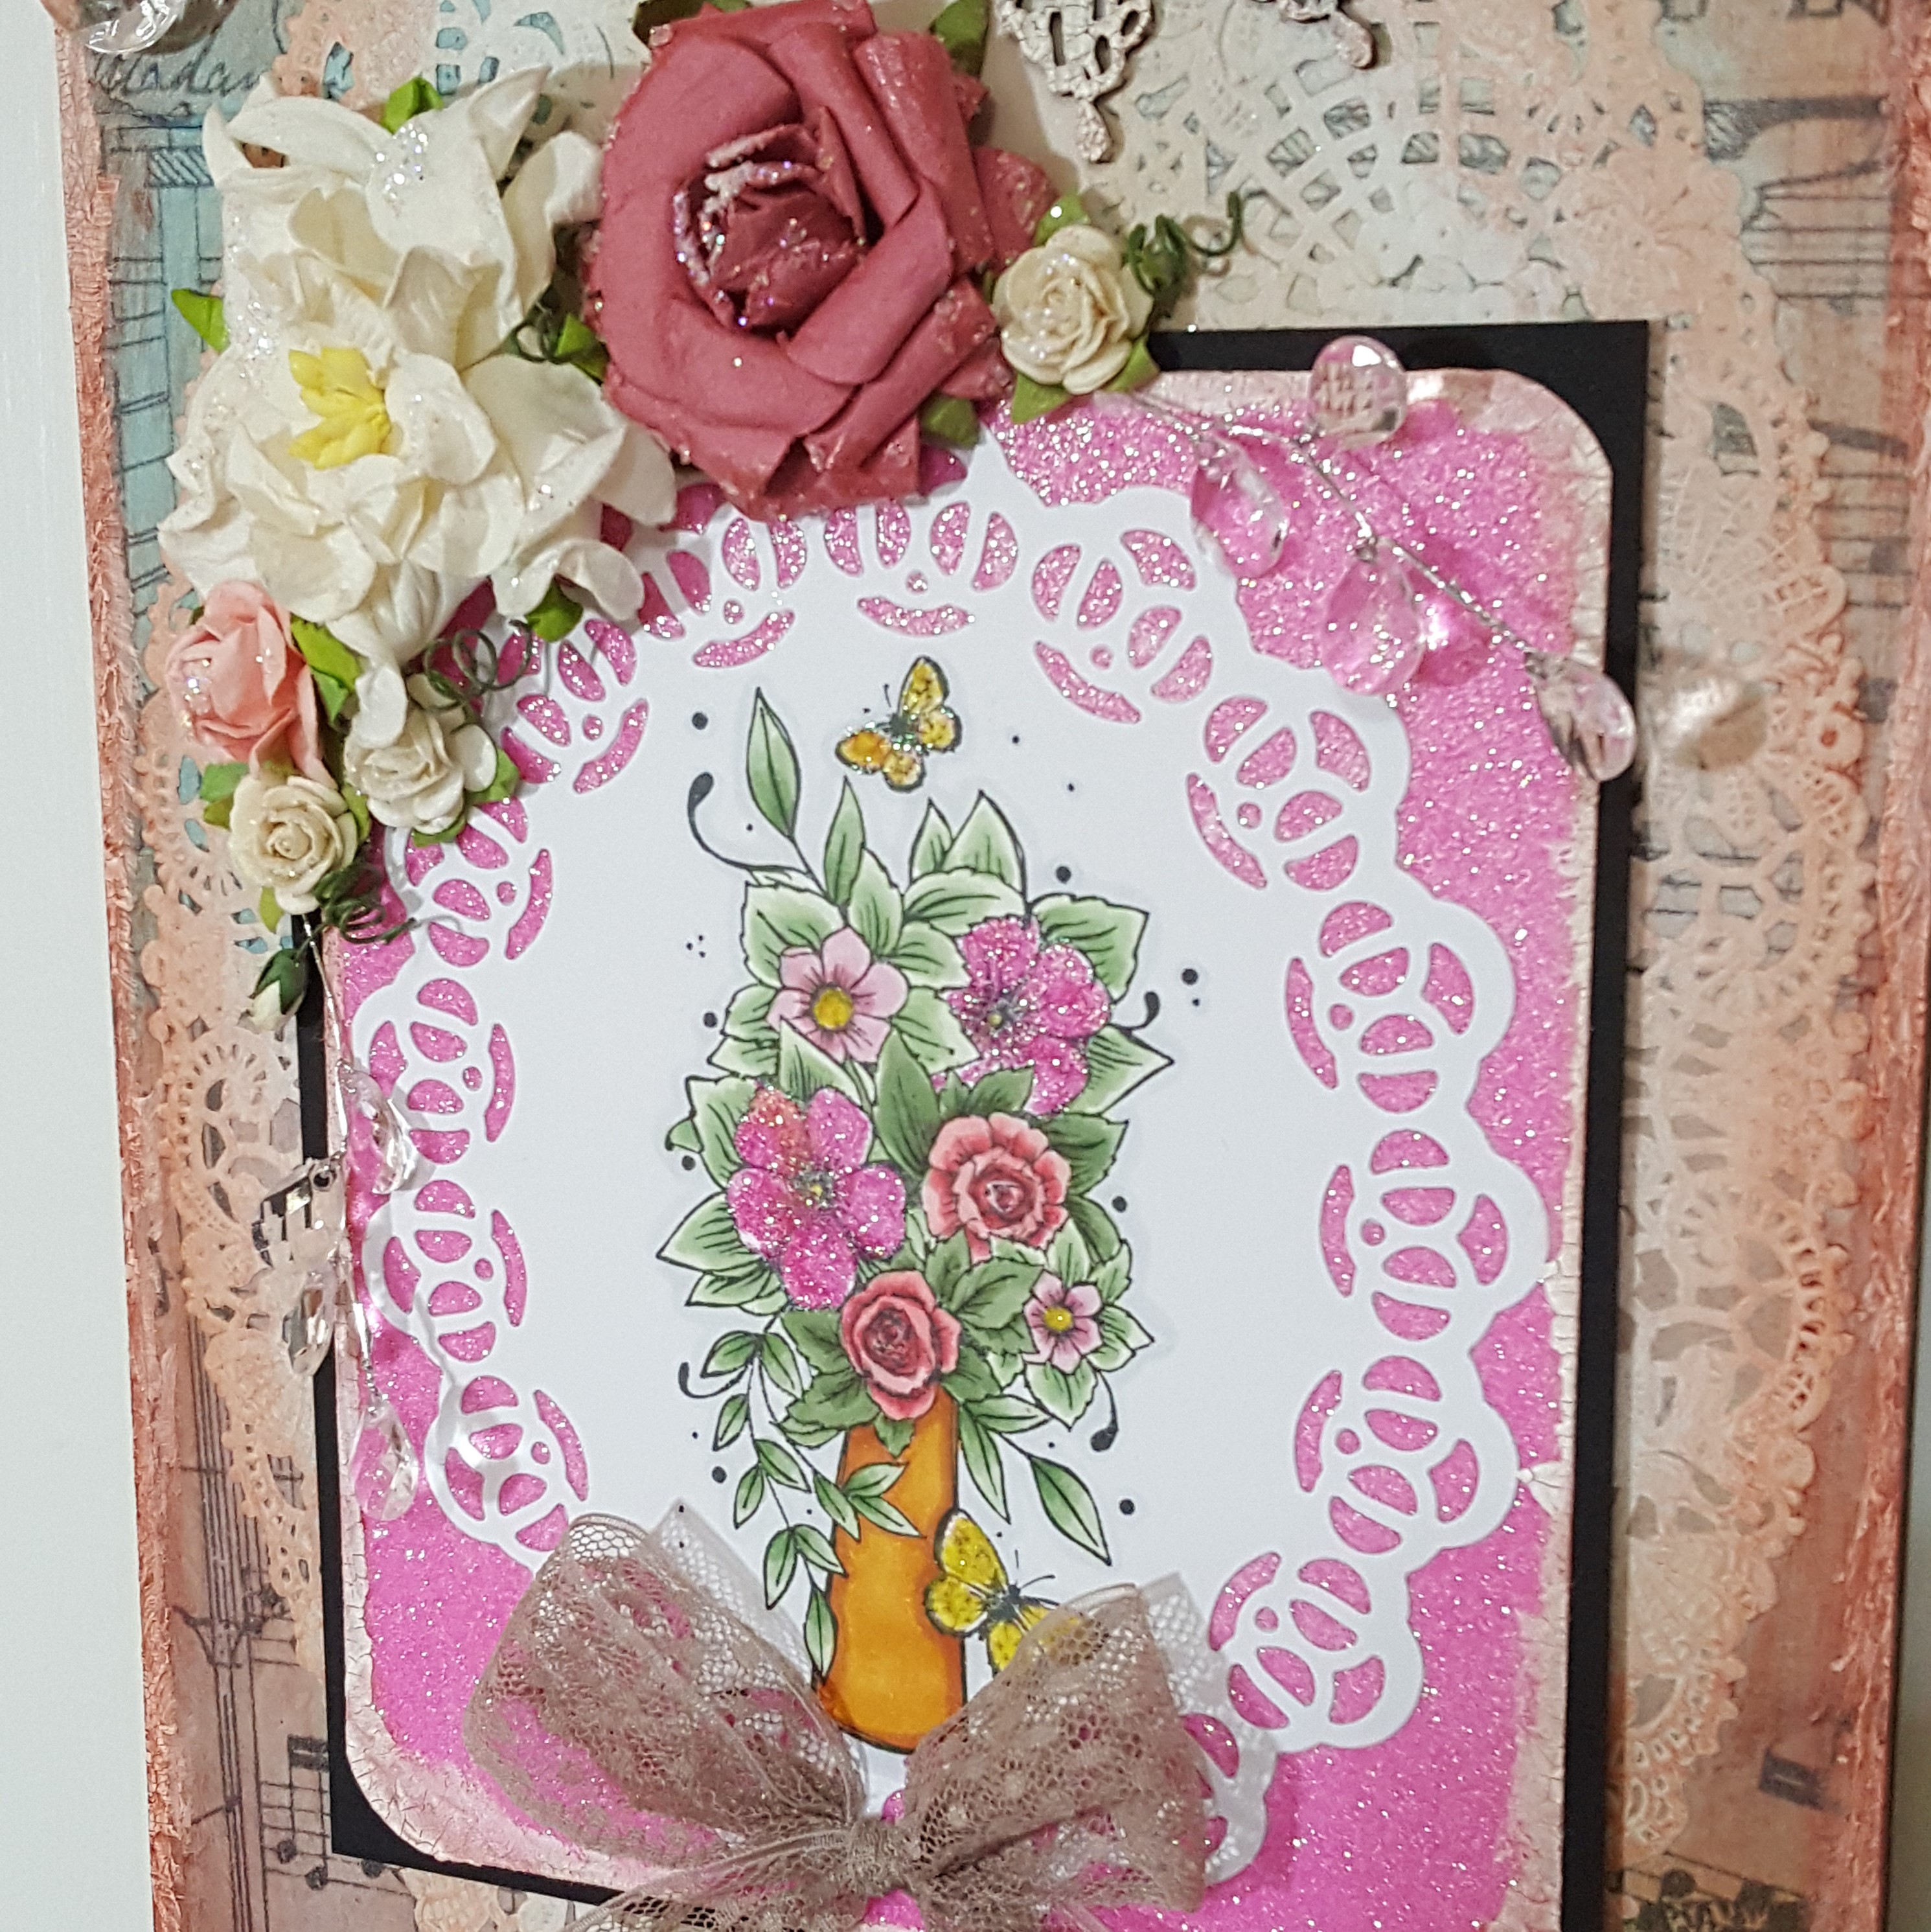
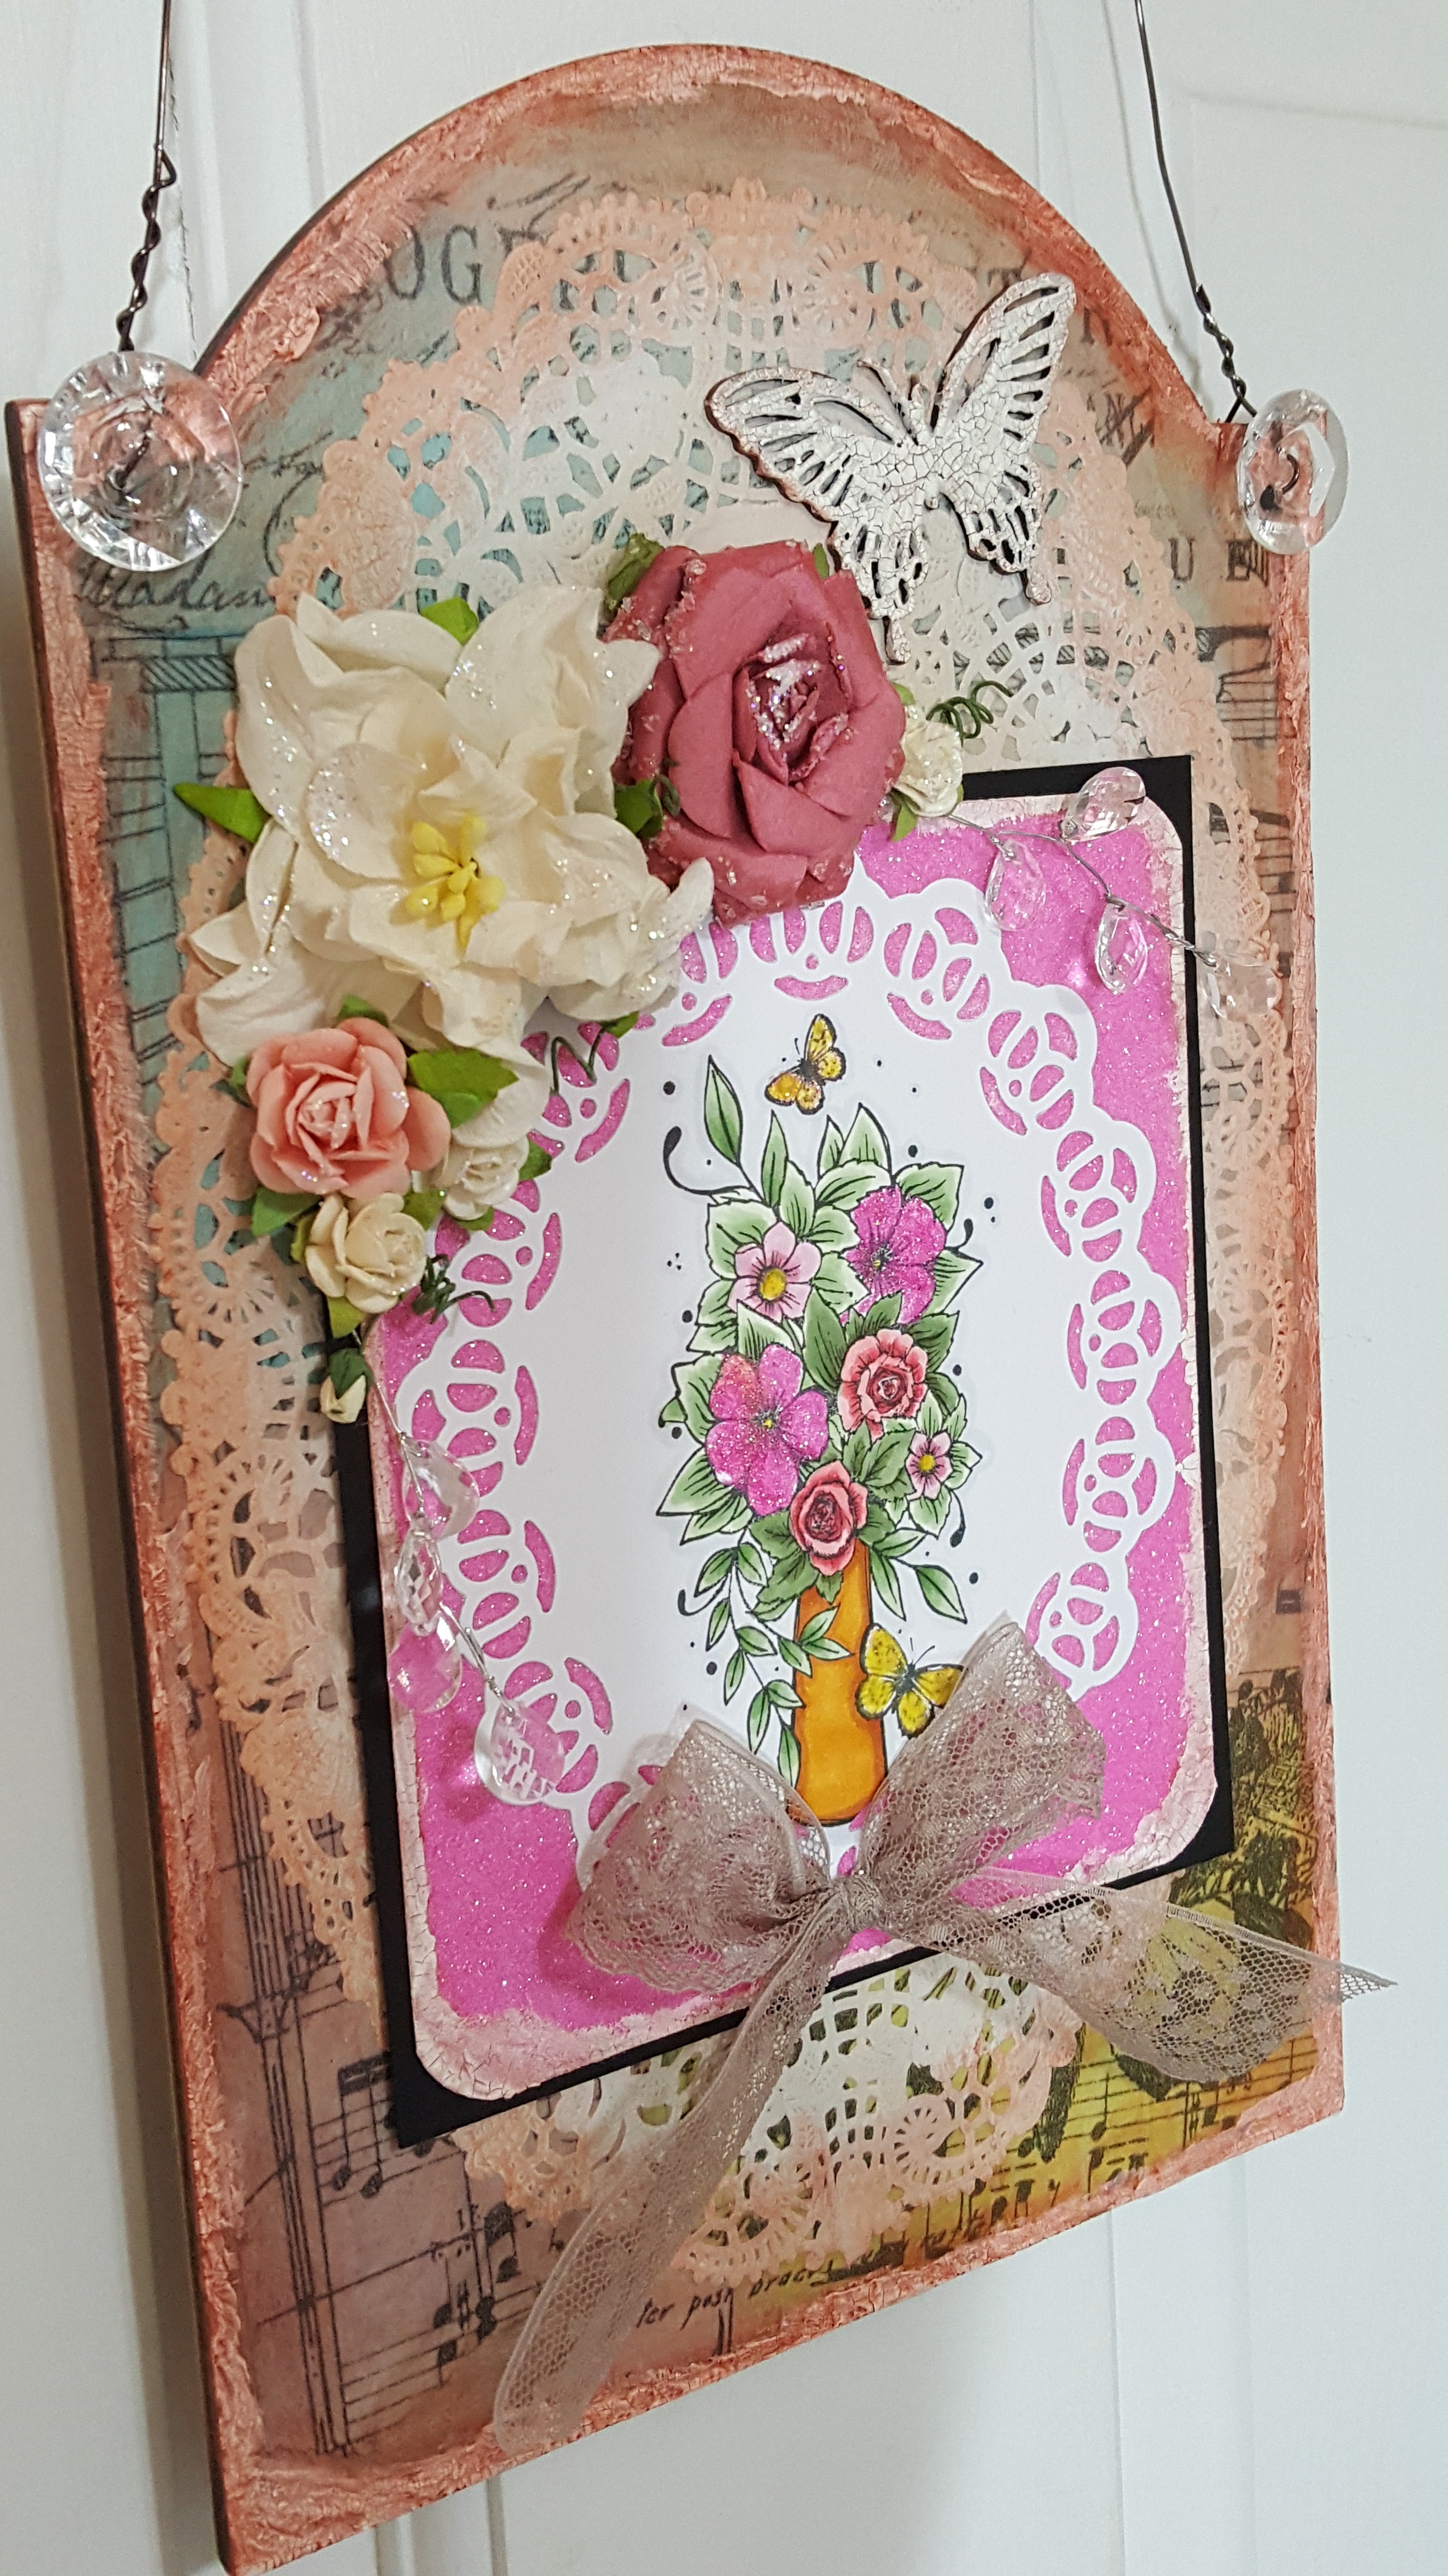
Hello friends and TGIF!!  Hope you have some happy plans laid out for the weekend!  I will be doing various things including helping my son move!

If you remember my post from last Friday, I shared some hand-made cards that I had entered into my local County Fair.  There are a few other items that I’ve entered besides cards for certain categories and I thought you’d enjoy seeing a few other things that I’ve created just for the fair:

Vicki-Christmas Center Piece-Snowman Hat

My first project was entered into the “Christmas Centerpiece” category, and I was excited to see that I had won first place with this!  Can you tell what I’ve used to create the “snowman hat” design?

Let’s take a closer look…

Vicki-Christmas Centerpiece-Snowman hat1

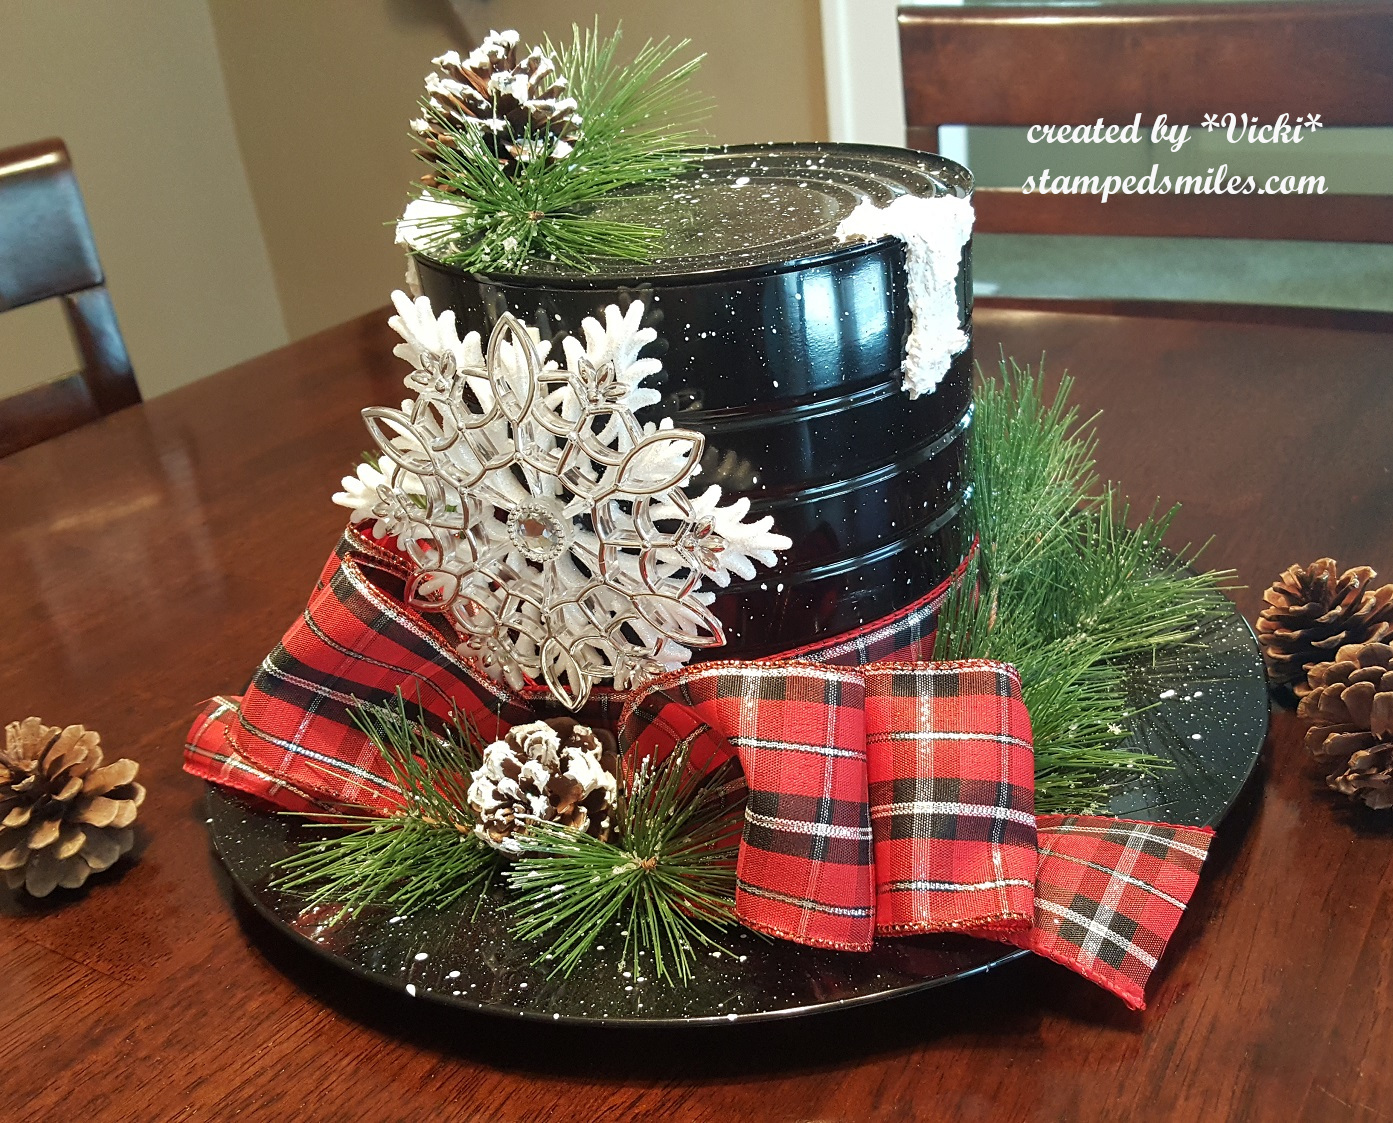
I asked hubby to save me one of his empty coffee cans and I’ve spray painted it in black.  I’ve also bought a $1.00 charger plate from Hobby Lobby in black and then attached them together to form the snowman hat.  Then I took some white paint and splattered the entire thing for a fun “snow fall effect”.  I then began to decorate it by attaching some ribbon, pine tree sprigs and pinecones.

Vicki-Christmas centerpiece-snowman hat2

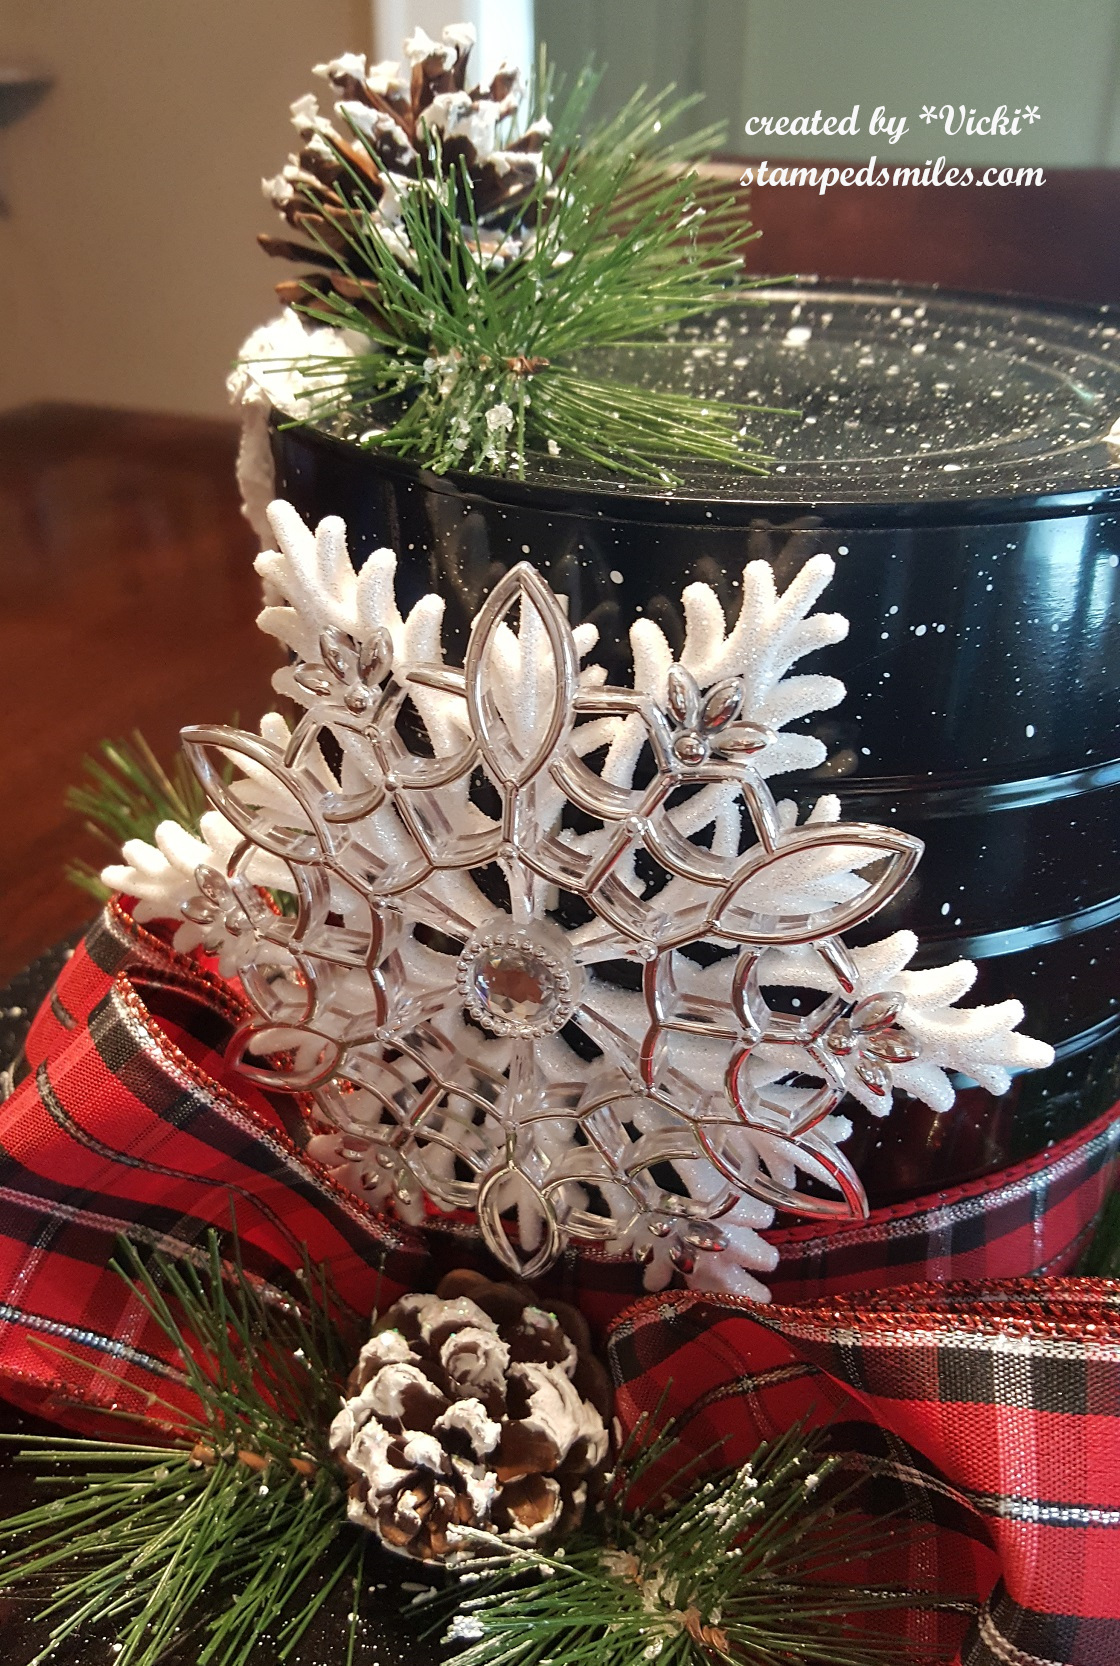
I bought a really pretty snowflake ornament with lots of sparkle to use as a center piece for the front of the snowman hat.  The ribbon bow was attached below that and then the pinecone and sprigs were placed and attached in the center of the bow.  (Even the plaid ribbon has some pretty sparkle in it!)

Vicki-Christmas centerpiece-snowman hat-3

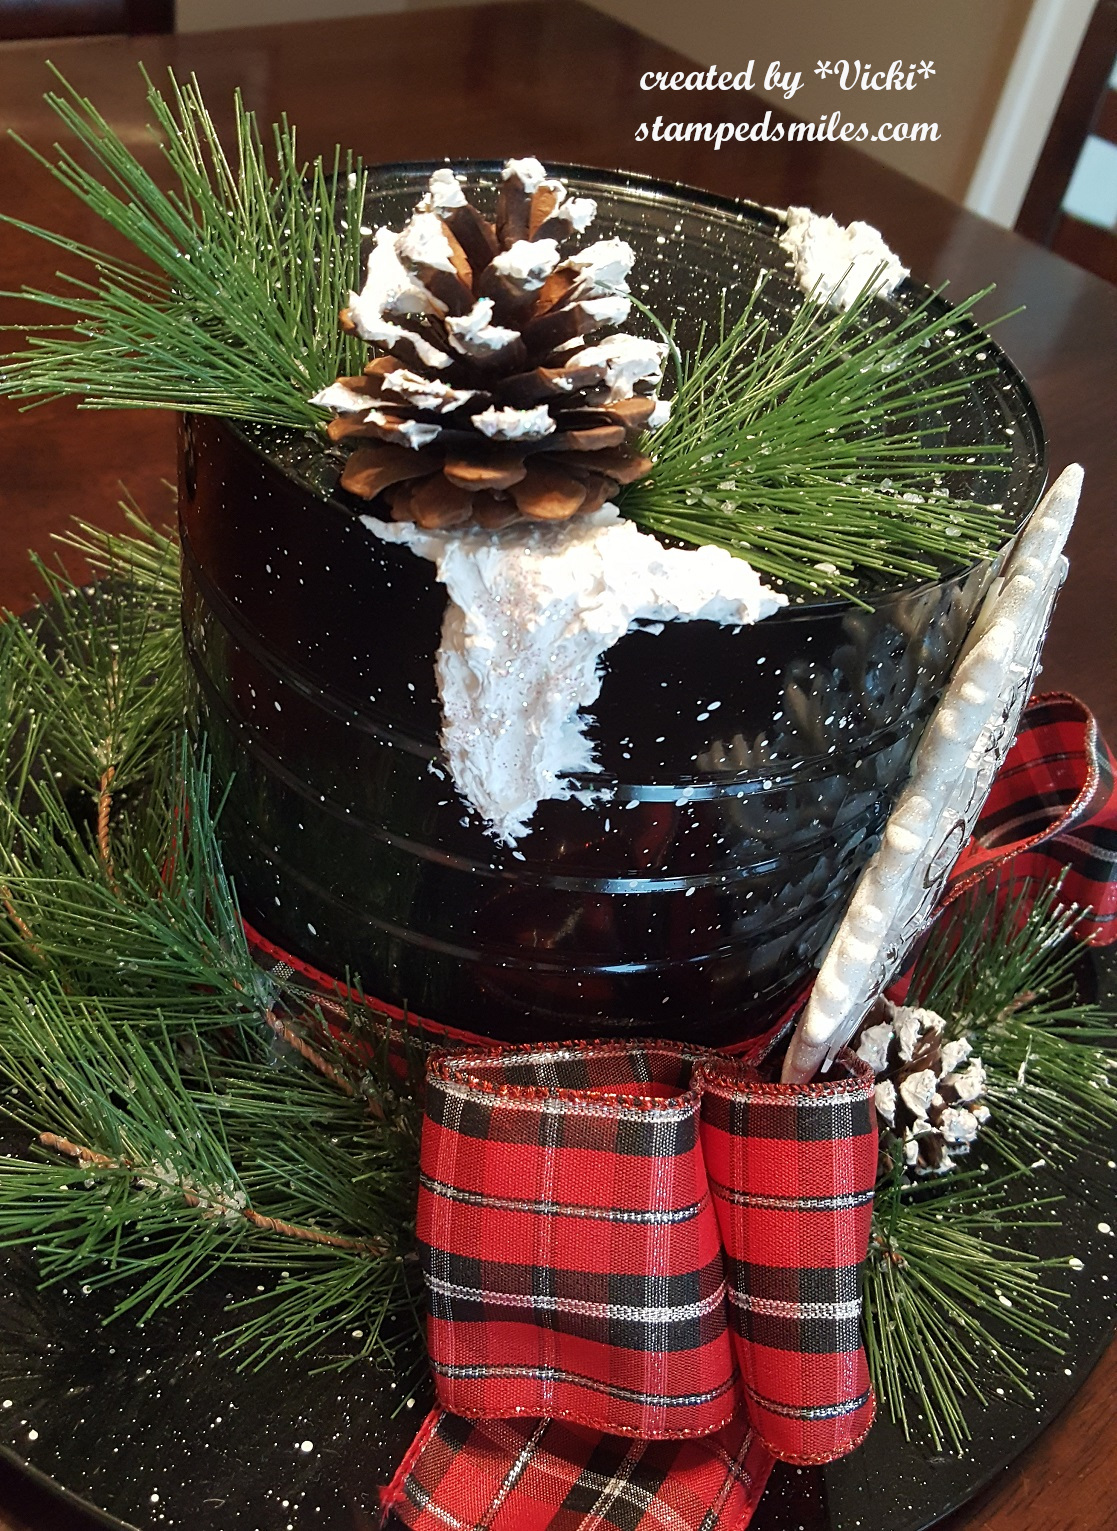
For the pinecones and the “snow” over the top of the hat, I have used some embossing paste mixed with some texture stones to give it a thick snow appearance.  While it was still wet, I’ve added some glitter to all of it.  Love the way this turned out!  It will be a great center piece at Christmas time! 🙂

And since I was in a Christmas mood, I also made another item for the Fair:

Vicki-Christmasbasket

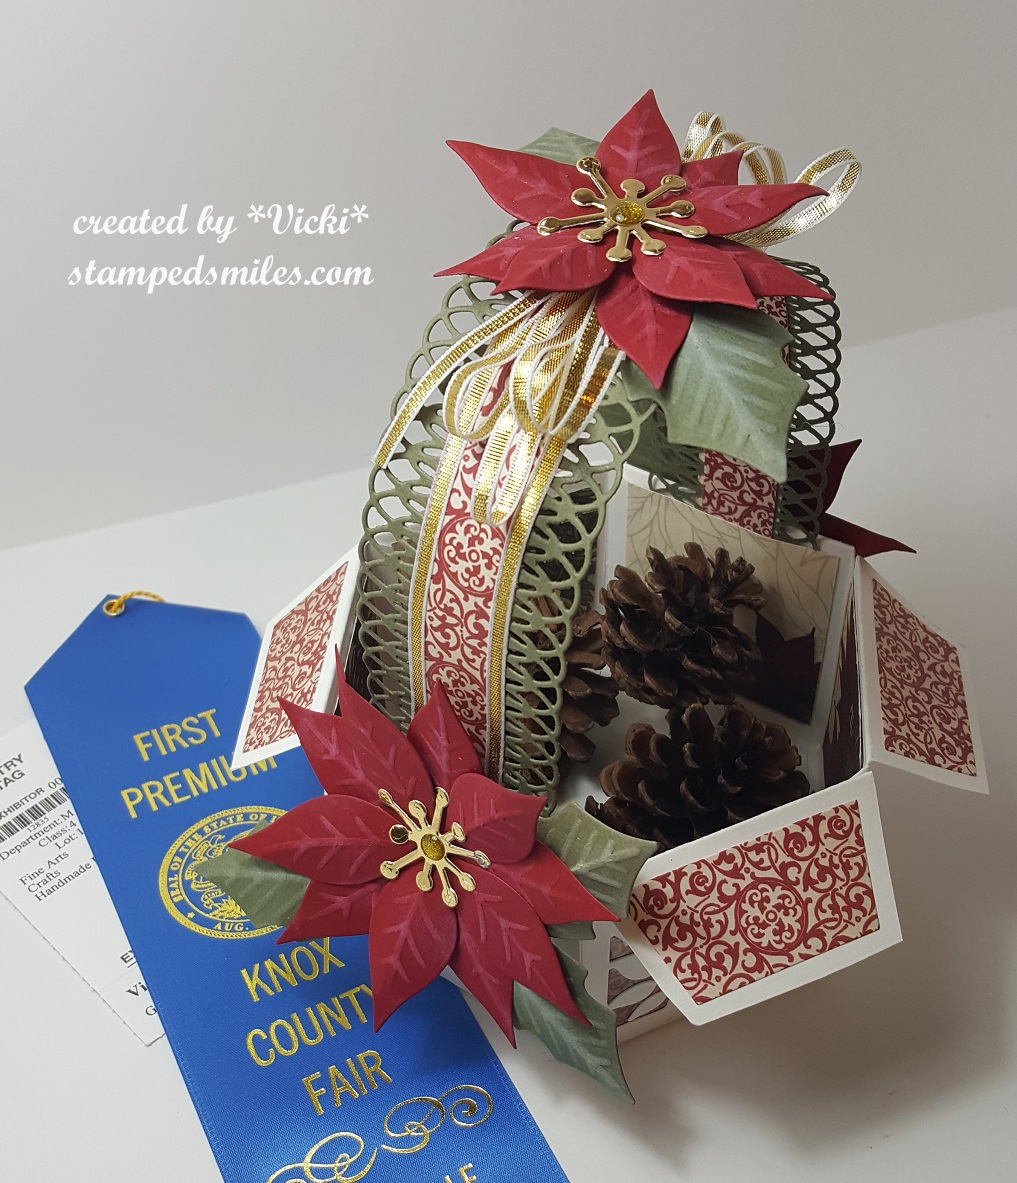
This poinsettia basket was entered into the “handmade basket” category, and I was happy to see that I had won first place for this entry as well!  For the fair entry, you can have a basket made of anything as long as it was handmade…so of course I made a paper one! 🙂

Vicki-Christmasbasket3

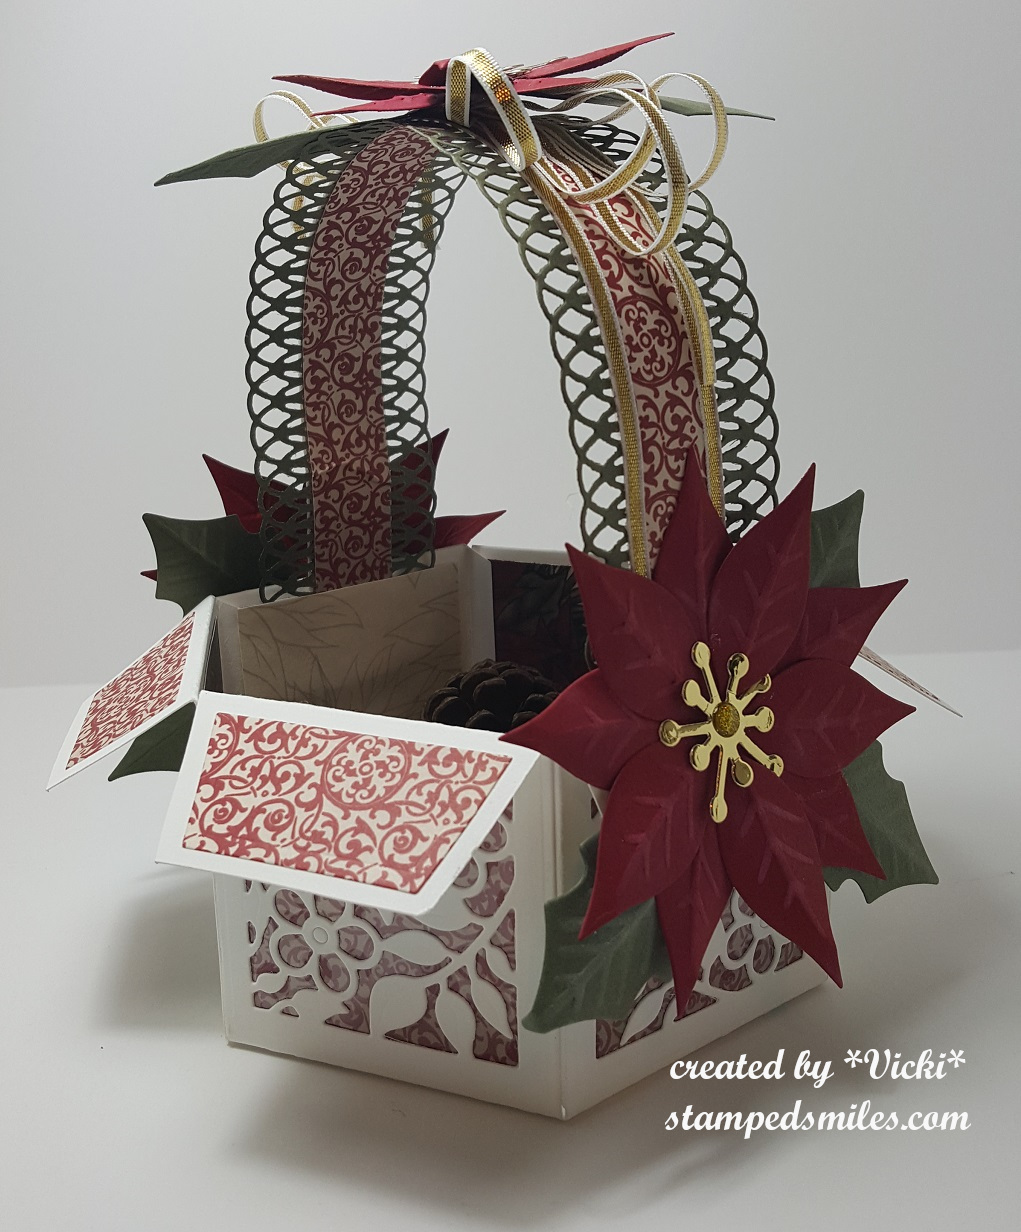
I remember a while back this awesome basket with a tutorial that someone had made from Heartfelt Creations, and I knew I wanted to give it a try.  It is such a sturdy basket too as I’ve used some pretty heavy-duty paper to compile it together.

Vicki-Christmasbasket1

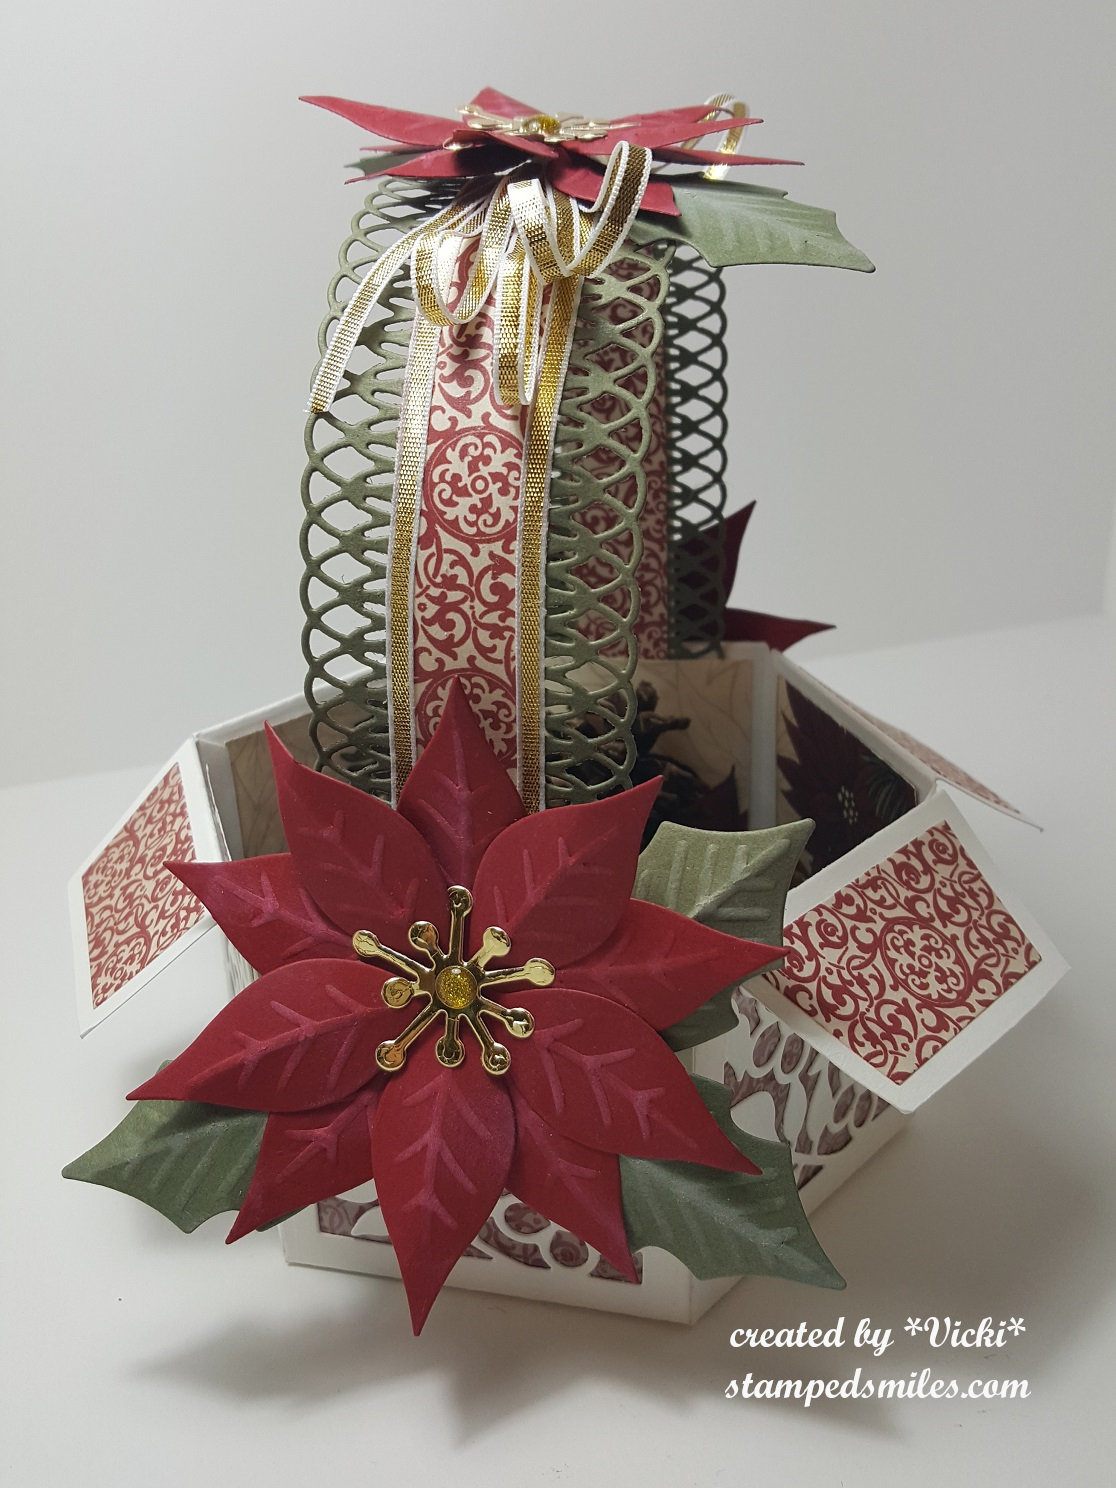
The papers that I’ve used are actually some pretty old ones from a past Stampin’ Up! collection.  They’re double-sided and you can see the pretty poinsettia pattern on the other side from inside the basket walls.  The poinsettia die was a purchase I had made from a sale item in a booth at that Stamp Convention I went to earlier this Summer.  I love the embossing details it made with the poinsettia flower.  I also took some white ink to pop them out a bit so they’re more noticeable.  There is one on each side of the basket and a smaller one at the top of the handle.

Vicki-Christmasbasket4

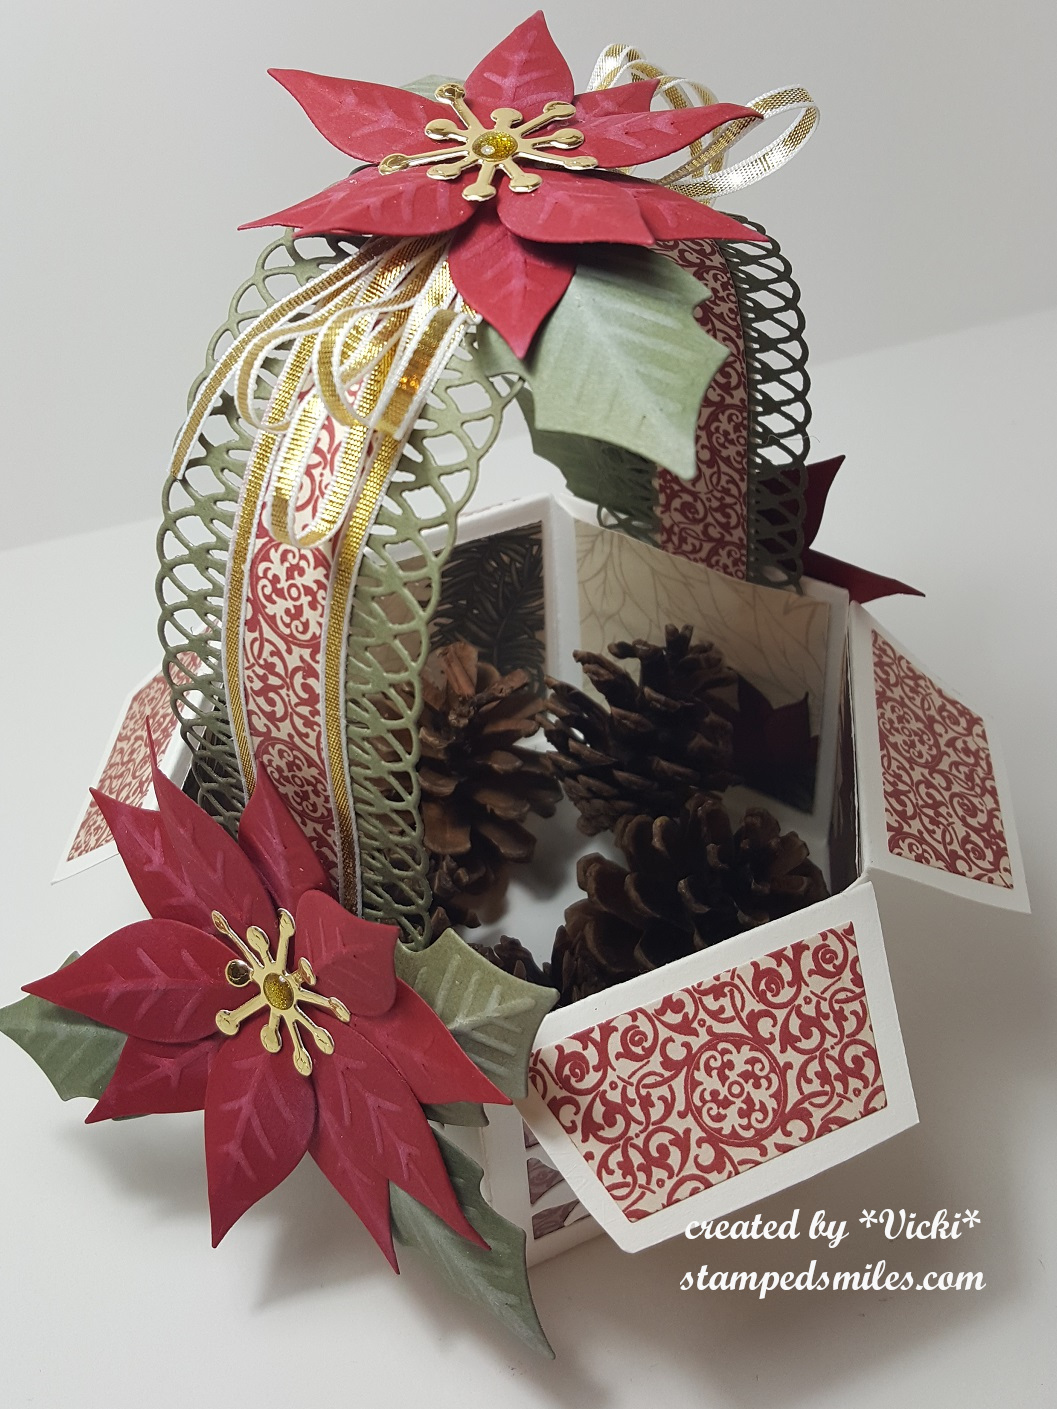
I’ve used some gold foil paper for the center of the flowers and then added some gold enamel dots on random spots for the centers.  I took some thin and narrow gold ribbon to the edges of the handle and then tied a triple bow with it and placed the poinsettia in the center.  I just filled the basket with pinecones that I had on hand, but I could see so many things that this basket would work for!  Maybe I need to make one for another Holiday too?!

Well although I made these for the fair, they will be nice to use for my own home and of course the photos do not do justice to what they look like in person!  I had so much fun with these projects too!  (I may still have another project or two to share with you from the fair entries…so keep watching!)

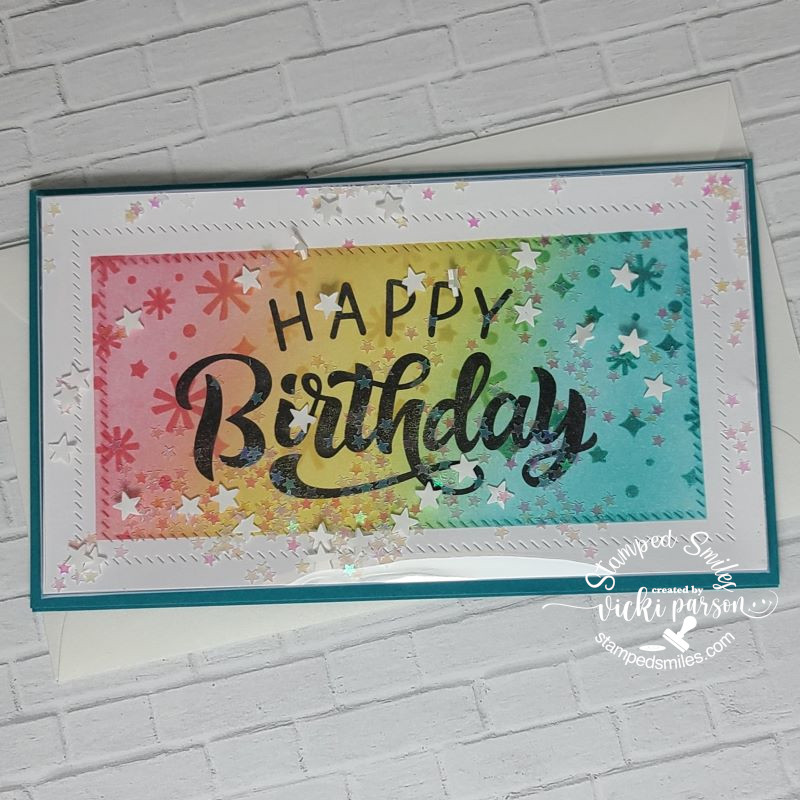
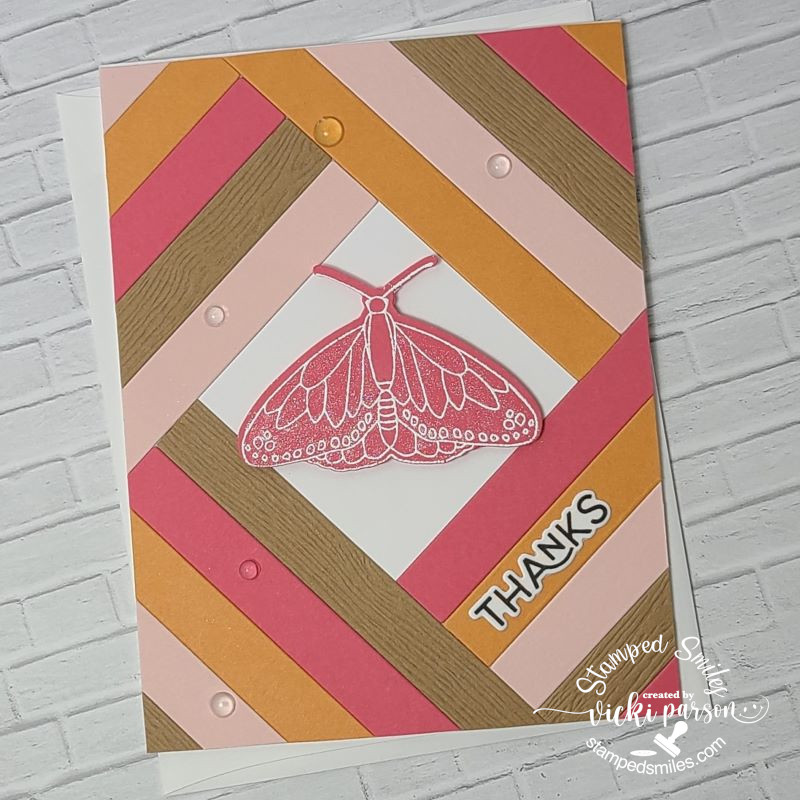
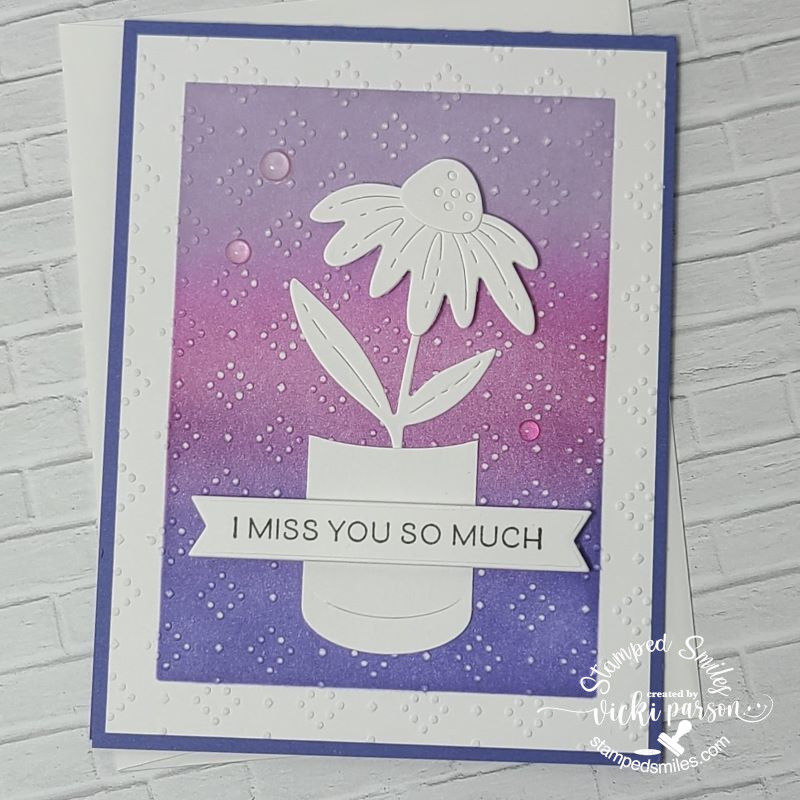
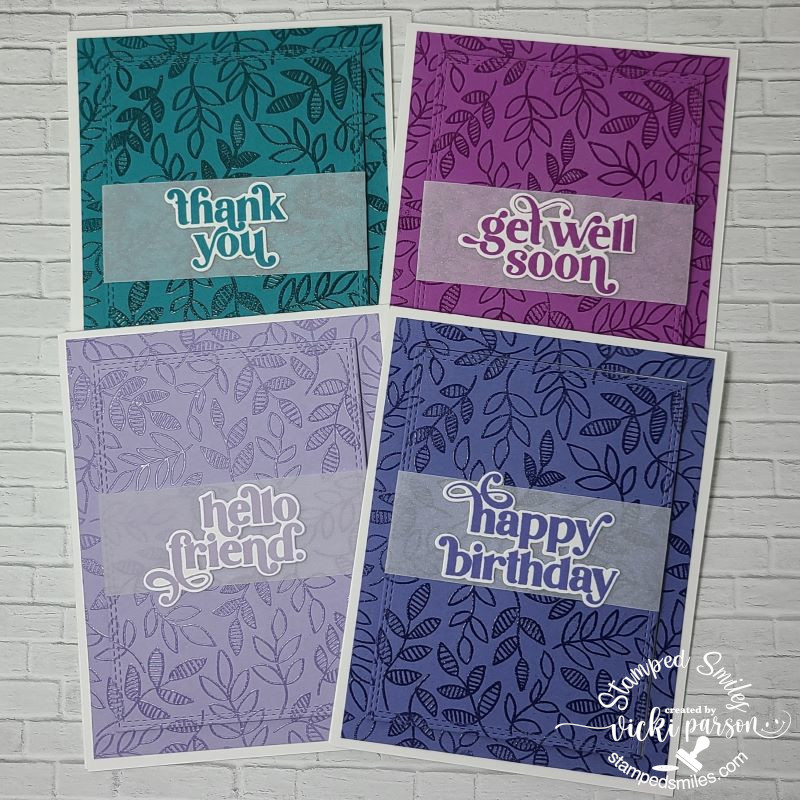
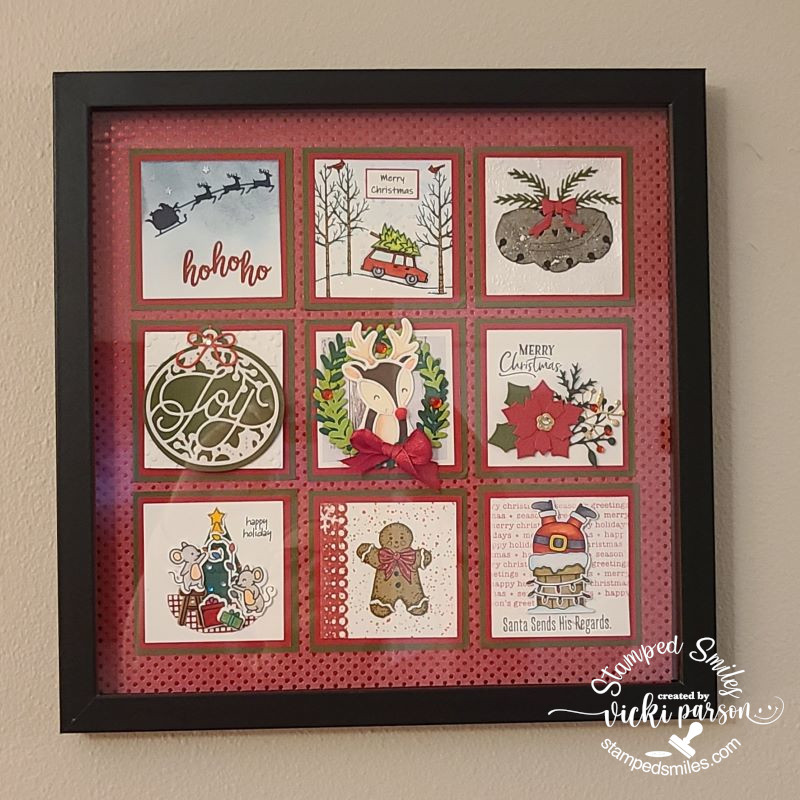
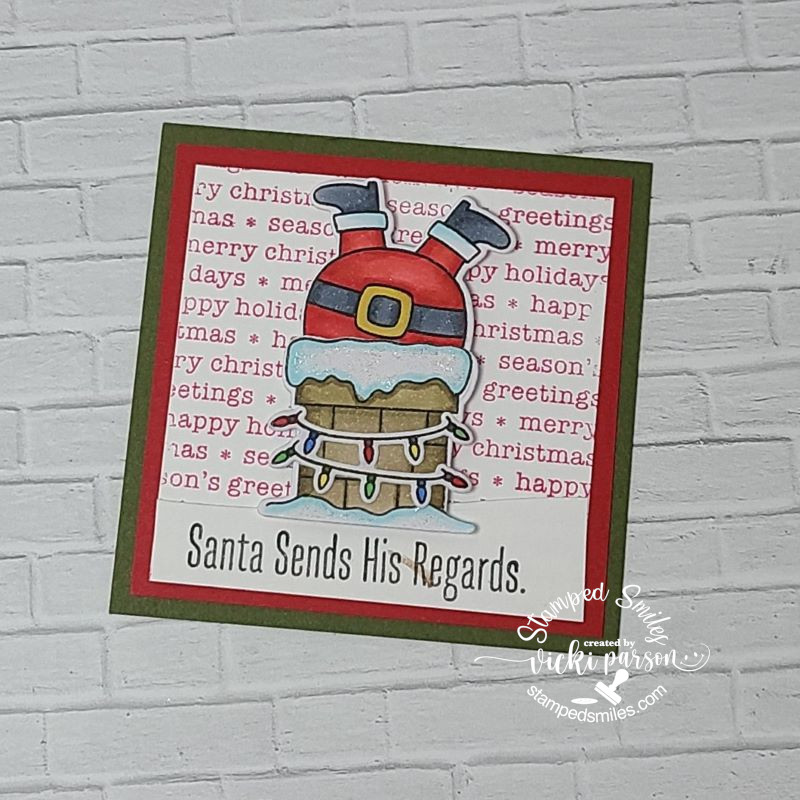
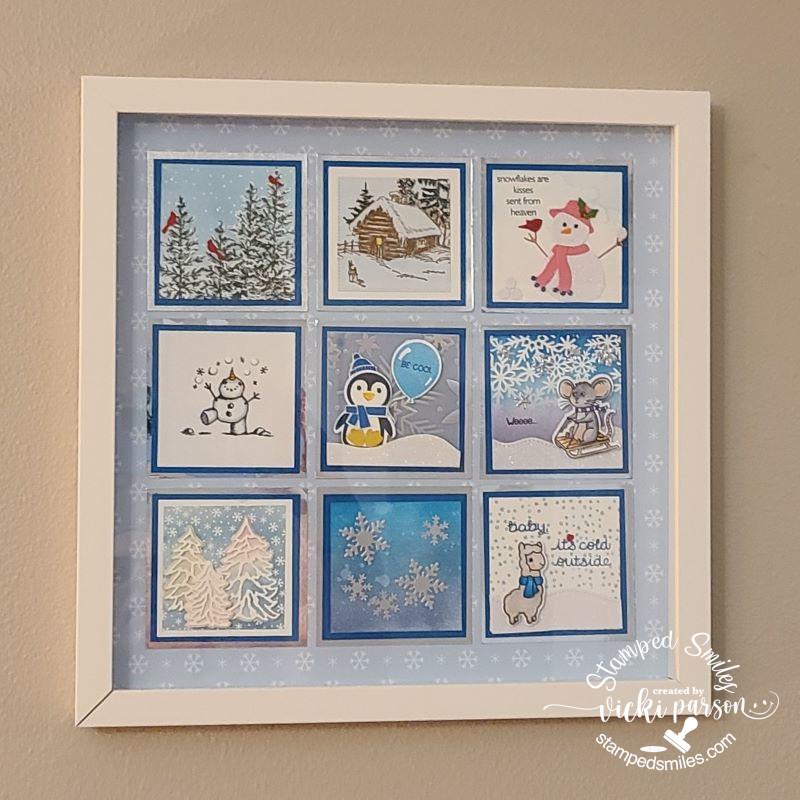
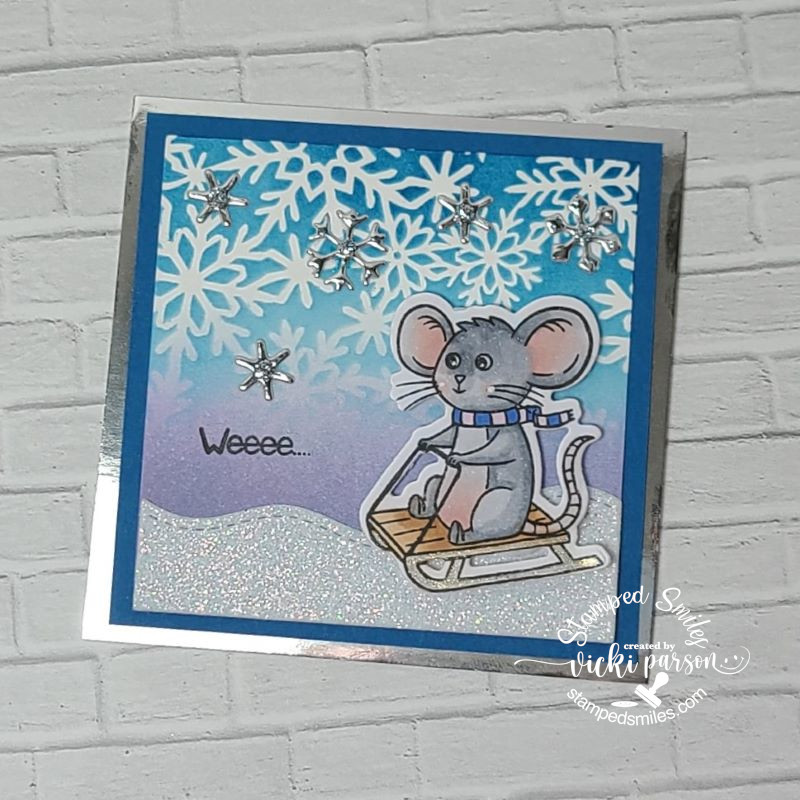
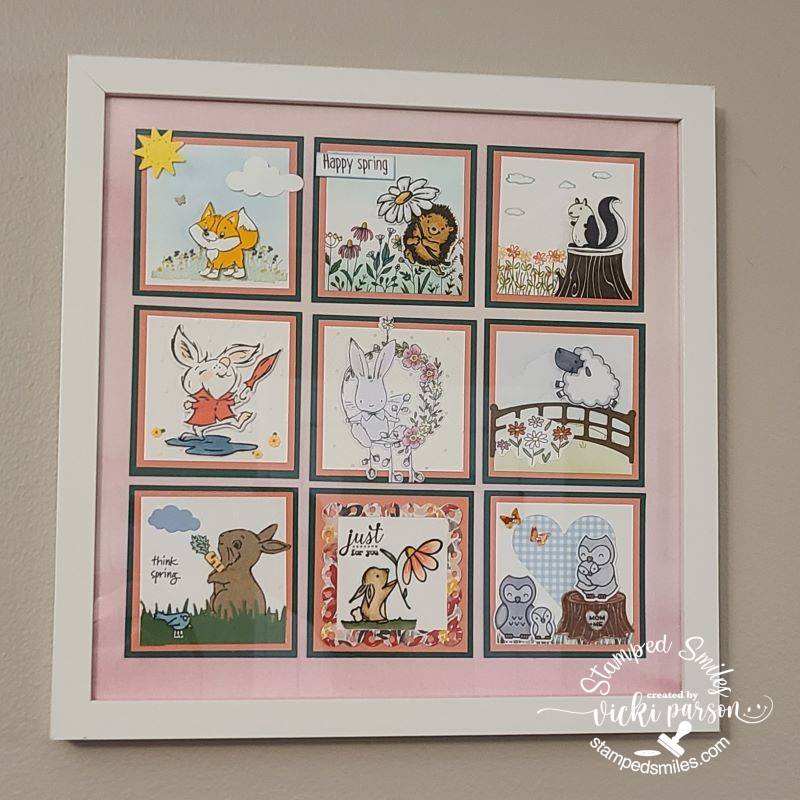
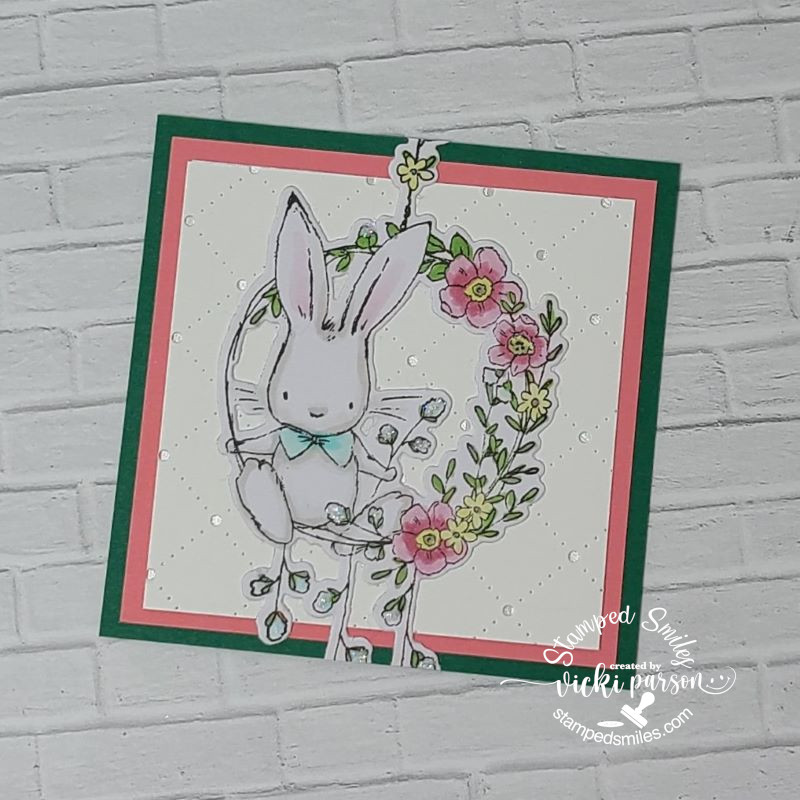
Lastly, I’m also very excited that I have fully completed my ICAD challenge for 2018!!  Yay!!  I cannot believe that I kept up with it the entire time and did a card for every single day the last 61 days in June and July!!  I know that I’ve posted every week what I’ve done, and this is my final set for week 9:

Vicki-ICAD2018-week9

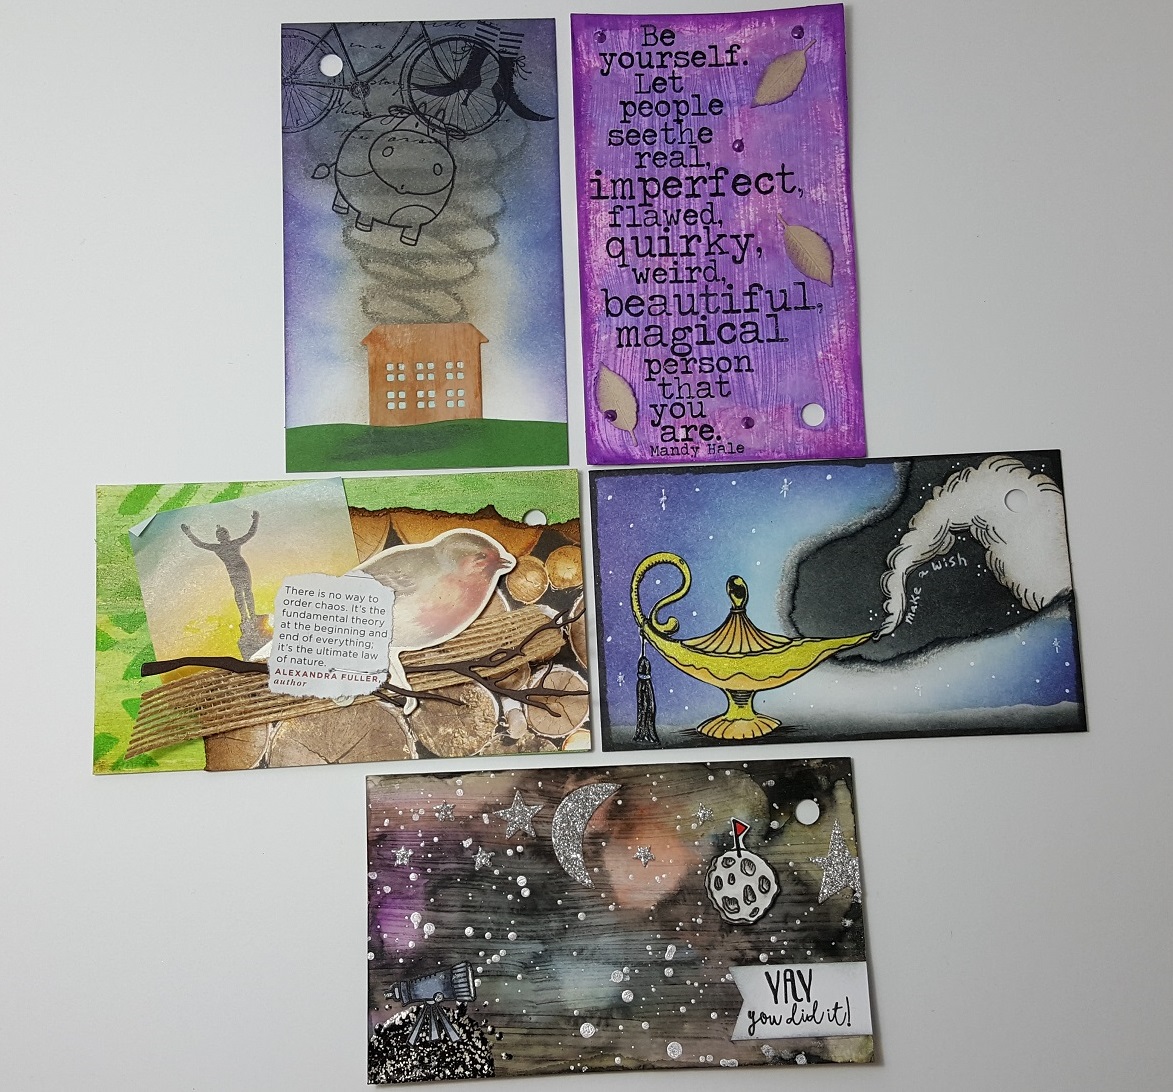
These were so much fun!  Some days were really hard and others I zoomed right through it!  I learned many things not only from other ICADians, but also about myself with art and how it affects me physically, mentally and emotionally.  I am very surprised in more ways than one.  Just when you think you don’t have it in you…you can surprise your own self! Have you ever done something like this?  I urge you to try as it is such a learning experience.

Vicki-ICAD2018-completed

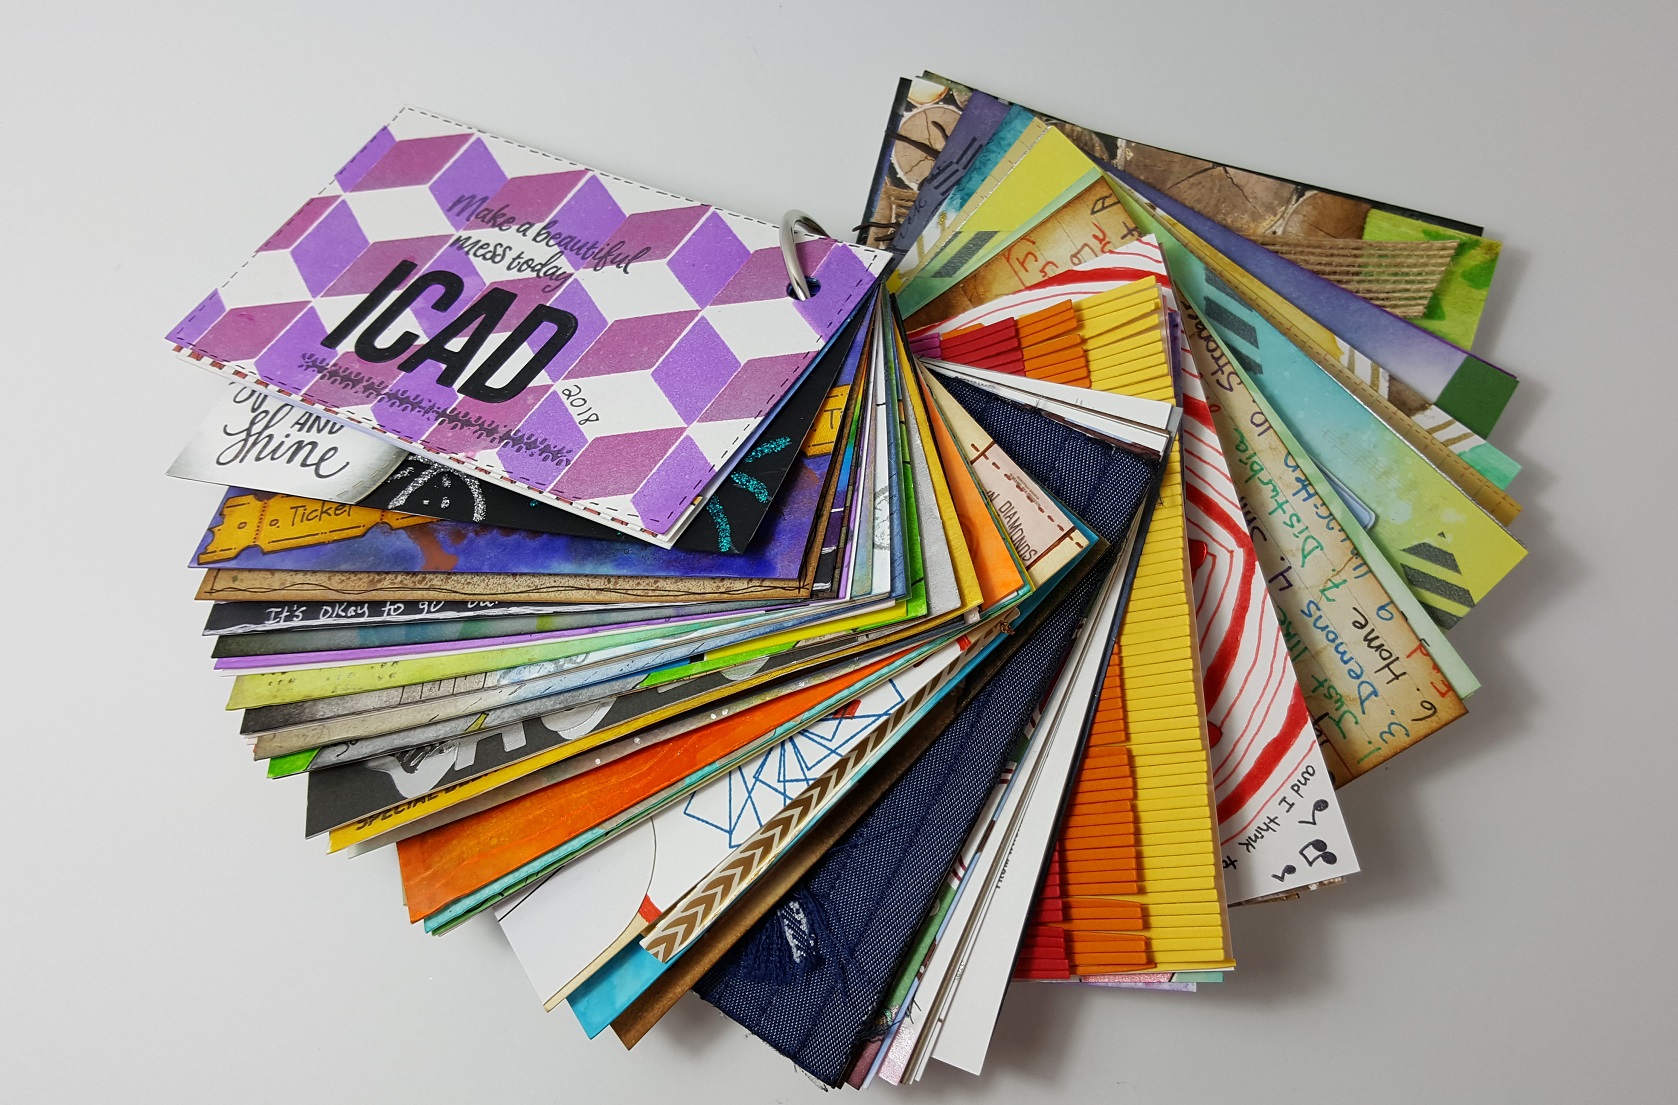
There is just NO WAY I would have enough room to get every single one of these cards in a photo shot!  I had a huge ring binder that I kept them all on and they actually just barely fit on it!  LOL!  Such a fun thing to see all of these together at once and it will be great to go back and look at later too!  Glad I wrote on the back of what each one was.

I hope you’ve enjoyed my post today and have been inspired in some way!  There are SO many crafty things I enjoy doing…. there are just never enough hours in the day sometimes! LOL!!  We crafters can understand that! 🙂

Thanks so much for dropping in, I really appreciate your kind thoughts and read each and every one!  See you soon!