Turner Syndrome Awareness Blog Hop

Hello friends!

February is TSA month and If you’re not familiar with this, please read about it below:

Turner Syndrome is a genetic disorder where a female is born with only one X chromosome, instead of two, leaving her with life-long medical issues and learning disabilities. This condition occurs one in 2,500 female births worldwide, but is more common among pregnancies that do not survive to full term. That is why Turner Syndrome Females are considered MIRACLES!

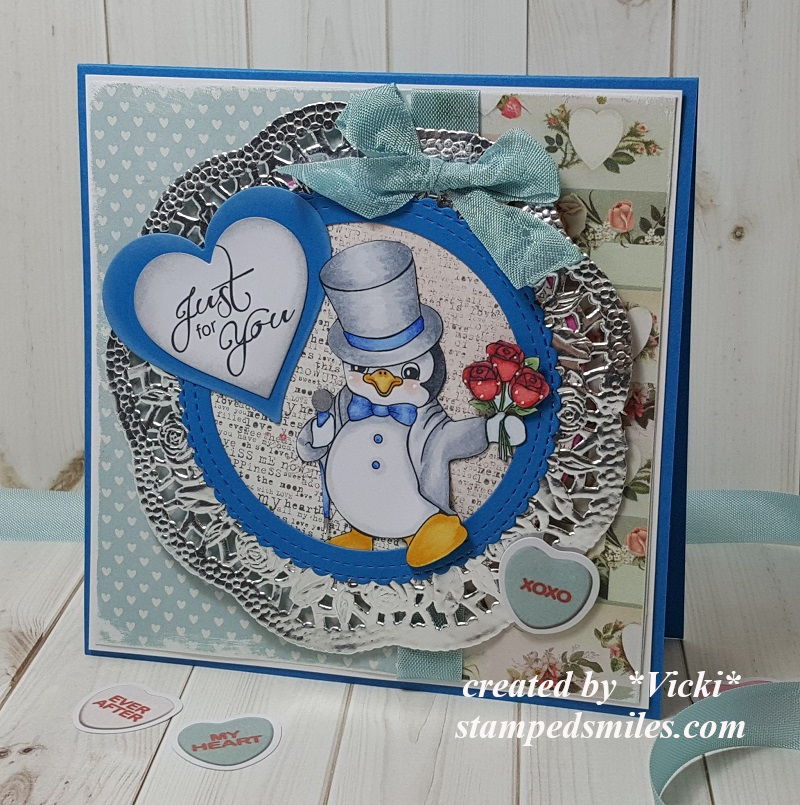
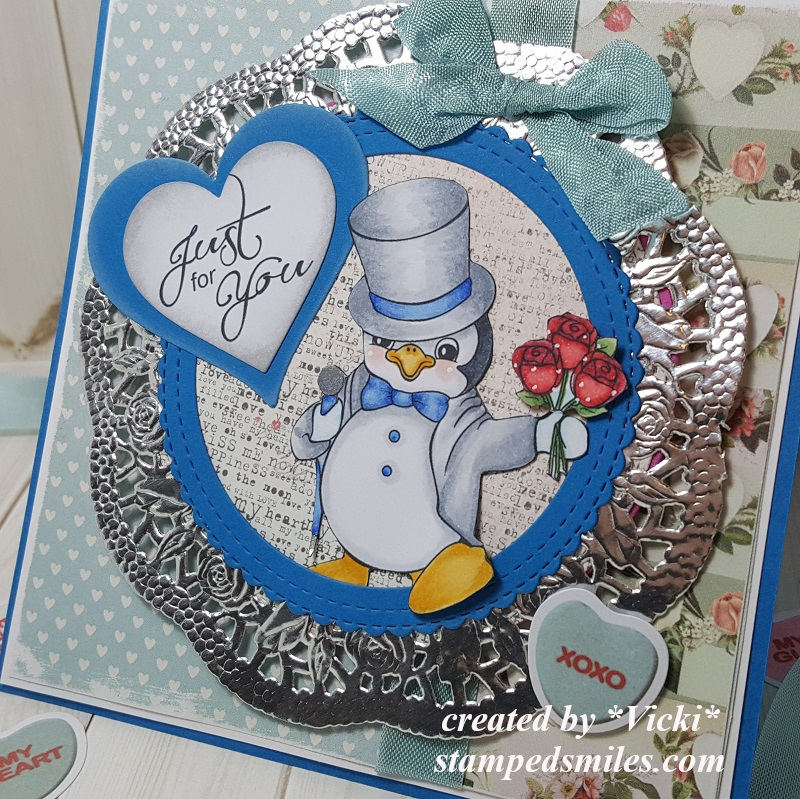
My TS related project is inspired by the TSA official color board:

For my project, I have combined two different digital sets that were kindly made especially for this blog hop and the TSA cause:

Vicki-JansDigi-TSAbloghop

I was really inspired by the wonderful colors along with the images from the inspirational board above, but it was fairly easy since the images were already pre-colored in the set to create with!

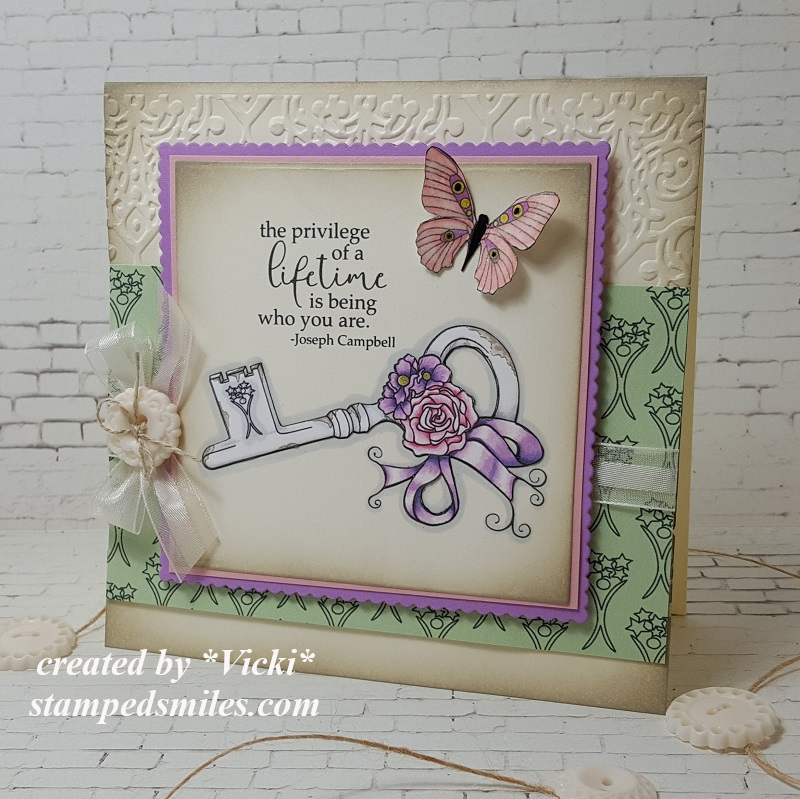
I’ve used the TSF Key digital set from Jan’s Digi Stamps for the images on my card.  Also what’s cool about this set is that all of the proceeds from this set go directly to the Turner Syndrome Foundation!  It’s a stunning set to have plus a great way to help with a terrific cause too!

I have printed out the images over a piece of white cardstock and cut them out.  I also added one of the images in a repeat pattern to print out over a piece of green cardstock for a decorative strip on the background of my card design.

I took an embossing folder and embossed only the top portion of my card base, added the green printed strip with ribbon wrapped around it and sponged the edges.  I layered some pink cardstock and cut a scallop square piece of lavender colored cardstock for behind my vanilla panel and popped it up over the card base with foam tape.

Lastly, I’ve attached the bow, button and twine to the side of the image panel and attached the cut-out butterfly to the top corner of the image panel.  I glued only the center portion of the butterfly so that I could pop out the wings.

Vicki-JansDigi-TSAbloghop-close

Here’s a closer view of the images.  I’ve used a Copic marker on the vanilla-colored panel to create a “shadow” around the key image and then I attached the cut-out key over top of that.  I’ve used the same Copic marker for a few more shadows around the key.  For that butterfly, I’ve used a glitter gel pen to color portions of the butterfly and then a clear glitter brush pen to go over the wings.

You can see that TSA symbol on the key which is the same image used for the green background panel I created on the computer.

Vicki-JansDigi-TSAbloghop-flat

I hope you’ve enjoyed my card today!

Thank you so much for stopping by!

Challenges I’d like to enter my card for:

  1.  Jan’s Digi Stamps Challenge Anything Goes
  2. Pammie’s Inky Pinkies – PIP2004 Anything Goes
  3. Arty Divas – #14 Anything Goes
  4. Through the Craft Room Door – Anything Goes
  5. Allsorts – A Touch Vintage

Just For You at 2 Crafty Critter Crazies

Hello friends!  It’s not only the weekend, but it’s also the first of February!  It’s what we call the “love dovey month”! LOL!  The first of the month also brings us a new challenge starting over at the 2 Crafty Critter Crazies blog!  It’s always an “ANYTHING GOES + ANIMAL” for your project each month.  We look forward to seeing your creations!

For this month we’re being sponsored by Jan’s Digi Stamps and here’s what I’ve come up with for my project:

Vicki-2CCC35-JansDigi-BlueRitz

Check out this dapper little penguin stepping out to hand his loved one a bouquet of flowers! 🙂  I’ve used the adorable Puttin’ On the Ritz digital set for my card here.  It had me at penguin! LOL!

I have pulled out some of those cool vintage looking papers from that SSS Valentine card kit that I had used earlier this week on my parent’s anniversary card and just loved the blue tones in them, so I went with that color scheme for my design!

The penguin was colored and fussy cut out.  The way he was positioned looked like he was popping right through an opening to hand out the flowers, so I’ve used some circle die cuts with more of the vintage papers for the background and tucked him in there with his foot and flowers outside the circle frame.  I’ve placed a silver doily behind him.

The base of the card measures 5″ square, I’ve taken a couple of strips of the papers and layered them over a white card panel that I’ve sanded the edges on before mounting it over the blue card base.  I took some seam binding ribbon to wrap around it and then attached the circle panel to the front with a bow and candy heart accent over top.

The sentiment was printed out from the same stamp set and cut out and layered with a heart die set.  I’ve also sponged around the edges of the white heart with grey ink.

Vicki-2CCC35-JansDigi-BlueRitz-close

Here’s a close view of the image and how I’ve got him all colored up with Copic markers.  I’ve used a white gel pen for dots on his cheeks as well as dots around the flowers.  Sometimes those bouquet of roses have the baby’s breath with them…for some reason I think it makes the bouquet look extra special!

For part of the penguin’s “cane” or “umbrella”…not sure, I’ve used a silver metallic gel pen to color in parts of it.

I kept his hands white as I felt like he was wearing white gloves.  LOL.

Vicki-2CCC35-JansDigi-BlueRitz-flat

I hope you’ve enjoyed my fancy little love penguin card today and have been inspired!

Thanks so much for stopping in!

Challenges:

  1.  Jan’s Digi Stamps Challenge Anything Goes
  2. Simon Says Stamp Monday – All Loved Up
  3. Cute Card Thursday – Valentines
  4. Krafty Chicks – Anything Goes
  5. As You Like It – Warm or Cool Colors (love the cool tones)
  6. Daring Card Makers – Layer it Up!
  7. QKR Stampede Anything Goes