Hello friends! Hope you’re having a great weekend so far! I’m back to share another creation that I’ve made using the adorable Christmas Kitty Digital Stamp Set:
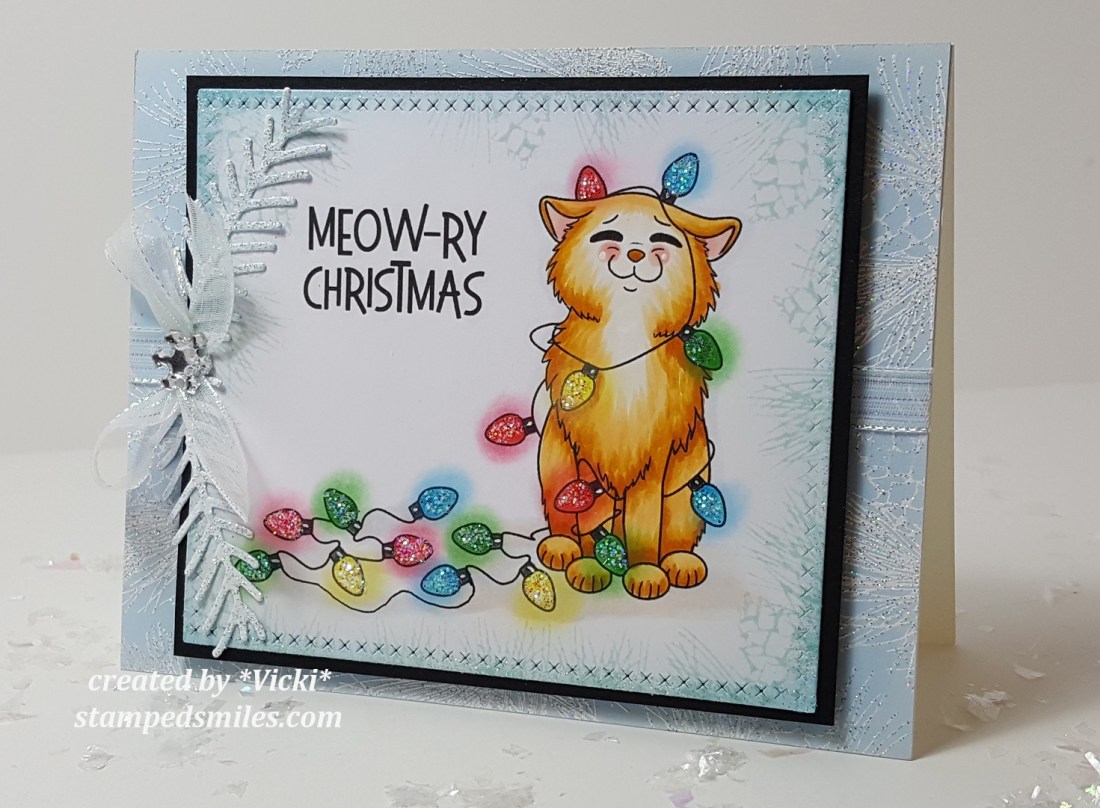
I wanted this kitty to be the main focus of my card along with the lights and I wanted them to pop out on my design. I also wanted to add my panel complete with the “extra” light string and greeting. So I opened up a blank Word doc. to add my images. I sized and arranged the kitty where I wanted him, then next to him I’ve added the additional “extra” lights and then positioned my greeting from the set where I wanted it, printed it out and colored in the lights and kitty with Copic markers. To make the lights appear as one continuous string of lights, I took an alcohol friendly fine line marker to draw a line to the existing lights on the kitty. I just love the look on his face as he was so much fun to color! 🙂
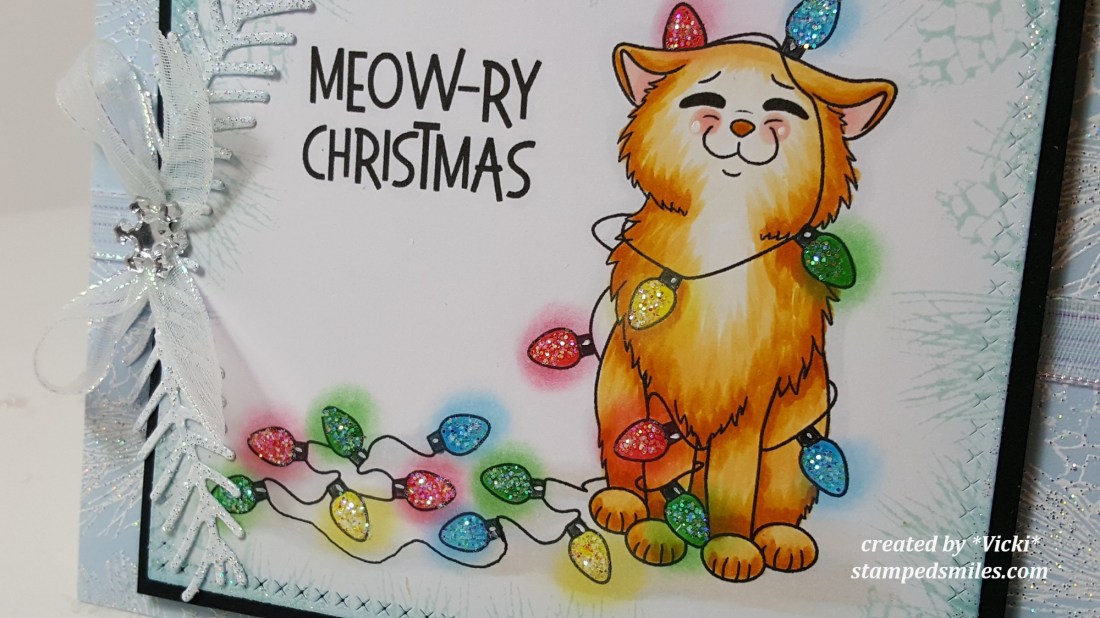
To get the glowing look on the lights, I added some color around each light with the same color of chalk. Then I took the Diamond Dust Glitter and added it over the light bulbs with the Nuvo Smooth Precision Glue pen.
I then cut this panel out with a rectangle cross stitch die cut from my stash. After it was cut, I took some blue colored ink and stamped the pinecone image from the Holiday Greetings Rubber stamp set to frame in the kitty panel.
I decided to cut out some pine leaves with the same light blue card stock with a die cut from my stash and then I covered them with VersaMark ink and heat embossed them with the Vanilla Ice embossing powder. You will also notice a bit of sparkle around the kitty panel edge too. I took the panel and pressed the edges into the VersaMark ink pad and then heat embossed the edges with the Sparkle embossing powder.
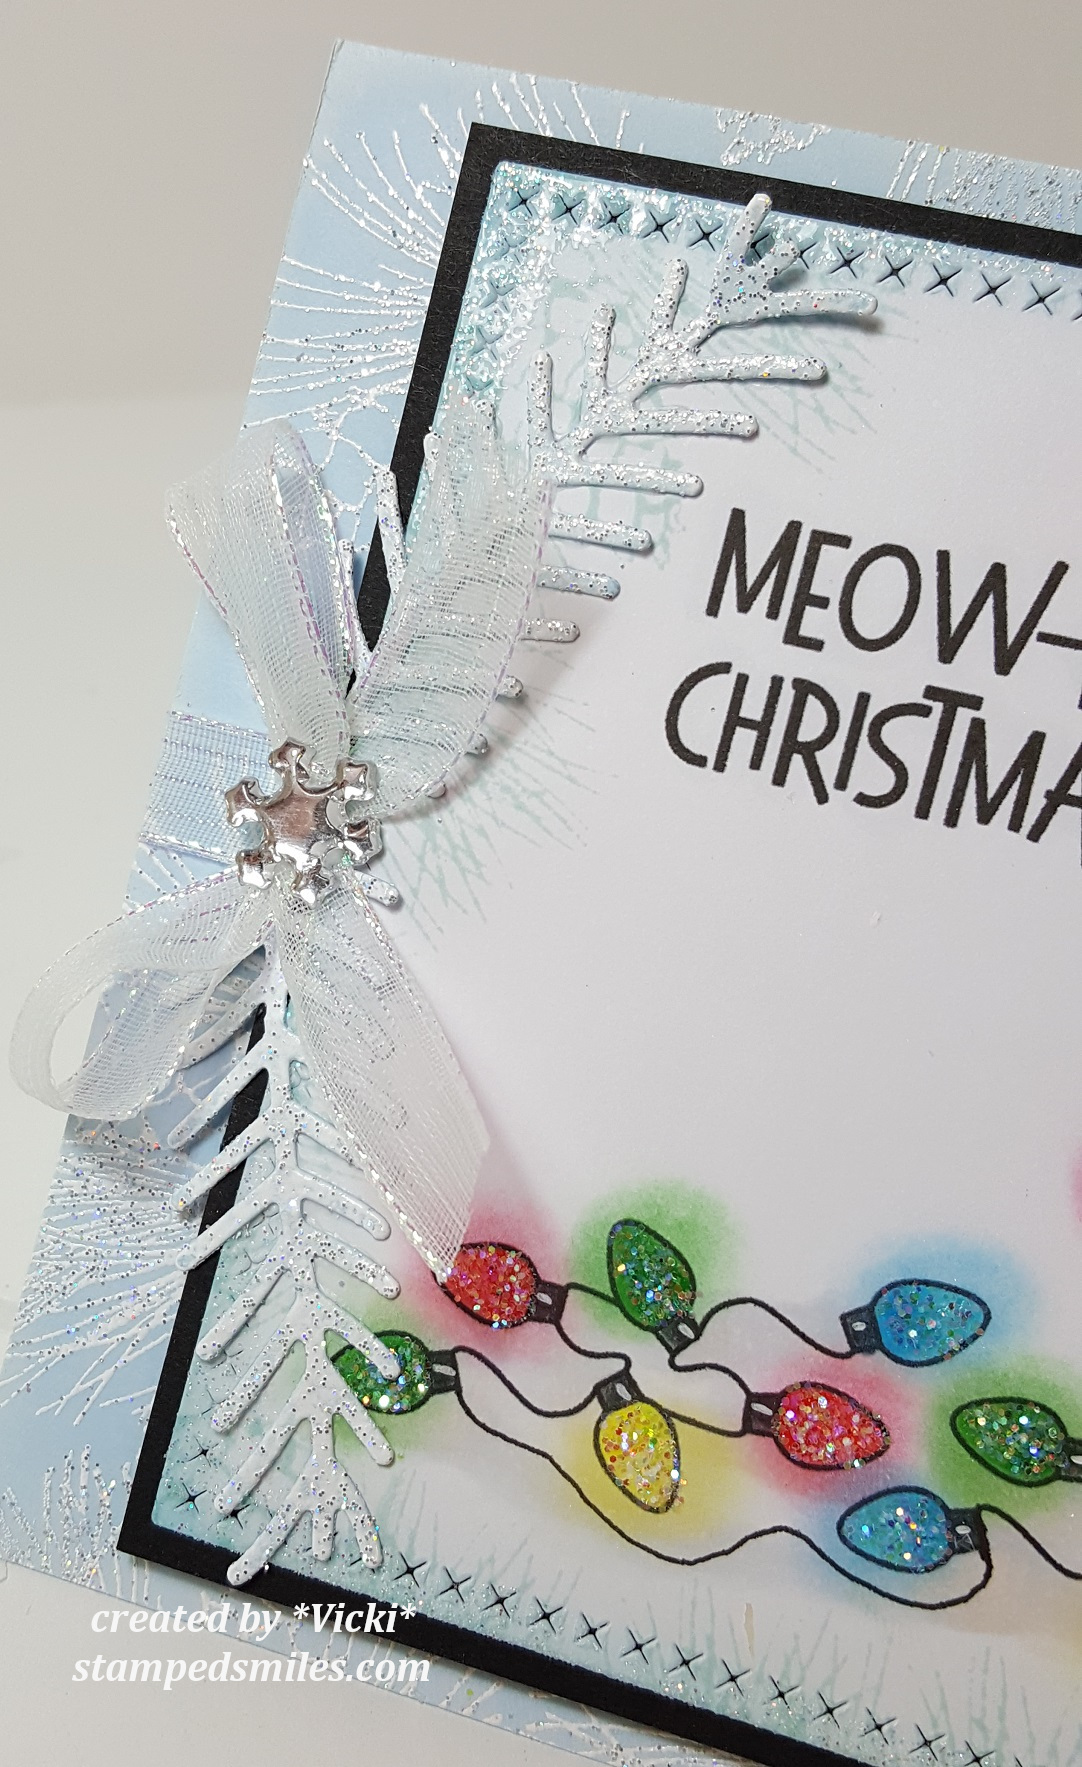
Here you can see the design on my light blue card front as well. This is where I took the same pinecone rubber stamp image and stamped randomly along the edges of the card front and heat embossed it with the Vanilla Ice embossing powder. The heat embossed pinecone leaves were attached to the edge of the kitty panel along with a sparkly ribbon bow and a snowflake accent. I layered a piece of black cardstock around the image panel and popped it up with some craft foam and mounted that over the front of the heat embossed light blue card front which was wrapped with some more of the sparkly ribbon. This was mounted over an A2 sized top folding white card base.
I hope you’ve enjoyed my sparkly cute card today!
Challenges I’d like to enter:
- Crazy 4 Challenges (C4C458) – Card with Cat or Halloween themed
- Crafting By Designs – Get Ready for Christmas
- 4 Crafty Chicks (4CC427) – Christmas
- Craft Rocket – Christmas is Coming
- Crafting With an Attitude – Anything Goes
