Hello friends! Yes, I know, not only am I posting every single day, now I’m posting twice in one day!?! What’s going on with me?!😂 Really sorry to “bombard” you with all of these posts, but this is what I meant by me being SO busy “behind the scenes”! If I do miss a day, you’re going to wonder if I’ve left again! It sure is busy, but it’s also fun while the long days of Summer go by.
Today starts the Splitcoaststampers “Dare to Get Dirty” annual event full of fun challenges by current and past alumni from the Dirty Dozen Design Team. This is the 16th year that this special event has happened! I’m very proud to be associated with Splitcoaststampers and have been apart of the community since 2003…a lurker👀 a few years before that too! I have some LIFE LONG friends as that’s where I started putting anything I ever created online anywhere. So in June of 2016 I was honored when asked to be apart of the Dirty Dozen Design Team! They certainly have my creative heart forever. So I think I missed last years event because I was not well at that time, so I will be participating as a challenge hostess this year. You must be a “Fan Club Member” over there to be able to see the event, so if you’re interested in joining, please check out the “How to Become a Fan Club Member” page. (Otherwise you will not “see” the event details.).
So each day, there’s about 5-6 new challenges released starting today and lasting until Friday August 28th…that’s a whole lot of challenges! I obviously didn’t have time to make something for every single challenge, but I have made a few to help my fellow “Dare to Get Dirty DT friends” create samples for their challenge.
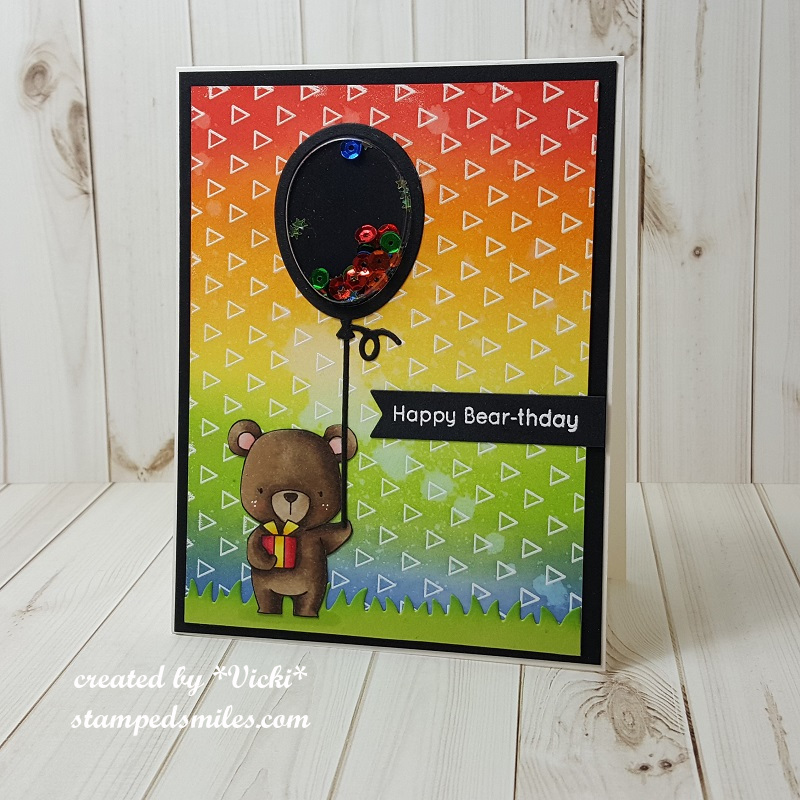
The first challenge I made a creation for was the lovely Kittie’s challenge. And obviously, I cannot reveal what the challenge is about, I can show you my creation and ask that you head on over to the event to see the details and play along with us….
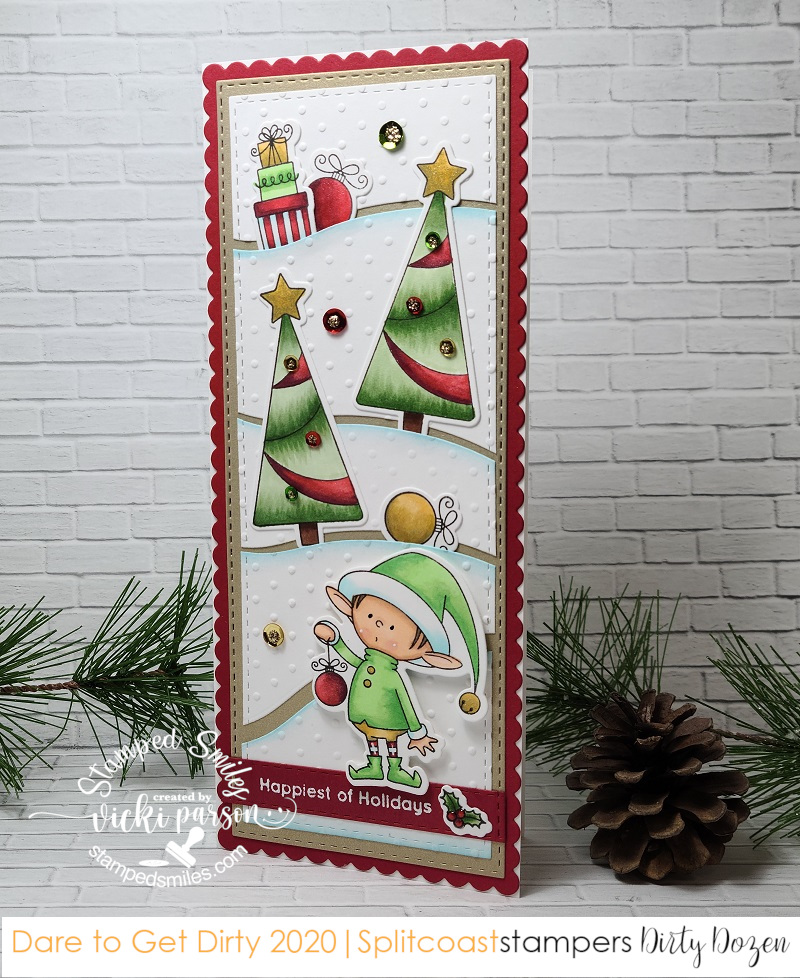
I had such a fun time creating this fun Holiday themed slimline! I pulled out an old favorite “Santa’s Elves” stamp set from My Favorite Things for this one. I’ve stamped and colored several images from this set using Copic markers and cut them out with a coordinating die. For the scene, I’ve taken a piece of white cardstock and used a wave border die to cut out the different snowy hillsides and before attaching them down, I’ve used a blending tool to add some blue ink to the edges. I then took each individual hill and embossed them with an embossing folder.
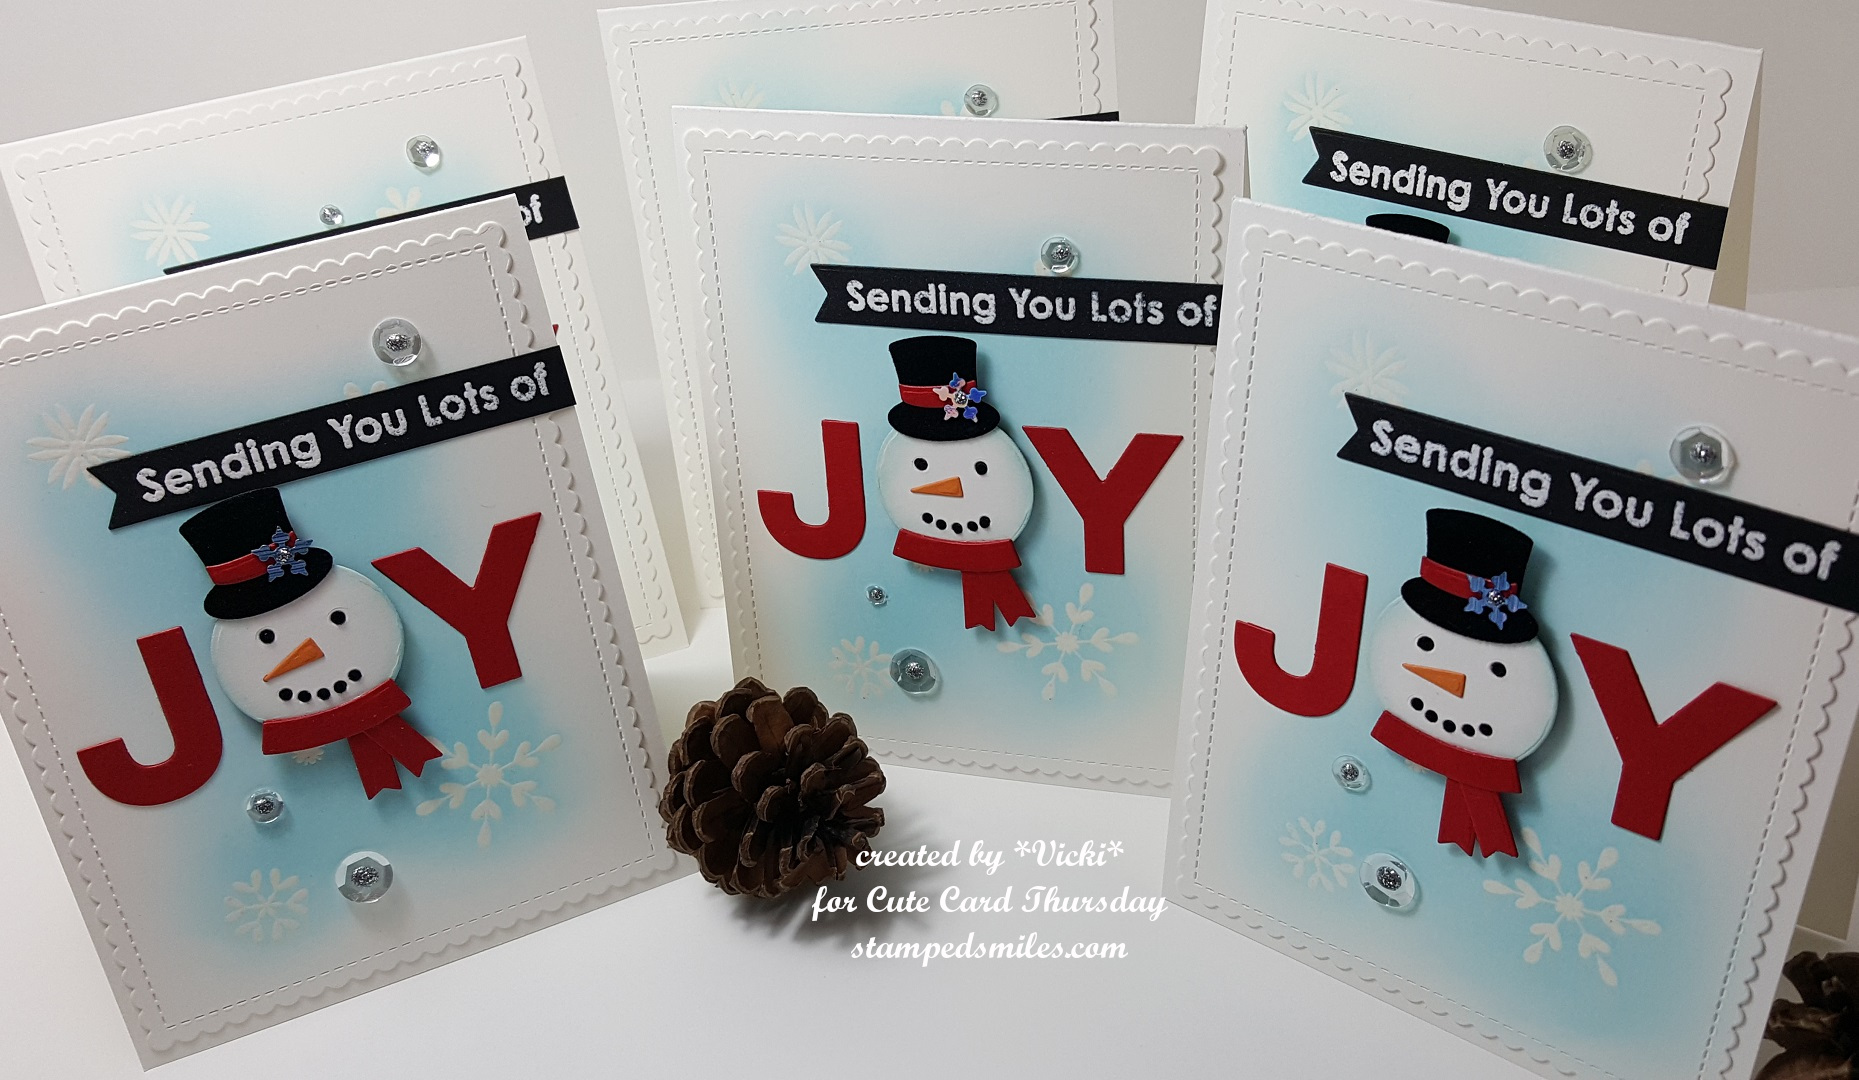
I arranged the “hills” over a piece of brushed gold cardstock that was cut out with a stitched slimline die from Trinity Stamps. I “tucked in” the cut out images in between the hills. The gold layer was attached over a red stitched scallop slimline piece that was mounted over a 3.5 x 8.5 slimline card side folding white card base. I’ve also used one of the banners from that Trinity Stamps die set to white heat emboss the sentiment from the stamp set and then popped up the little elf over top of that with foam tape over the bottom of the card front. I also attached that little holly image at the end of it.
Lastly, I topped the card off with holiday colored sequins filled with gold Stickles in the centers.
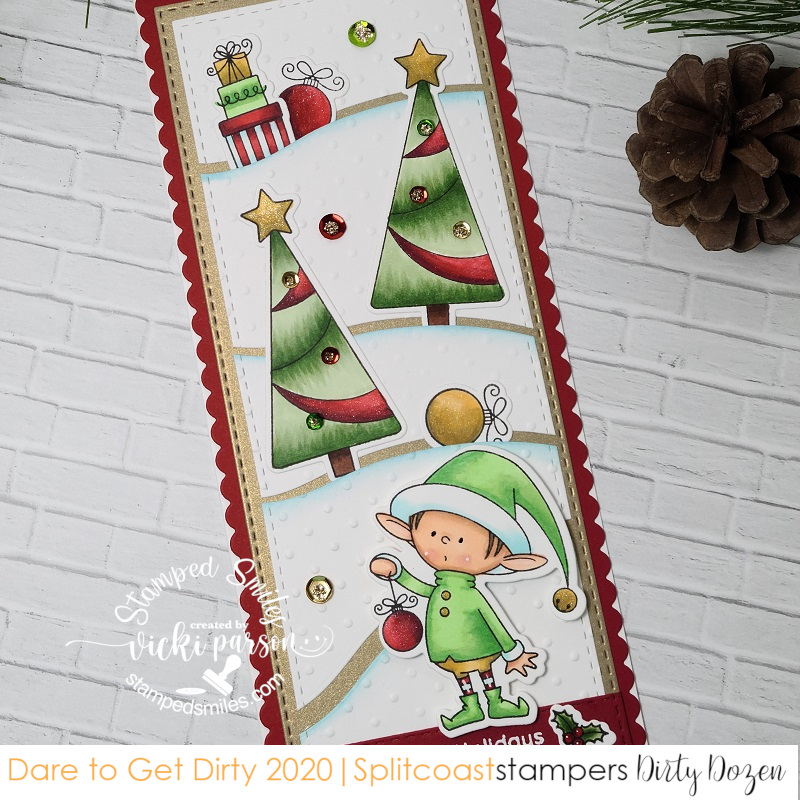
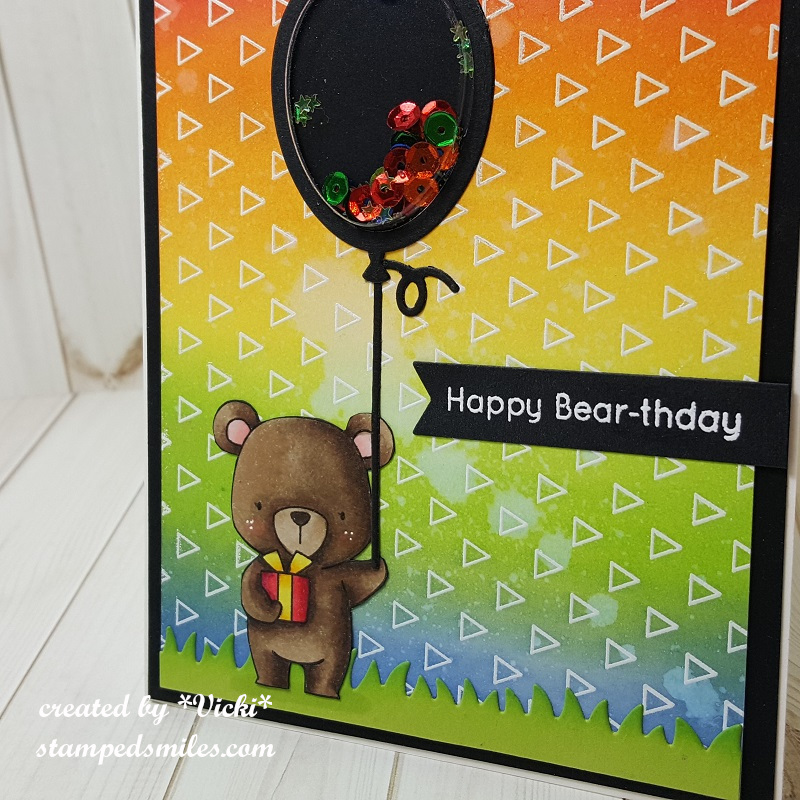
Here’s a little bit of a closer view of the images on the card. I’ve taken a glitter brush pen and went over the stars on the trees as well as the ornaments and the bell on the elf’s hat for a bit of shimmer. I also covered the holly berries on the bottom sentiment with some glossy accents. (Hard to get all details in there!)

Hope you’ve enjoyed my Christmas slimline card today as well as all of the daily posts I’ve been sharing! I look forward to either seeing what you create during the “Dare to Get Dirty” event or anything else you may be working on! The end of the year is coming soon and I know everyone will be creating lots of fun things!
Thanks for joining me today friends! I’ll see you again tomorrow! Stay well and happy!
Challenges:
- Merry Little Christmas – Anything Christmas Goes for August
- Jingle Belles – Cardstock Christmas
- Crafty Cardmakers – Lots of Layers
- The Pper Girls – Emboss Like a Boss (both heat and embossing folder used)
- Shopping Our Stash – Pile it on! (layers)
- Cute Card Thursday – Embossing