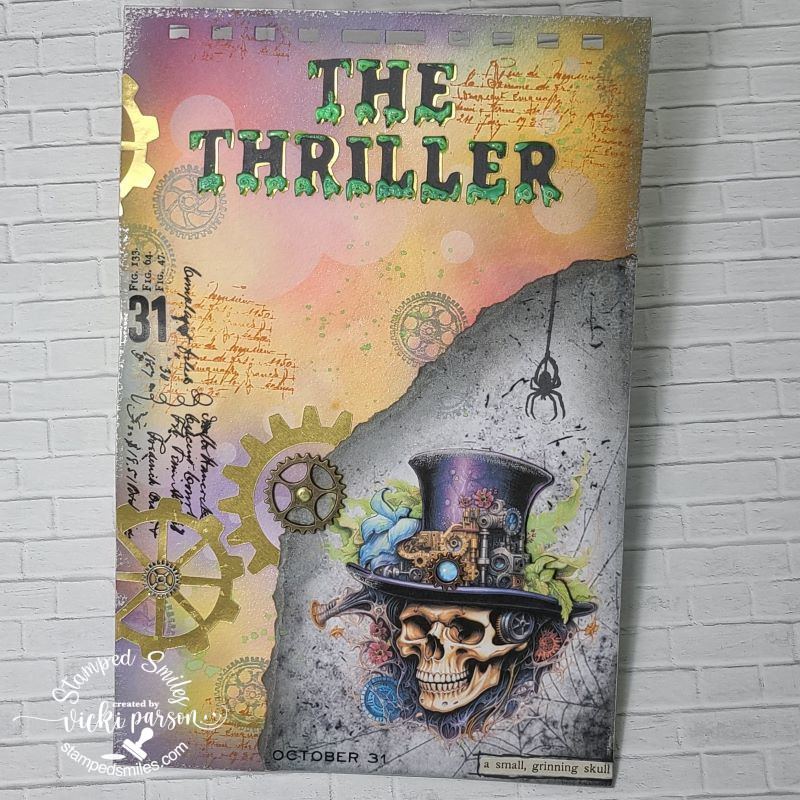
Hello friends! Back to share more inspiration for this month’s Art Journal Journey challenge theme of “LIGHT/KEEPING IT LIGHT“. I’m hosting this month’s theme and I’ve really enjoyed seeing everyone’s interpretations with it! Looking forward to seeing even more!
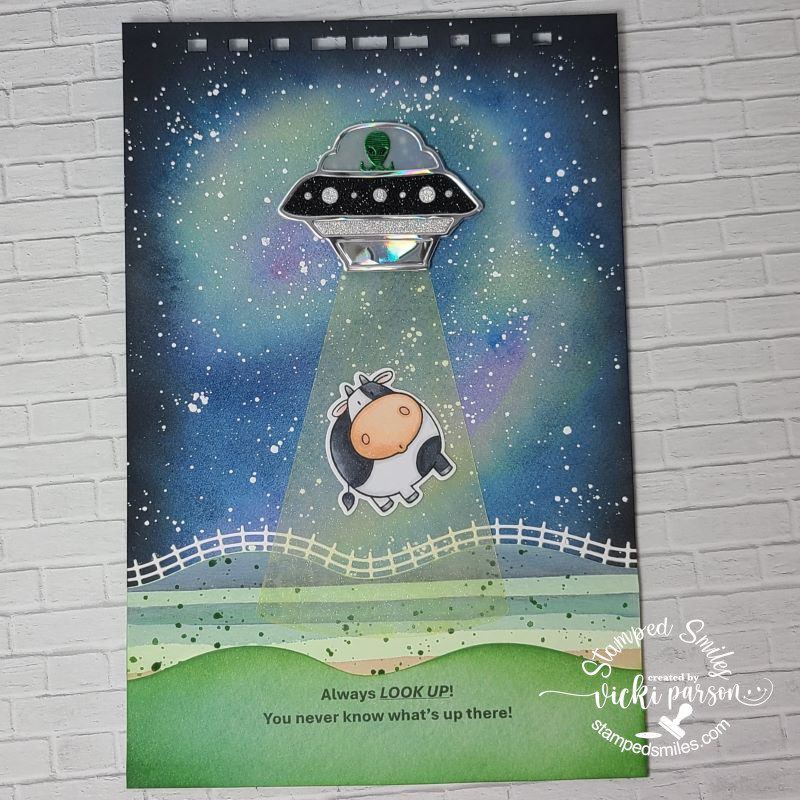
For the last few days over my way, we actually got to enjoy a few walks outdoors as it has been unusually warm and with some sunshine…finally! So of course I’m going to go out and enjoy it while it is around! This inspired my page today:
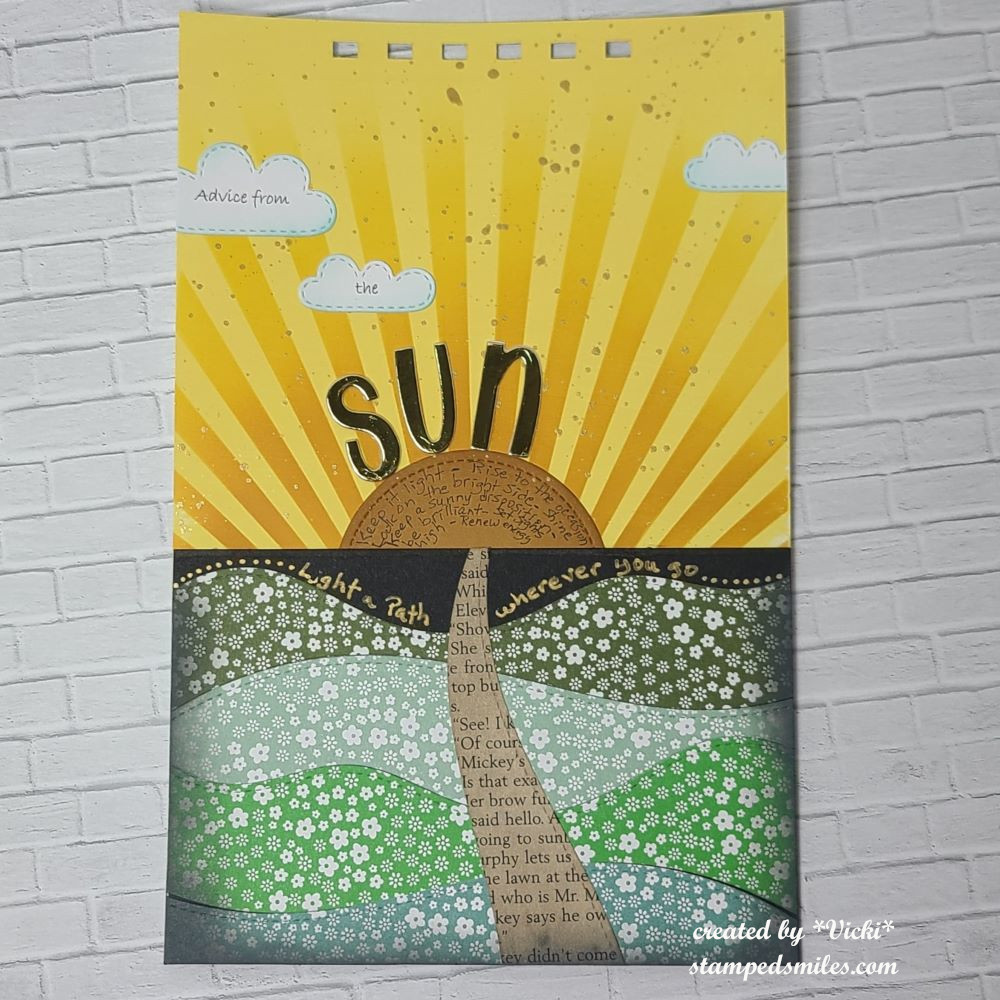
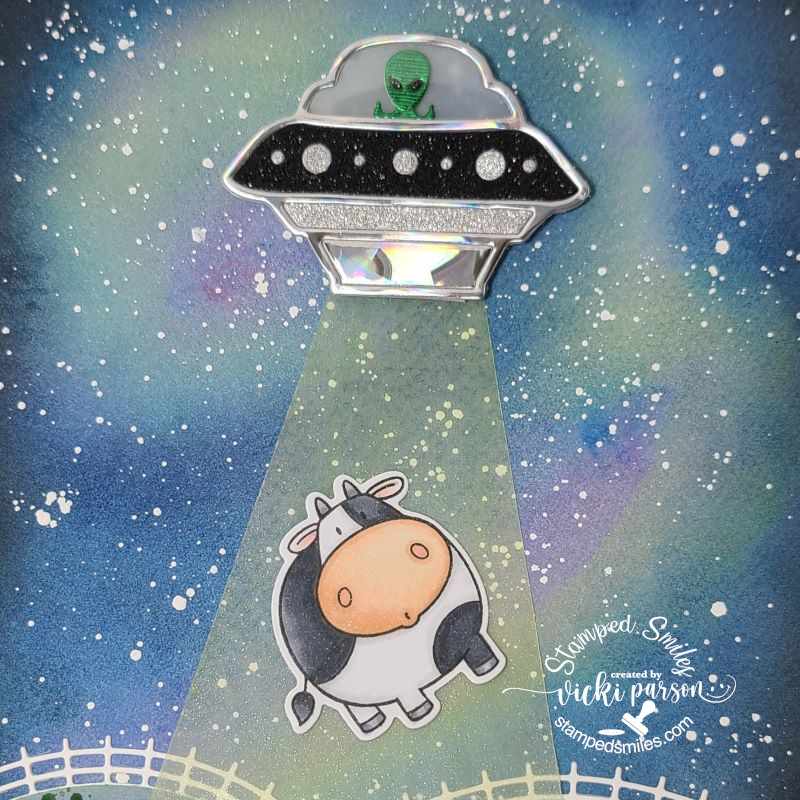
Now, I’m not sure if the sun gives advice, but if so, I’m thinking there might be a few of these to consider! It’s hard to read, but inside the circle, I handwrote “Keep it light – Rise to the Occasion – Look on the Bright side – Shine – Keep a Sunny Disposition – Be Brilliant – Set sights high – Renew energy” I’ve also handwritten with a gold paint pen on the black under the sun ” Light a Path wherever you go“.
For the background: Started with a 5.5″x8.5″ piece of heavyweight cardstock that was pre-punched at the top with my Zutter machine. I took a baby wipe and covered the top half of the page with yellow paint. I then used a “Light Ray” stencil and blended a few yellow and orange ink colors over the painted background. I also took some gold metallic paint and splattered over the background with a fan brush. A die cut a circle to place in the center. The clouds and “SUN” letters were cut out with dies. I used my printer for the lettering on the clouds and some gold mirror cardstock for the “SUN” letters.
The bottom half of the page is all papers. I started with a black piece of cardstock sized to fit under the sun rays and then die cut several different green colored pattern papers to create hills layered on top of the black. (Happy to use some more papers!) I also found a book page strip and cut it for a “path” in the middle of the hills. I sponged the edges with some black ink and that’s when the gold handwriting was done.
Thanks so much for stopping in today! I’m glad you’re here and I hope this has inspired you in some way!
- I’ve had a few people that have sent me a message from my contact page on my blog. If you have contacted me, I’ve replied, but not sure if they’ve been received. Please check your spam folder to see if it’s there as I haven’t heard back from a couple of people. Thank you!
Challenges:
- Art Journal Journey – Light/Keeping it Light
- Paperminutes – No cards
- Crafting From the Heart – Anything Goes
- Creative Artiste – Anything Goes Mixed Media