Hello again! I hope that you are enjoying your start to Summer or at least enjoying the month of June as we come to a close with it. We are hoping to get some much-needed rain the next few days, but I see there has been some very strange weather happening everywhere lately. So whatever your area, hoping it’s good for you.
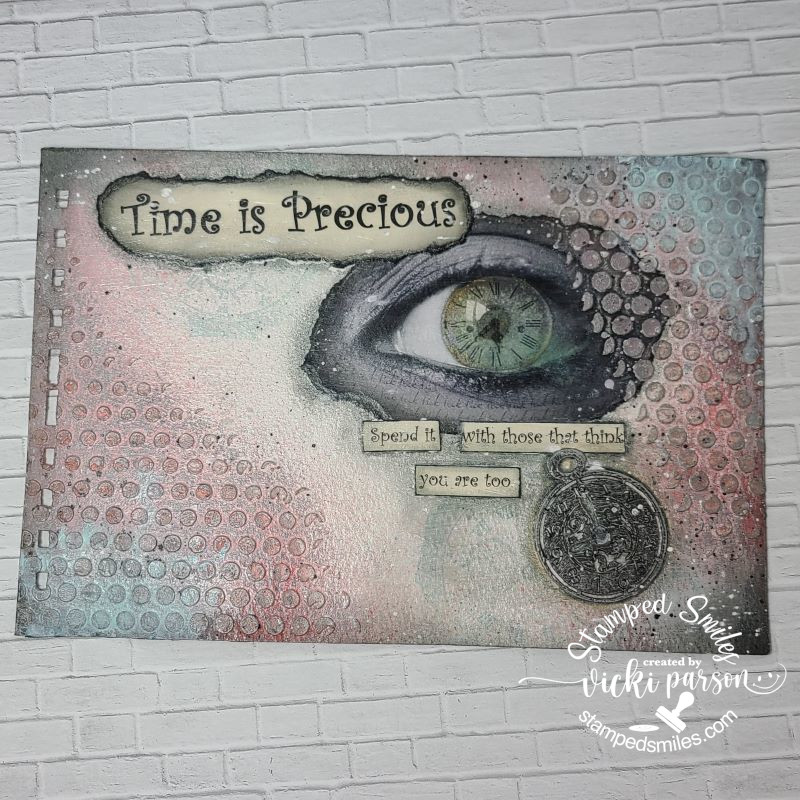
It’s time for the monthly Art Journal Page collaboration with my crafty friend, Carol (from Crafty-Stamper)! We get creative trying to use up our never-ending stash piles along with a prompt for each month. I know she will have some wonderful inspiration to share, so please check out her blog too! Here’s my AJ page with the “SMASH OUR STASH” June prompt of “METAL”:
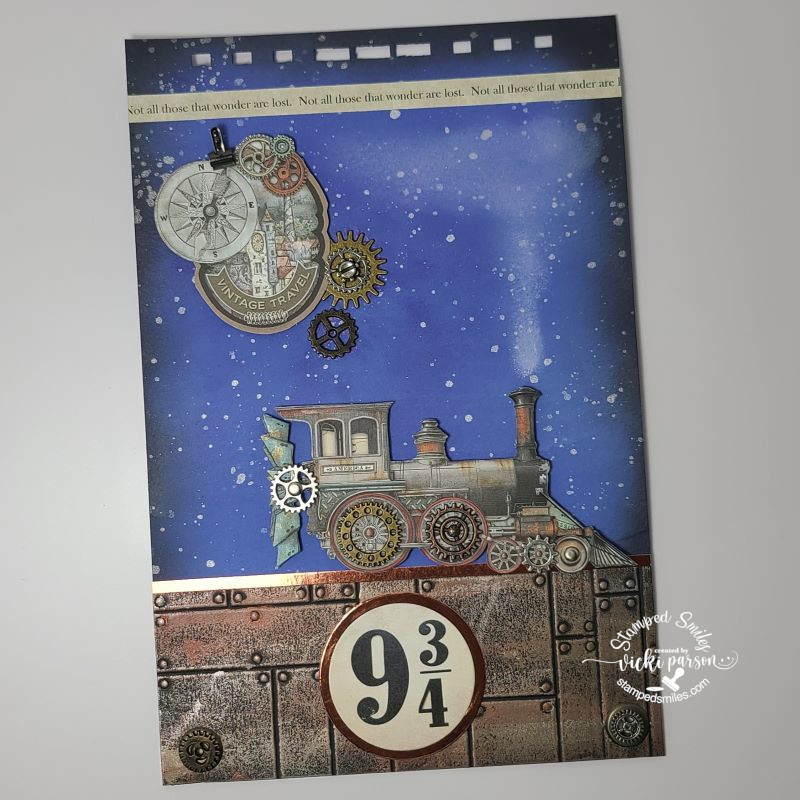
How about you?! Do you have lots of metal things in your stash? I have several different things, but this time I wanted to concentrate on my large bag of metal gears along with some older things from my stash. With the gears in mind, I decided that a steampunk theme would be something I could do. So I pulled out my Stamperia Aviator themed papers and saw this cool steampunk train to use.
For the Background: I used my usual 6″ x 9″ 140# Canson paper with the pre-punched holes at the top and painted it with some Periwinkle and Turquoise colored paints. I splattered some dots over it with silver metallic paint and then went around the edges with some soft black sponged over it. The wording strip at the top was printed on my computer and it says: “Not all those that wonder are lost” repeated. I also printed out the “9 3/4” from my computer and cut it out with a circle die and layered some copper metallic cardstock behind it. (If I saw a train platform with 9 3/4 on it, I’m sure I would want to take it! Maybe I need a trip to Universal Studios!)
The train along with the “Vintage Travel” badge and compass were fussy cut out from the Stamperia papers. I used a metal clip from my stash to combine the badge and compass together and used foam tape to attach it to the page. I also used some foam tape to attach the cut-out train after adding a metal brad to the front wheel.
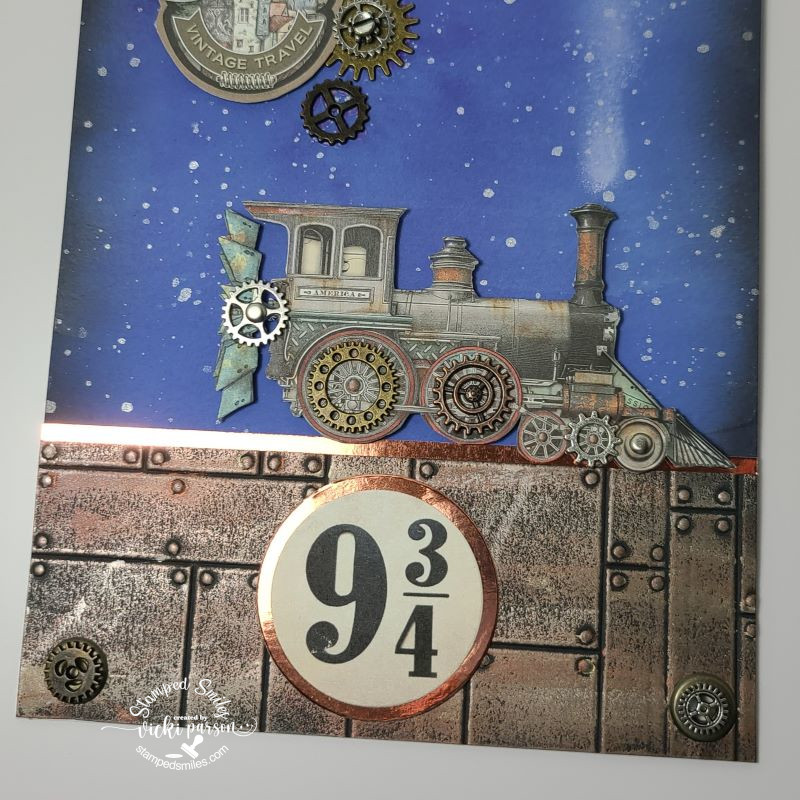
I wanted to share a closer look at the bottom of the page to explain what I did. Using some black cardstock, I used the Lisa Horton Mechanical Rivets embossing folder over it. I used some Finnibair metallic wax pastes to go over the entire panel to get this look. Before attaching it to the page, I used some large metal eyelets from my stash to attach them at each corner and then I glued some extra metal gears over top of them.
You can see how I’ve attached all of the metal gears to the train here as well. For the “steam” coming from the train, I just used a sponge and white ink.
Had some fun playing around with the metals and making faux metal as well with this one. Hope you’ve enjoyed it too! Thanks for dropping in today and see you soon!
Challenges I’d like to enter this AJ page in:
- Art Journal Journey – All About Numbers
- Country View – Vintage
- Creative Artiste – Anything Mixed Media
- Crafting From the Heart – Anything Goes (no cards)
- Simon Says Stamp Monday – Pick a Number
- Penny’s Paper-Crafty – Anything Goes Using Paper
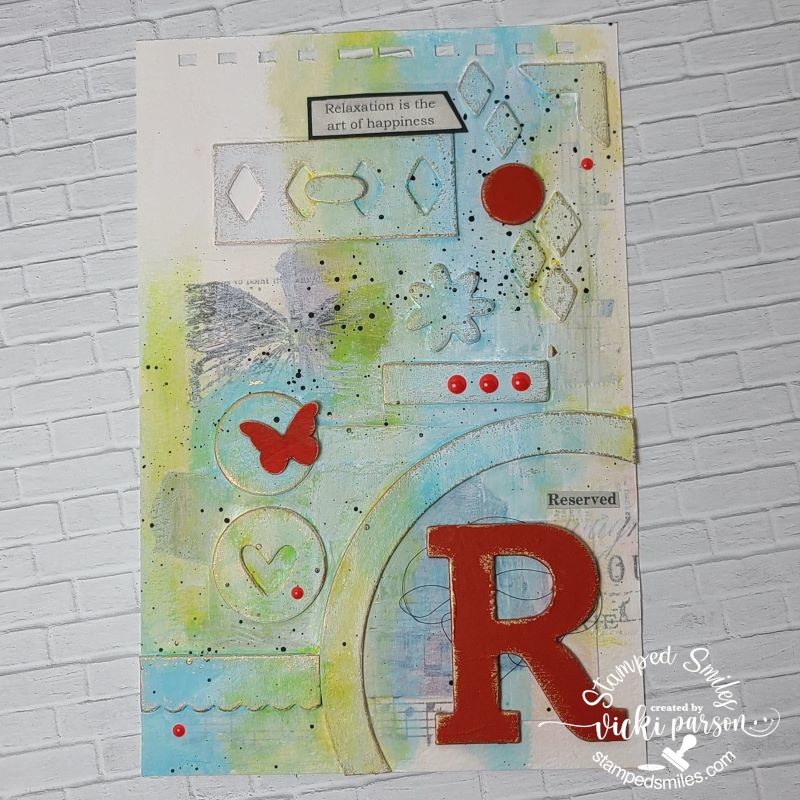
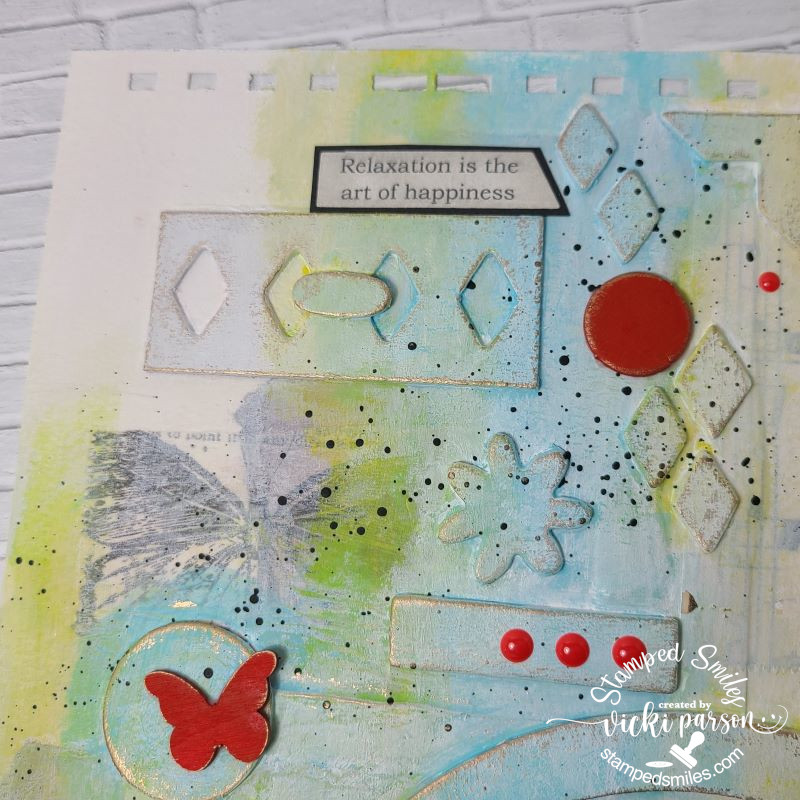
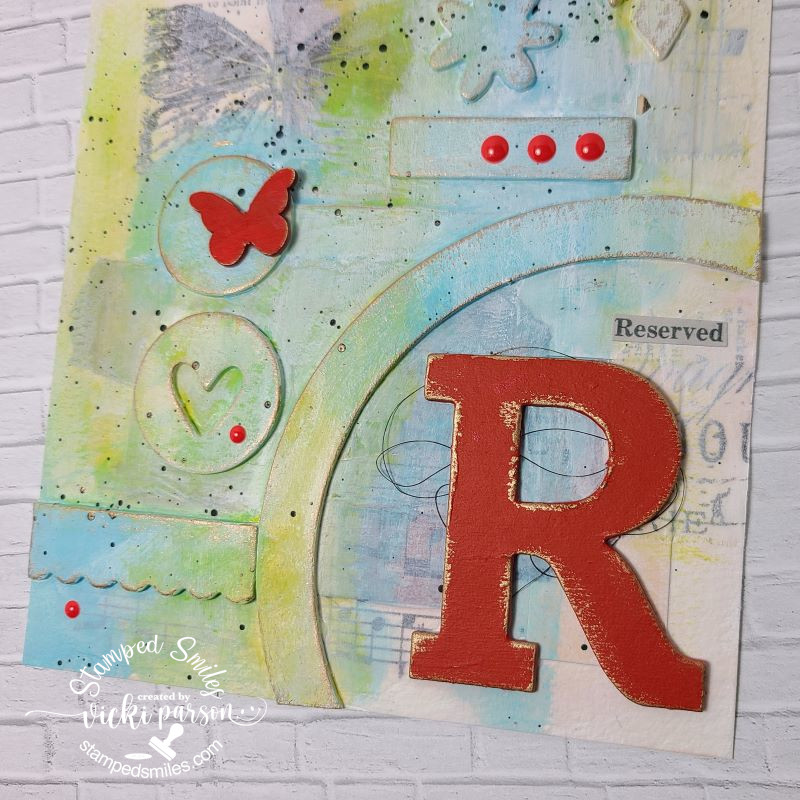
 Here’s my AJ page for this month with the “SMASH OUR STASH” February prompt of “Wooden Pieces/Chipboard” :