Hello friends! Hope you all had a wonderful weekend! I had another great weekend out with hubby, but this time we visited Starved Rock National Park. Really amazing nature hike we took and I’m wore out! I sure wish I was able to do more hiking than what we did, but what we did do was amazing. I will share some photos soon of our last two weekends out.
For today I have a sweet image from Whimsy Stamps to share with you and another Christmas card that I was able to add to my pile which is always nice to have!

This little guy is so sweet trying to decorate his poor “Charlie Brown” Christmas tree here! LOL!! This is another adorable Crissy Armstrong image called Polar Bear’s Christmas Tree.
I’ve cut out the image the whole length of the card front panel and layered it over a piece of black cardstock and then some red cardstock. I was placed over a piece of digital paper that I printed out from the Whimsy Stamps Rustic Wood and Brick Digital Paper Collection. I ran the edge of some scissors along the edges of it and then added some of the plaid ribbon along the left side. I then mounted this over a 5.25″ square top folding black card base.
I die cut some pine boughs from green cardstock and arranged and glued it down over the strip of plaid ribbon. I then added a plaid ribbon bow over top and then attached a black button with a twine bow in the center of that.
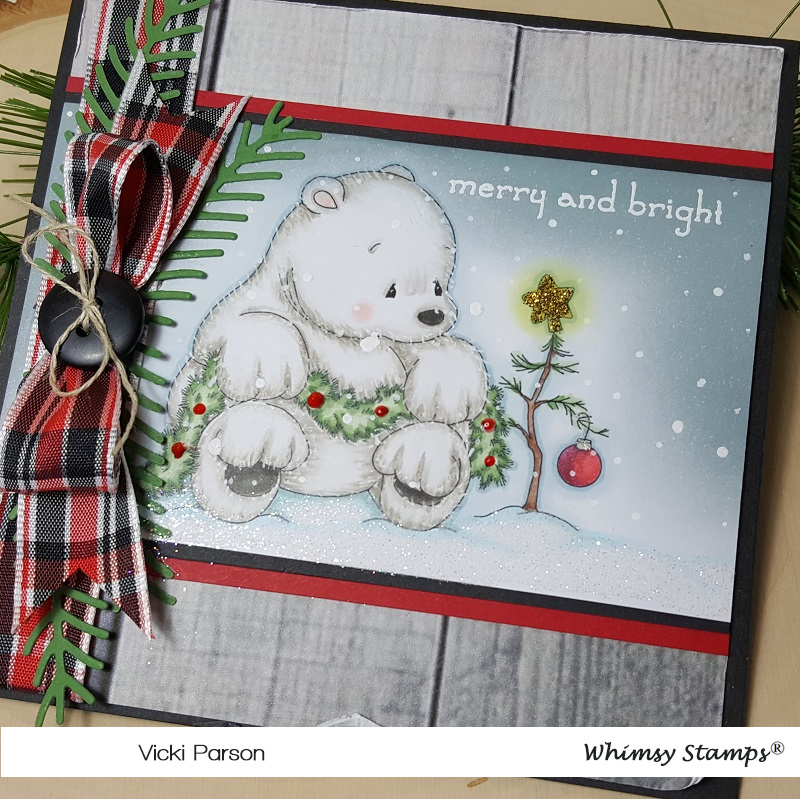
I’ve put a lot of detail into this image which is why I wanted this to be the main focus of the card. I actually didn’t use too many different colors of Copic markers, but it took a while to get the “fur” looking the way I wanted. (See list below.)
I started the scene by ink blending around the top edges and a bit around the sides with Weathered Wood distress ink. After the ink blending, I took the sentiment from the Whimsy Stamps Holiday Mini Sentiments clear stamp set and white heat embossed it over the top right edge of the image panel.
For finishing details, I took some yellow chalk for around the star at the top of the tree for a glow look and then covered the star with some gold Stickles. I brushed the red ornament with a glitter brush pen and then the “hook” was colored with a gel pen.
I covered the entire bottom of the image panel with a glue pen and then sprinkled on some clear glitter for the snow. Lastly I’ve added some red “berries” to the garland that the polar bear is holding with some Red Nuvo Drops.
Here’s the list of Copic markers that I’ve used to color in the image with:
- Polar Bear – W9, W7, W5, W3, W1, W0, blender 0, R00 and white gel pen
- Tree and Garland – E25, E23, YG67, YG63, YG61, R39, R37, R35
- Snow Ground and Shadows – BG000

I love the “woodsy” look to this image and I was trying to capture it in my design too. I hope that you’ve enjoyed my Christmas card today and were inspired or helped bring you a smile!
Thank you so much for stopping in with me today and I’ll be seeing you soon!
Challenges:
- Merry Little Christmas – Anything Christmas Goes
- Crafty Animals – Anything Goes + animal
- Christmas at Sweet Stampin’ – Anything Goes with optional: stars
- Crafty Creations – Anything Goes
- Simon Says Stamp Wednesday – Christmas
- CRAFT – Christmas
- Crafty Catz – Anything Goes
