Hello friends! It’s getting closer to Valentine’s Day and Sending out love to others is a good reason to make cards! I’ve joined a couple of challenges to play along with:
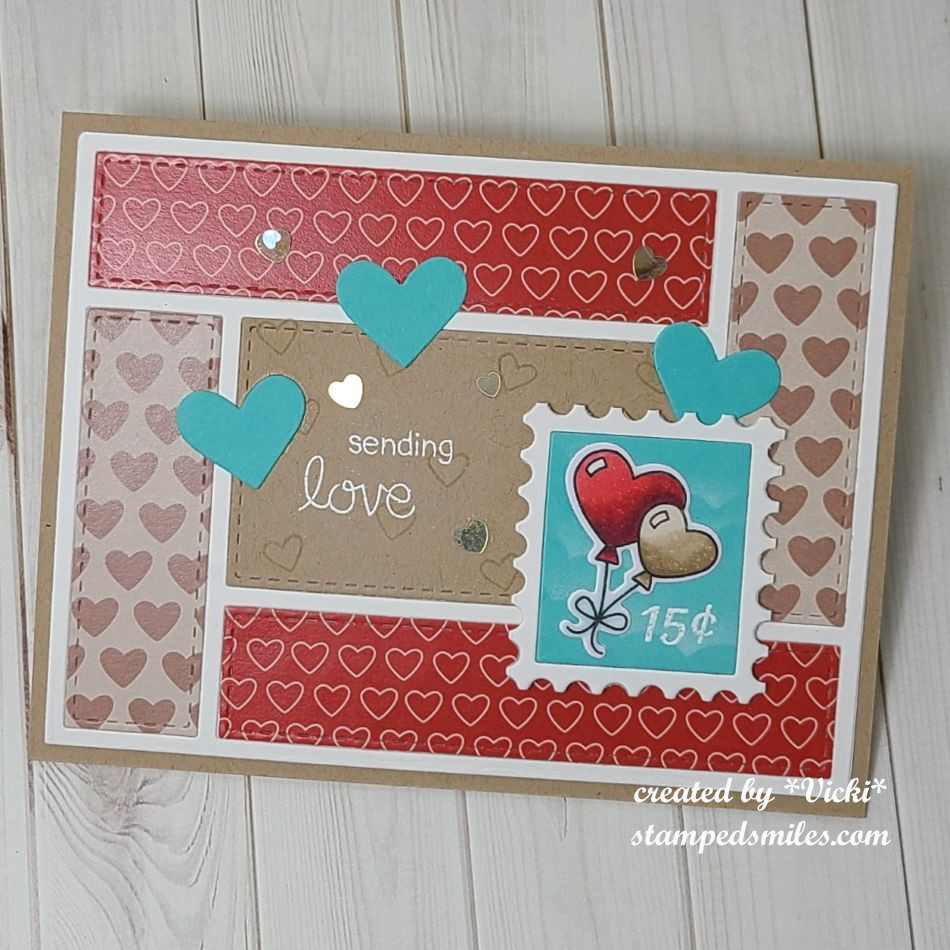
I have fallen in love with these card layout dies from Newton’s Nook called A2 Card Layout Die and was also able to use as part of a sketch for a challenge that worked with it. The die made it very easy for the layout. I’ve also used some Newton’s Nook papers as well as a new Valentine themed stamp set that came out in December.
For the postage stamp on the card, I’ve taken the NN Postage Stamp Layout die and cut one in turquoise and then another in white. One for the inside and one for the frame. I cut it apart so that I had several postage stamps. I stenciled clouds on the turquoise insert and added the heart balloons from the NN Valentine Postage Samplerset over it. I stamped, colored and cut it out with the coordinating die. I also white heat embossed the number at the bottom.
I took the same stamp set and stamped some random hearts on the center kraft cardstock panel. The sentiment came from the NN Sending Hugs stamp set (retired) and was white heat embossed over the hearts.
For the die cut turquoise hearts, I’ve used the NN Charming Hearts Frame die. It cut out three hearts that I could use for accents on this card. I’ve attached the entire design over an A2 top folding kraft card base and finished it with some heart shaped sequins.
Thanks so much for joining me today! I hope you’ve enjoyed my card or found some inspiration!
Hello friends! I hope that this Spring weather hasn’t gotten too crazy for you. I know that this is a season of storms and tornadoes where I live in the Midwest, and I saw Iowa get some tornadoes come through. It’s windy here, but luckily not that bad. So, I thought this would be a good time to catch up sharing some things I’ve been working on!
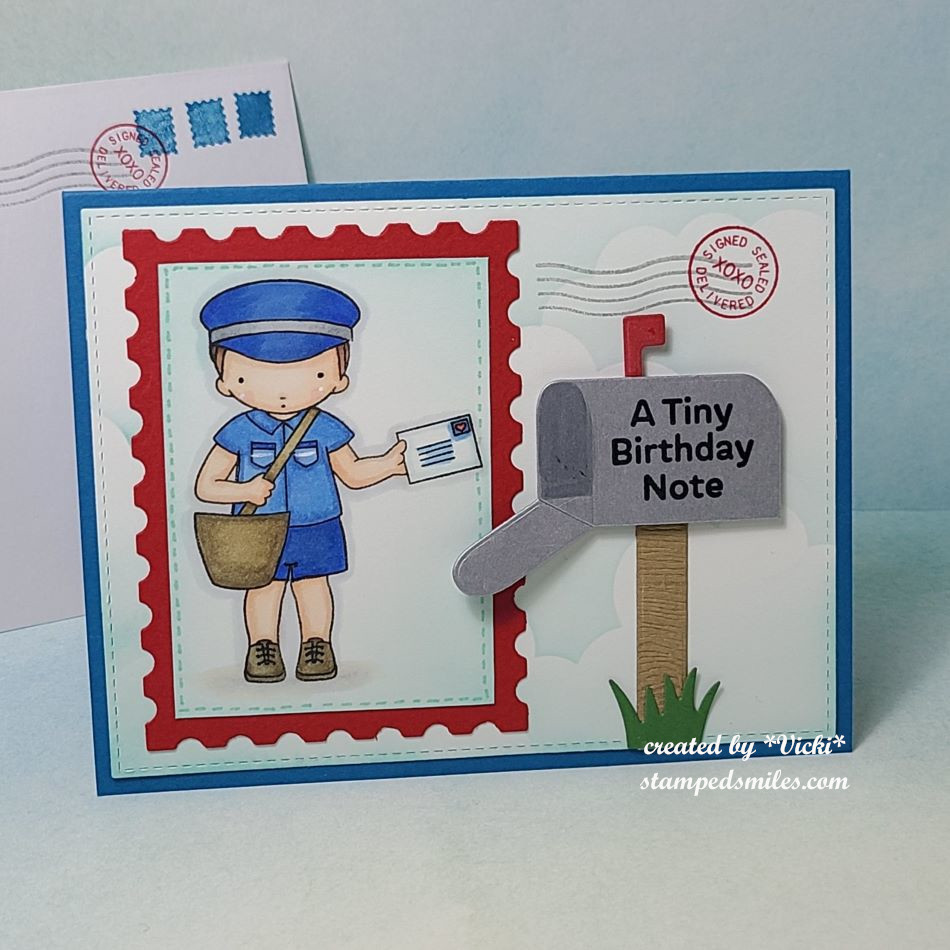
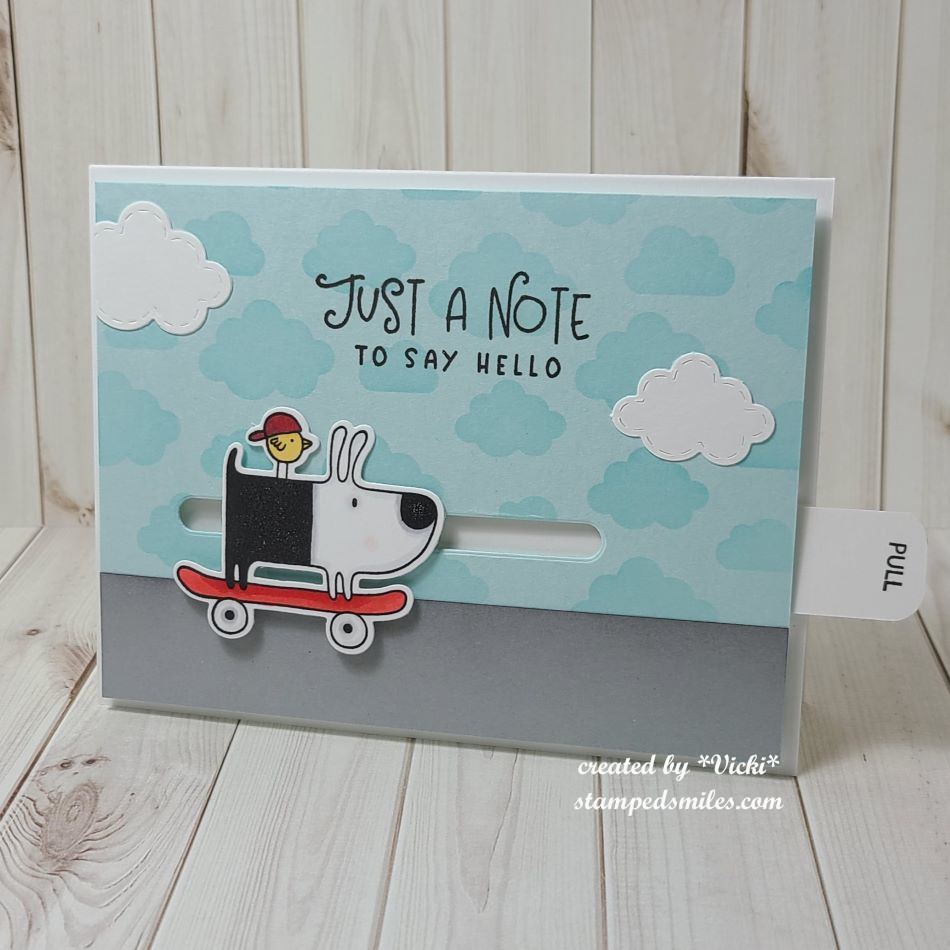
My first project is a birthday card that I made for my son last month. He’s a mail carrier and so I thought this would be fitting for him. The mail carrier came from a MFT Birdie Brown stamp set (retired) that was actually a female with ponytails and a dress. So, I’ve altered it and masked off the ponytails and drew in some shorts. The mailbox die (retired) and other postal related stamps/dies all came from MFT as well.
For the background: I’ve used a MFT cloud stencil and cut it out with a stitched rectangle die. After coloring the image with Copics, I cut it out with another rectangle die and placed it over the red postage stamp rectangle. I cut out the mailbox pieces and put it together over the cloud panel and added a few postal imagesat the top right corner along with the envelope in the background. I finished it out with the birthday sentiment on the mailbox (retired) and a few white gel pen details on the image.
Although he’s a mail carrier, I didn’t have to mail this card to him, and I got to see him smile when he opened it…which is better than mailing it!😊
Last month, I also participated in the Taylored Expressions Virtual Stamp Joy. I also just realized when registering for this event that I have participated in every single one of these since she started it during the pandemic in 2020! I think the pandemic has really changed the world in several different ways, but I’m glad that this was one of them as I have enjoyed doing these. There’s just something about getting a class event mailed to you and attending in your PJs while having snacks and crafting that I find appealing, I guess! 😉
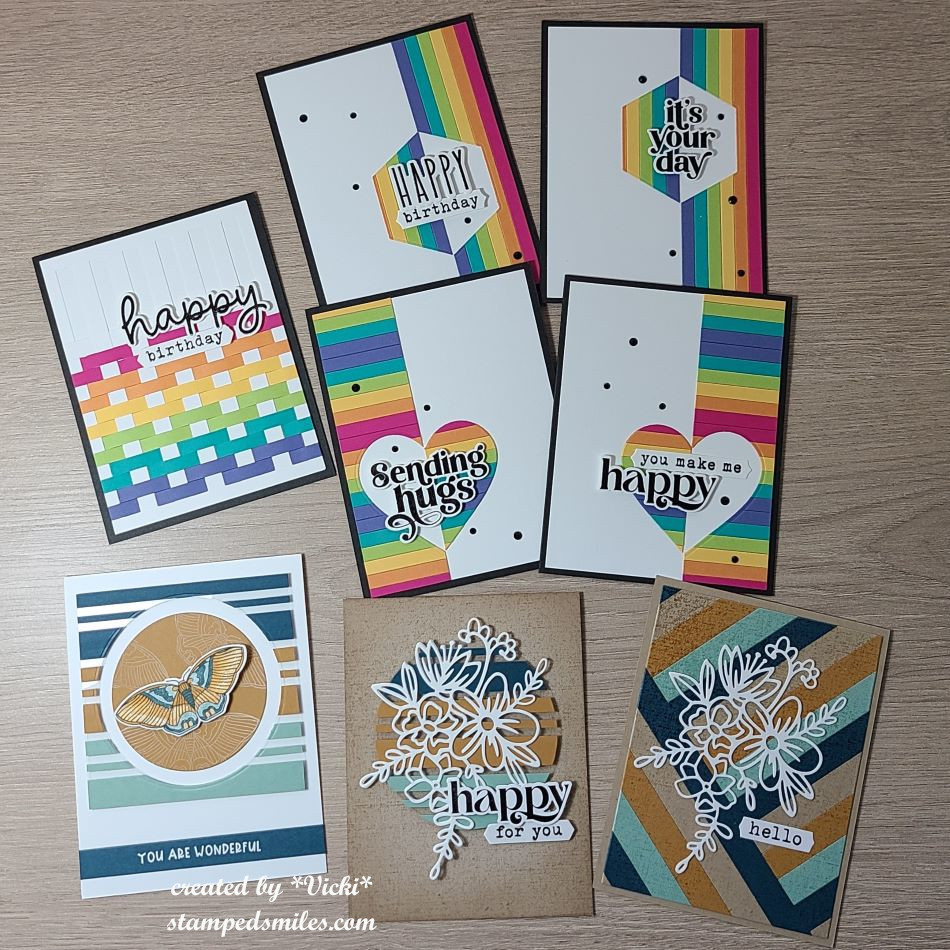
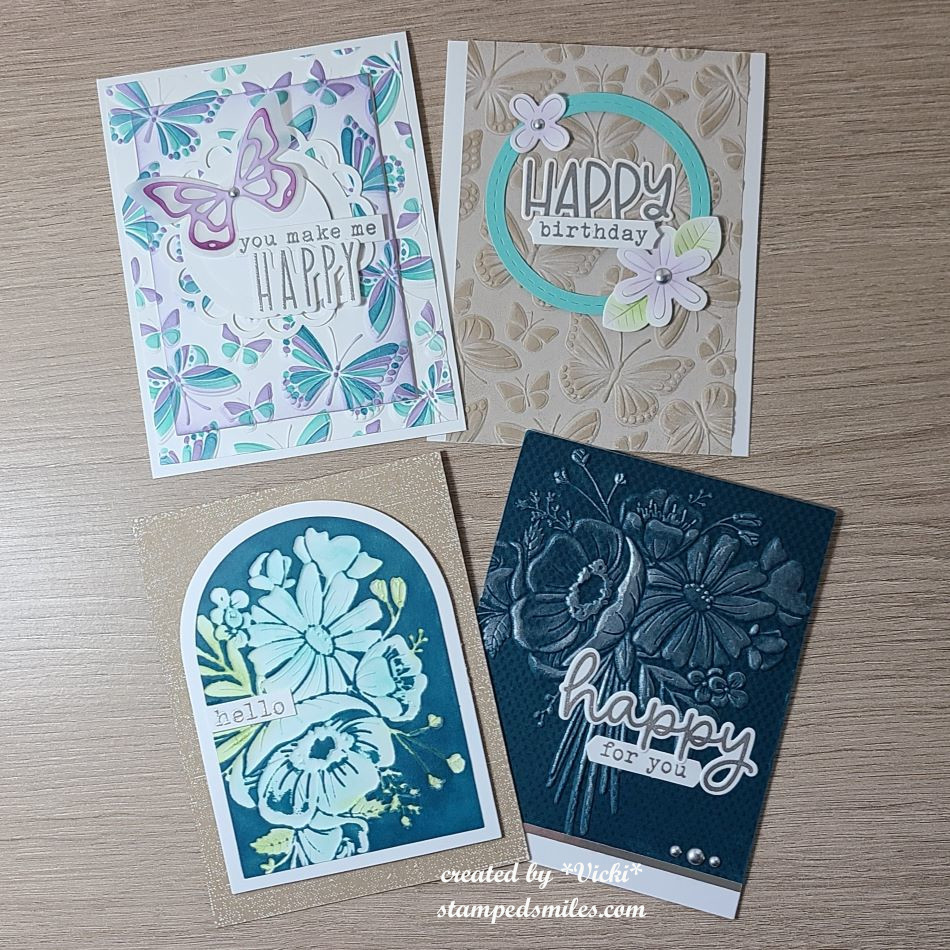
Of course, doing virtual, I have lots of time to finish up projects, but I think I had them all completed within a week after the event…I just had to photograph everything and now I’m finally getting them on this post to share: (IF YOU ARE ON MY WEBSITE, CLICK EACH PHOTO TO ENLARGE IT-CLASS INFO AT BOTTOM OF PHOTO)
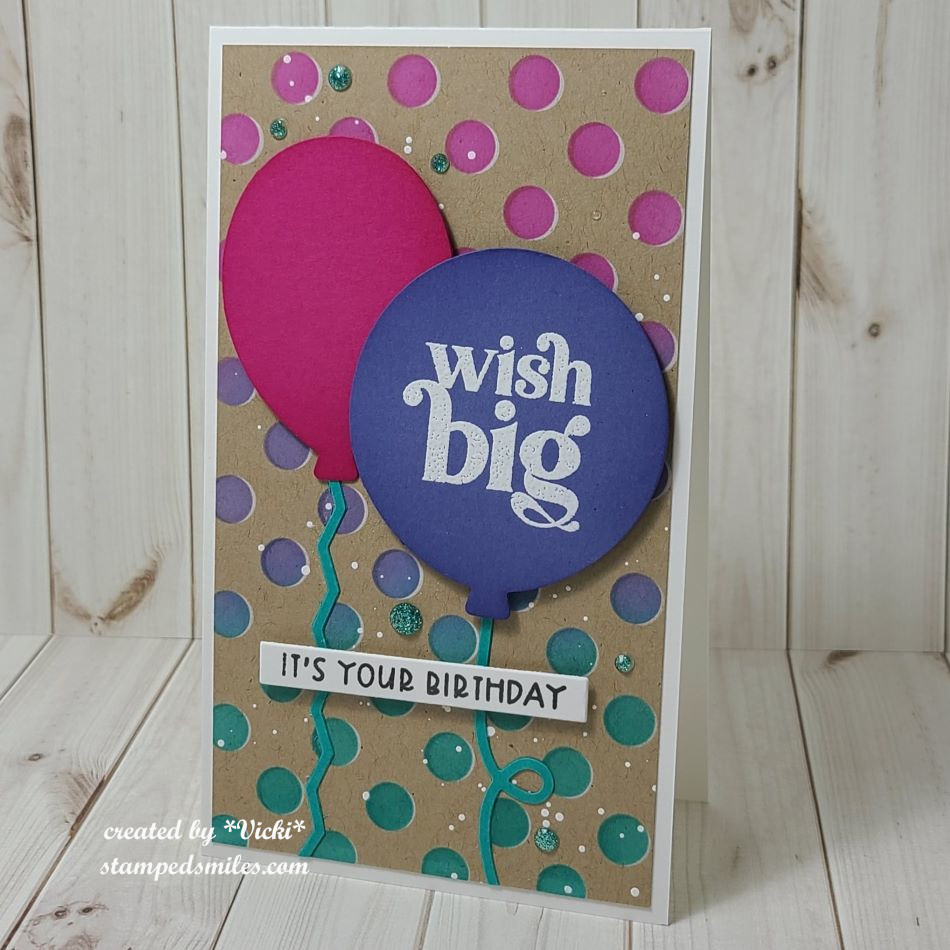
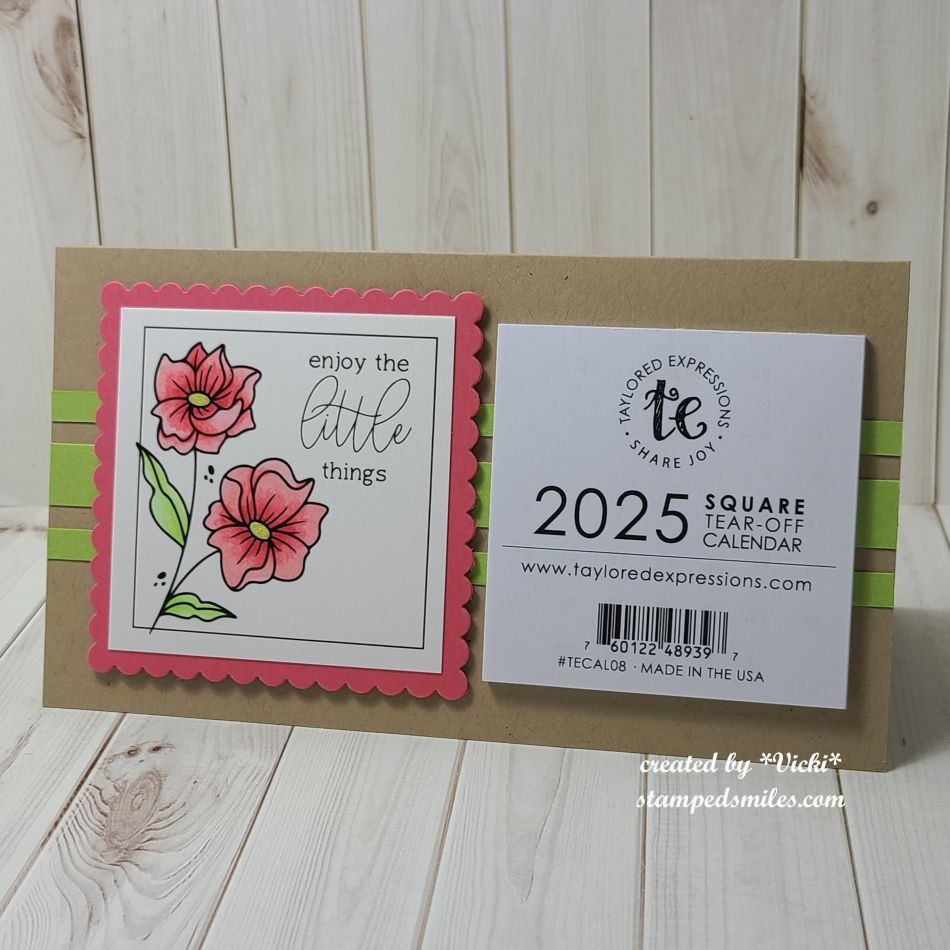
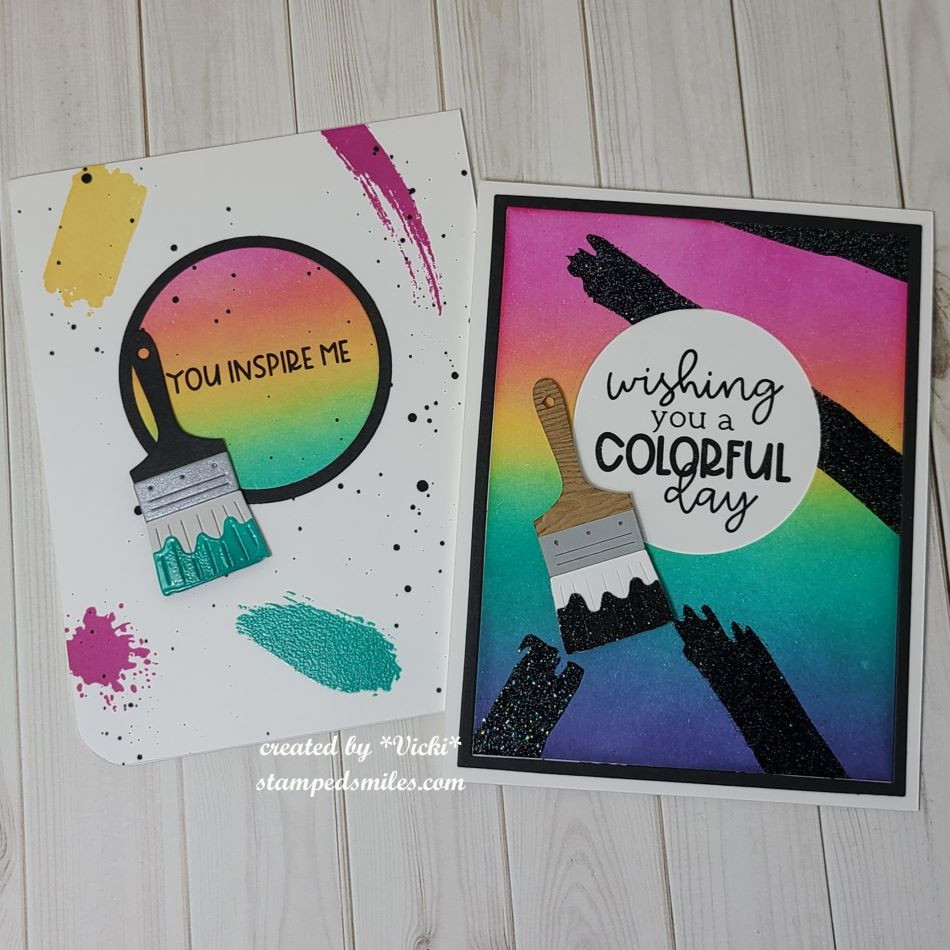
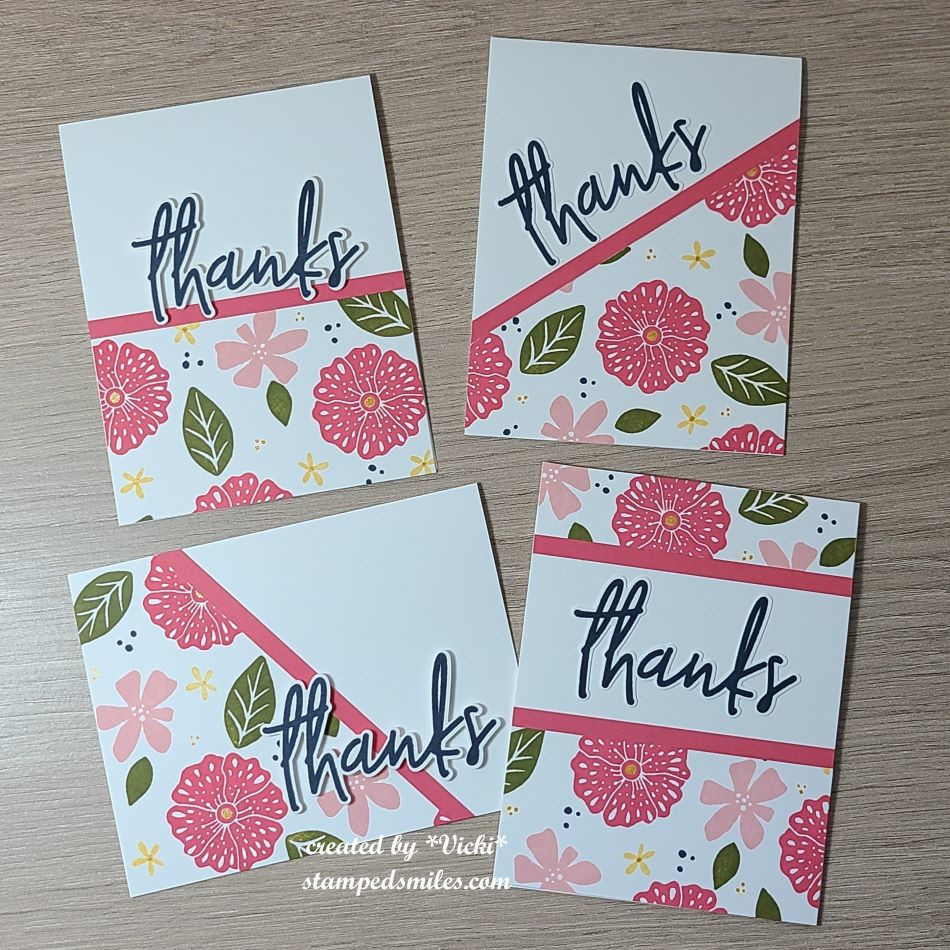
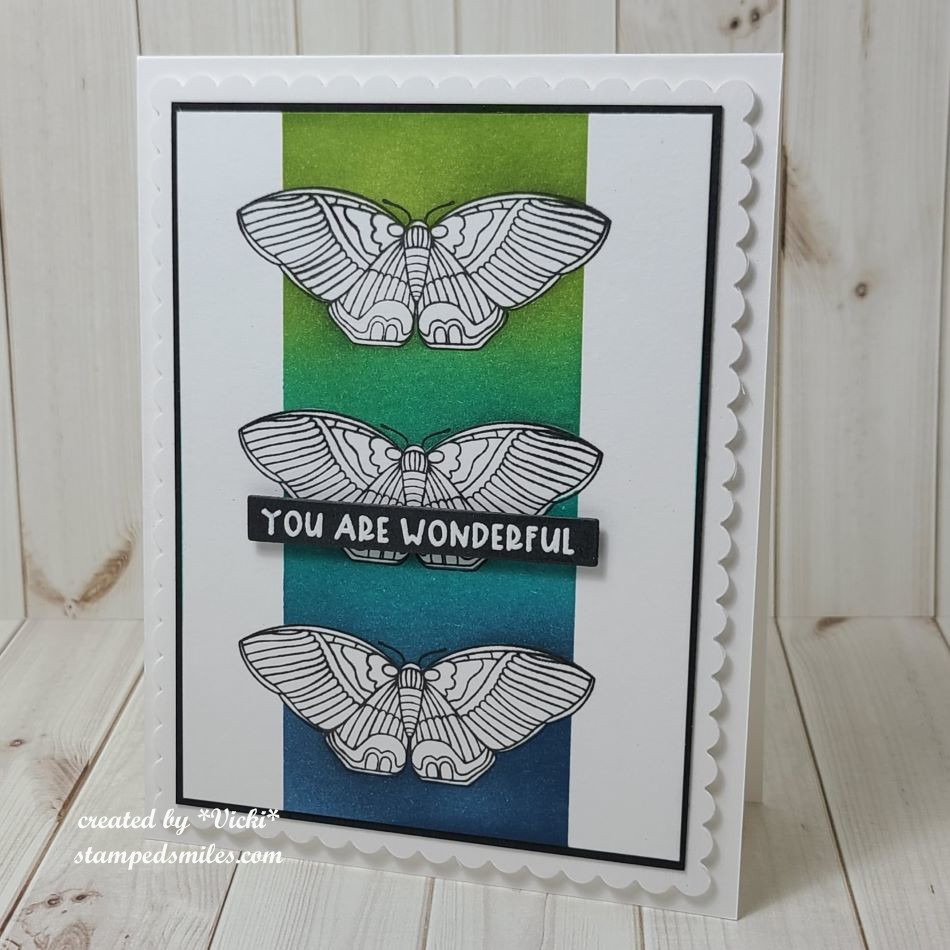
This was the “Strip Class” where we used the TE Strip dies in various ways…I made a few extras!This was the “3D embossing Class” with a few new to me techniques…so fun!mini slim balloonscoloring class with mini slim size calendarink blend background and I made an extra with left over circle from panel.set of 4 using TE “Happy Half Sheet” which back in the day were called “maps”.super cute interactive card with a pull tab slider!multiple masking techniques used on thisfun card with stenciled lunar paste background
I had a busy month for sure! I’m also in the middle of another session of classes that I’ve been working on and having to go back in my spare time to get through each one. During the exact same time as Stamp Joy was going on, there was another freebie class weekend that was going on, so now I’m going back and watching the replays to do little bits at a time…I have a little way to get through it still, but when I finish, I will share those results too.
I hope you’ve enjoyed my catch-up post today and have been inspired to have some fun even if you can’t be outside! I’m sure when it gets a bit warmer, I will want to enjoy it, but for now, I’m going to play in my craft room!
Thanks so much for stopping in and have a great day!
Hello friends! We are at the end of March, and it happens to also be Easter weekend as well this year! So happy Easter and I hope you’re enjoying the beginning of the Spring season! I will be out as this post goes up, but I wanted to get in this month’s AJ page!
It’s time for the monthly Art Journal Page collaboration with my crafty friend, Carol (from Crafty-Stamper)! We get creative trying to use up our never-ending stash piles along with a prompt for each month. I know she always has great inspiration to share, so please check out her blog too! Here’s my AJ page with the “SMASH OUR STASH” March prompt of “POSTAL”:
For this month’s theme, I knew I had lots of real postage stamps in my stash and some ephemera pieces as well as some postal tissue wrap from Tim Holtz. I have a huge roll of it and it was time to get it back out and use it up! When looking for my postage stamps, I also found a post card that I previously created and a vintage looking photo that I printed out…which I also turned into a very large postage style stamp.
The top of the page says: “Some days you just have to ride, however difficult it might be!“
For the Background: I used an 8.5″ x 5.5″ piece of acrylic paper with pre-punched holes at the top and blended some media paints over the background which gave me the bright blended colors. I ripped pieces of the Tim Holtz Postale Tissue Wrap and attached with matte medium over the blended paint background. After it was dry, I ripped some more of the pieces and sanded the edges. I also took some ” Rusty Brown” wax and went over the textured areas and around the edges with my finger. Then I splattered some white paint over top.
I popped up the pre-finished postcard and also added some ephemera around it and added that Shetland pony postage stamp. I thought it went well with the vintage photo that I turned into a postage stamp with a die. The quote at the top was printed on my computer, ripped edges and sponged with brown ink.
This is a bit busier in design than what I had planned it to be, but I had fun playing with it and I was glad to use up some more of that piled up ephemera! I hope you got a “KICK” out of it too! 🫏 Thanks so much for stopping by and I’ll see you soon!
Hello friends! It’s time already for a new challenge over at Cute Card Thursday and as I can feel it growing even cooler by the day outside, I find that this challenge is very fitting and a great way to keep going on my Christmas pile! We would like to see some “Snowflakes” on your creations this week! We look forward to seeing what you come up with!
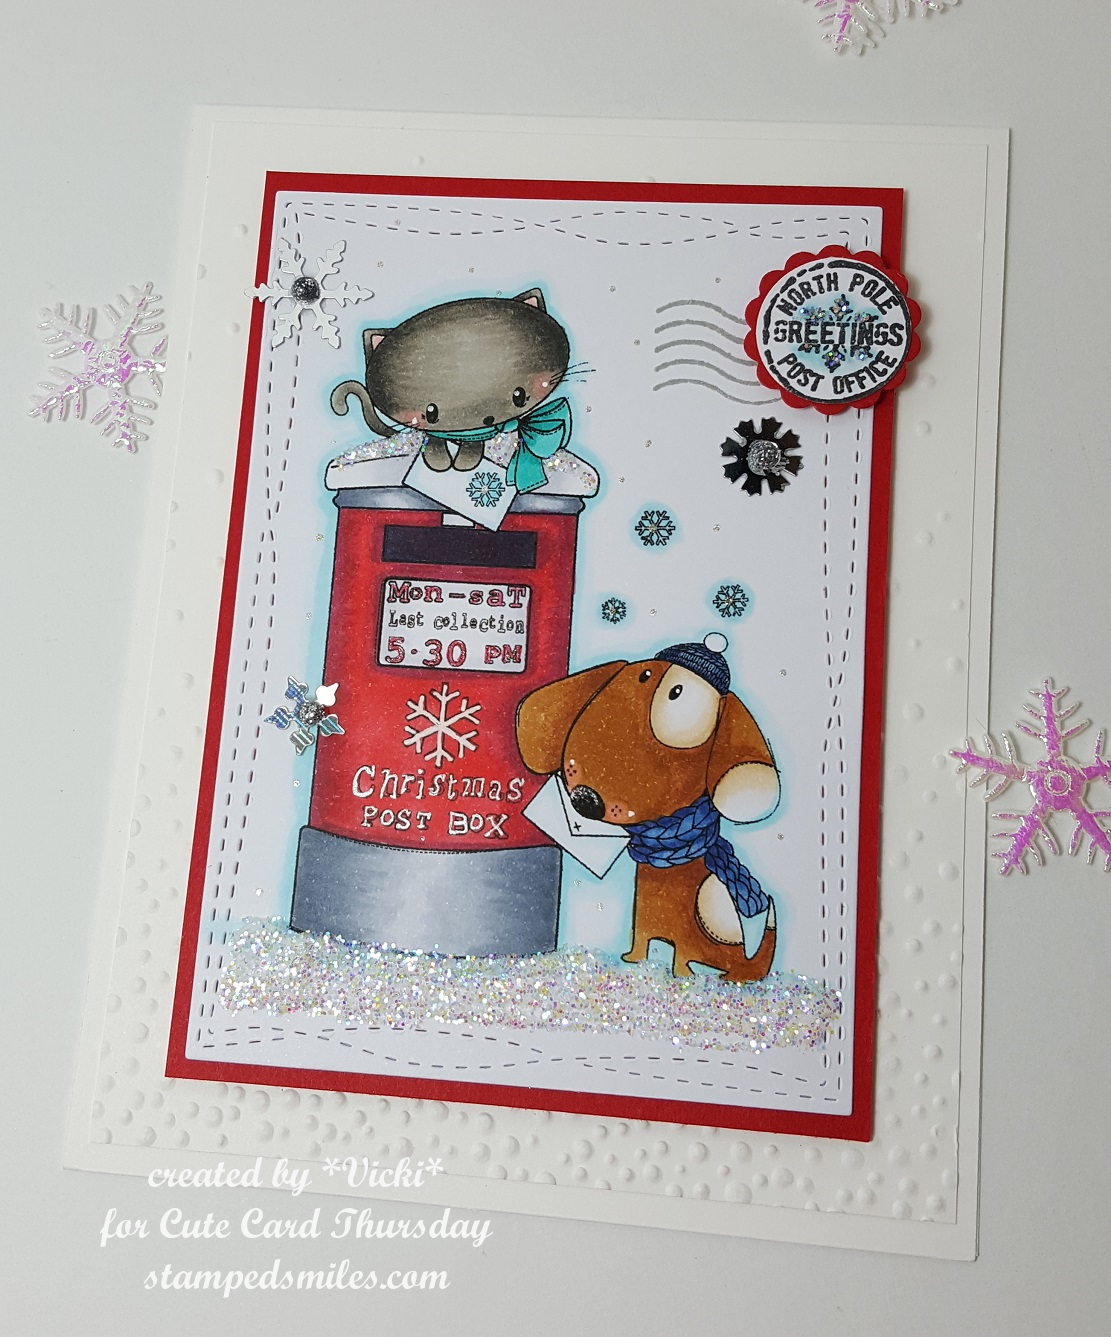
Our sponsor for this challenge is All Dressed Up Stamps. They’re kind enough to provide an image to use for this challenge, so here’s what I’ve come up with:
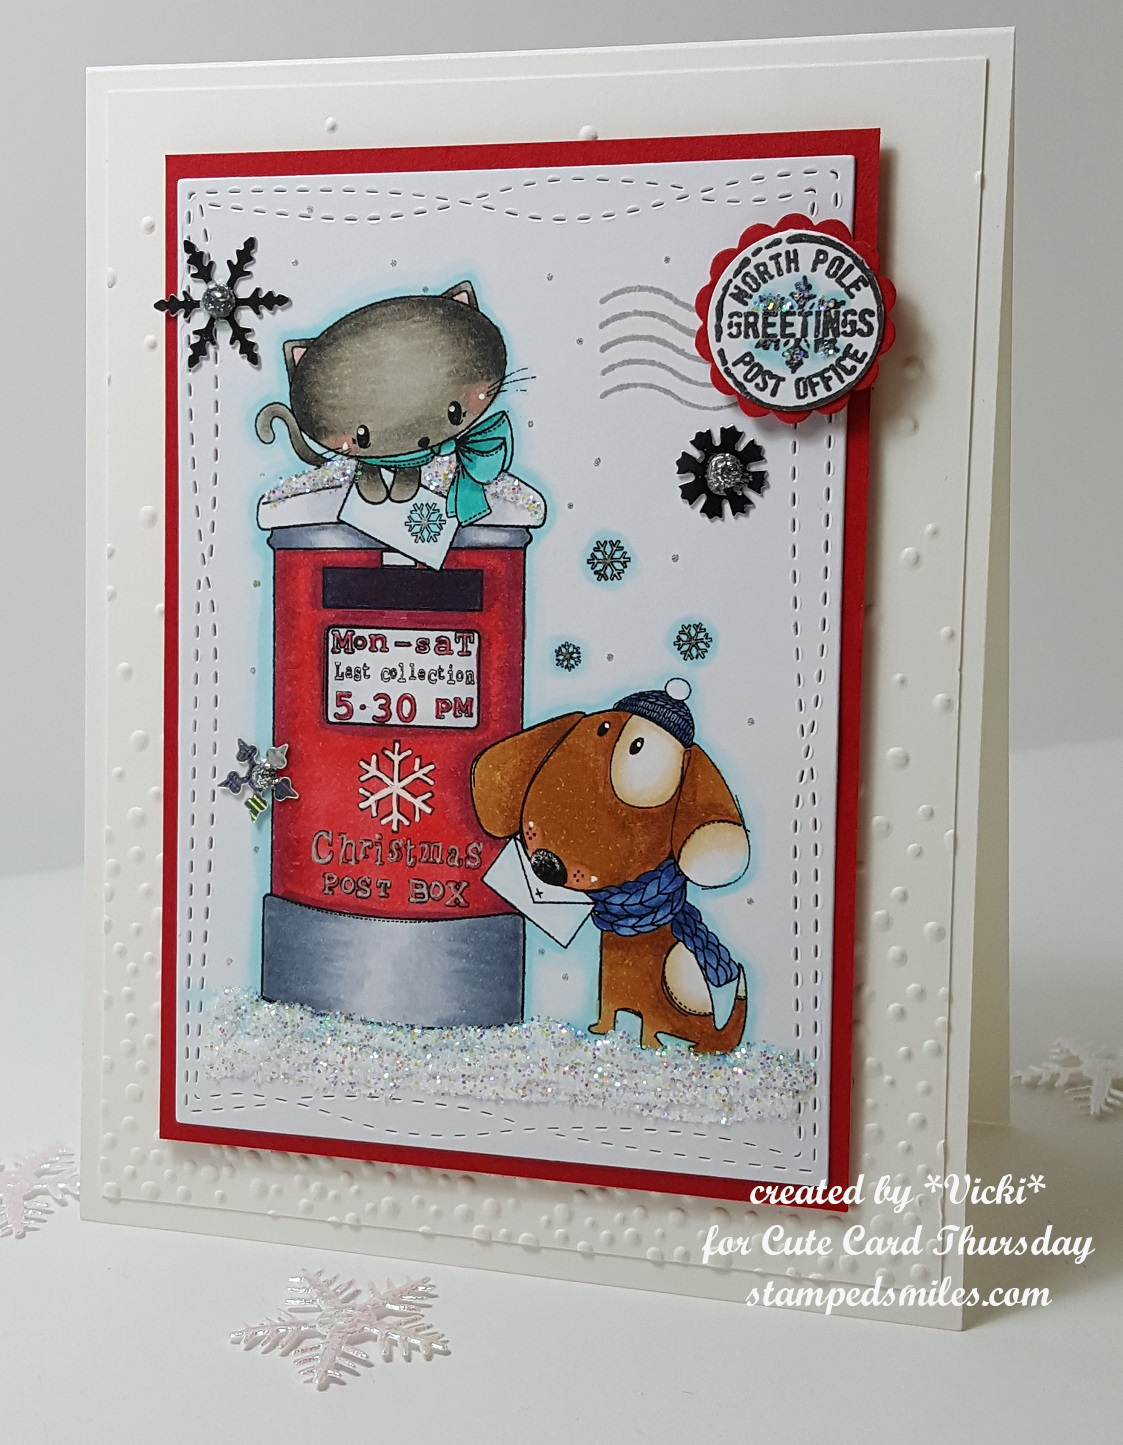
This image is so sweet with the pup and kitty delivering their letters to Santa for Christmas is coming soon! 🙂 The image I’ve used is called Christmas Post from All Dressed Up Stamps and it already had some snowflakes within the image, but I always feel that snowflakes are big, small and fall everywhere, so I decided to add a few more with items from my stash.
I’ve colored my image with Copic markers and used some gel pens for the eyes, cheeks, parts of the mailbox lettering, center of snowflakes as well as adding some adding some random dots in the background for tiny snowfall flakes. I’ve also had this Christmas Postmark stamp set in my stash and thought it was perfect to use as a sentiment for my card. I stamped the circle, punched it out and layered it with another scallop circle that was punched from red cardstock. I stamped the wavy lines post mark image behind that on the image panel. The image panel was cut with a Wonky Stitched rectangle die.
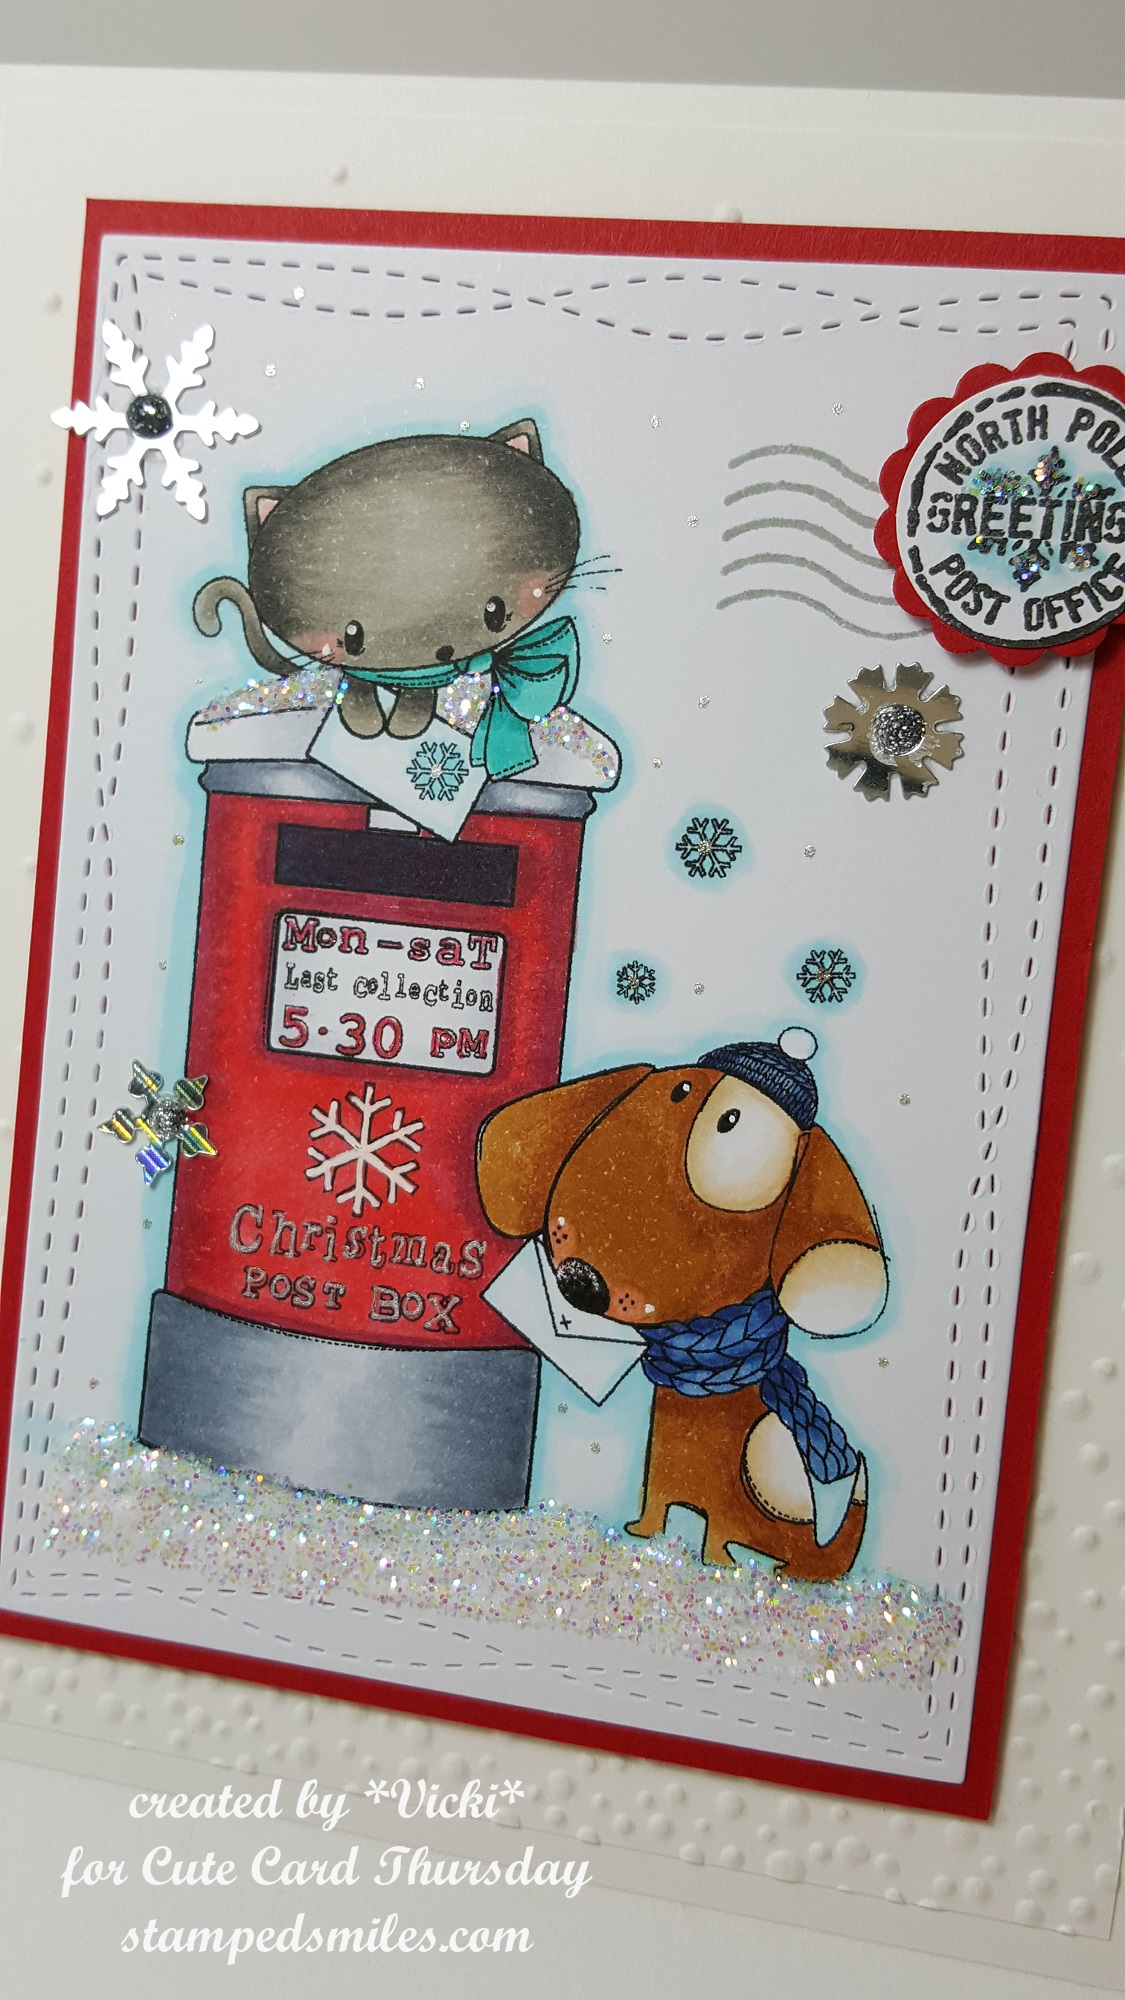
Here’s a closer look at the image and how I’ve colored it. For the top of the mailbox, the snowflake on the circle postmark and for the snow-covered ground, I used some glue in those areas and then sprinkled some Diamond Dust glitter over top of it for some nice sparkling snow coverage. (I love using that stuff for snowfall!)
You can also see the silver snowflake sequins that I’ve attached and then I’ve added some silver Stickles to the centers of each one. I’ve layered this image panel to a red cardstock layer and then added some foam tape to the back of it and mounted it over my card front.
So, for the card front panel, I took a white piece of cardstock measuring 4″ x 5-1/4″ and ran it through my die cut machine with a snowfall embossing folder and then I mounted this to a white top folding A2 sized card base and added the layered image panel over top.
Thanks for stopping by and have a fabulous day!
Here’s the challenges I’d like to enter this card for: