Birthday, Pizza & Craft Roulette Play #228

Hello friends!  I have a mix of projects that I’ve recently been working on and wanted to share my latest since I’ve gotten all caught up with the projects that I hadn’t posted.

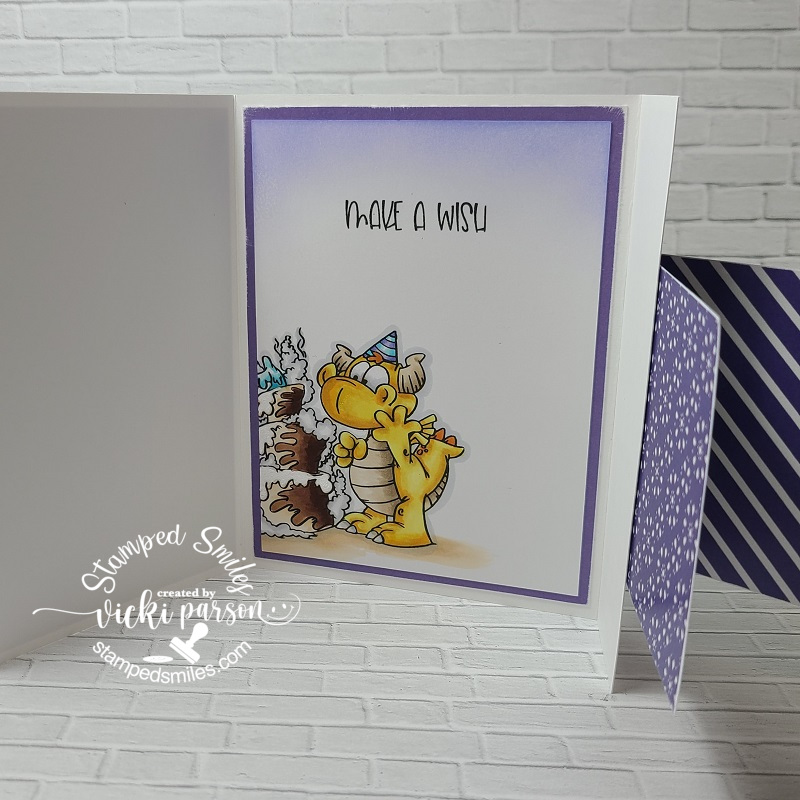
I had a few birthdays come up and of course I forgot to take photos of a few of them before I sent them out the door and now they’re long gone! (DOH!)  But I did remember to take photos of these:

I fell in love with the stack of party pups from Newton’s Nook and I always wanted to try out one of those cool card layout dies!  The person that I’m sending this to loves his dog and I know the dog also has some “friends” she visits with, so why not a “PAW-ty” of them together! 

I’ve used the NN Birthday Barks stamps & dies and colored it out with Copic markers.  I stamped and heat embossed the sentiment in the top right square and added a stamped paw print from the stamp set.  All the images were popped up with foam squares.

For the background, I took the NN A2 Card Layout 2 die and cut the frame with all of the stitched pieces using the NN Birthday Woofs Paper Pad.  These dies make for some quick and easy cards without much thinking involved which is great when you’re in a hurry!


Next card was made as a thank you for a pizza night using one of those Ooni Pizza outdoor grills.  I’ve never had one and so of course being the pizza lovers that hubby and I are, we gladly excepted!  Very good pizza it was!  I wanted to thank them for having us and made this card:

I’ve used this really cute pizza set from My Favorite Things and I was happy to pull some papers I had for years and years to help pull it together.

I’ve used the MFT A2 Stitched Rectangle dies to cut the checkered pattern paper as well as the light blue panel.  I’ve used the MFT Stitched Mini Scallop Rectangle dies to cut the white piece behind the blue panel. (The red and white checkered paper is so old…got it at a stamp event so many years ago and hoarded it of course!)

Decorating the pizza was so much fun and I used the same ingredients we received on our Ooni pizza which was a handmade crust, tomatoes, pepperoni, Canadian bacon, cheese and sprinkled with basil leaves.  All of the cut pieces to make the pizza came from the MFT Pizza Maker dies and the sentiment came from the MFT Pizza My Heart sentiment set (I don’t see it on the website, so I’m not sure if it’s available any longer?)  I stamped it with black pigment ink and heat embossed with clear embossing powder.  I’ve also used the same size stitched rectangle die as the blue panel to cut off a portion of the pizza to make it fit into design.


Lastly, this is a card made hot off the press tonight using the current Craft Roulette parameters!  So if you missed it, go catch tonight’s latest episode #228 and play along!  This is the card that I’ve made with tonight’s parameters:

I decided I wanted to also use the image from Beccy’s Place August Freebie challenge and add myself another challenge on top of the 4 parameters!  I loved the image as it looked so refreshing!  I played around with the image on my computer and added an extra one next to it, but flipped it around and placed it behind the other one.  I also typed up my own sentiment underneath to go with the “Monday” parameter with Craft Roulette.

Project:  I used a Geometric Square stencil for the background with yellow ink and to fit Beccy’s extra twist challenge which was to use something old from your stash, I did dust off those square sequins and brads that I’ve had for years and years to add on the front of the cups.  (Now the image reminds me of those Recesses Peanut Butter shakes! YUM!)

Colors:  Bee Garden colors are obviously the black and yellow and I had to add in some orange for the guest Irene who is a #teamorange color person.

Element: Monday was typed up within the sentiment.

Random:  Use A Marker(s) which the image was colored in with Copic markers.

  • Ok…so that’s it for me this weekend!  I needed to get this posted this evening because I would be missing out on a challenge that I wanted to be sure to play in before time runs out and that will be in like a couple of hours! 

Thanks for dropping by today friends!  I hope you have an amazing weekend!!

Challenges:

  1. Inky Paws – #229 Birthday Theme + NN products (Top card only)
  2. Cupcake Inspirations Happy Birthday!!!  (Top card only)
  3. Pammie’s Inky Pinkies – PIP2432 Anything Goes
  4. The Cutie Pie – #197 Four Legged Friends (Top card only)
  5. AAA Birthday Critters + Birthday (Top card only)
  6. Penny’s – #578 Anything Goes Using Paper
  7. Beccy’s Place – Use Beccy’s Place image twist: add older stash (sequins & brads)
  8. Ally’s Angels Anything Goes

Retirement Time and More Whimsy Stamp Workshop Retreat Projects

Hello there friends!  It’s hard to believe that we’ve made it to November and rounding the corner to end 2020!  It’s been a very strange year all the way around, but I have to say that it’s a bitter sweet day today as hubby will have his last day of work on his 40 year career as an electrician.  So today I’m dedicating my post to him:

This would be a perfect situation for my hubby and something he talked about all the time…which was to go out to the lake, relax, enjoy some fishing time on a boat including staying in a cabin.  Sure look forward to spending some time with him doing just that next year too!⛵🌅  He is a hard worker and certainly deserves it.

The stamp set that I’ve used for this card was a perfect scene image from Whimsy Stamps called Happy Place.  I colored it up with Copic markers and cut it out with an oval die and layered another oval piece from black cardstock.

I found some papers in my stash that I thought would be perfect with this, so I’ve used the Whimsy Stamps Pierced Border Trio Dies to cut it with to fit half-way on my A2 white side folding card base.  Before attaching the piece down over the base, I took some Mustard Seed Oxide Ink and sponged across the middle of it and then used some Tumbled Glass Oxide Ink slightly at the top.  I then attached all piece including the image panel.

I took the sentiment from the Happy Place stamp set and stamped one of the sentiments at the top of the oval panel and then I white heat embossed the “relax” sentiment over black cardstock and cut it out with the Whimsy Stamps Quick Strips die set, glued it along the edge and trimmed off the excess.  Lastly, I’ve added some Whimsy Stamps It’s a Party Enamel Dots.

Then of course I wanted to share the inside of the card which you can see that I’ve used the same image from the stamp set from the front of the card and just stamped that in a lighter grey ink color.  I masked off the edge of the inside of the card so it didn’t stamp completely.  I also used it in the same way on the envelope as well.

For the greeting, I took the Whimsy Stamps Happy Large Word Die and cut it out with some black cardstock and then attached it with liquid glue.  I stamped the “retirement” greeting right underneath it from the Whimsy Stamps Happy Sayings stamp set with black ink.

It may be hard to tell in the photo above, but I’ve also taken a glitter brush pen and went over the sun as well as the water for some added sparkle.

This card was actually fun to put together and I was thinking about the future and all the things we had talked about the last few years and getting ready for this day.  Things are a bit different than we had envisioned of course, but we will have “our time” for sure.  We’re so excited about it!

This card is being handed to him this morning while we have our coffee before he leaves for work on his last day!😀


And now I also have some more finished kits that I’ve been working on since the Whimsy Stamps Virtual Workshop Weekend!  I’m still really enjoying finishing them up and still have MANY more to do!  I’m so amazed at how much we received and very happy that there were several Christmas projects which I’ll be working on next!  For now…here’s more of the finished kits:

This was for kit 12 and I LOVED the cute dragon in the purples! This card is going to my youngest grandchild as she is my “PURPLE girl”!!
This is the INSIDE of Kit 12. It was a really cool “FUN FOLD” design! I put my image off to the edge so I had room to write a message.
This was for Kit 6 and the entire scene was made using Copic coloring including the sky background! The squirrel and pumpkins were popped up with foam tape.
This was for kit 21 and my first time practicing with no-line coloring!
This was for kit 22. This mega large sunflower is gorgeous! Loved coloring and fussy cutting it out!

I hope you’ve enjoyed my projects and post today!  I sure have been having fun just playing and trying out different things with my cards.  I do look forward to finishing up these kits as we get near the Christmas time!  So be watching for more of those!

Thanks for dropping in with me today and I’ll see you again soon!

Challenges: (For Retirement Card ONLY)

  1. Colour Crazy Craft – Anything Goes + coloring
  2. A Perfect Time to Craft – Anything Goes Nov
  3. A Bit More Time to Craft – Anything Goes
  4. Crafts Galore Encore – Anything Goes Nov
  5. Love to Craft – LTCCB52 Anything Goes Nov
  6. QKR Stampede – #407 Anything Goes
  7. Lil Patch of Crafty Friends – #145 Anything Goes
  8. The Corrosive Challenge – #11Nov Anything Goes
  9. Pammie’s Inky Pinkies – PIP2044 Anything Goes