Guest Design Post for Retro Rubber Challenge Blog

Hello friends!  Really excited to share my post today as a guest designer for the new challenge over at the Retro Rubber Challenge Blog!  One of the cards I had previously entered had been chosen as a top pick and I was also invited as a guest to participate for this challenge. 

**Please remember that when you enter your creation for this challenge blog that you MUST include a stamp that is at least one year or older on your creation**

I was so inspired by the warm and cozy feeling of the image with the candle, so my thoughts turned to an older stamp set that I’ve had in my collection for several years:

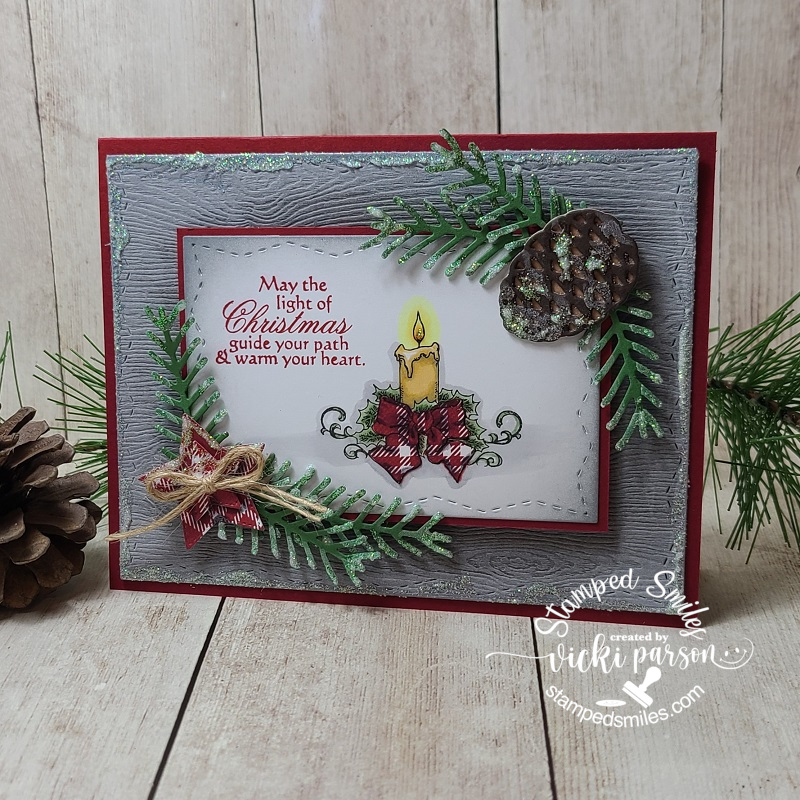
Both the candle and sentiment came from a rubber stamp set by Whimsy Stamps called “Peace on Earth“.  It is no longer available and I’m thinking it was circa 2010.  There is ONE digital image available that derived from this set called “Peace Angel“.  (If you were familiar with Whimsy Stamps as far back as I was, you may remember the whole set and that this candle image was included with it.)  I obviously still love the set and won’t part with it! 😉

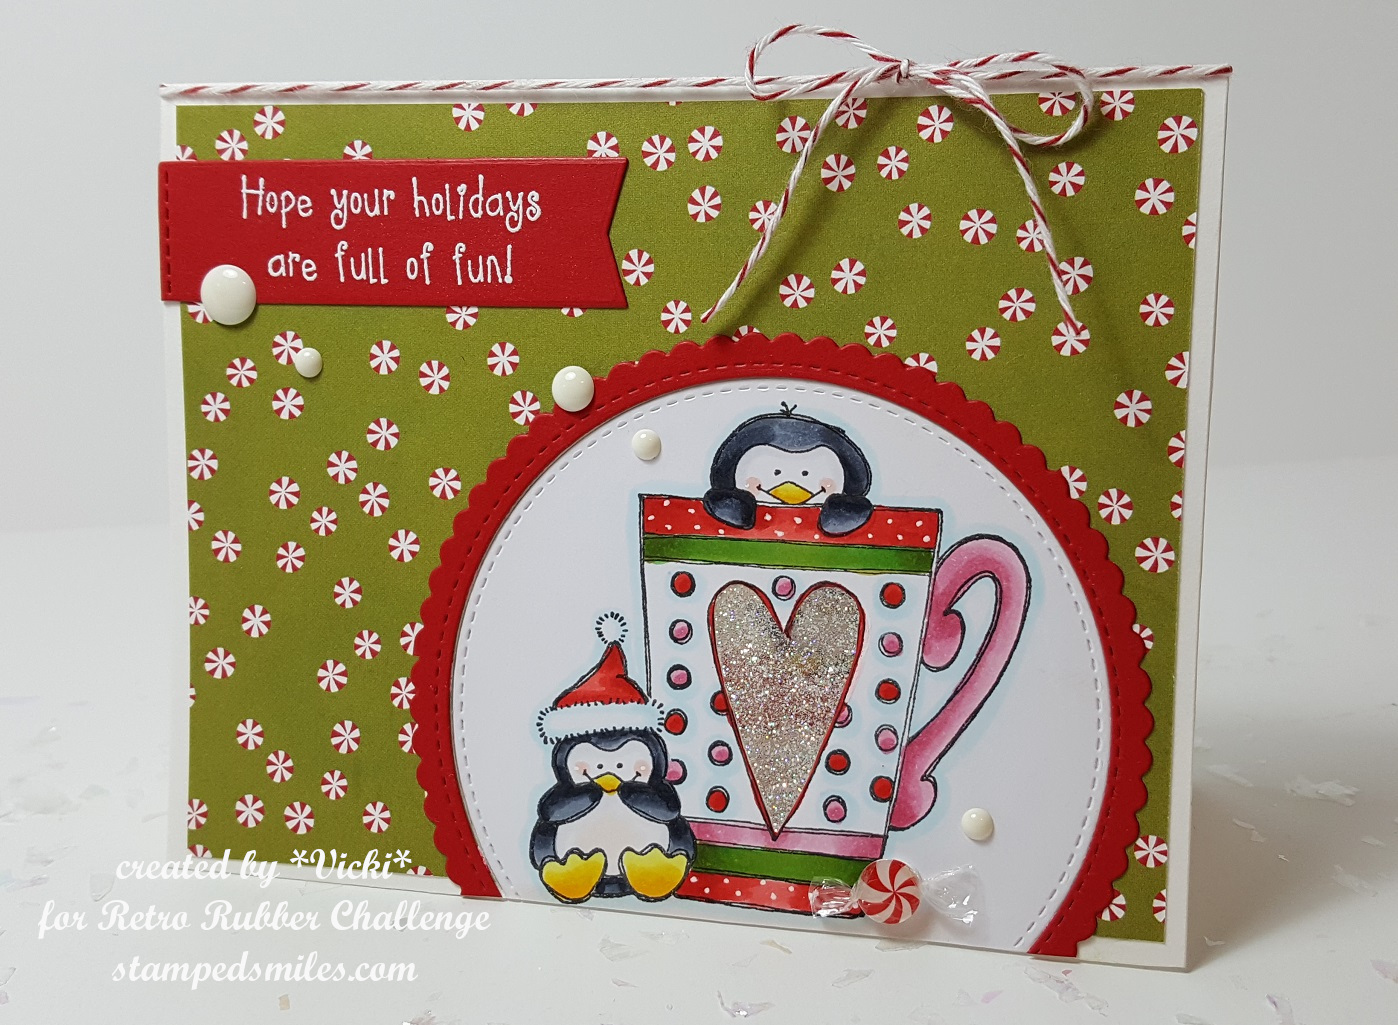
I’ve got it stamped and colored with Copics over the white panel along with the sentiment from the same stamp set in red ink.  The ribbon on the candle was paper pieced with some old pattern paper in my stash.  I also used the same paper to die cut a couple of stars for the corner.

The image panel was cut out with the Whimsy Stamps Zig Zag Stitched Rectangle die, layered with red cardstock and then popped up with foam tape over a grey woodgrain embossed panel that was also cut out with the same die set.  I ran some white ink over the grey woodgrain piece to bring out the texture in it a bit more.  I layered these panels over a red top folding A2 sized top folding card base.

I’ve also used the “Stampin’ Up! Pretty Pines Thinlit dies” for the accents along the edges of the image panel.  I die cut the pinecone pieces as well as the pine branches and arranged them over my design.  I took some Gina K Glitter Glitz Gel and added it over those die pieces as well as around the edges of the grey woodgrain panel and the top of the stars.  Lastly, I’ve added a double twine bow in the center of the stacked stars.

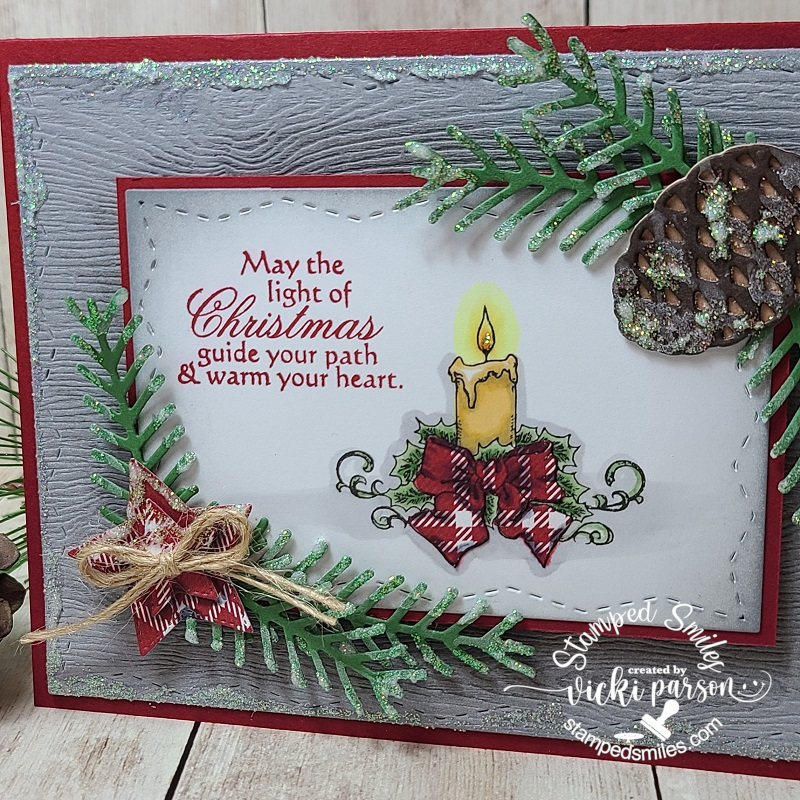
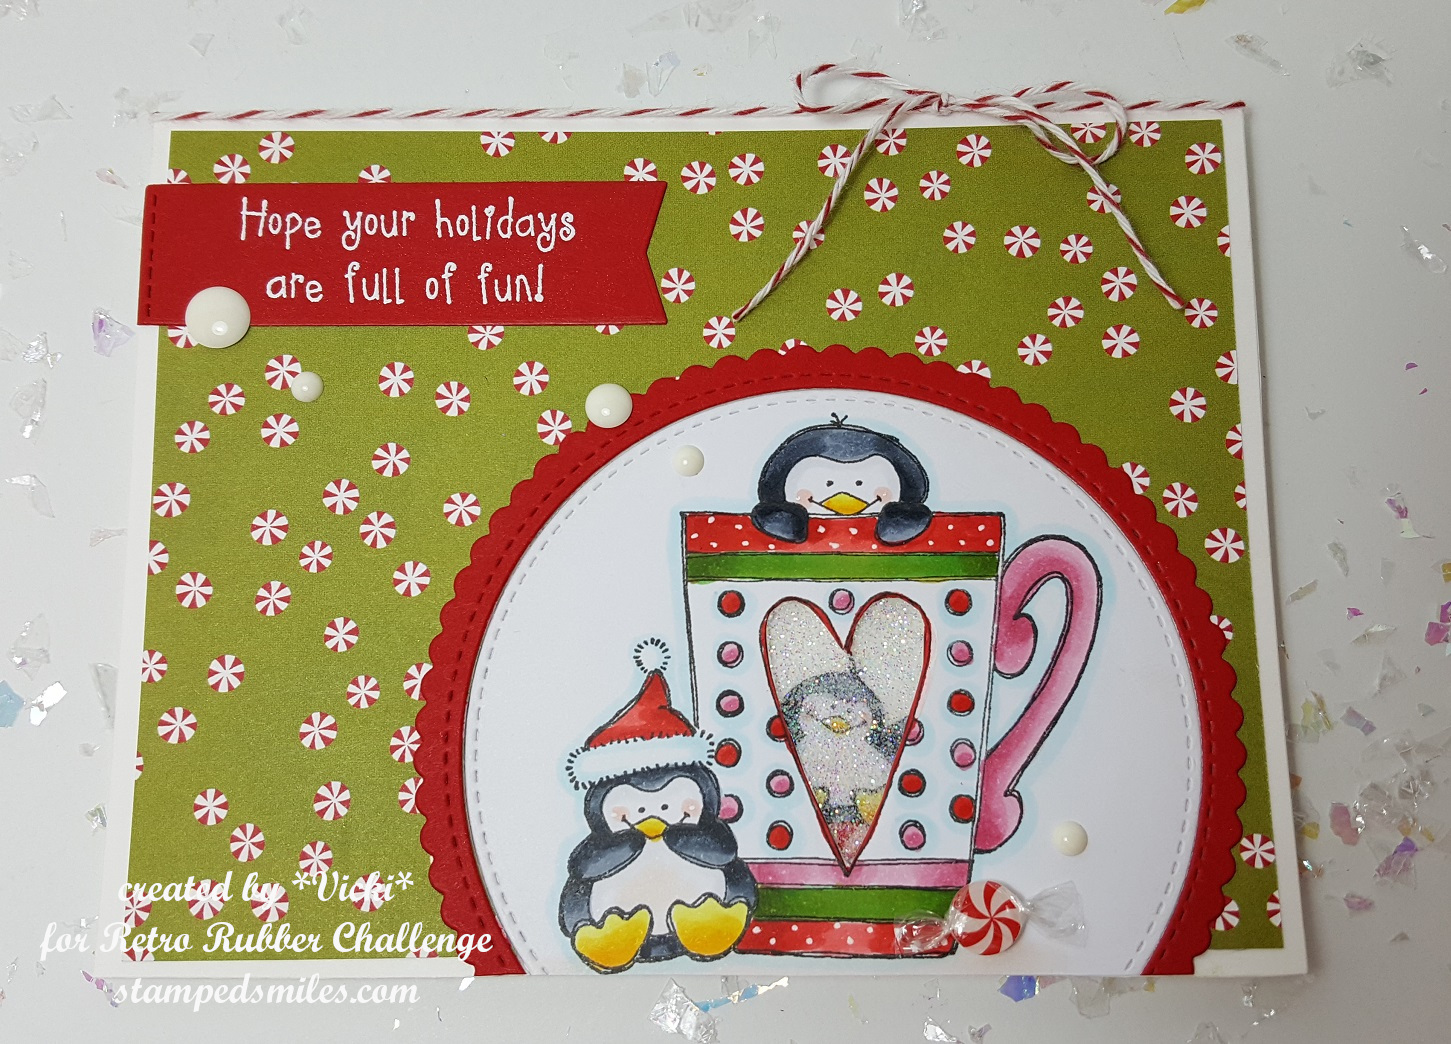
Here’s a closer look at that candle image and how I’ve got it colored up and paper pieced on my design.  I’ve also taken some Ranger Stickles icicle and added some in the center of the flame in the candle.

You can also see the “snowy glitter” effect from the Gina K Glitter Glitz Gel.  It dries hard and doesn’t come off!  I like how it has sort of an icy look about it.

I hope you’ve enjoyed my creation today and have been inspired in some way!  Please be sure to stop on over at the Retro Rubber Challenge Blog to take a peek at the inspiration from the design team and how they were inspired by the beautiful photo as well!  Hope you will be able to join along in the fun too!

Thanks for stopping in friends and I’ll see you soon!

Challenges:

  1. Crafty Catz – #529 Anything Goes optional “Baby it’s cold outside”
  2. Cut It Up – #214 Christmas + die cut
  3. Allsorts Christmas flowers, Wreaths and Trees (hope my pines count)
  4. Sunday Stamps – SSC245 Winter Warmth color challenge 

Guest Design for the Retro Rubber Challenge

Hello friends!  I’m super excited to have been asked to be a guest designer for one of the challenges over at the Retro Rubber Challenge blog!  Yay!  I really enjoy playing along in their challenges when I feel the need to break out some of my older stamps that have either been unused or neglected for a while.  If you have some stamps that are at least one year or older…or older yet as many of mine can be, then this is a great challenge to play along with!  Be sure to pop on over there and see what it’s all about, check out the inspiration from the design team and play along!

Here’s the card that I’ve created for the challenge but be sure to check out the full details along with lots more photos below!

Vicki-rrcb97-GDT

For my card, I went with the bottom row of “animals, window and circles“:

Vicki-rrcb97guestDT

I have pulled out some stamps from my “penguin stash” as I like to call it!  LOL!  I have lots and lots of them and most of them are years and years old.  I’m actually not really sure how old this stamp set that I’ve used on my card today is, but it’s from Darcie’s Stamps and they haven’t been in the store for quite a while now I think.

For my card, I’ve taken a circle die and cut out my colored images.  I had to mask the hat so that it looked like the penguin was wearing it as well as mask that giggling penguin along with the hat so that I could stamp the mug so that it looked like the penguin was in front of the mug.  I also white heat embossed the sentiment and cut it out with a banner die at the top.  The sentiment also came with the stamp set.  I cut out a scallop circle and then cut the center out with the same size circle as the penguins to create the frame around the penguin scene.  I’ve used some older SU! papers from my stash to go along with my theme and then lastly added some red baker’s twine at the top along with some white enamel dots as well as a cute little wrapped up peppermint candy accent.

I have cut the center of the heart on the mug with my craft knife and now we are going to zoom in on the mug….

Vicki-rrcb97-GDT-windowcloseup

Here you can see the glittery heart window with the penguin on the other side!  I have made a window by cutting out the heart on the mug and then on the other side, I’ve used some packing tape with the sticky side exposed through the window so that I could add some glitter to it.

Vicki-rrbc97-GDT-insidecard

And then of course when you open the card, you can see this cute little penguin trying to balance himself on these glittery rolling peppermint candies!  LOL!  This is why the penguin on the front was giggling.  I think they had too much sugar!

I colored in a penguin from the set, fussy cut him out and then layered him over this line of peppermint circles that I found from an older card kit I had in my stash.  It’s from a piece of patterned paper that I cut out.  I added some shimmer over them with a glitter brush pen.  At the top you can see the cut-out heart I made.

Vicki-rrbc97-GDT-inside

This is just a closer view of the penguin on the inside.  There is plenty of room above him to write a message.  Wasn’t sure if I wanted to leave this blank or put a Christmas sentiment on the inside yet.

I hope you’ve enjoyed my card for today!

Challenges:

  1.  Simon Says Stamp Wednesday – Get Ready for Christmas
  2. 4 Crafty Chicks – (4CC423) Something Old is Something New (old stamps and paper)
  3. Crafting with An Attitude – Anything Goes
  4. Happy Little Stampers Christmas – Anything Goes with Optional Twist:  ribbon
  5. Crazy 4 Challenges (C4C455) – Make any card in honor of WCMD
  6. Crafting By Designs – Anything Goes