Hello friends! I hope you’re having a great month so far and being able to enjoy the nice Spring weather! It’s been really nice over my way, but I’m seeing we have a bit of cooler temps coming too. Hopefully not too chilly!
Today starts a new challenge over at the Sparkles Monthly Challenge Blog and this time we would like for you to “Emboss it”! I hope you will hop on over to see the inspiration from the team and consider joining in the fun with us this month!
Here’s the DT creation that I’ve made:
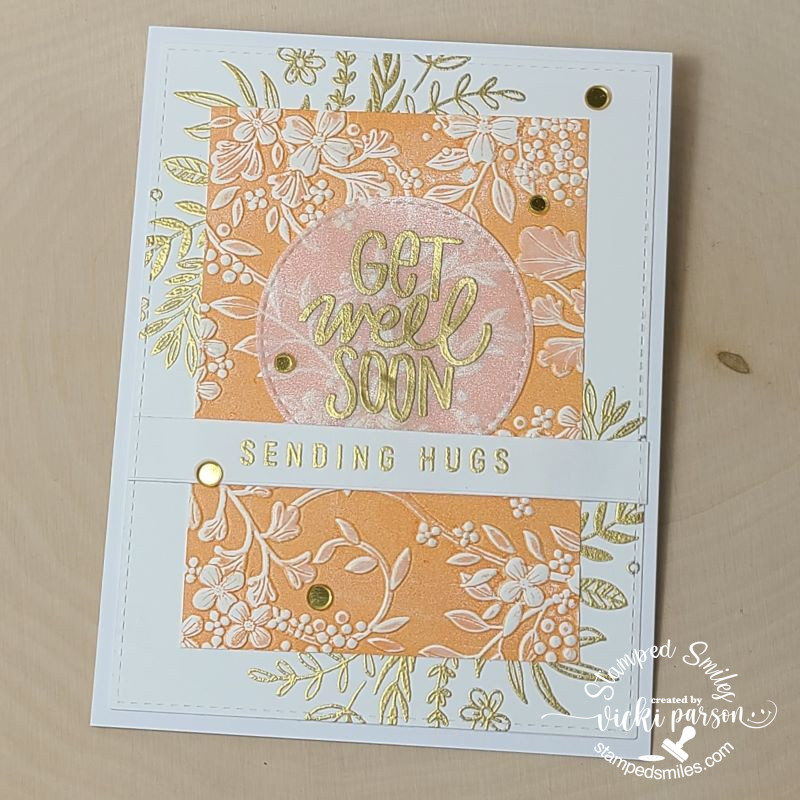
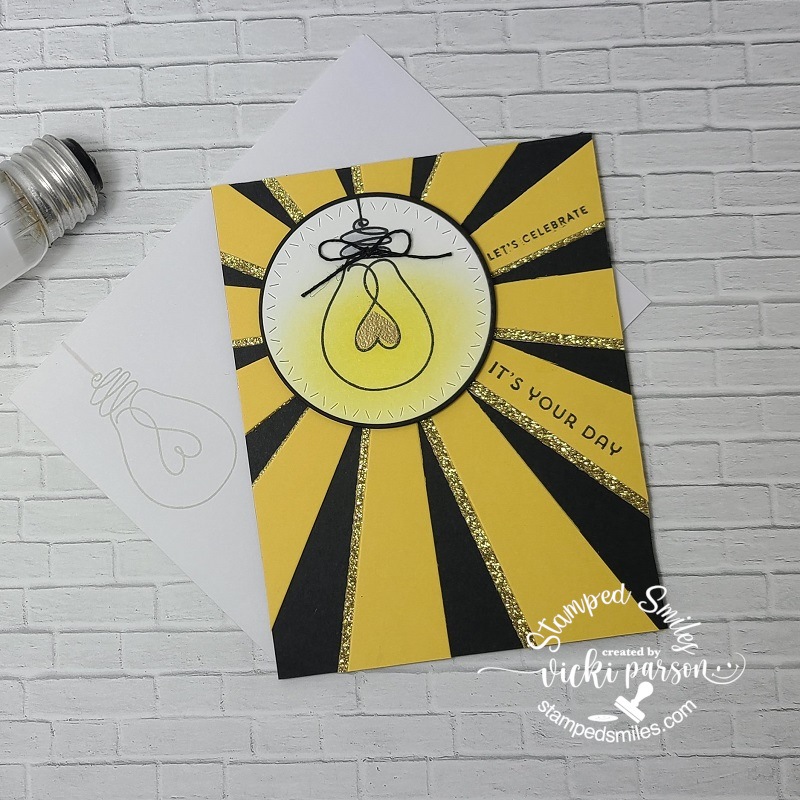
I love to do embossing on my cards, and I know it’s a favorite for many! I’ve decided to do a “Letterpress Embossing” technique and inked up an embossing folder to achieve the effect on my orange layer panel. The raised areas stay white on the white cardstock.
For the two corners, I’ve taken a Simon Says Stamp Garden Greetings stamp set and gold heat embossed the floral spray image. I’ve also used the same gold embossing for the “sending hugs” sentiment strip as well as the “Get Well Soon” sentiment over the shimmer vellum which was cut from a stitched circle die. I added some gold sequins over it.
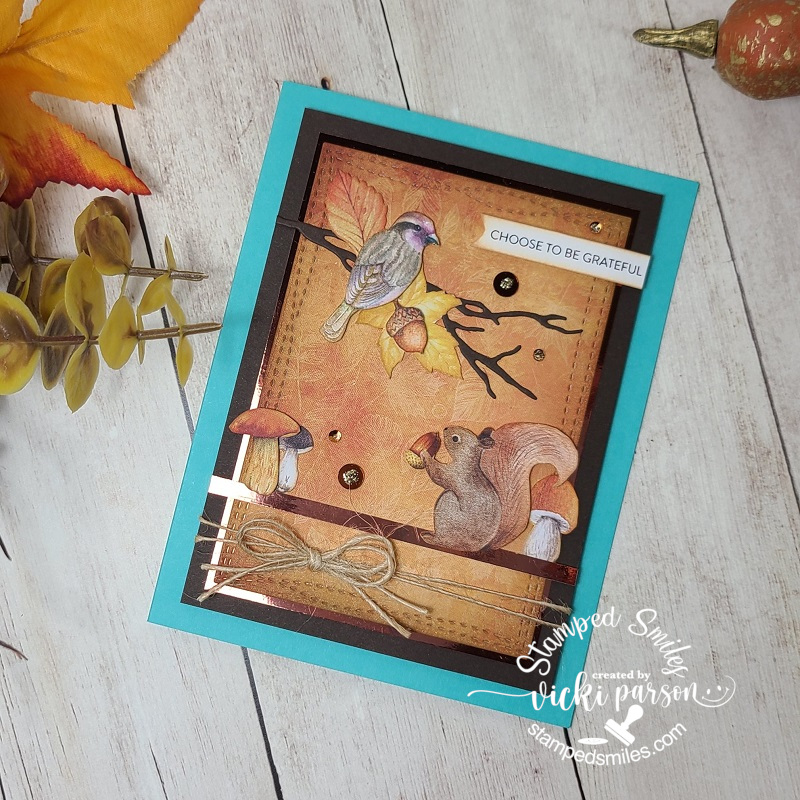
I wanted to keep it somewhat flat for mailing purposes, but I think some of it popped up would be pretty too. I was also very happy to pull out a past card kit and make another card with it.
I would love to see your embossed creations in the gallery this month, so I’ll hope you’ll play along! Check out the challenge here – Sparkles Monthly
***ARE YOU A WINNER?!!***
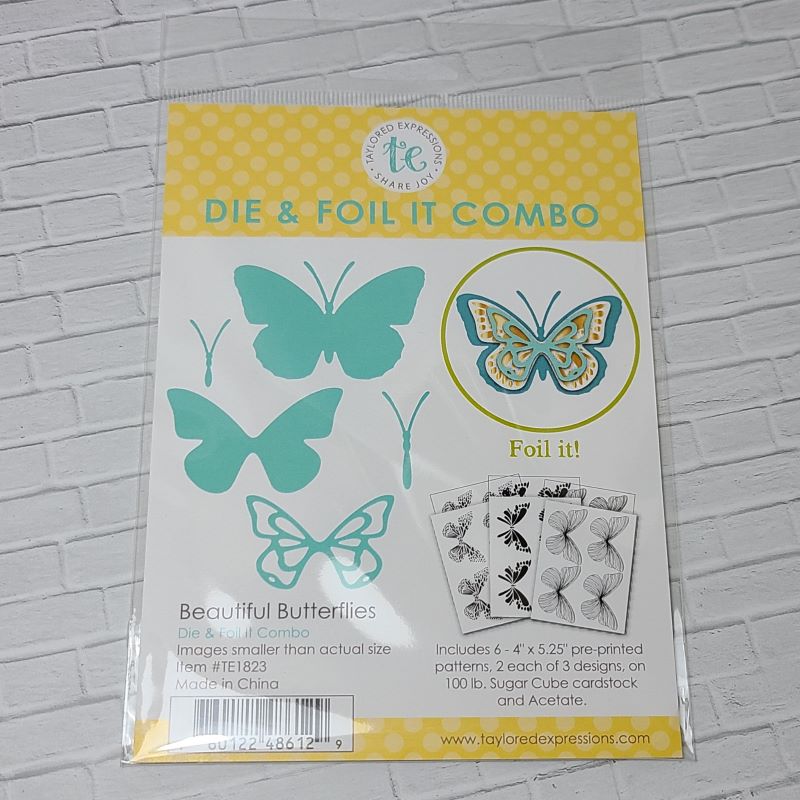
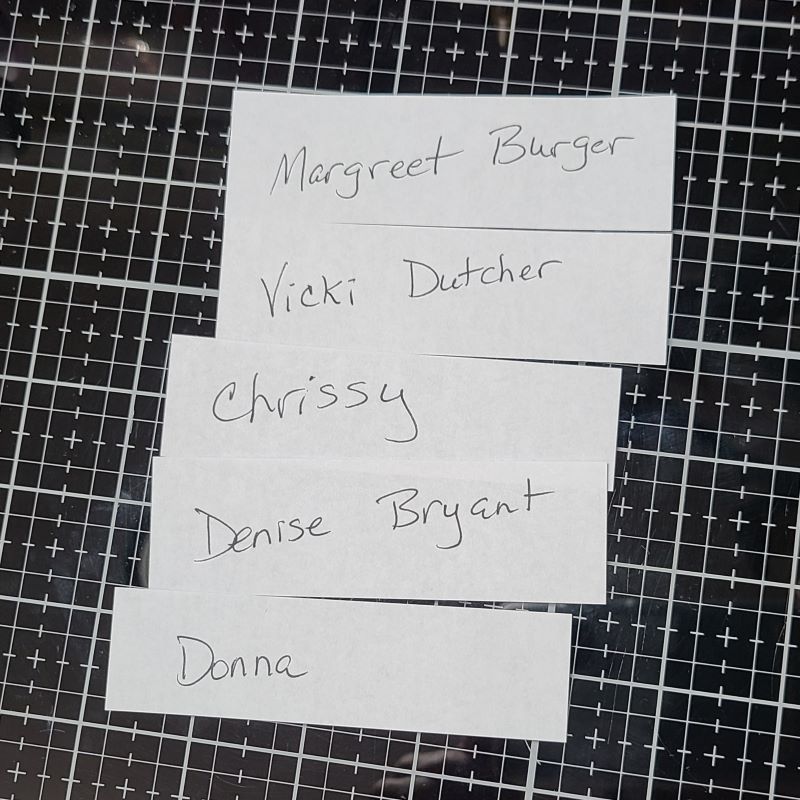
I have taken all of the comments from my last post, added all of the names that mentioned they would be interested in the Beautiful Butterflies dies and foil package and wrote those names on pieces of scrap paper. I folded and crumpled them up and had my husband pick out a name. He threw them all into the hat he was wearing and pulled one out!
HERE IS THE NAME THAT HE PICKED OUT…………….
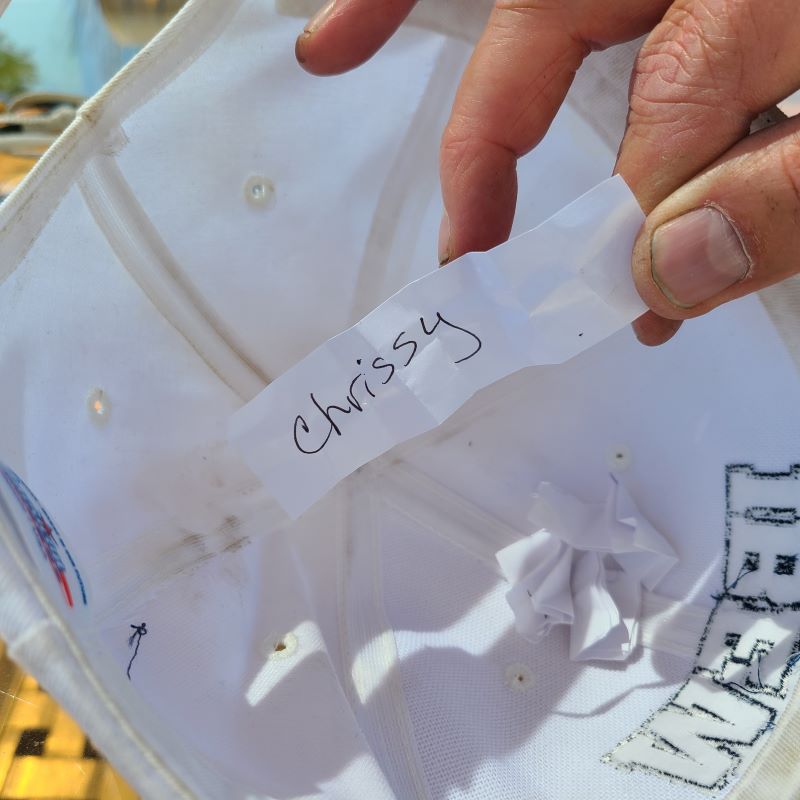
Yay! Congratulations Chrissy!
Please contact me and send me your full name and snail mail address so that I can pop your package in the mail to you! I hope you enjoy it! (I haven’t even used mine yet!) Sorry if your name didn’t get pulled as I only had one, but I know I have several “double” items that I’ve placed in a bin and will be pulling them out at some point to give away! So, stay tuned!
Thanks so much for dropping in and taking the time to say hello! I appreciate you!
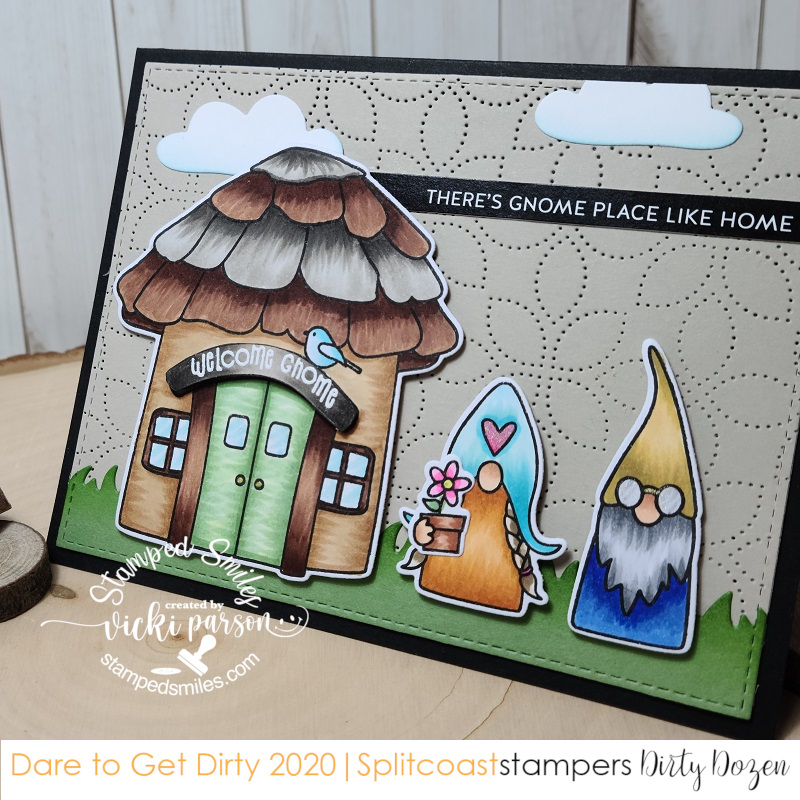
Challenges I’d like to enter my above card into:
- Creative Inspirations – Anything Goes
- Can You Handle the Pressure? – Anything Goes optional clouds
- Pammie’s Inky Pinkies – Anything Goes
- Ally’s Angels – Anything Goes
- Little Red Wagon – At least 2 layers
- Penny’s Paper-Crafty – Anything Goes
- Tic Tac Toe – TTTC204 (middle down: die cut, free, embossing)
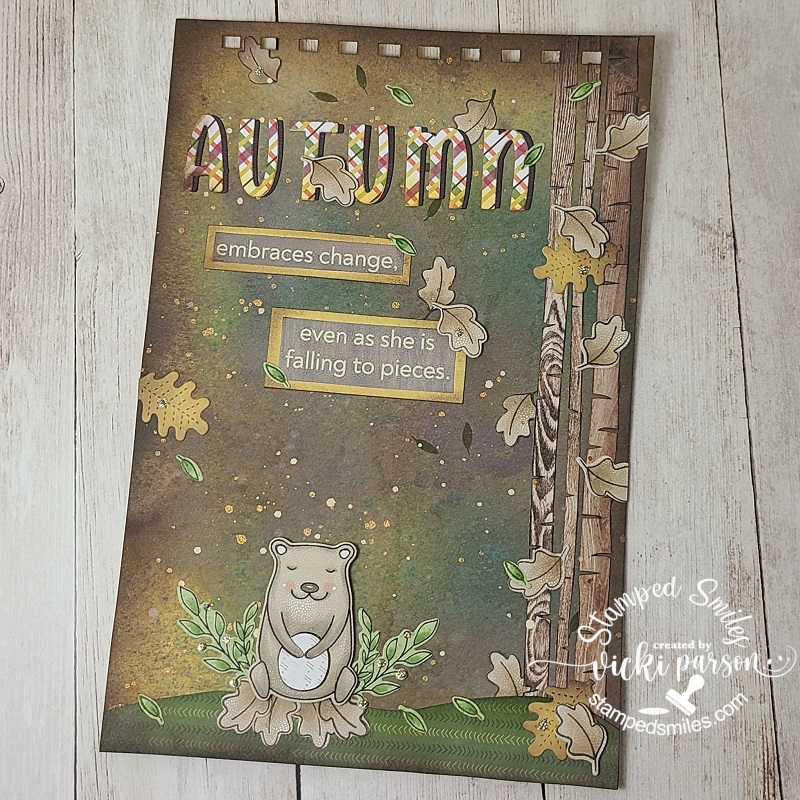
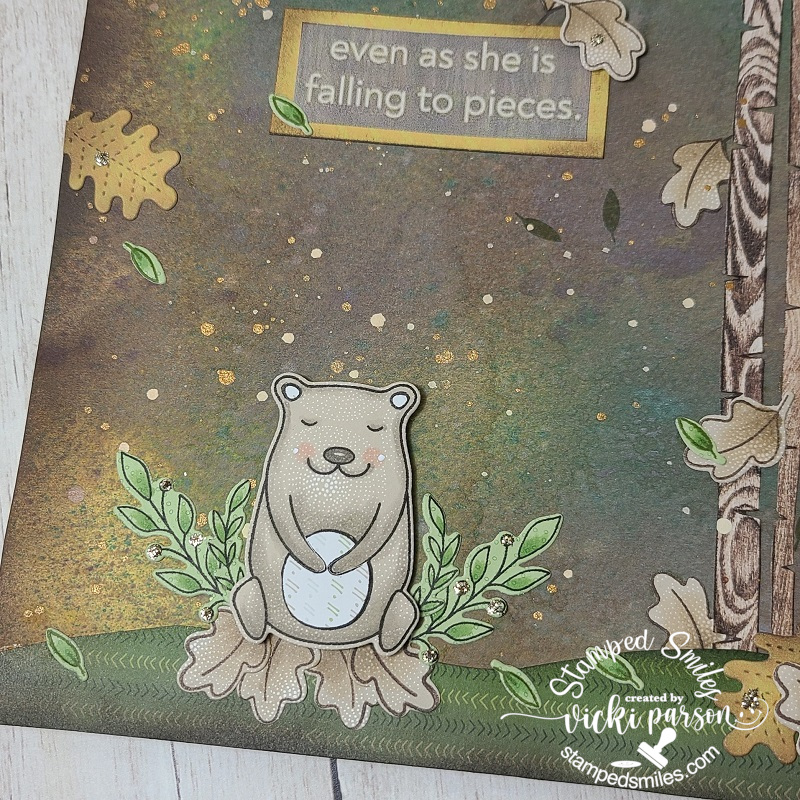
 We’re trying to get creative by using up our never-ending stash piles! So here’s my Art Journal inspiration with the “SMASH OUR STASH” September prompt of “ANY kind(s) of scrap papers!” :