Hello friends! I hope that this Spring weather hasn’t gotten too crazy for you. I know that this is a season of storms and tornadoes where I live in the Midwest, and I saw Iowa get some tornadoes come through. It’s windy here, but luckily not that bad. So, I thought this would be a good time to catch up sharing some things I’ve been working on!
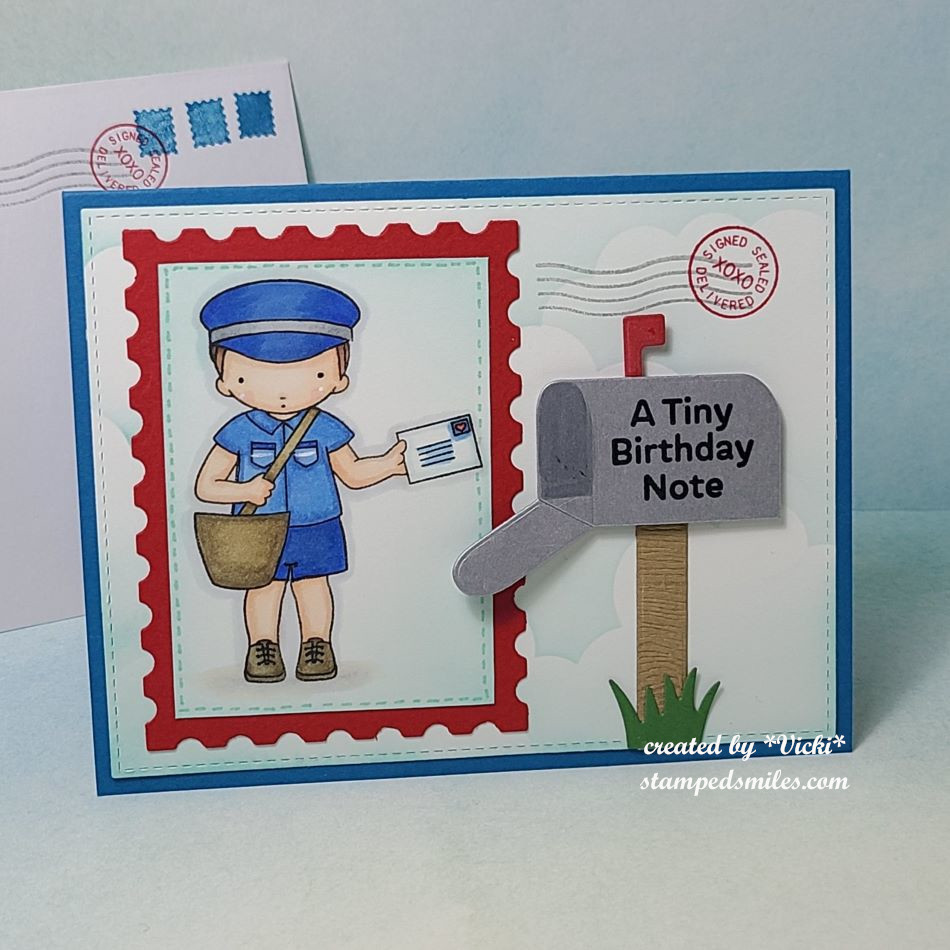
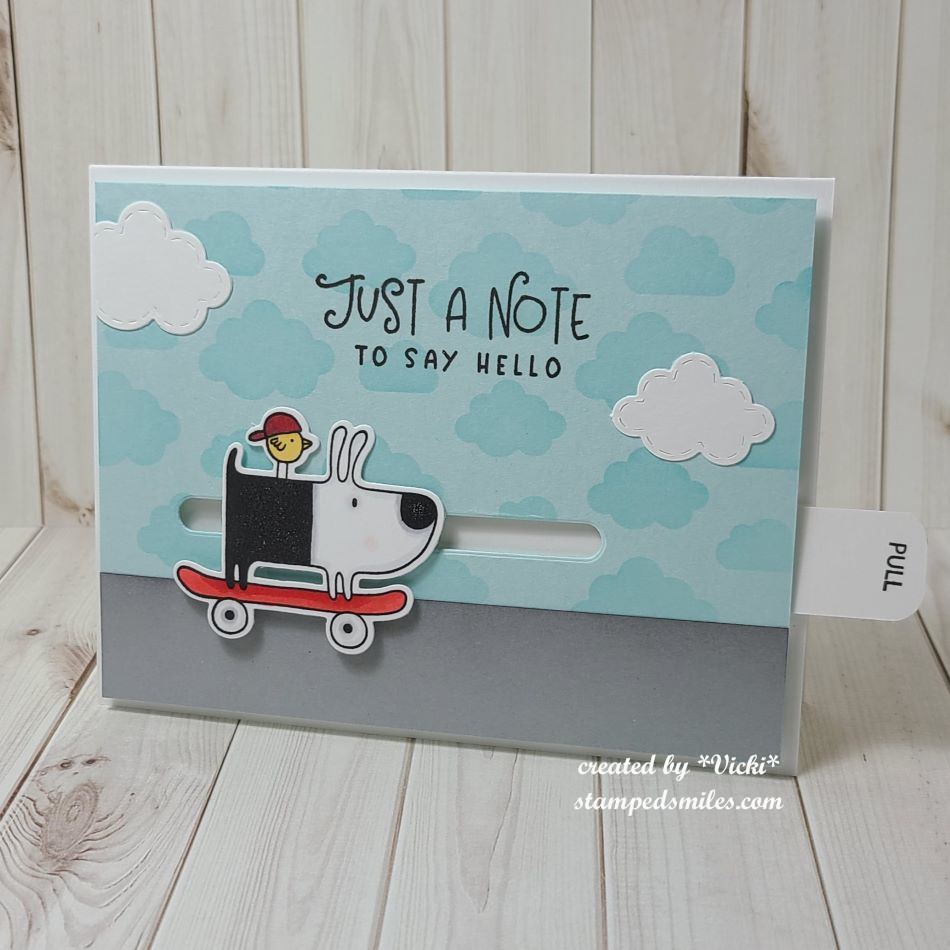
My first project is a birthday card that I made for my son last month. He’s a mail carrier and so I thought this would be fitting for him. The mail carrier came from a MFT Birdie Brown stamp set (retired) that was actually a female with ponytails and a dress. So, I’ve altered it and masked off the ponytails and drew in some shorts. The mailbox die (retired) and other postal related stamps/dies all came from MFT as well.
For the background: I’ve used a MFT cloud stencil and cut it out with a stitched rectangle die. After coloring the image with Copics, I cut it out with another rectangle die and placed it over the red postage stamp rectangle. I cut out the mailbox pieces and put it together over the cloud panel and added a few postal images at the top right corner along with the envelope in the background. I finished it out with the birthday sentiment on the mailbox (retired) and a few white gel pen details on the image.
Although he’s a mail carrier, I didn’t have to mail this card to him, and I got to see him smile when he opened it…which is better than mailing it!😊
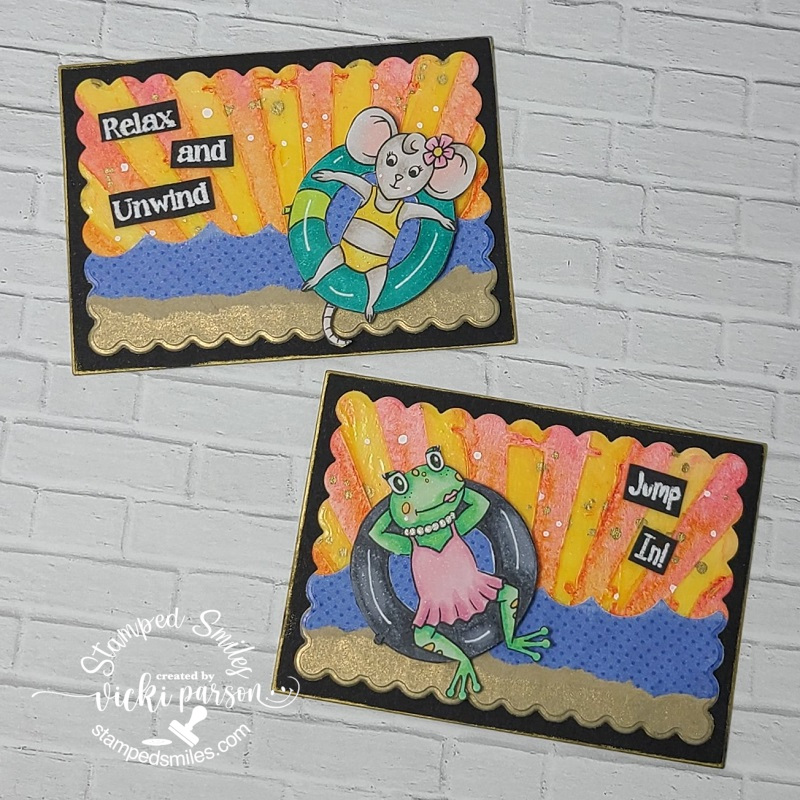
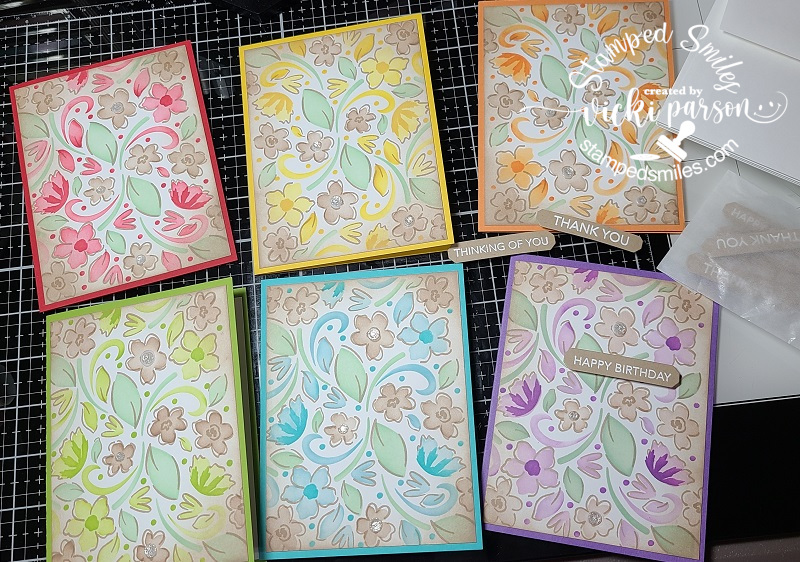
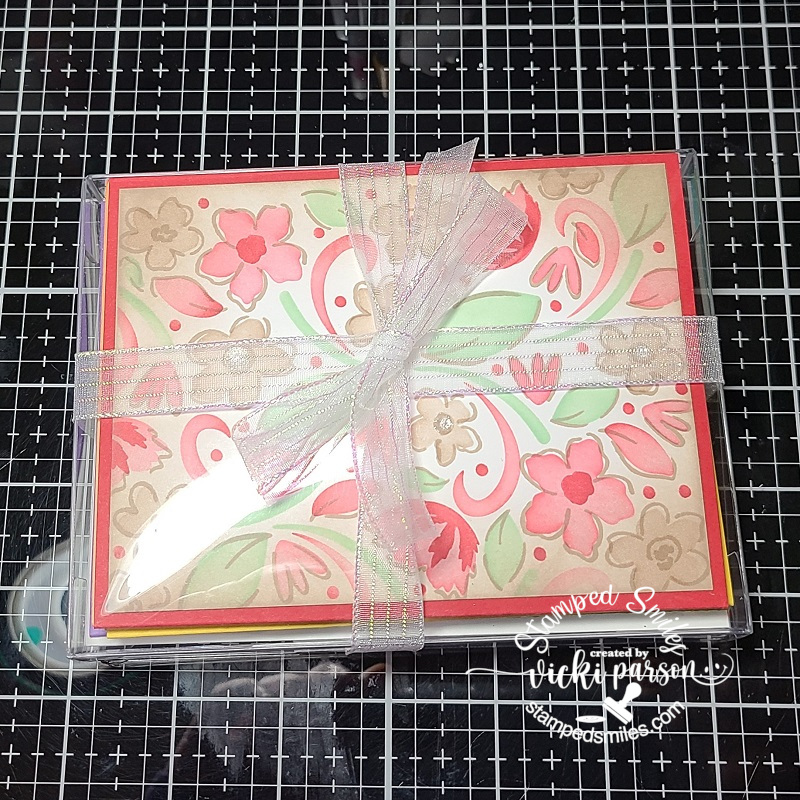
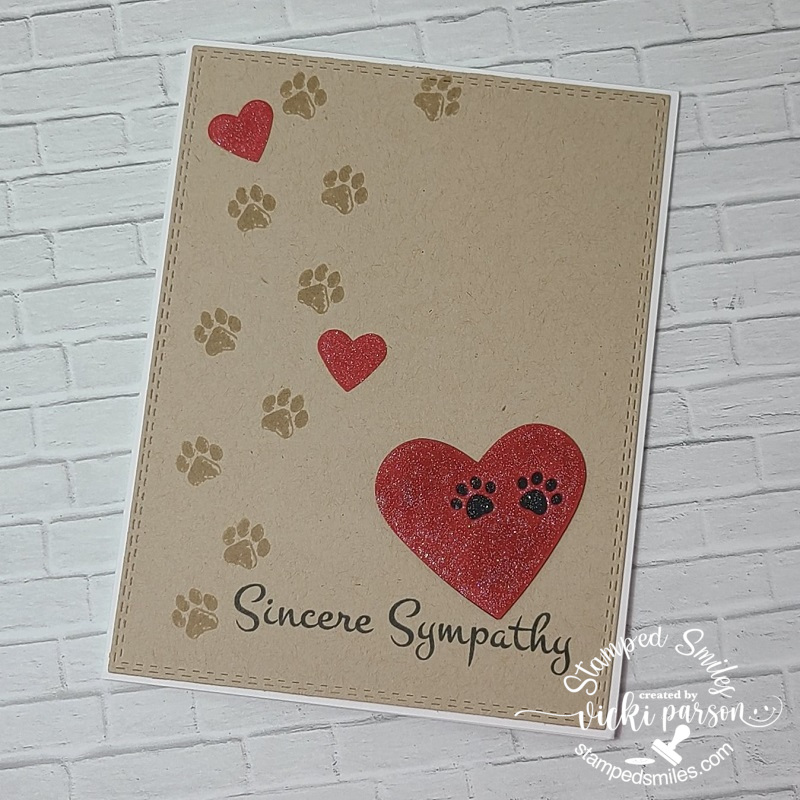
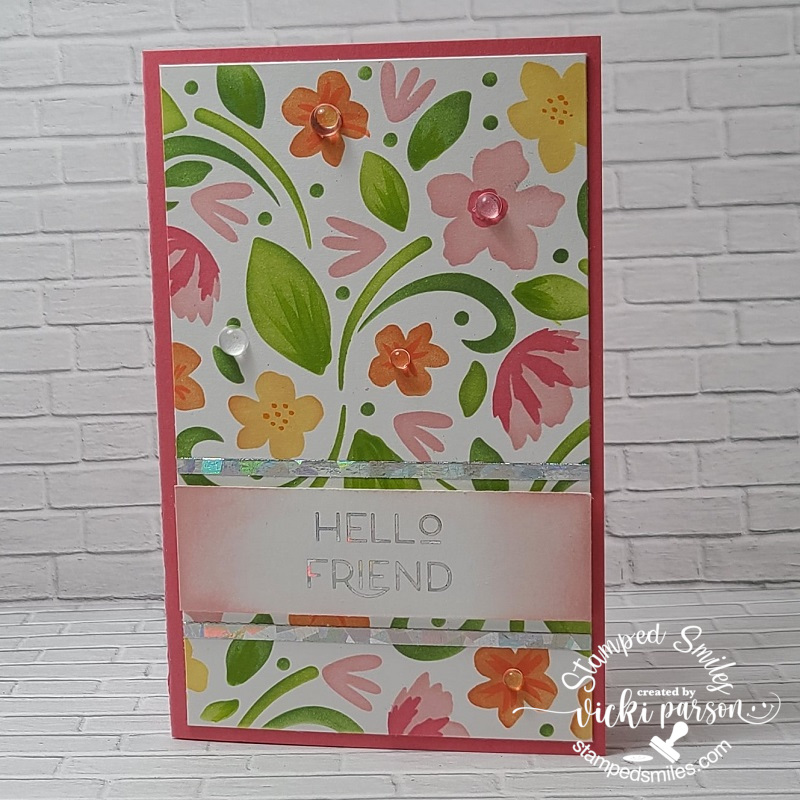
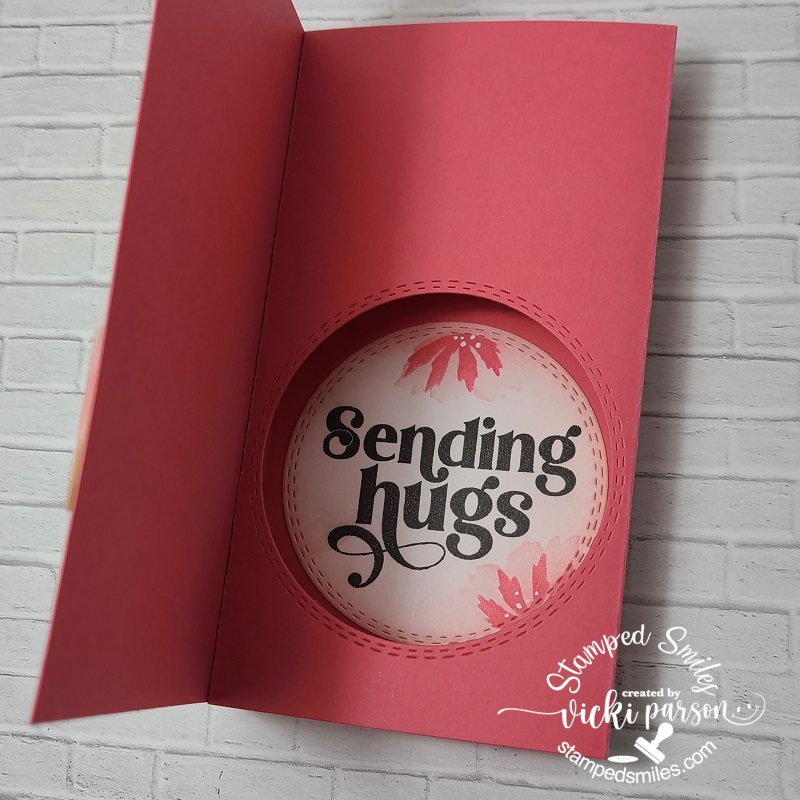
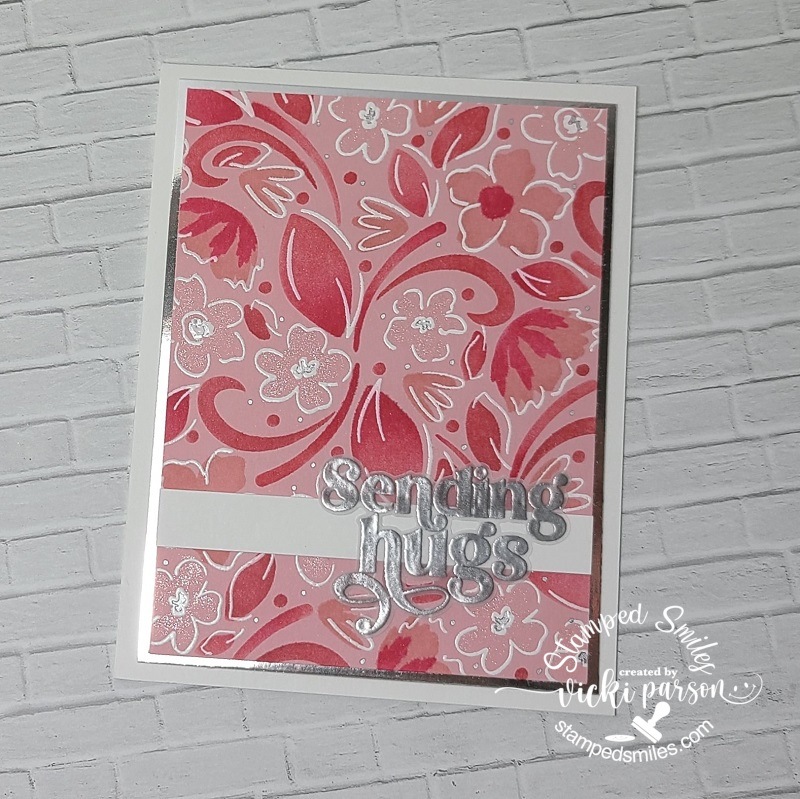
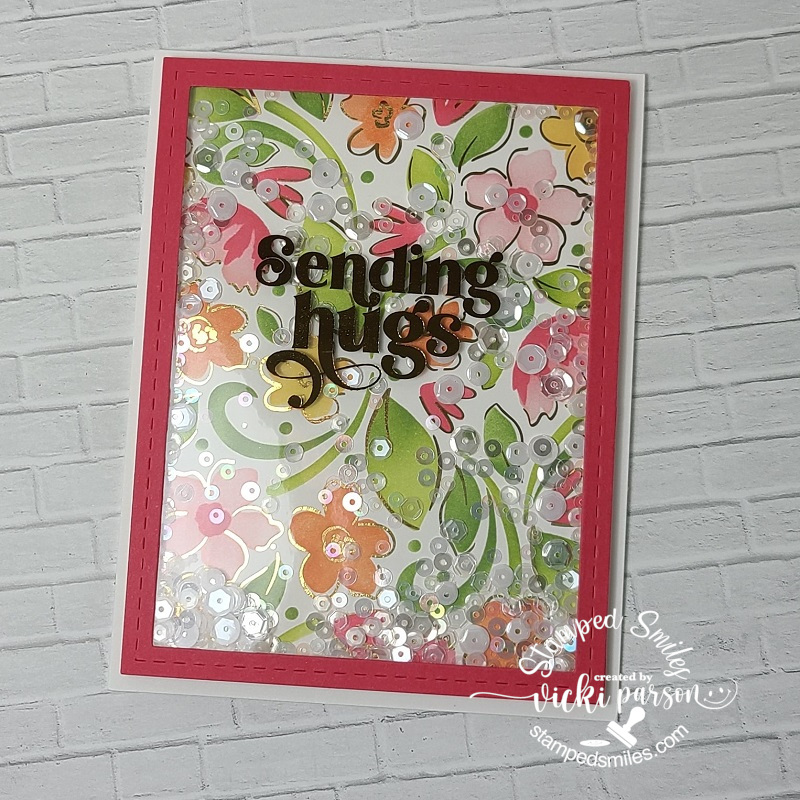
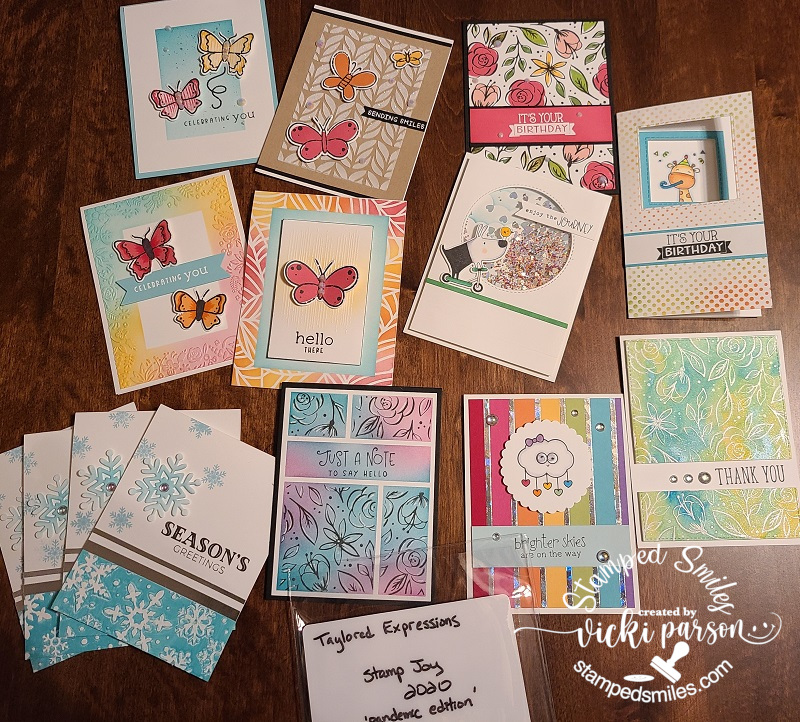
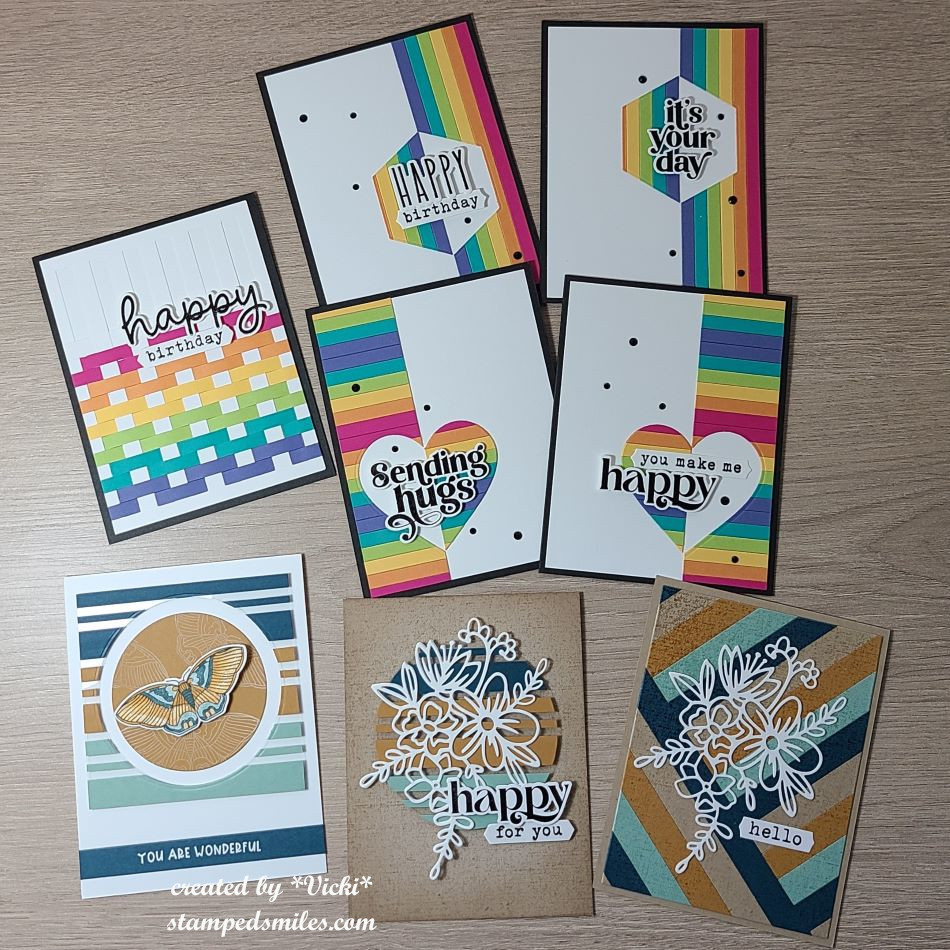
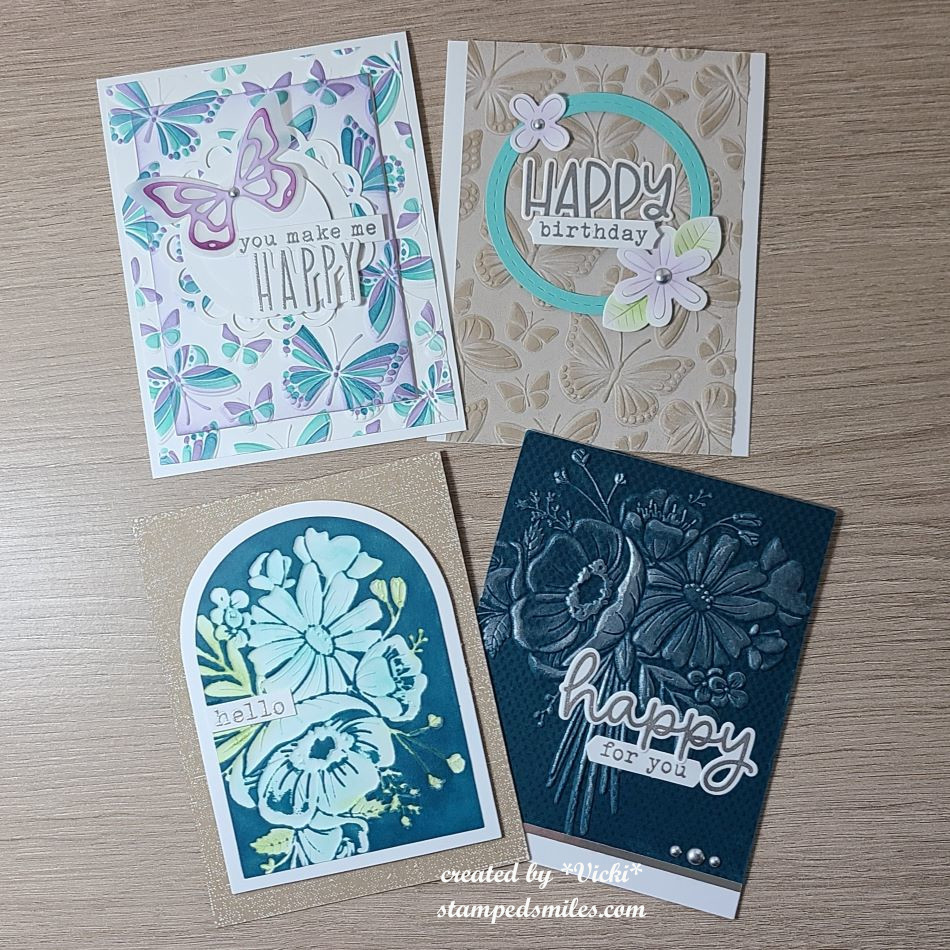
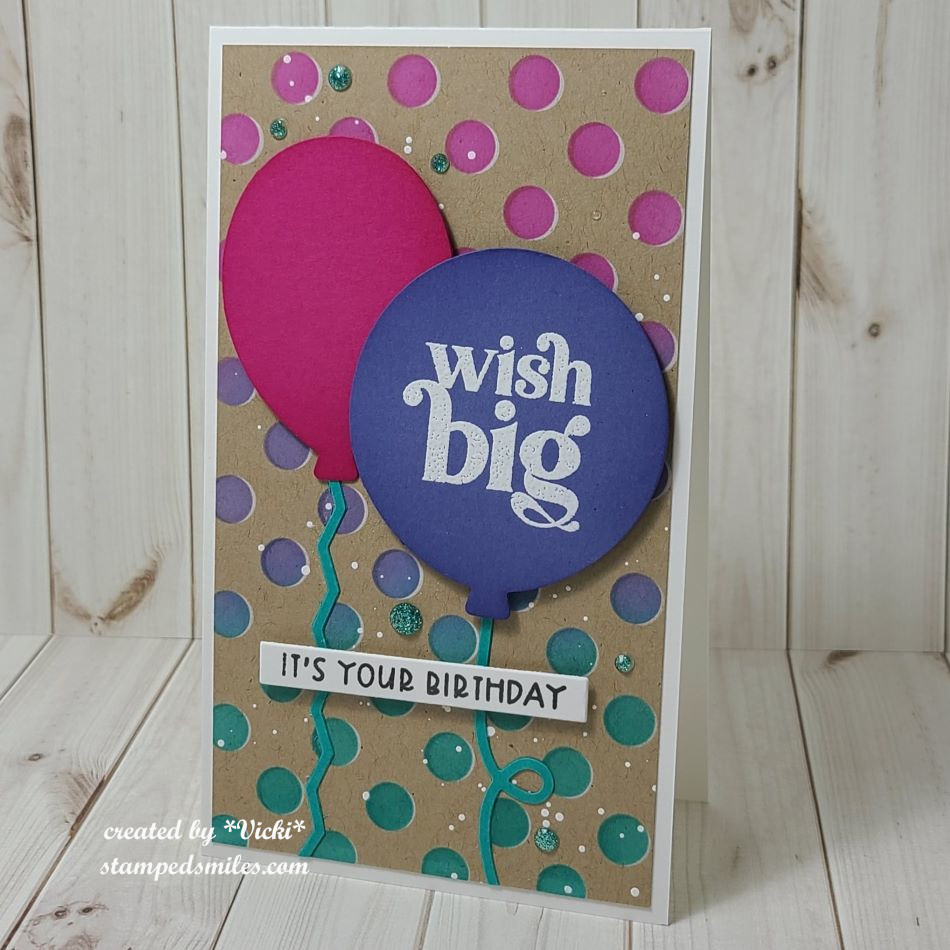
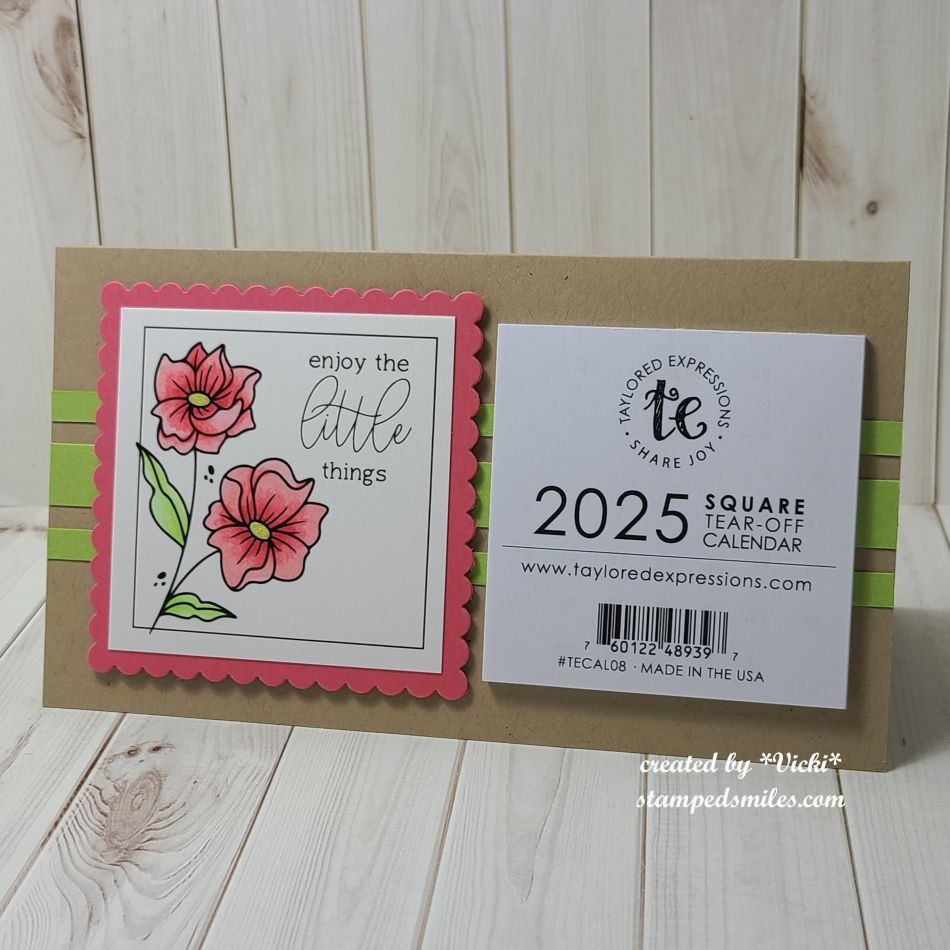
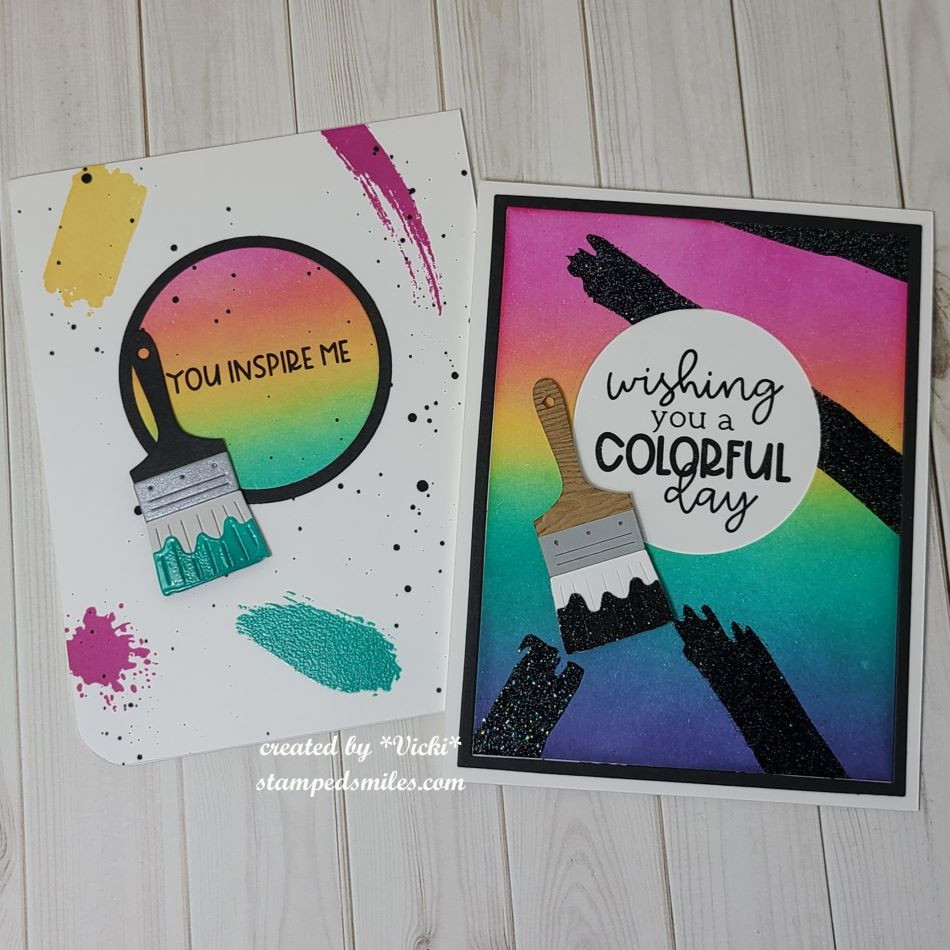
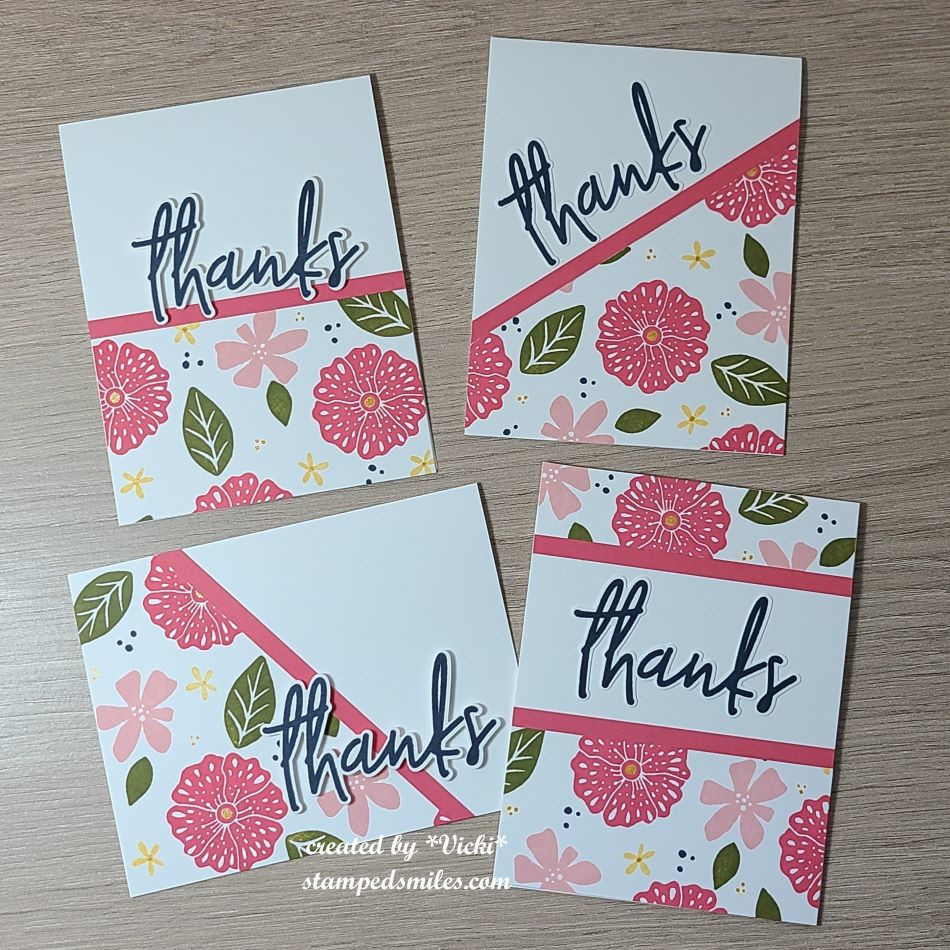
Last month, I also participated in the Taylored Expressions Virtual Stamp Joy. I also just realized when registering for this event that I have participated in every single one of these since she started it during the pandemic in 2020! I think the pandemic has really changed the world in several different ways, but I’m glad that this was one of them as I have enjoyed doing these. There’s just something about getting a class event mailed to you and attending in your PJs while having snacks and crafting that I find appealing, I guess! 😉
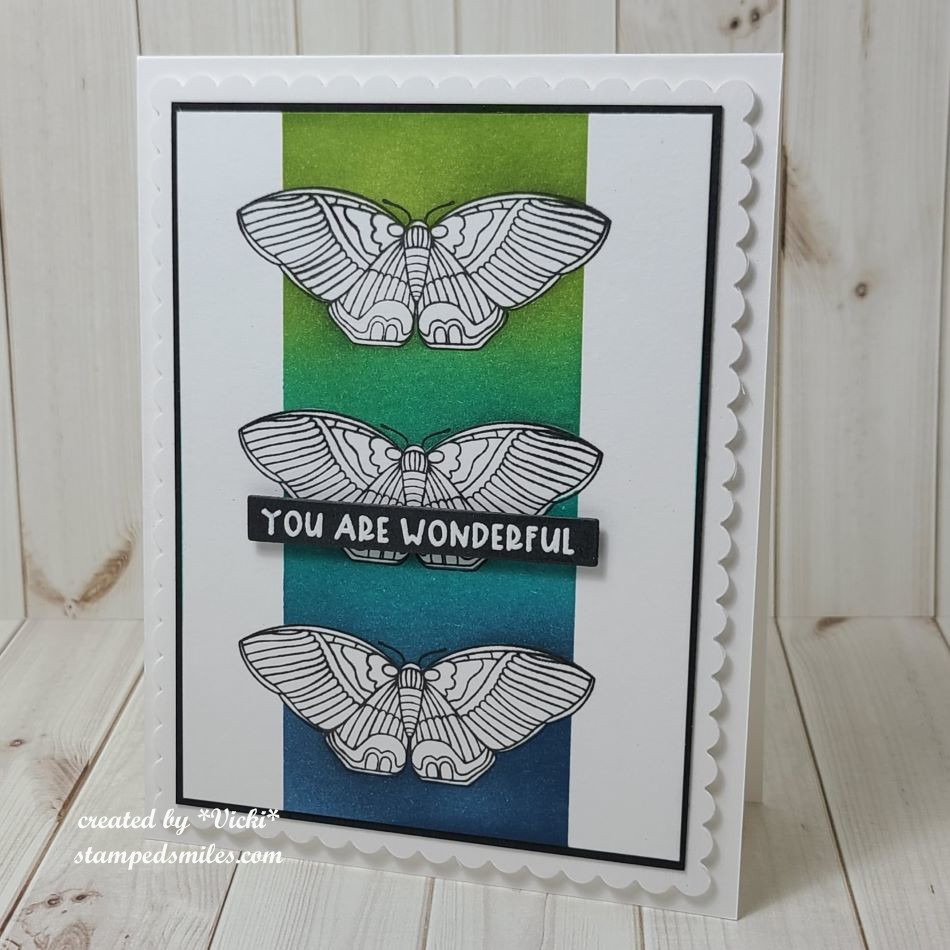
Of course, doing virtual, I have lots of time to finish up projects, but I think I had them all completed within a week after the event…I just had to photograph everything and now I’m finally getting them on this post to share: (IF YOU ARE ON MY WEBSITE, CLICK EACH PHOTO TO ENLARGE IT-CLASS INFO AT BOTTOM OF PHOTO)

I had a busy month for sure! I’m also in the middle of another session of classes that I’ve been working on and having to go back in my spare time to get through each one. During the exact same time as Stamp Joy was going on, there was another freebie class weekend that was going on, so now I’m going back and watching the replays to do little bits at a time…I have a little way to get through it still, but when I finish, I will share those results too.
I hope you’ve enjoyed my catch-up post today and have been inspired to have some fun even if you can’t be outside! I’m sure when it gets a bit warmer, I will want to enjoy it, but for now, I’m going to play in my craft room!
Thanks so much for stopping in and have a great day!
Challenges: (top card only)
- Pearly Sparkles – For a Man/Boy #94
- Dragonfly Dreams – Use a Die
- Pammie’s Inky Pinkies – PIP2415 Anything Goes
- Creatalicious – #276 Anything Goes with Optional: Use Something New (new postage dies/stamps from MFT)
- Ally’s Angels – #81 Anything Goes
- Simon Says Stamp Wednesday – Stencil It (stenciled cloud background)